Google Data Studio Functions for Calculated Fields
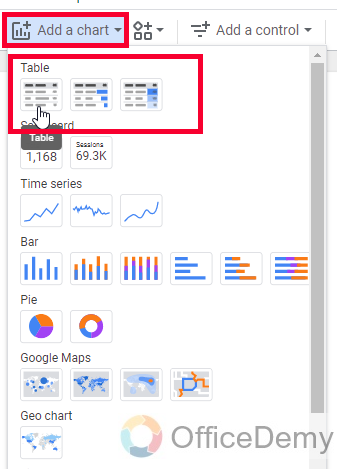
- Create a chart.
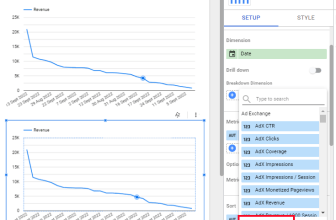
- Access the “Metrics” section in the chart’s setup tab.
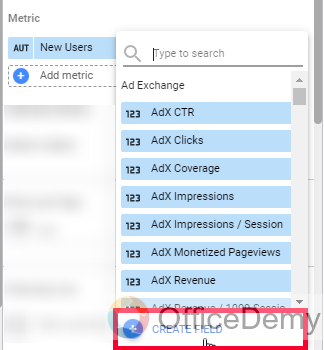
- If you don’t find the specific metric you want to visualize, click the “Create a Field” button to create your own.
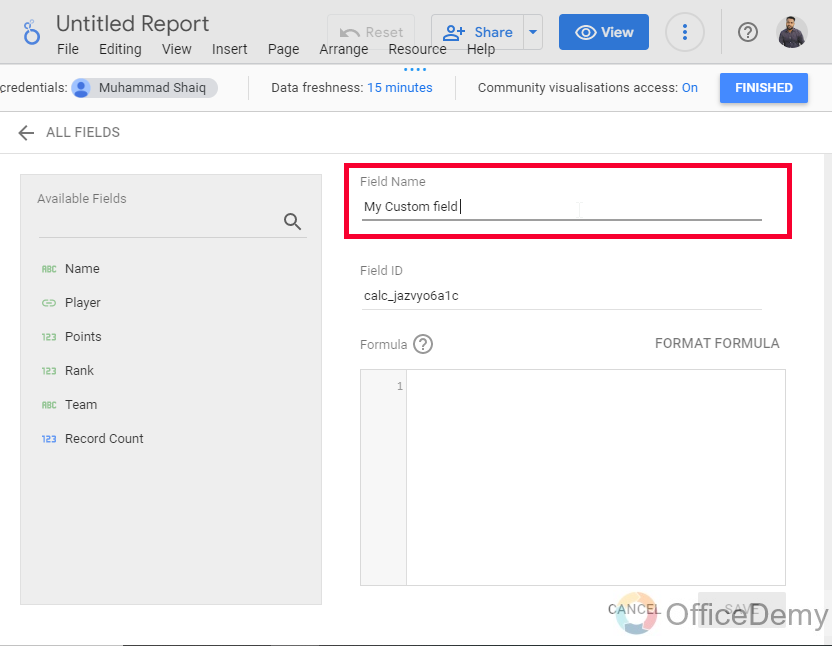
- Define a field name and write the formula logic to calculate the field based on the existing metrics.
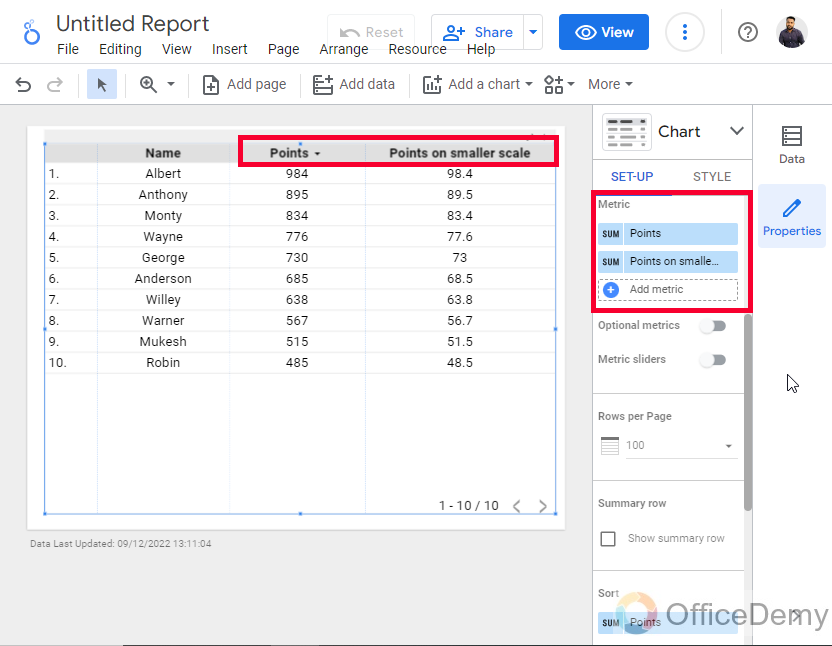
- Click the “Save” button to apply the calculated field to the selected chart.
OR
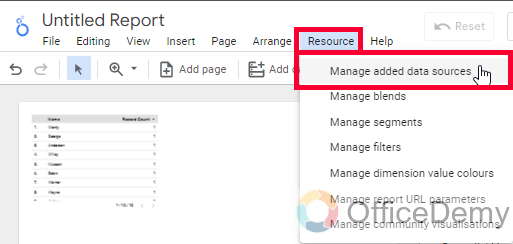
- Go to “Resource” and select “Manage added data sources“.
- Click “Edit” for the desired data source.
- Please note that this option is available only for custom data sources, not for sample data sources provided by Data Studio.
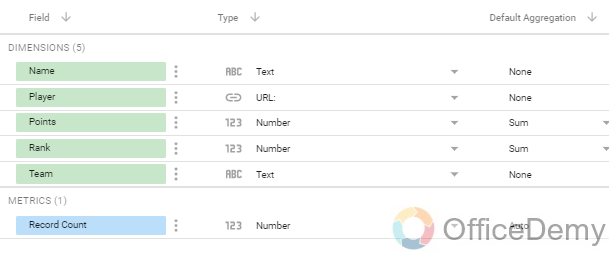
- Within the data source, you can find all the dimensions from your original data.
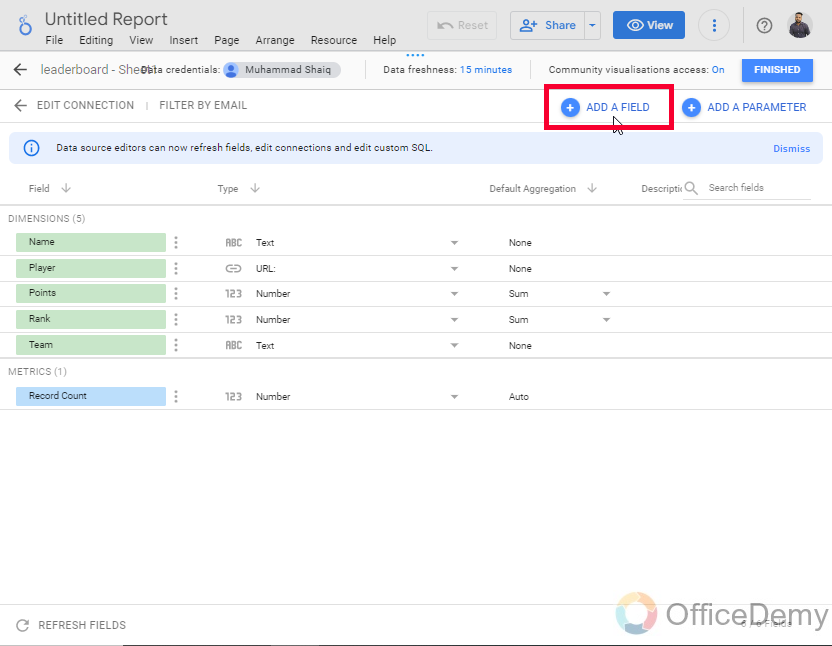
- Click “Add a Field” to create a new calculated field.
- Give it a meaningful name, define the formula logic, and save it.
- After returning to your report, you can see this field as a dimension.
- You can use it with any chart, making it a versatile tool for your reporting needs.
Hi. Welcome to a new tutorial of our Google Data Studio series. In this article, we will learn about the best Data Studio functions for calculated fields. Calculated fields are very powerful, they help us in a way that we can make custom functions inside the data by combining other fields. We can make a field named URL by combining the website address, and page name.
In this way, we can do so many more things by making combinations, or even we can multiply, subtract, and divide to make more custom logic. There are some functions as well, right now we have only seen the image function, but we will see more in upcoming tutorials. So, today’s guide is to show and make you understand the best data studio functions for calculated fields. How do they work? and how they are useful.
Why learn Data Studio Functions for Calculated Fields?
Since we have already covered a dedicated tutorial on calculated fields, so I will not much emphasis on how to create calculated fields. Rather, I will show you some calculated fields that function practically so you can extend your thinking about them, and you can get an idea about their usage of them. I have listed some of the best functions for calculated fields, and today I am going to reveal them and make you understand how they work and they are constructed.
So, this tutorial is going to be fun and interesting, you will start using calculated fields and their functions more often, and you will enjoy using them. They make our work easy; they allow us to make custom fields by performing some calculations on other fields. You can drive percentages from the passing marks and obtained marks, so you don’t need to make any changes in the original data, still, you can see and visualize the percentage values for each data point in Google Data Studio. So, therefore we need to know what are the best data studio functions for calculated fields.
Best Data Studio Functions for Calculated Fields
I have brought the three best data studio functions for calculated fields. We will see all of them, and we will implement them on simple data so you can all learn and apply them easily. All these functions are very easy to use and very simple concerning logic and syntax. So, without further delay. Let’s jump directly to our first function.
All right, let’s start with the Google Data Studio, looking at what Functions are and what the calculated field is. Well, you need a chart and a connected data source only to get started with functions and calculated fields with me in the below example. So, get set.
Chart-Level Calculated Fields
In this first section, we will see the chart-level calculated fields. This type of calculated field is on a chart basis itself by adding a metric or dimension on the chart, and then creating a custom field by clicking on the create a field button in the dimension or chart context menu. Here, we can so many calculated fields by selecting a chart, but they are only going to work with the selected chart and not with any other chart in the report, so they are called chart-level calculated fields.
Step 1
Create a chart
Step 2
Go to Metrics in the setup tab of the chart sidebar

Step 3
Here, you may have some similar metrics available, but not the ones that you want to visualize, so you go to the “create a field” button and create it by yourself.
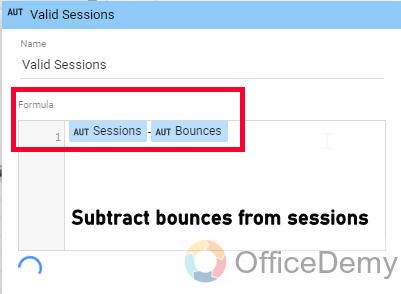
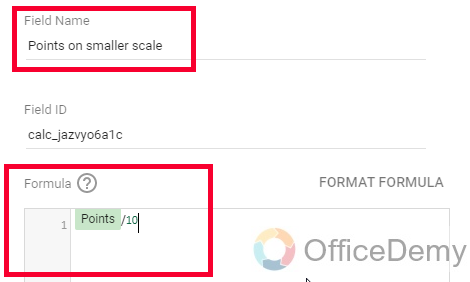
Let’s say I have sessions, and bounces in my data, but I want to visualize only sessions that did not have bounces, so I will subtract bounces from sessions to get a new field that can be named “Valid sessions” for example.
Note: Doing this will not affect your original data.
Note: Doing this will also not affect anything in your report other than the selected chart.
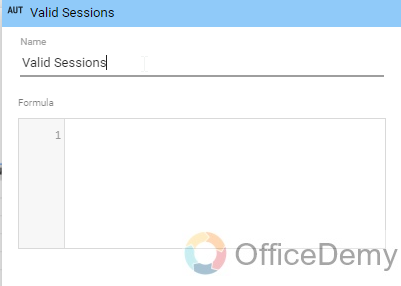
Step 4
Add a field name, then in the below section, write down your formula logic, and from the below save button save it, and it will be applied to the currently selected chart.
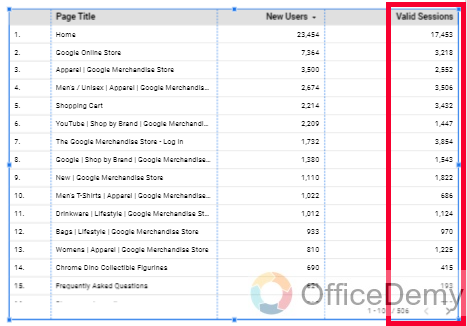
So, this is how good this calculated field is. This is one of the most commonly used and the best data studio functions for calculated fields or chart-level calculated fields.
Data Source-Level Calculated Fields
In this section, we will learn about data source-level calculated fields. If you want a calculated field for your selected data source to use in various charts, you can create a data source-level calculated field. And, it will only be available with that specific data source. So, let’s see how to do that.
Step 1
Go to resource > manage added data sources
Step 2
Click on the Edit button for the desired data source
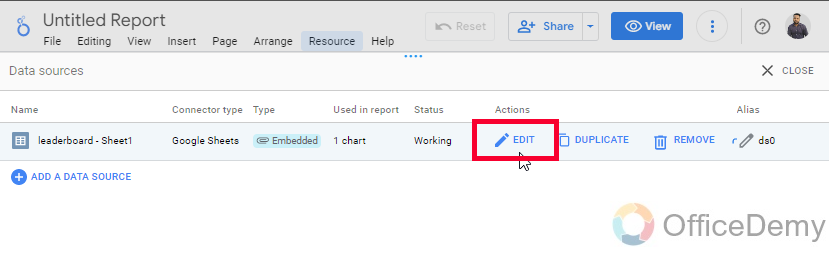
Note: This is not possible for sample data sources provided by Data Studio, data source-level calculated fields can only be created for custom data sources such as Sheets files.
Step 3
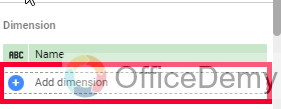
Here you have all the dimensions of your original data, to add a new field you can click on the above button “Add a Field”
Step 4
Now, here you have a similar window, give a meaningful name to your custom field, then write the formula logic below, and click on the Save button
Note: You cannot assign a name that already exists in your other dimensions.
Step 5
Back to your report, and now you can see this field as a dimension, and you can use it when you want with any chart, or multiple charts, and you can also skip it if you don’t want to use it.
So, these are data source-level calculated fields, I am sure you understand why we cannot create data source-level calculated fields with sample data.
If you want to make it available within the data source, you need to create a new field down here. It will open up the Create new field editor where we can also enter our Function.
Data Studio Functions for Calculated Fields – UPPER / LOWER Functions
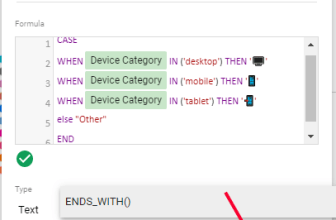
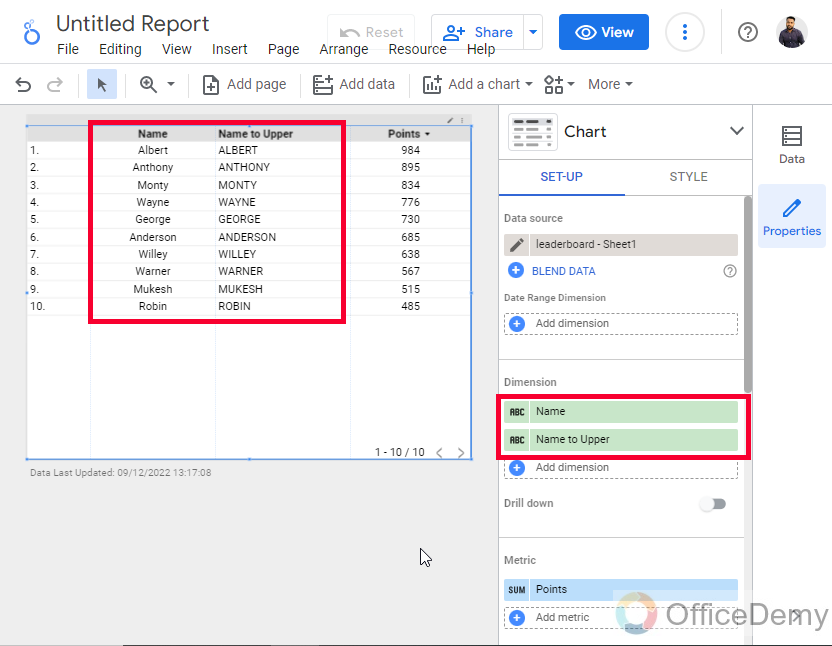
In this section, we will learn about UPPER/LOWER functions. We utilize a function in a Calculated Field to create a new field that simply becomes a new dimension and makes a new version of it in upper or lower case. So, let’s create this. What we need is have a dimension coming from the original data which is “aReA” this is not an upper or lower, and it can make confusion between “Area”, “area”, and “AREA”, so to convert them into upper or lower we have two useful functions with the names UPPER and LOWER, we simply put a dimension value in it and it returns the same in the UPPER or LOWER case.
Note: This function can be used to calculate a chart-level calculated field, or a data source level as well.
Step 1
Identify the dimension you want to change in upper or lower case.

Step 2
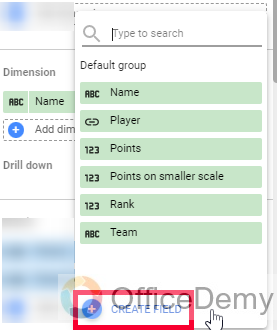
Go to dimensions, and click on the “CREATE FIELD” button.
Step 3
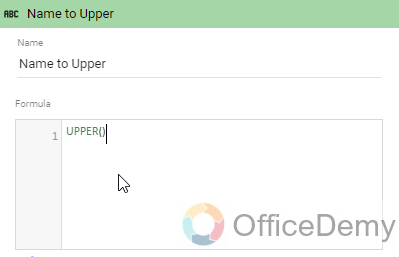
Write the field name, and then write the function name i.e., UPPER to convert in upper case, and LOWER to convert in lower case
Step 4
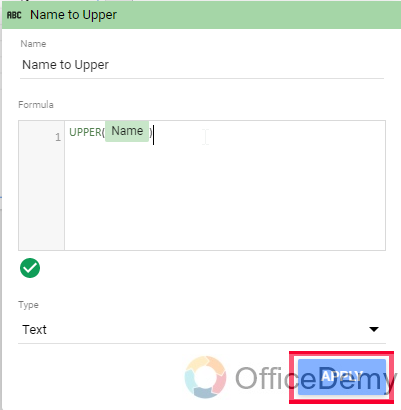
Then pass the original dimension name into it

Step 5
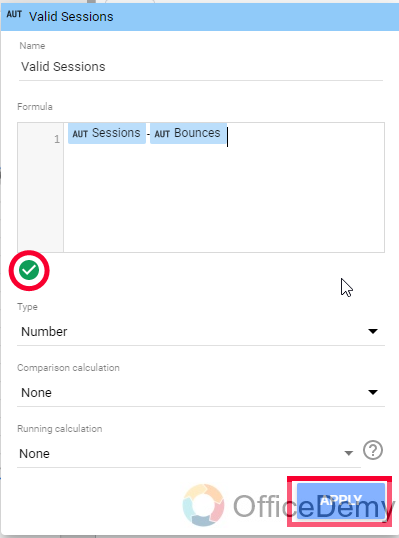
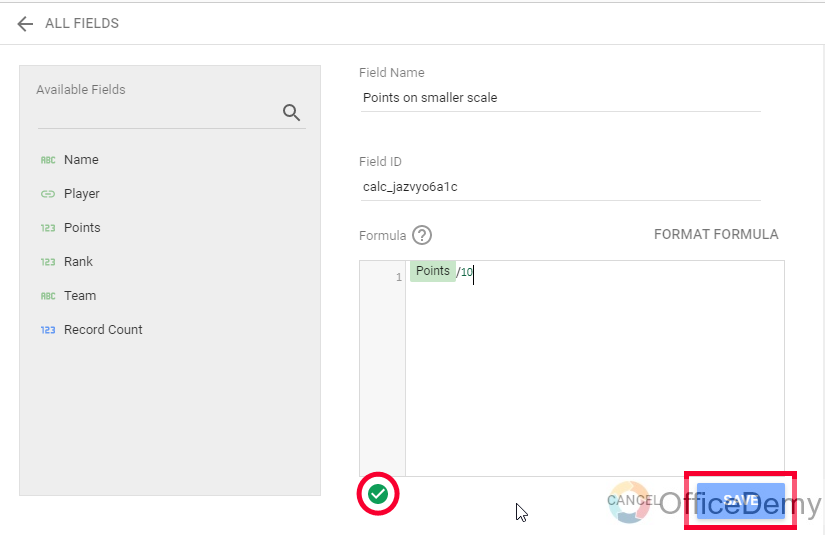
You will see a small green tick mark circled on the bottom left, it indicated that the function is valid, click on the save button and you are done.
This is how you can use UPPER and LOWER functions; these are one of the best data studio functions for calculated fields.
I hope you find these functions helpful and useful, and now you have got a better understanding of calculated fields, and functions in Google Data Studio.
Important Notes
- You can create report-level, chart-level, and data source-level calculated fields using custom functions.
- The data source-level calculated fields will only work for the custom data sources, and not with the sample data sources such as Google Analytics, Google AdWords, and so on.
- There are lot more functions you can explore on the Google Official documentation, this article is intended to show you the main types and the best of their types of calculated field functions.
Frequently Asked Questions
What is a calculated field in Google Data Studio?
A calculated field, custom field, or field, is a customized combination of already available dimensions. We create them to ease down our data only for reporting purpose, calculated fields and filter that we apply and create on our data studio report does not affect in any way to our original data, this is also a reason to create them so that without tweaking the data we can get what we need to visualize the data in the desired way.
What is a calculated field function in Google Data Studio?
A function is a normal function that we have in Google Data Studio by default just like Google Sheets functions. When you use a function inside a custom field to create a calculated field then it becomes a calculated field function. An example is when you perform 3 + 3 in Google Sheets, then it’s a calculated field only because there is no function involved. But, when you do =sum(a1+b1) in Google Sheets, now it is a calculated field function because we are creating a new value with the help of a normal function.
What is Regex in Google Data Studio?
A regex is simply known as a regular expression, which helps us create new functions and formulas using queries, this is a big topic, and we have already covered it you can see the complete tutorial below
How to Use Regular Expressions (RegEX) in Google Data Studio
What are case statements in Google Data Studio?
Case statements are very popular in Google Data Studio as they let us work with if-else, conditional statements, and use cases to perform for specific values or conditions. This is a big topic; I have already covered a complete tutorial on case statements you can find it below
What is a field in Google Data Studio?
A field is simply a column, a data column that has a column name, and has so many rows that contain data, more specifically, it’s anything that can be shown on a chart. We have already covered a complete tutorial on fields in Google Data Studio, you can see the complete tutorial below
Conclusion
This is all about the best data studio functions for calculated fields. I covered the three most commonly used and highly useful data studio calculated field functions. They are independent functions, but they are used with calculated fields in most cases. I hope you like the above tutorial and that you have learned more about calculated fields, calculated field functions, and functions in Google Data Studio. Have a nice day! Keep learning with Office Demy.