
To perform Cell Padding in Google Sheets
- Click the cell’s header.
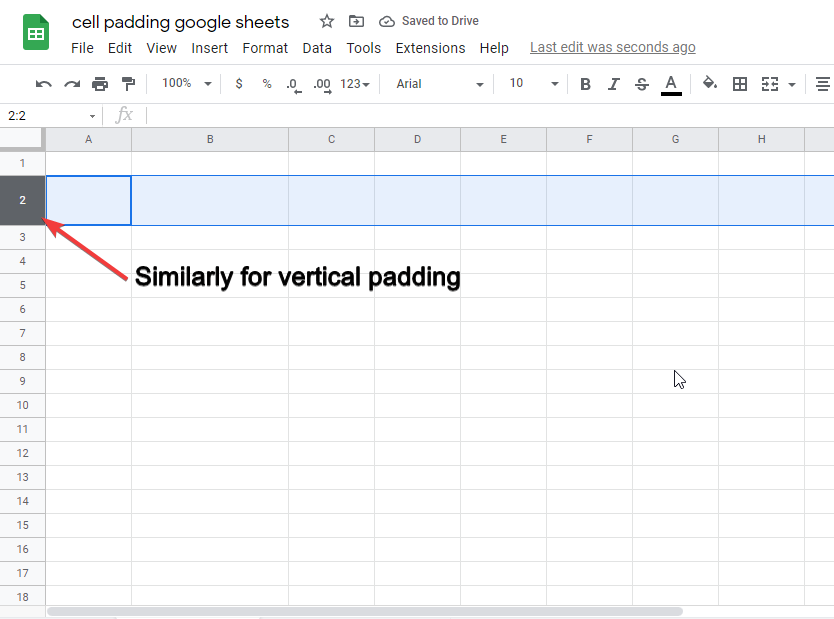
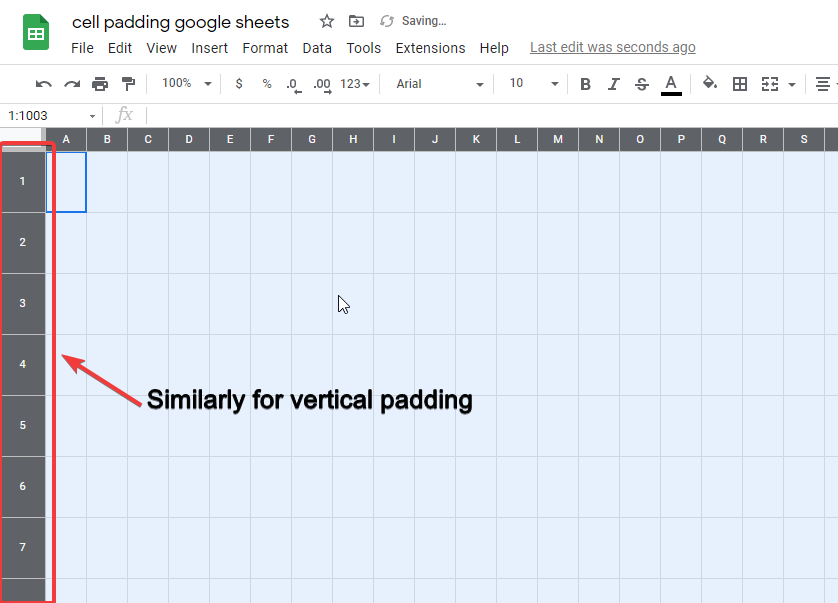
- Drag the header to the right (for x-axis padding) or down (for y-axis padding).
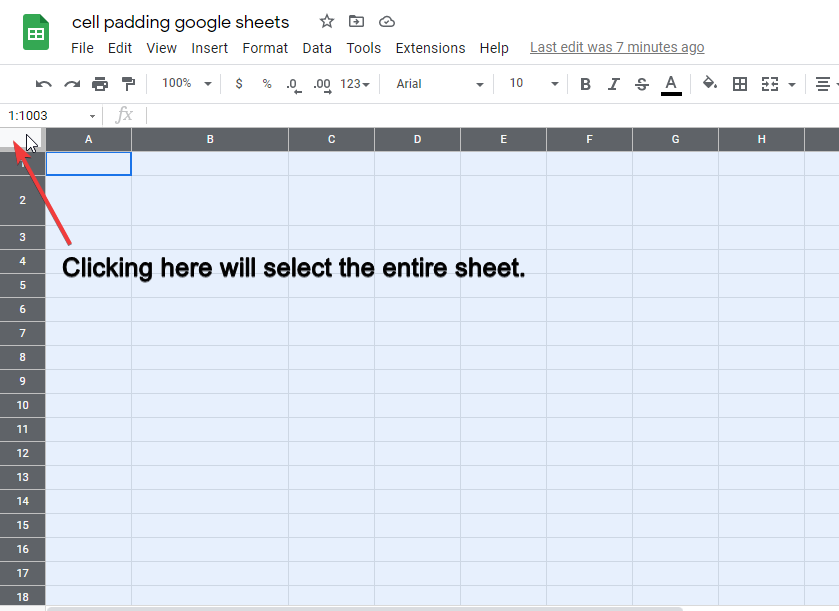
- To modify padding for all cells, click the intersection of column A and row 1.
In this article, we will learn google sheets cell padding, it is an easy topic but a very useful one. Working on google sheets we certainly need our cells to pad according to our content. We can use two kinds of padding in google sheets, one is horizontal padding, and the other is vertical padding. Let’s start with some basics and some theory about cell padding google sheets.
What is a Cell in Google Sheets?
A cell is a box, it can be of any height and width and will still be called one cell. Every cell has a unique cell address. All the content we see in google sheets is written in cell(s). So, cells are the container to write data onto the google sheets.
What is Cell Padding in Google Sheets?
Let us now understand padding. Padding is spacing inside a four-ended box. Our cell is a box with four sides, so we can have custom padding inside our cell. Padding helps us to increase or decrease the area of a specific cell. It depends on the data to be added inside the cell, if the data is very small (e,g serial numbers) then the cell padding should be very small, and if the data is large (e,g Sentences) then the call padding should be high. The default behavior of cell padding is not proportional. This means that you can have high padding horizontally and very low padding vertically. So, Let’s move forward.
Why do we need to learn – Google Sheets Cell Padding?
Cell padding is a very useful property of a cell that is used for increasing or decreasing the inside area of the cell. For better clarity of our content, we want to keep the cell size according to our content. For example, a small piece of content will never look good inside a cell that has very high padding horizontally or vertically, or both. That’s what we need to learn cell padding process to customize our cell-containing area according to our needs. We can increase decrease our cell padding horizontally and vertically or from only one dimension. So, let’s go to a step-by-step procedure to learn how to utilize call padding in google sheets.
- To keep custom-sized cells well organized.
- To increase document clarity.
- To make our content more readable and user-friendly.
Download/Copy Practice Workbook
Video Tutorial: How to Do Cell Padding in Google Sheets
How to Do Google Sheets Cell Padding
If you have an idea of the content in your mind and you want to adjust your cell padding before the content then do it in the beginning.
Step 1
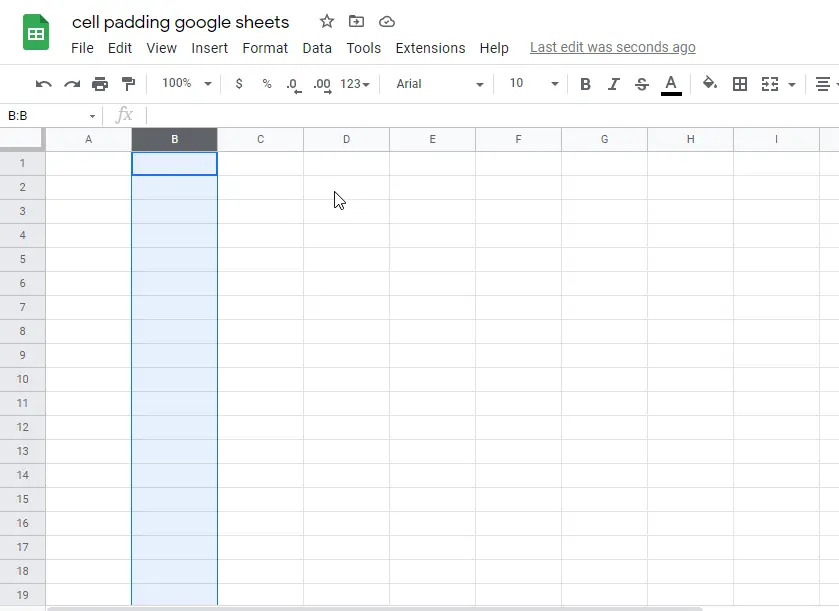
Open google sheets and click on the header of any cell you want to change the padding of.
Here cell headers mean (A, B, C…) columns on x-axis, and (1,2,3, 4,) columns on y-axis
Step 2
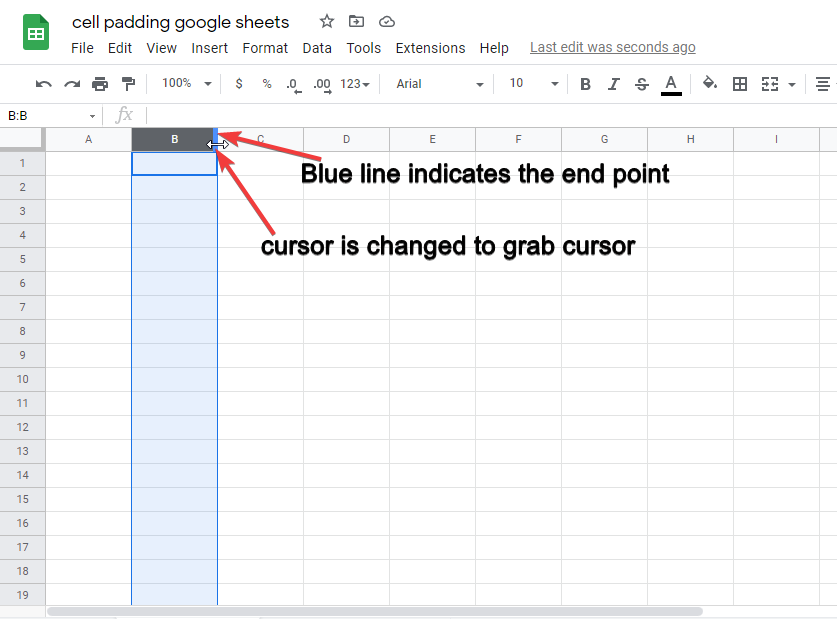
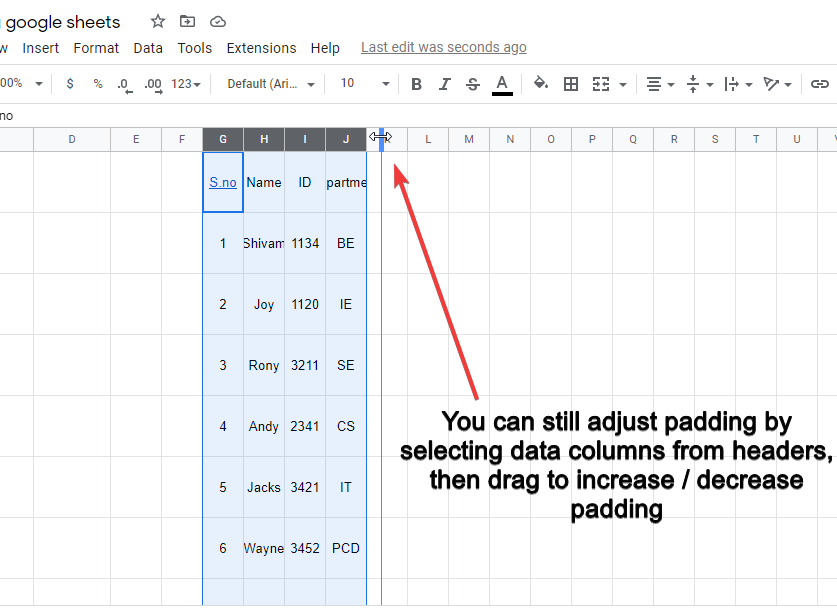
After you clicked on any cell header it would become black. You will see a thick blue line when you place your cursor on the endpoints of that specific header of the cell. The cursor will change to grab cursor.
Step 3
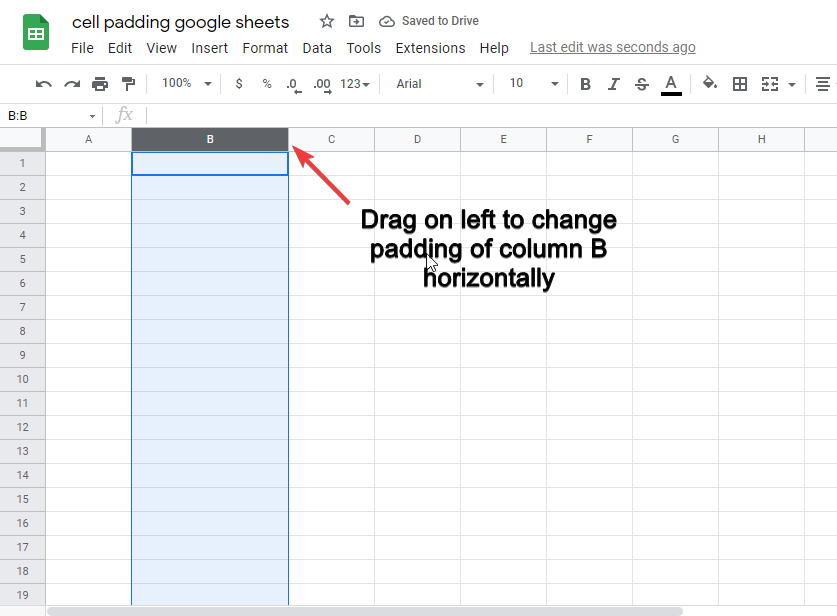
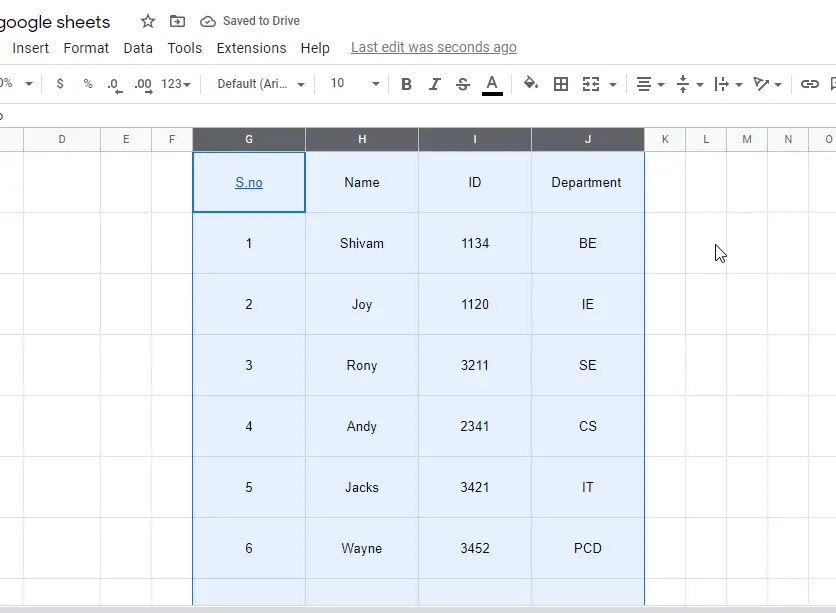
Now drag it down (if you selected a cell on the y-axis), or drag it to right (if you selected a cell on the x-axis. You can see the cell padding is changed.
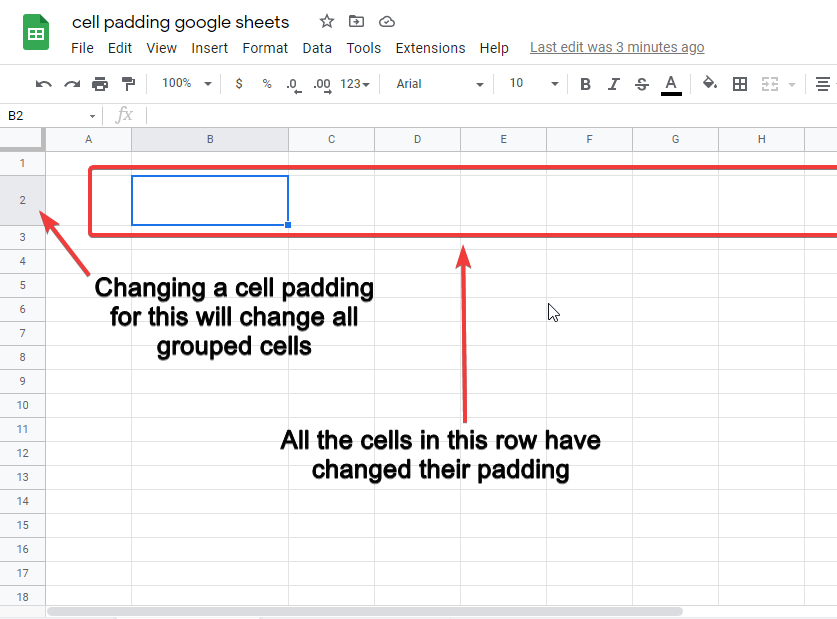
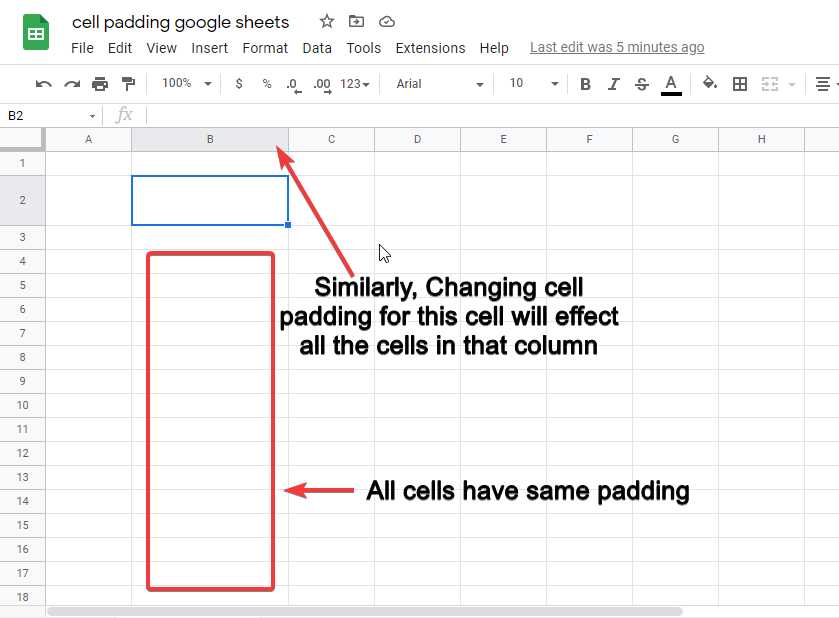
Remember that, all the cells will overwrite their padding on the same axis horizontal/vertical.
Step 4
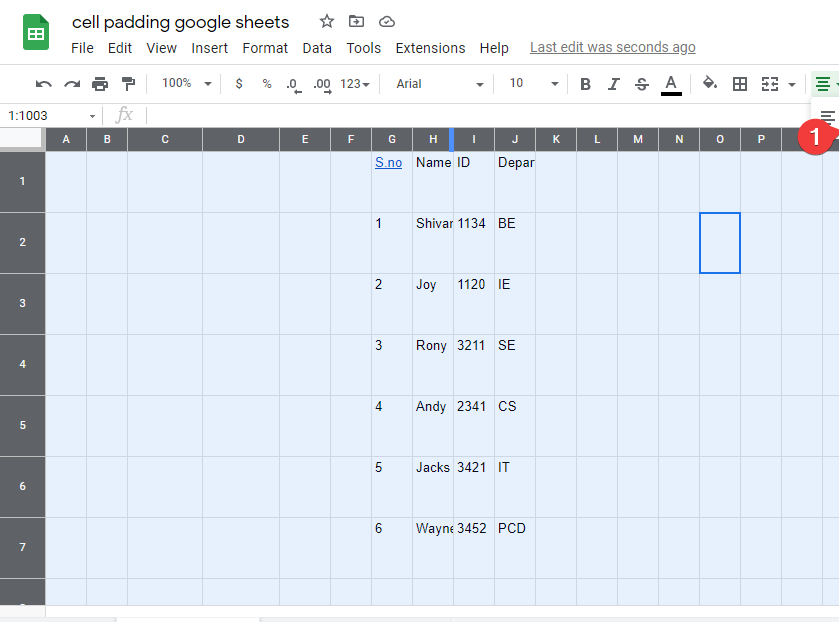
To change the padding for all the cells on both axis, click on the origin cell left to A and above 1.
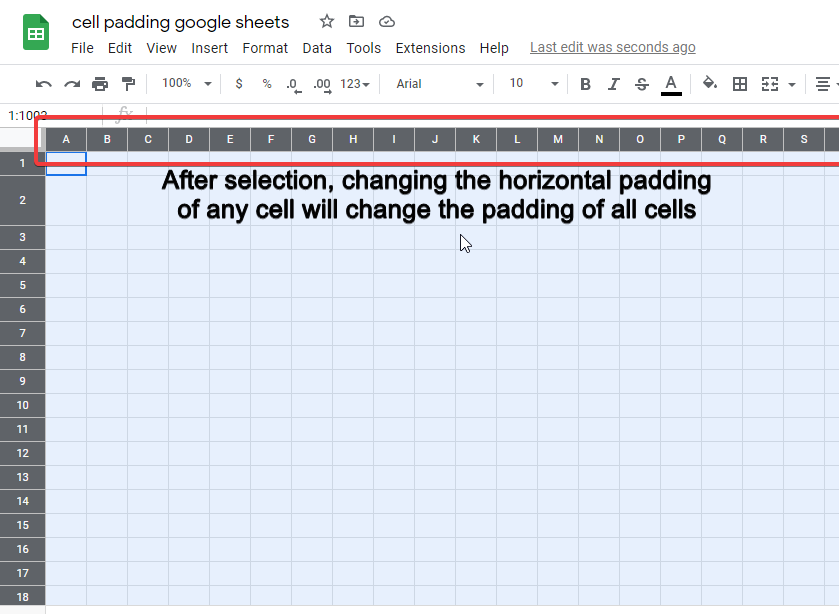
It will select the entire worksheet. and now you can change the padding of cells by dragging, and it will change the padding for all grouped cells.
Tips
Formatting the text alignment after cell padding changes is very important, don’t forget to center align your content horizontally and vertically, you can also use text wrapping for more text-align options.
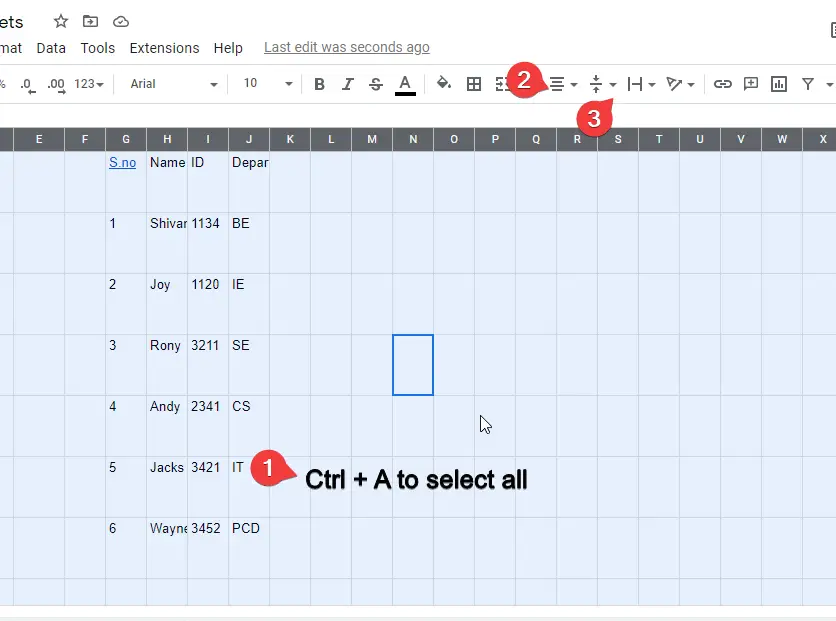
Step 5
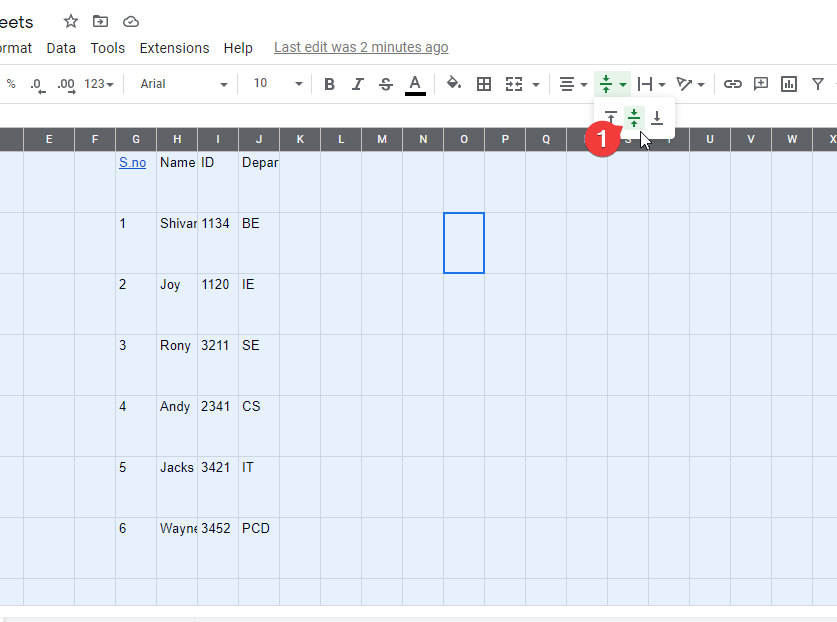
Select all and go to the main menu and click on vertically align, and then horizontal align to align your content in the center.
To recap, we learned cell padding google sheets, it is a very handy technique, and we don’t need any formula or method to do it. But to remember here are the representation rules. Never keep your small piece of data inside an extremely large cell. OR never penetrate your large data into a small cell. This is how cell padding google sheets helps us to represent our data more concisely and cleanly.
Notes about Google Sheets Cell Padding
- Always remember that changing the cell padding will affect all the cells in that specific group.
- Never use higher cell padding for small data and lower cell padding for large data.
- Always try to adjust cell padding for the entire sheet, as we discussed in step 4
Conclusion
In this article, we learned cell padding google sheets. No doubt it is a very easy topic for experts. But for newbies who are very new to google sheets, this article is designed. The above explanation from the very scratch about cells, padding, cell padding will make you never forget these basics. I strongly believe that after going through this article, you have learned what is a cell in google sheets? What is cell padding in google sheets? How can we use horizontal and vertical cell padding? How to apply cell padding on an entire worksheet? and much more. If you like this article and have learned something new out of it then support us by subscribing OfficeDemy blog, you can share this article with your friends as well and let them know about the fundamentals of google sheets to help them make a strong base.


