
To Add a Border to Text in Google Slides
- Insert Word Art.
- Type your text.
- Select the text and choose a fill color.
- Select the text again to enable the border option.
- Pick a border style, adjust thickness, and choose a color.
OR
- Select the text.
- Go to the “Format” menu.
- Choose “Line spacing“.
- Select “Add border“.
- Customize the border style, color, and width to your preference.
In this article we will cover the topic of step by step procedure of how to add a border to text in google slides.
In the context of visual art (text in google slides), framing—the use of a border around a picture or text—is used both to identify and emphasize the object. The frame draws attention to the object by curtailing visual noise in the surrounding space, but it also focuses attention on individual elements of the frame central to understanding the work. Bordering thus is used both to isolate an object from its surrounding environment and to identify the object as having special or sacred meaning. Bordering can take on a central role in early sculpture, stonework, and painting.
To emphasize your Google slides and add border to text in google slide, please follow this article step by step,
How to Add a Border Around the Text in Google Slides
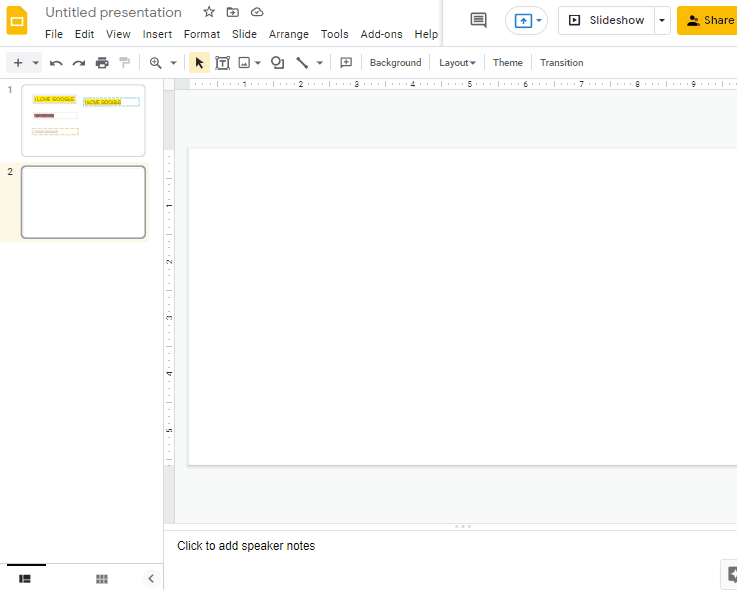
Step 1: Create a new google slides untitled presentation file and open it.
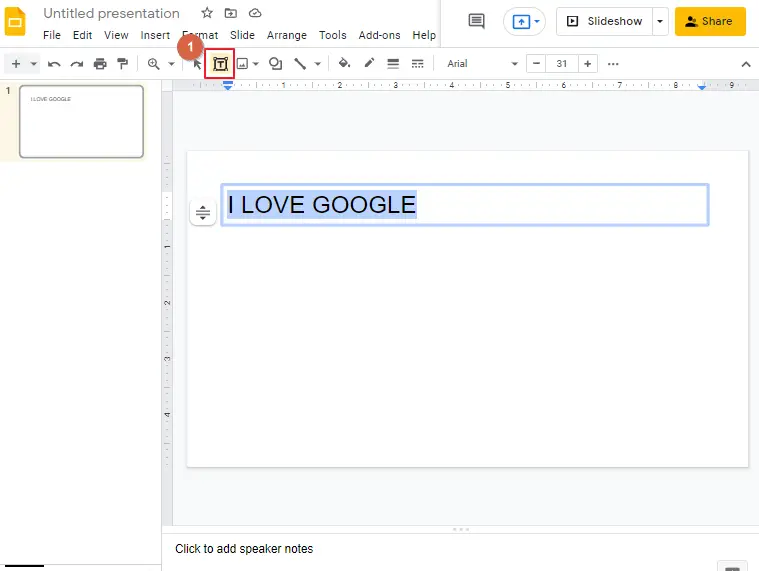
Step 2: Click on INSERT. Click on WORD ART.
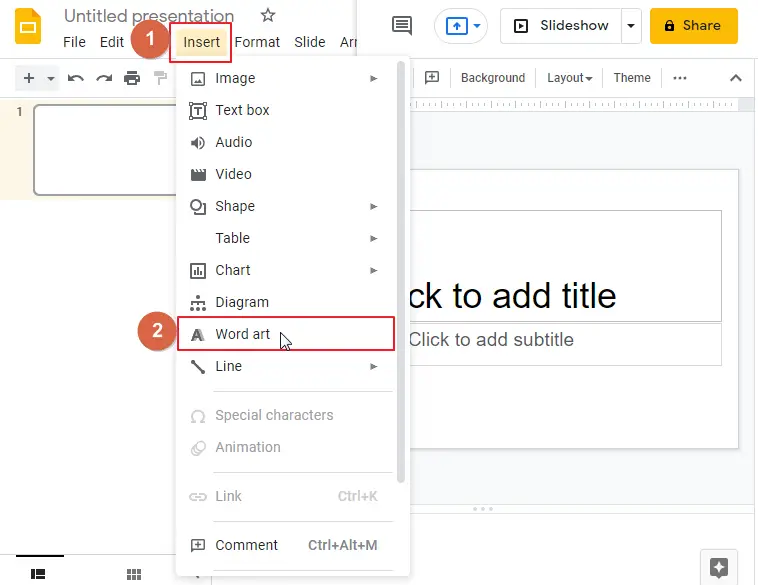
Step 3: A small box appears at the top on your page as soon as you click on WORD ART. Type your desired text inside the box.
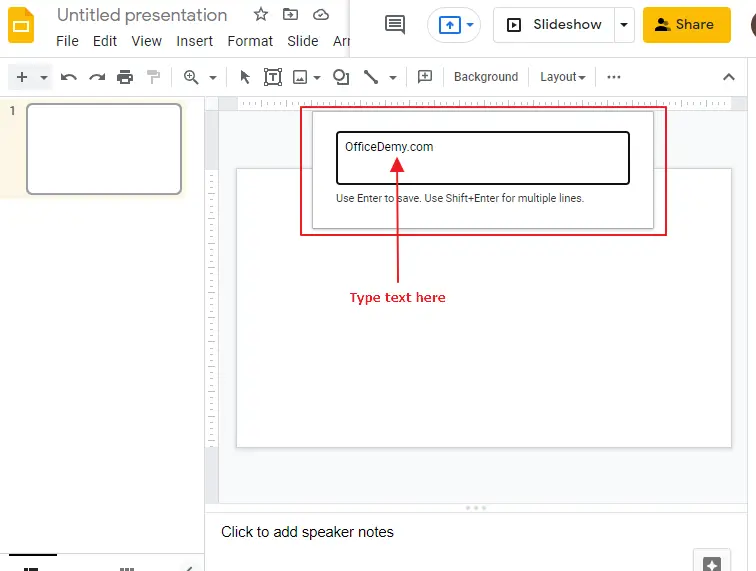
and press ENTER. So, the text appears inside the slide.

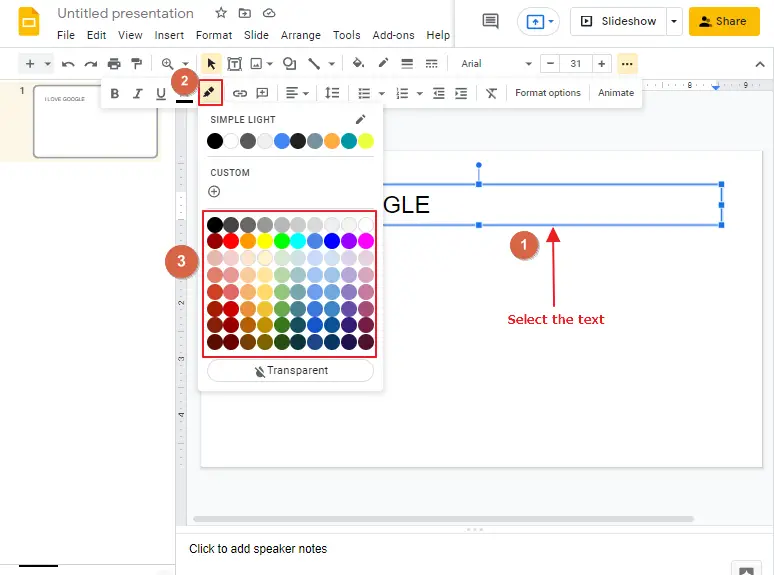
Step 4: select the text inside the slide to enable the fill color icon in the control panel. If the text is not selected, the fill color icon will remain disable by default. Select a color according to wish.
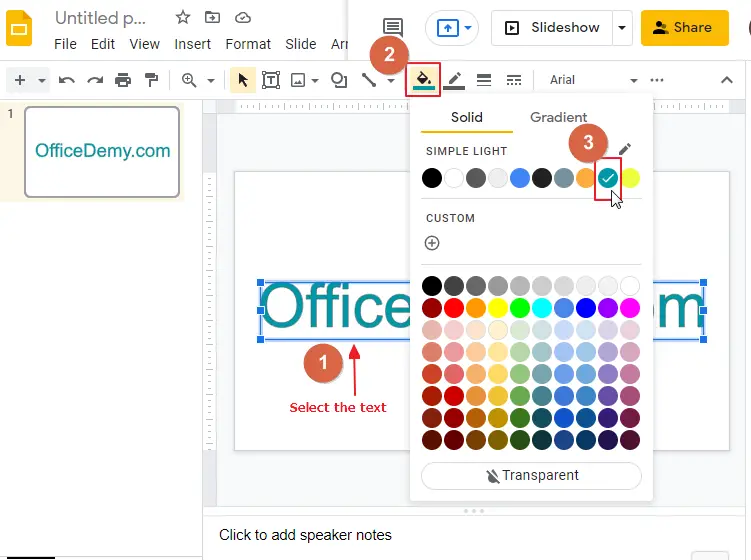
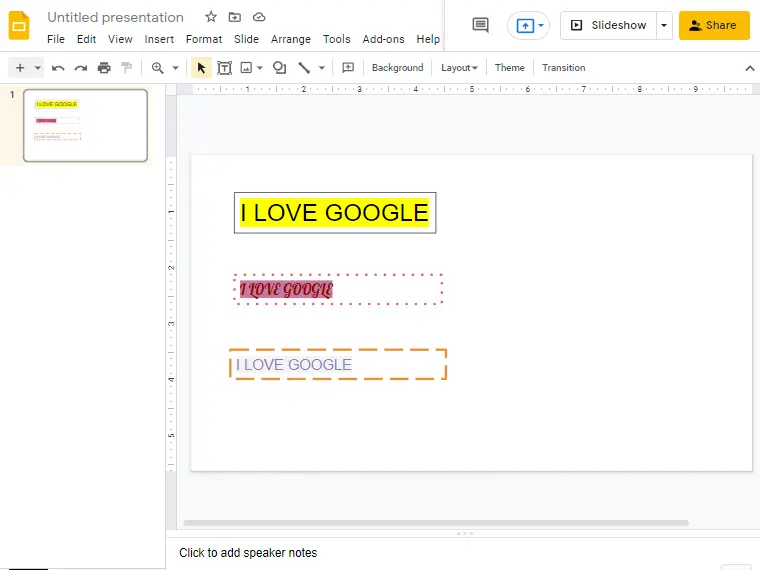
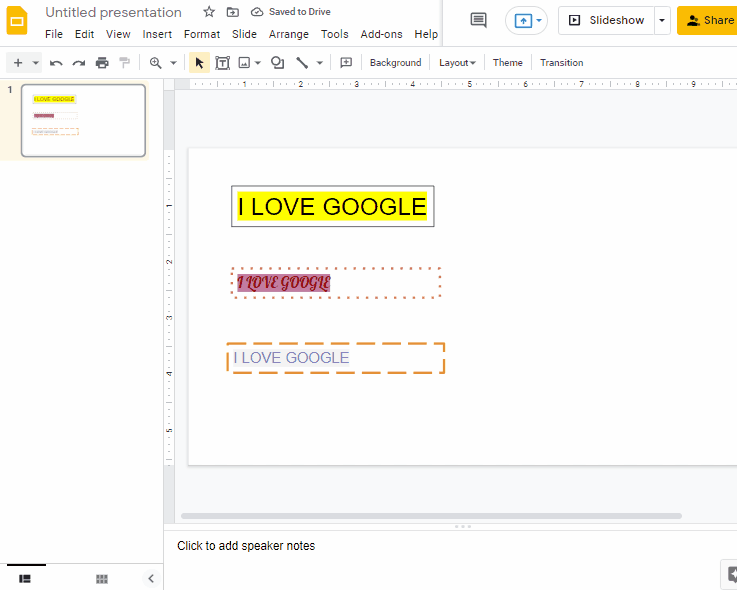
Here I have used light blur color. so have a look at the picture below,
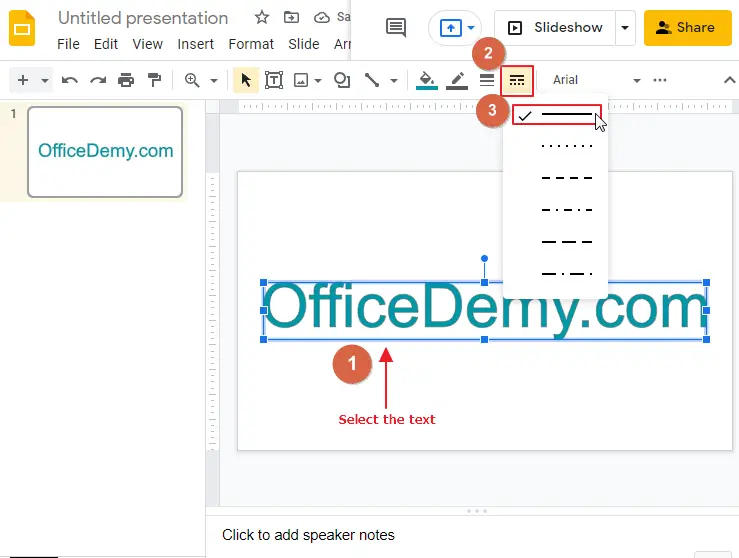
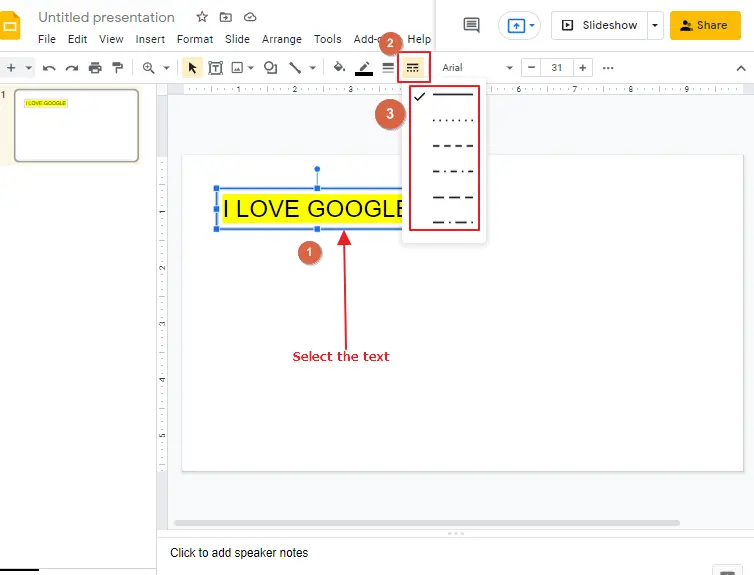
Step 5: Now to add border to the text, Select the text inside the slide. Selecting the text will enable the Border dash in the control panel which is disable by default. click on the border dash in the control panel. A drop-down menu will appear. Select a border style according to your preference.
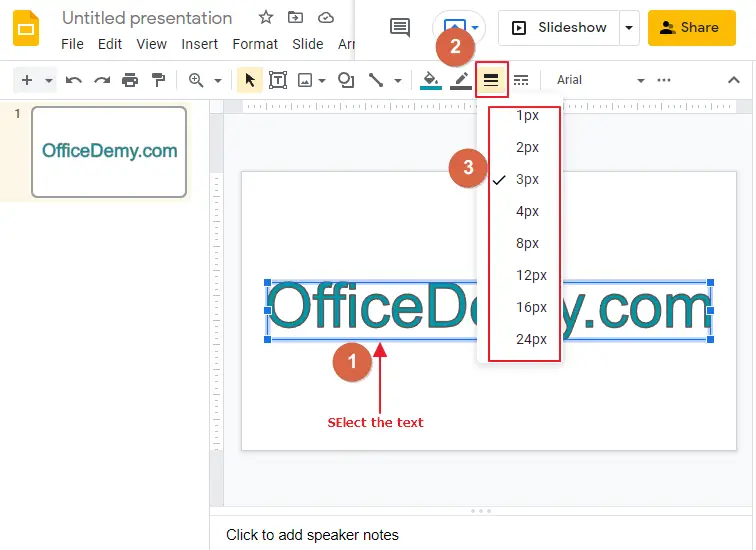
You can also change its thickness. To change the thickness, click on the Border Weight. A drop-down menu will appear. Choose a thickness. Apply it to the text.
You can change the border color too. Select the text to enable border color icon which is disable by default. Click on border color icon. A list of colors will appear on your screen. Choose one.
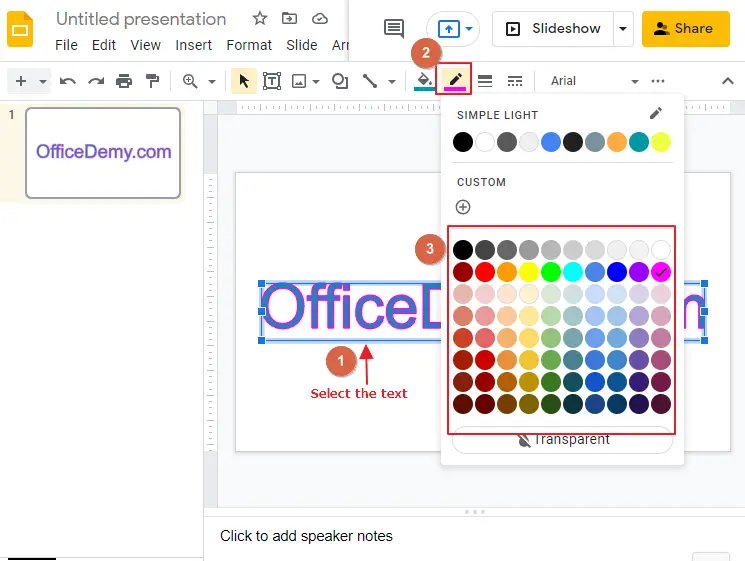
For example, I have selected pink. Here is the final look,
Animated Tutorial of How to Add a Border to Text in Google Slides
How to Make Highlighted Border to Text in Google Slides
if you want to highlight the text inside your google slide, please follow these steps,
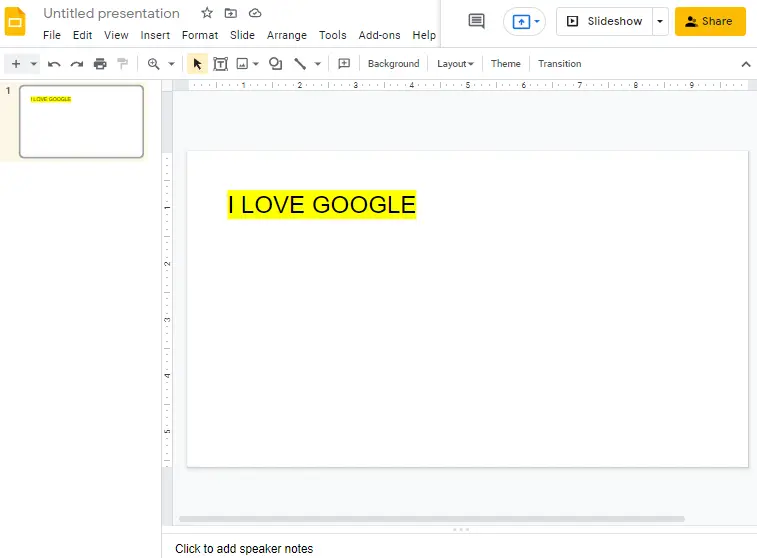
Step 1: Open an untitled presentation. Click on TEXT BOX. Write whatever you want inside the slide.
Step 2: To highlight the text, select the text first to enable the highlight color icon which is disable by default. A list of color will appear on your screen. Select a color to highlight. Apply it.
Example below,
How to Add a Rectangular Border Around Text in Google Slides
To add rectangular border around text, follow these steps,
Step 1: Once your text is ready inside your google slide, Select the entire text. This will enable the Border dash icon which is disable by default. Click on Border dash. A list of different border style will appear on your screen. Select a border according to your preference. Apply it.
Another example image with different border style,
Animated Tutorial of How to Add a Highlighted Border to Text in Google Slides
Frequently Asked Questions
Are the Methods for Adding Borders to Images in Google Slides the Same as Adding Borders to Text?
To add a frame to your pictures in Google Slides, the methods differ from adding borders to text. While it is easy to add borders around text using the toolbar options, customizing image frames requires utilizing the image’s format options. By selecting an image and navigating to the Format options tab, you can apply various styles and effects to enhance your pictures.
What is the best method to add a border to text in Google Slides?
To add a border in Google Slides, the best method is to select the desired text, go to the Format menu, choose Line spacing, and then select Add border. This will allow you to customize the border style, color, and width. Overall, adding border in google slides can help enhance the visual appeal and highlight important text elements in presentations.
Conclusion
And that’s it! Now you know how to add borders to text in your Google Slides presentation. Hope you had enjoyed the article. Don’t forget to check our other sections here in OfficeDemy.com


