
To Add Border in Microsoft Word
- Place your cursor.
- Go to the “Home” tab.
- Click on the drop-down menu of the “Border” button in the “Paragraph” section.
- Select the desired border style from the options available.
OR
- Click on the drop-down menu of the “Borders” button in the “Paragraph” section.
- Select “Borders and Shading“.
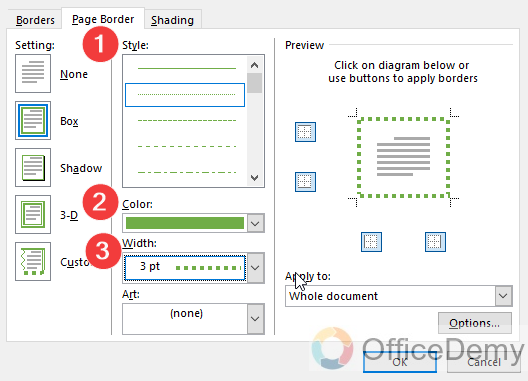
- In the “Borders and Shading” dialog box, choose the border type.
- Customize the border by selecting a style, color, and width.
- Ensure that the border applies to the paragraph and not just the text.
- Click “OK” to apply the customized border.
OR
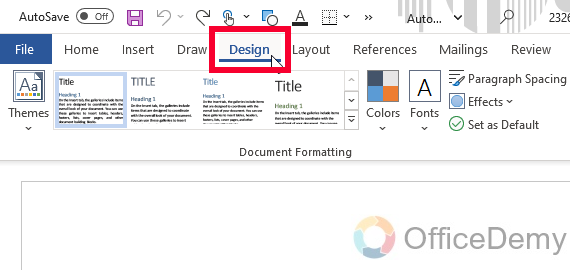
- Go to the “Design” tab in the Ribbon.
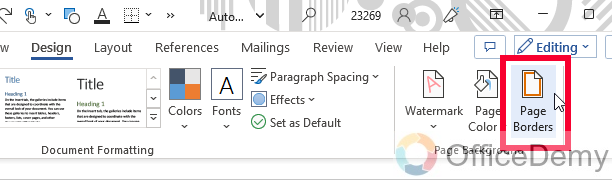
- Click on the “Page Borders” button in the “Page Background” section.
- In the “Page Borders” dialog box, select the border type, color, and width.
- You can also choose an artistic border from the “Art” dropdown.
- Apply the border to the entire page.
- Click “OK” to add the page border.
Today we are going to learn about how to add border in Microsoft Word. You have heard about borders in Excel or Google Sheets a lot, but have you heard about borders in Google Docs, or Microsoft word? Yes, they are very popular and have many purposes, so this article is going to show you what those purposes are and what varieties of borders, so we have access to? while using Microsoft Word.
As we all know, Microsoft Word is one of the most popular word processing software used worldwide for creating documents, reports, presentations, and now even for designing work. While most of us are familiar with basic formatting options like font, size, and style, many of us may not know how to add borders to our documents. Borders can enhance the visual appeal of a document and make it look more professional. Whether you want to add a border to a title page, a table, or an image, Microsoft Word offers a variety of options to help you achieve the desired look. In this article, we will guide you through the steps to add borders in Microsoft Word, so you can make your documents stand out with ease.
Importance of using Border in Microsoft Word
Have you ever made a good page layout on Microsoft Word, and then you printed it for pasting somewhere, but you missed something, the page did not look catchy and properly formatted, that’s is your border? A border gives the viewer a very precise and well-defined view of what is shown on the page.
From the design, customization, and presentation point of view, we have several reasons to learn how to add border in Microsoft Word. In today’s world, effective communication is essential, and Microsoft Word has become a go-to tool for achieving this. Borders play a significant role in making a document look more organized, professional, and visually appealing. Adding borders can draw attention to specific sections, separate different parts of a document, and make the content stand out. Therefore, learning how to add borders in Microsoft Word is an essential skill for creating more visually appealing and professional-looking documents.
Borders are not only useful for everyday document formatting but can also be crucial in branding and marketing activities. They can enhance a company’s brand identity by adding logos or brand colors to documents. Additionally, borders can be used to create certificates, invitations, and other design-focused documents.
So, these can be some good purposes to use borders, and therefore, we are learning how to add border in Microsoft Word.
How to Add Border in Microsoft Word?
We may have many ways to access the border feature in Word, but I will show you some common methods, and then will learn to apply border on our page, sections, or the entire document, there is another feature in page border that you will find out below. I will also show you different types of borders like a top, bottom, right, left, inner, all, etc., just like Google Sheets or Microsoft Excel. So, let’s get started.
Add Border in Microsoft Word – Using the Border Button in the Home tab
In this section, we will learn how to add border in Microsoft word using the border button in the home tab. This is the most simple and direct method to add border on any section of your document. This method only allows you to add borders on different sections, and not on the entire page. This border button gives you all types of borders. So, let’s see the steps practically.
Step 1
Open the Microsoft Word document in which you want to add borders
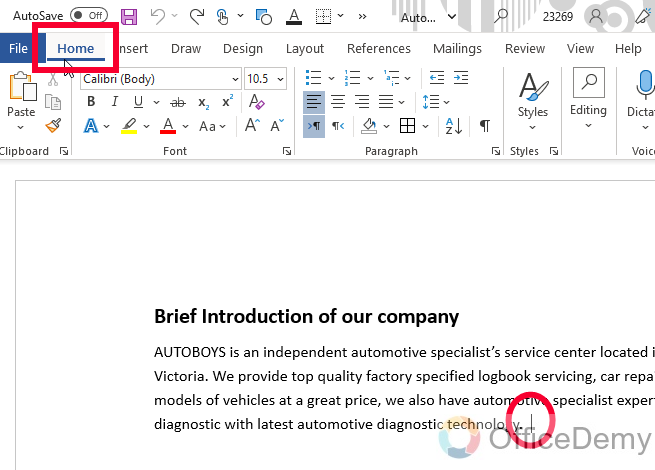
Step 2
Place your cursor on the section where you want to add a border and go to the home tab in the main Ribbon.
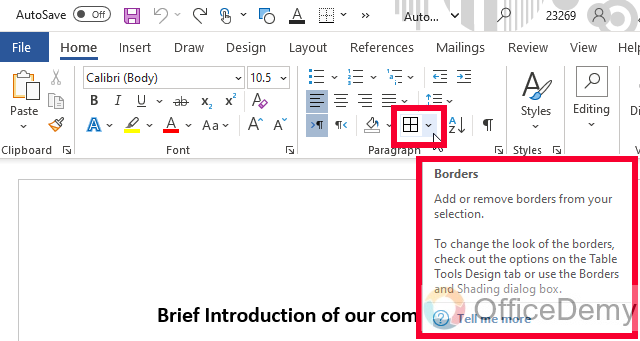
Step 3
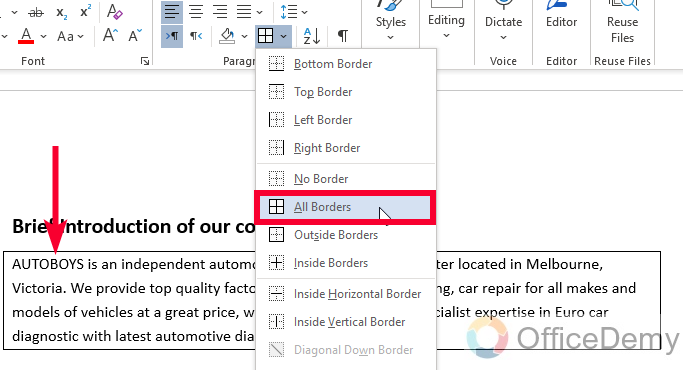
Click on the drop-down menu of the Border button located in the Paragraph section.
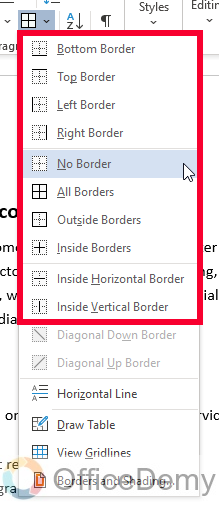
Step 4
Select the border style, from top border, bottom border, right border, left border, inner border, outer border, etc. as you want to add to your document.
Step 5
You will see the hover effect of the applied border on your document’s section as you select any border style.
Step 6
The border is added to your selected section.

Here is a big problem with this border, we could only add a static plain border with no color or styling freedom, but don’t worry in the next section, we are going to learn another method for border customization, and color.
Add Border in Microsoft Word – Using the Borders and Shading Feature
In this section we will learn how to add border in Microsoft Word using the borders and shading feature, this is a border feature that can be used to add or customize a border. We will use this method to customize the border that we learned to add in the previous section. So, let’s quickly move to the steps.
Step 1
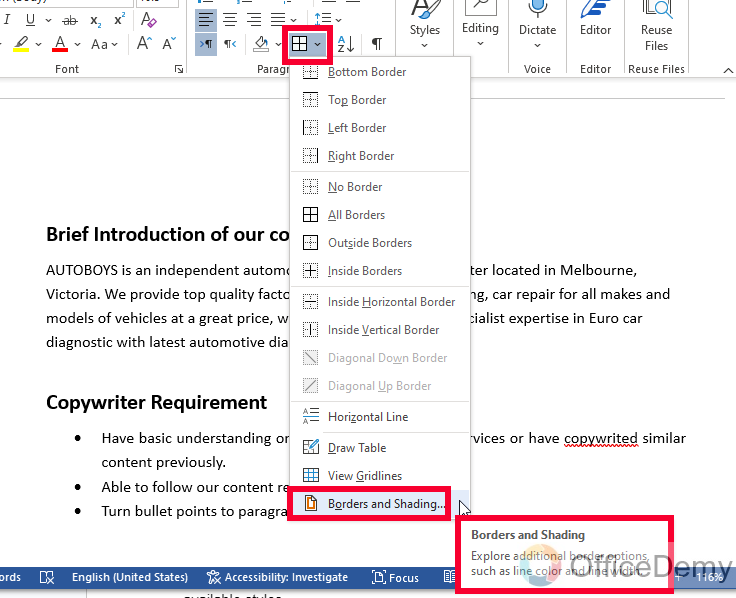
Click on the drop-down menu of the Borders button located in the Paragraph section and select “Borders and Shading” from the bottom of the list.
Step 2
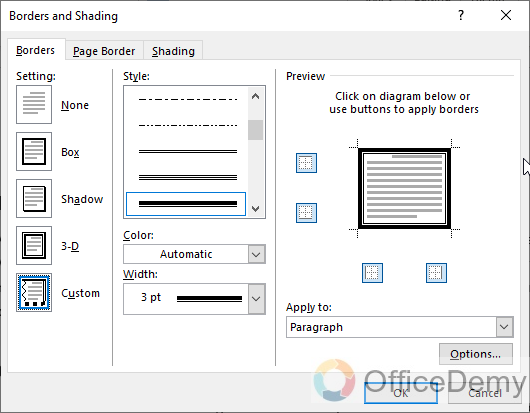
In the Borders and Shading dialog box, select the type of border that you want to apply to your document, since we applied it on a paragraph so we will follow the above two steps after selecting the same paragraph to make sure the border customization is added on the selected content.
Step 3
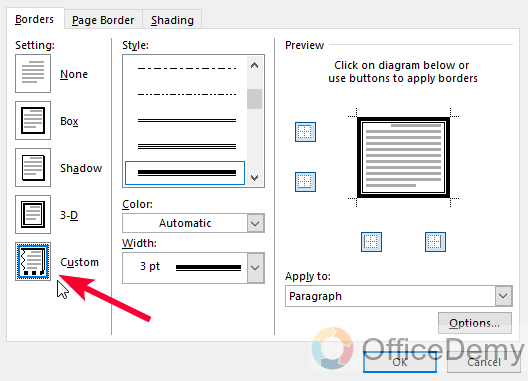
You can see the “custom” option is selected by default, don’t change it
Step 4
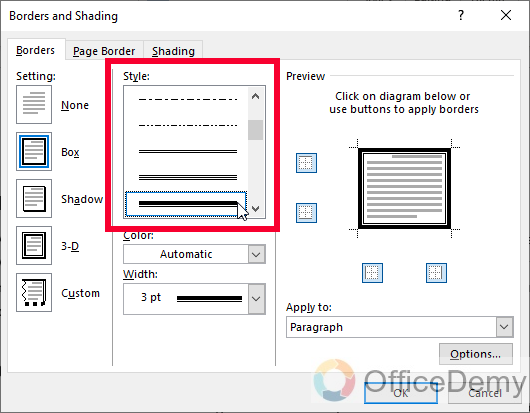
Now you can see the “Style” section, here you can select any style for your border so many available styles
Step 5
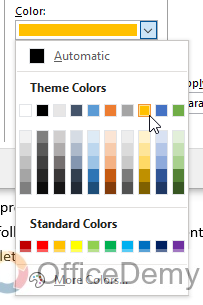
Below you can set the color of your border
Step 6
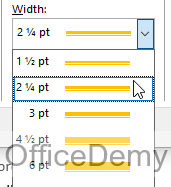
Lastly, you can adjust the width of the border, by default it’s ½ pt (points) which is a good border width to apply on normal text size, but you can increase or decrease it if you want to.
Step 7
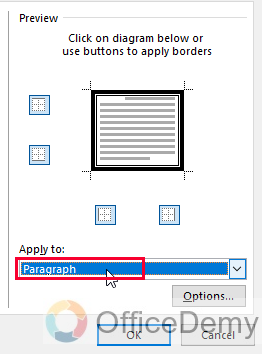
On the right side, make sure your border applies to the paragraph, and not to the text
Step 8
Click on the Ok button to save changes, and here is your custom border applied on the same paragraph with your defined customizations.
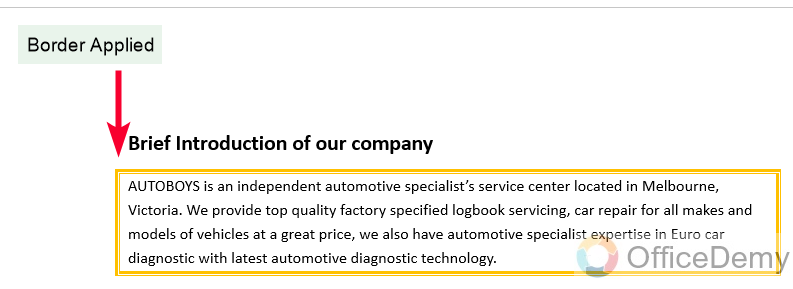
This is how to add border in Microsoft Word very easily using borders and shading.
Add Border in Microsoft Word – Using the Page Borders option
In this final section, we will learn how to add border in Microsoft Word using the page borders option, yes, the page border feature is similar but also comes as a separate feature used to add a border on an entire page. This method is useful when you want to wrap your entire page with a good border so that your document looks better with well-defined margins.
Step 1
Go to the “Design” tab in the main Ribbon
Step 2
Click on the “Page Borders” button located in the “Page Background section”
Step 3
In the Page Borders dialog box, select the type of border that you want to apply to your page, then the color, and then the width (as we did in the previous section)
Step 4
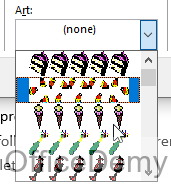
In last, you can see a dropdown “Art“, this is something very good for educational content, you can pick a framed border that has some repetitive images making a border shape. These are free to use and can be customized for width as well.
Step 5
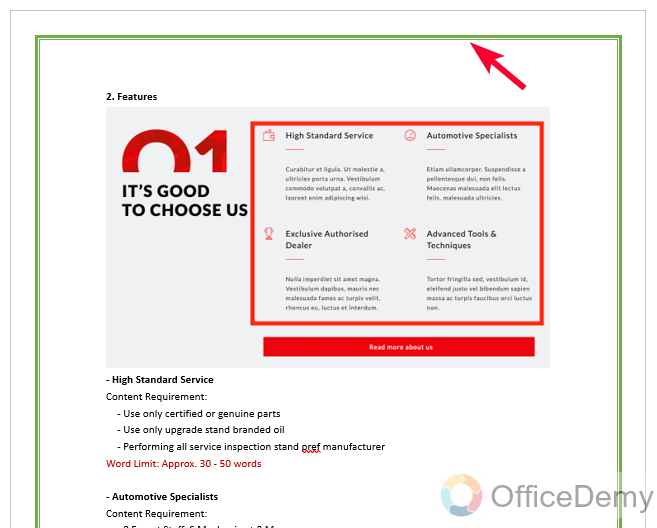
Here is our document after the page border is applied.
Step 6
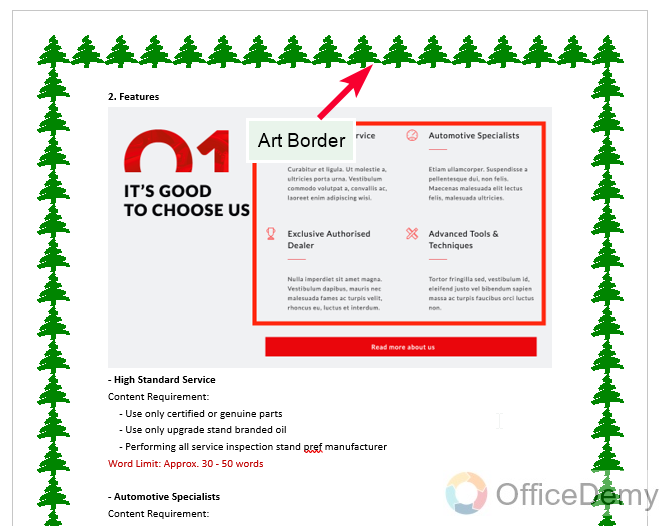
Here is our document after the art border was applied.
Pro Tip: The art border can also be used for a specific section.
I hope you liked this cool border effect, and that you find this tutorial helpful.
Conclusion
Wrapping up how to add border in Microsoft Word. I am glad you are here with me. I am happy and hopeful that from now you will never face any problems regarding borders in Microsoft Word. Thanks for reading, keep learning with Office Demy.


