
To Add Caption to Image in Google Docs
- Select the image.
- Click “Inline” in the options at the bottom left.
- Place your cursor below the image and write the caption.
- Adjust spacing, alignment, and style as needed.
OR
- Create a drawing canvas with “Insert” > “Drawing” > “New“.
- Upload the image within the canvas.
- Add a text box below the image.
- Type the image caption.
- Position the text box > Save the drawing.
OR
- Insert a 1×2 table via “Insert” > “Table“.
- In the first row, add the image.
- In the second row, write the caption.
- Modify table properties by making the border white and width 0 pt.
Hi. Today, we will learn how to add caption to image in Google Docs. When working with Google Docs, we need images to add to our textual content, when we make blog content on Google Docs, we need to have the images, or making a YouTube documentary script we need images. So, simply we can’t run away from images. We need them in almost all cases. Now, adding an image to Google Docs is not a difficult thing in itself. But we should also know about the image attributes and properties that are needed to deliver the message of the picture or to store the meta-text about the image, or the alternative text. Today, we are going to learn many ways to add caption to our images in Google Docs. In simple words, captions are image subtitles. They describe the image within 2-5 words. Such as an image of a lion with the caption written: “Lion in a forest” is perfectly valid as a caption. So, let’s move ahead and see why we need to learn how to add caption to image in Google Docs.
Importance of adding Caption to Image in Google Docs
When we work with mathematics or physics projects on the docs, we need to add so many diagrams on it to explain the textual content. Physics subject is incomplete without the labeled diagram. We need to add images, and mostly to refer readers we use image captions to tell them the image reference, you must have seen figure 2.3 written below images in the book, they refer the reader and make sure that the reader reading section 2.3 can acknowledge that the figure for this section is also captioned with the section number which is 2.3.
This method is used in books mostly, there can be many more purposes to add caption to image, such as an image of a natural scene with a caption that is telling the name of the place, or an artwork with a caption telling the artist name or the time when this artwork was created. So reasons and purposes are more than we can count, but the method to add caption is the same. So, therefore, we need to learn how to add caption to image in Google Docs.
How to Add Caption to Image in Google Docs
Here, we will learn all the methods and workarounds to add caption to image in Google Docs. We will see step-by-step procedures for each method with easy explanations and screenshots. So, let’s start with the first method.
Add Caption to Image in Google Docs – Using Inline Tool
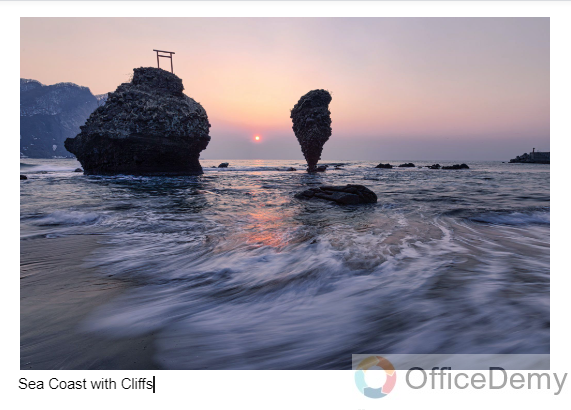
In this section, we will learn how to add caption to image in Google docs using the simplest method, with an image in Google Docs you have an inline option that allows you to write inline text below the image, this way we can write the text inline below the image and can make it look like caption to image.
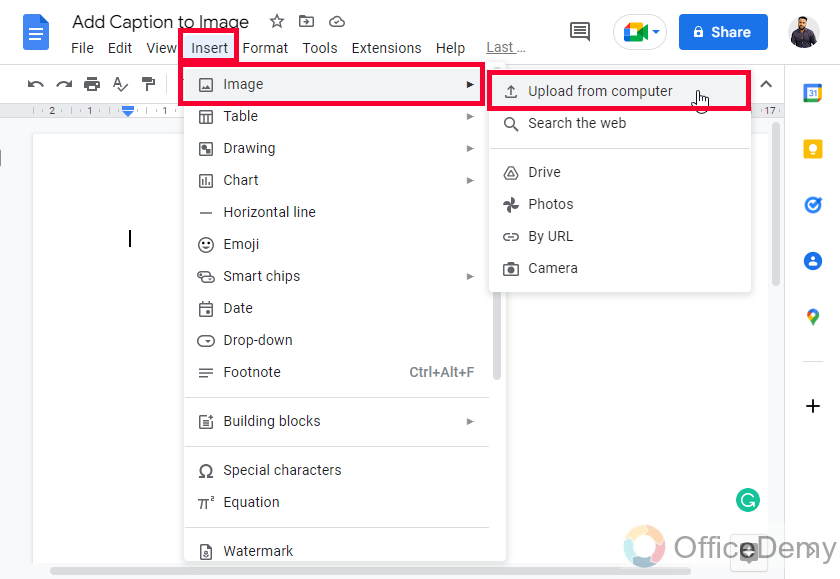
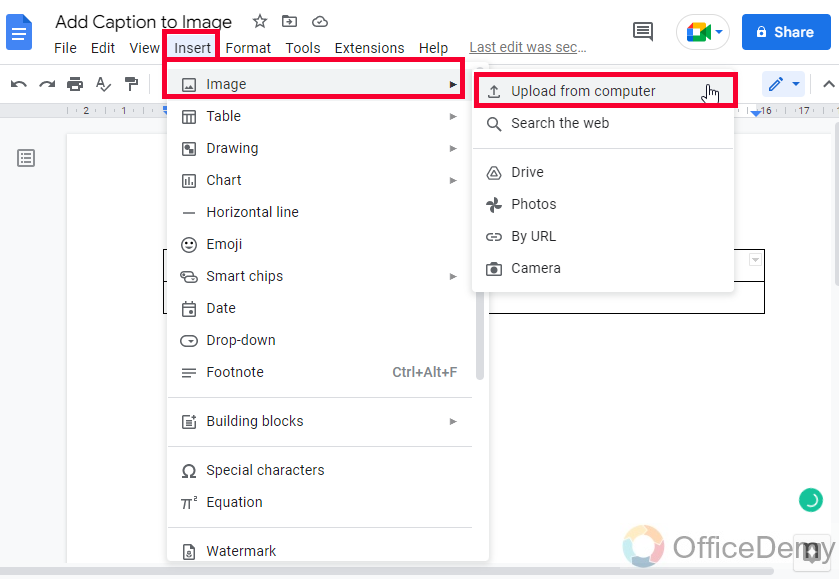
Step 1
First, go to insert, then click on the image > pick any source to upload an image
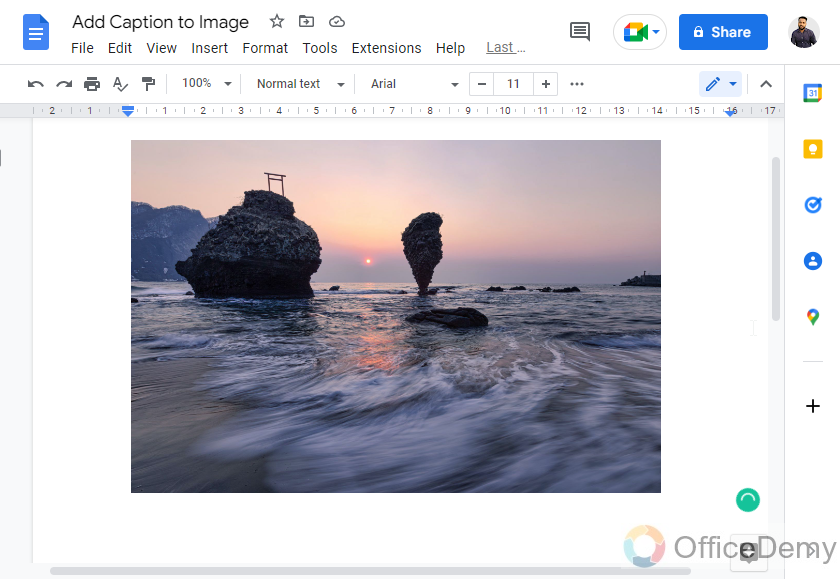
Step 2
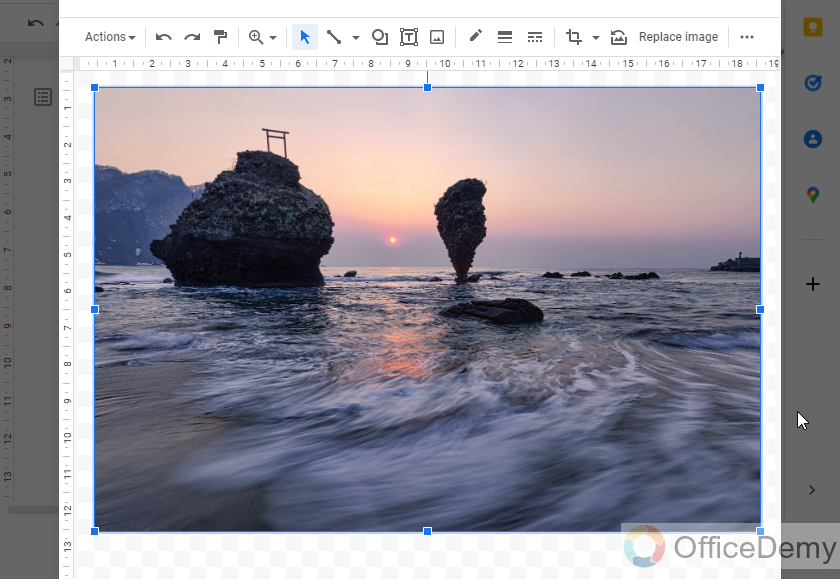
Image is added to Google Docs, now select the image
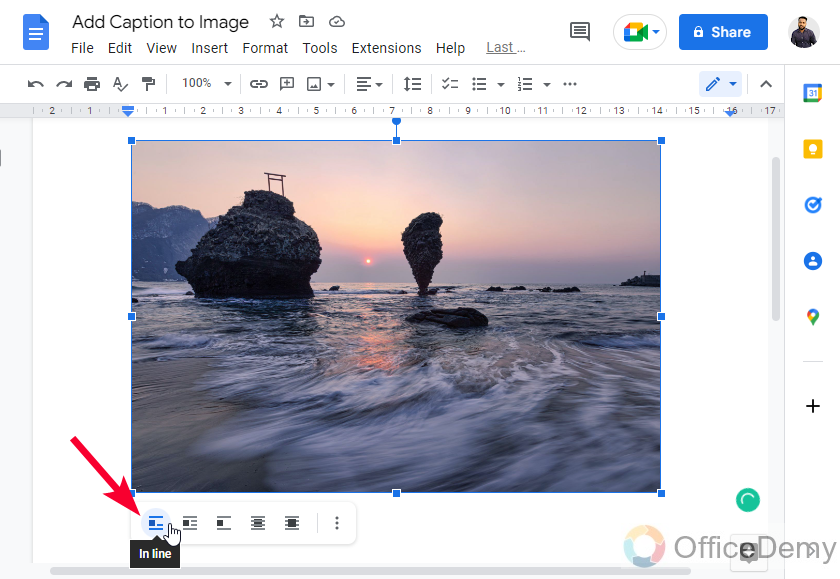
Step 3
On the left bottom, you will see some options appearing
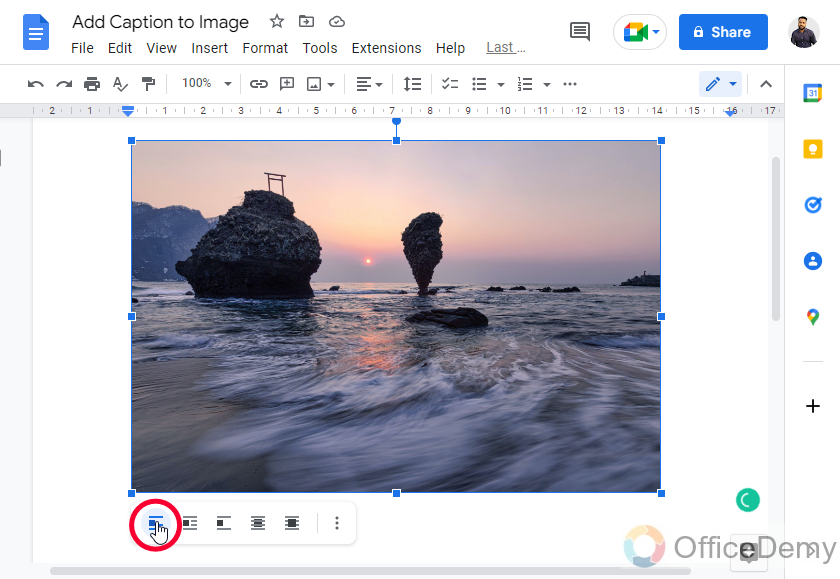
Step 4
Click on the first option Inline, you will get the feature name by hovering over the button.
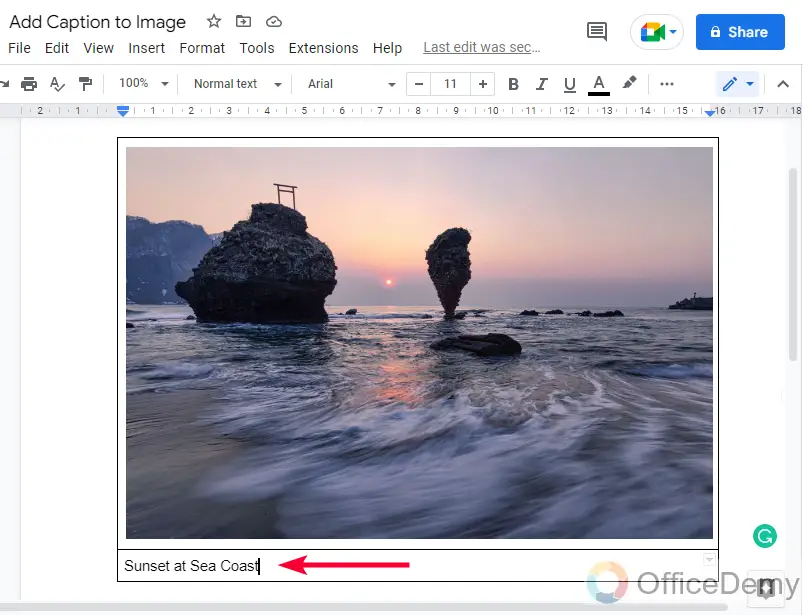
Step 5
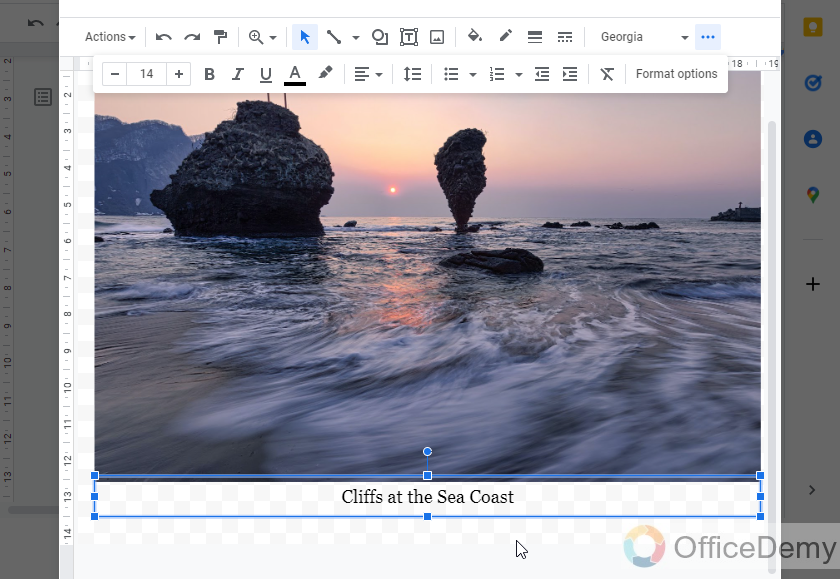
After clicking on inline, now place your cursor after the image and start writing your text (caption).
Step 6
Now adjust the line spacing to place the caption right after the image, keep it centered align, and style italic to make it look like a caption.
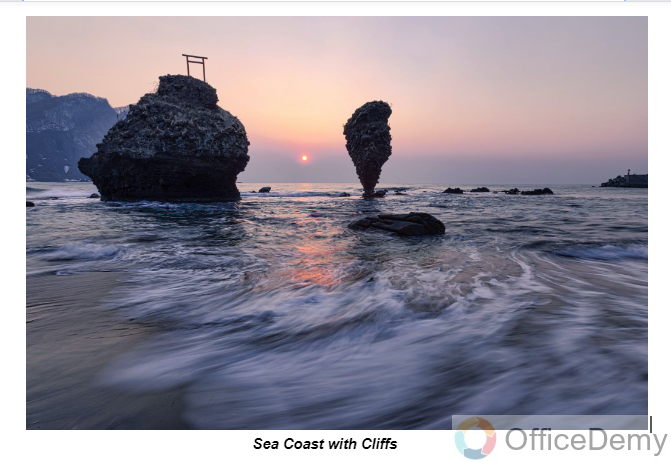
This is how you can add caption to image in Google Docs using this inline image method.
Add Caption to Image in Google Docs – Using Drawing Tool
In this section, we will learn how to add caption to image in Google Docs using the drawing tool. The drawing tool is built-in into Google Docs, and Google Sheets, we can make posters, infographics, and stylish elements using this tool. We can also use a simple trick to add caption to image within the drawing tool and make our image and caption a single grouped element, in the previous method the image and captions are different elements, and they will be demolished if any changes are made or the image position changed. So, let’s see how to use the Drawing tool to add caption to image in Google Docs.
Step 1
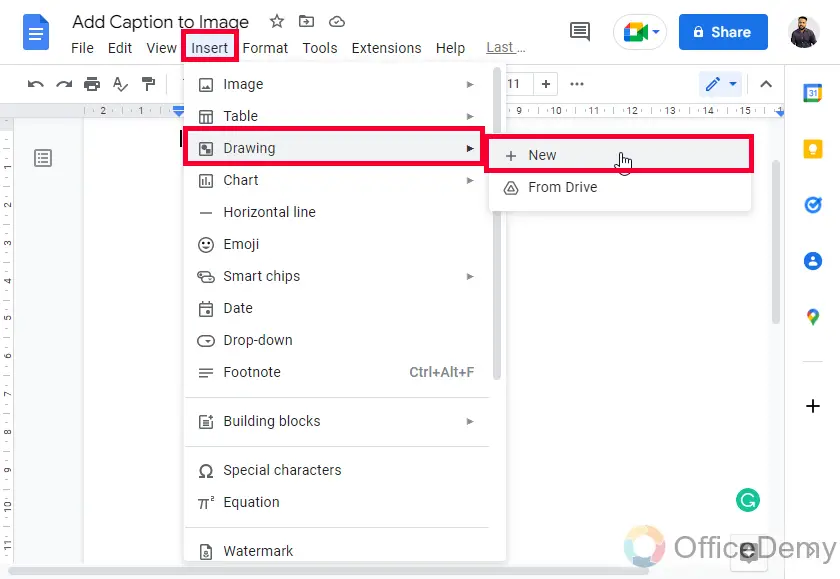
Go to Insert > drawing > New
Step 2
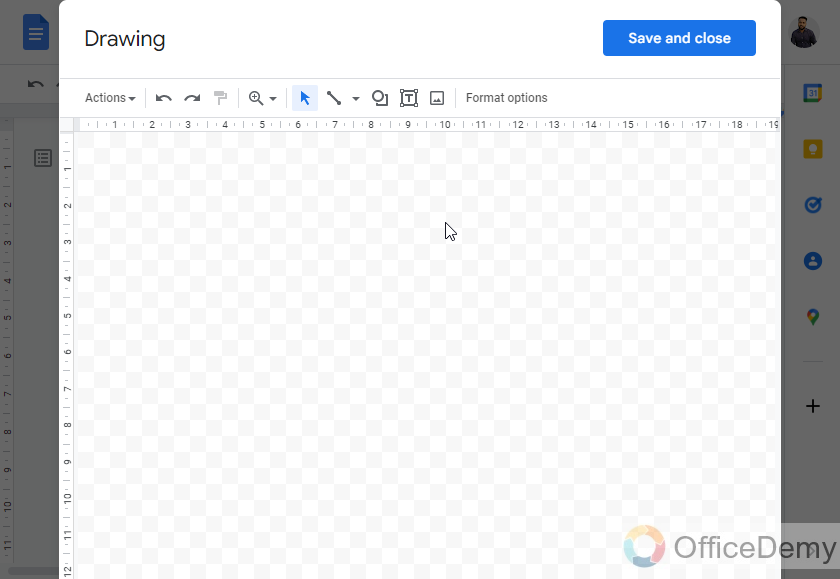
Here you have a blank canvas to start drawing
Step 3
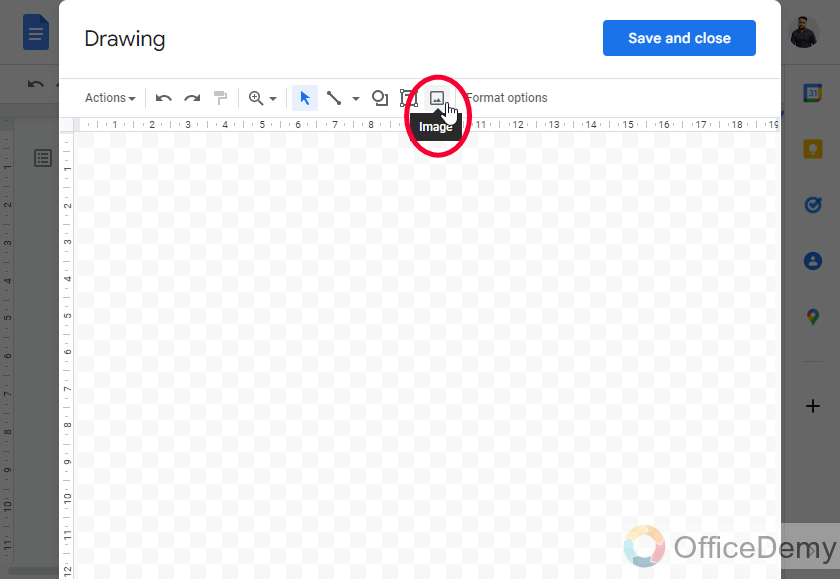
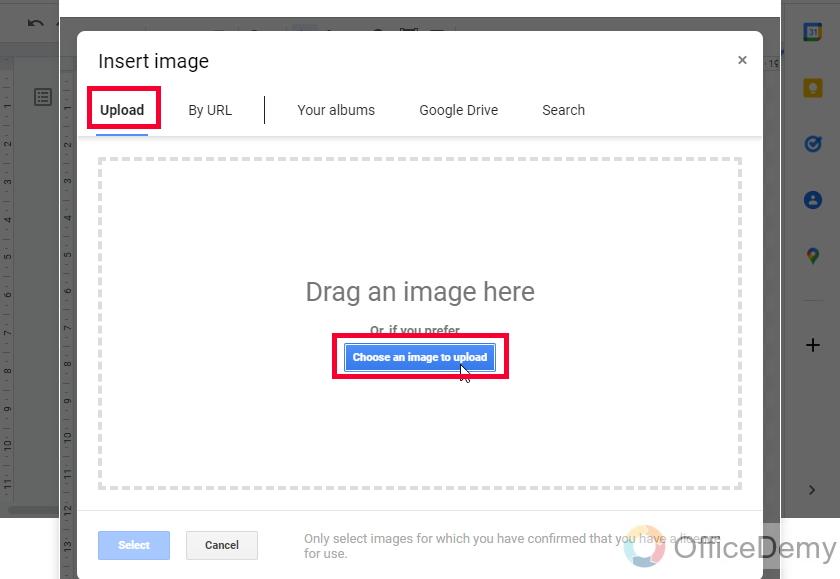
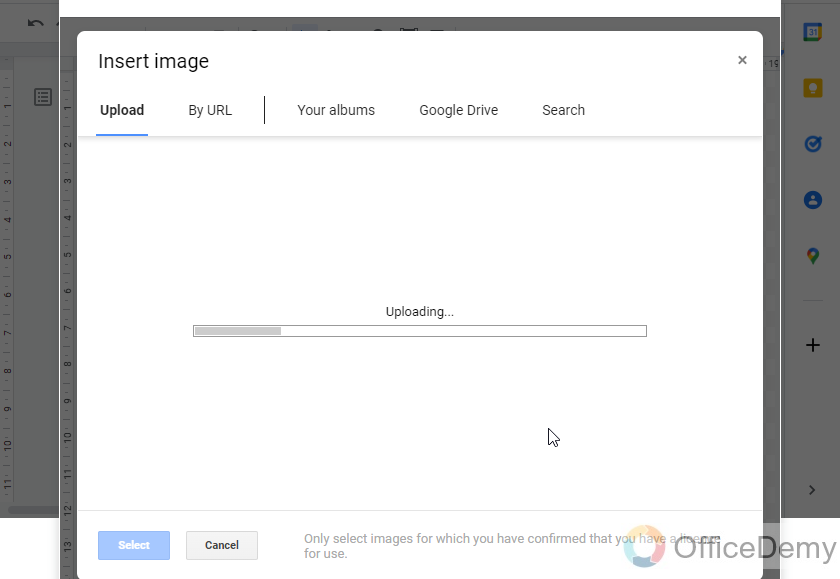
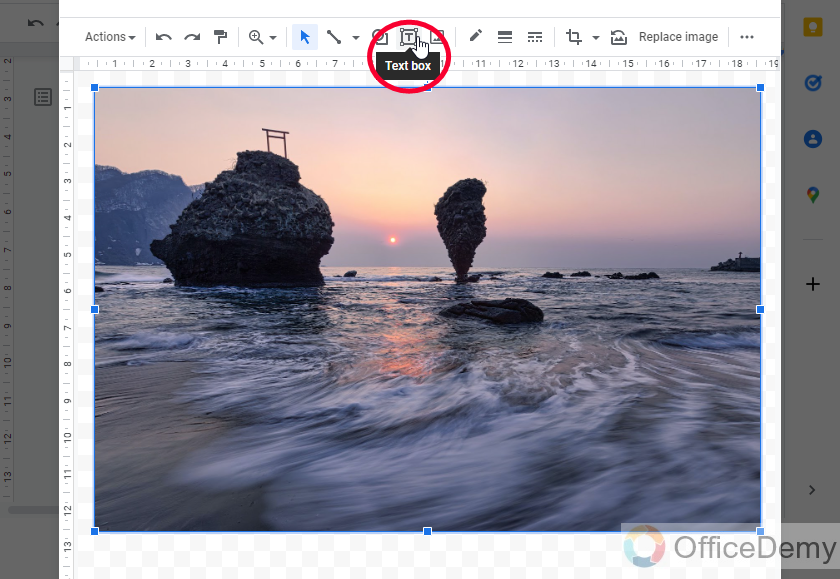
Firstly, click on the image button and import your image
Step 4
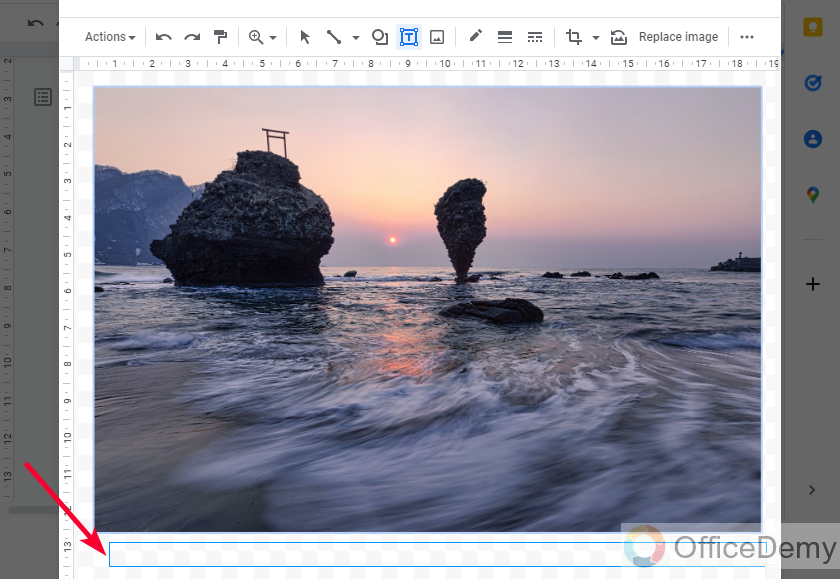
Now below the image add a textbox
Step 5
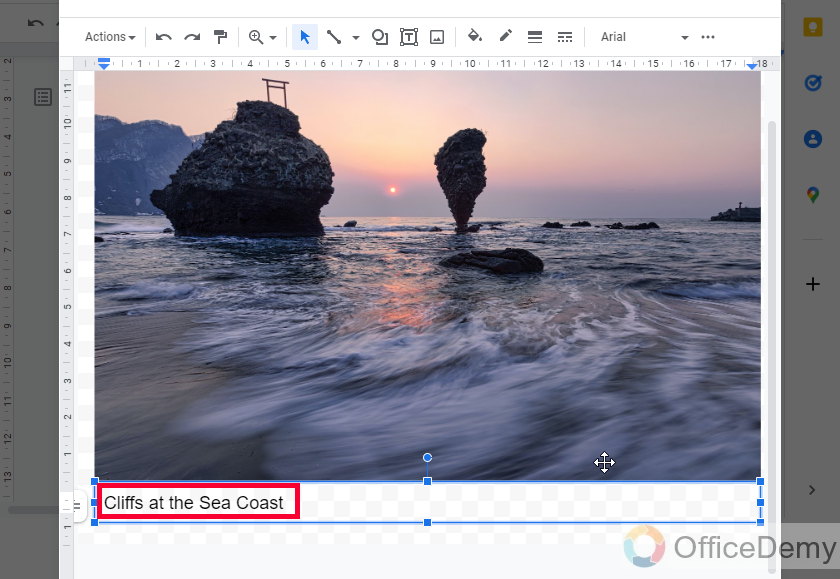
Write the image caption inside the text box
Step 6
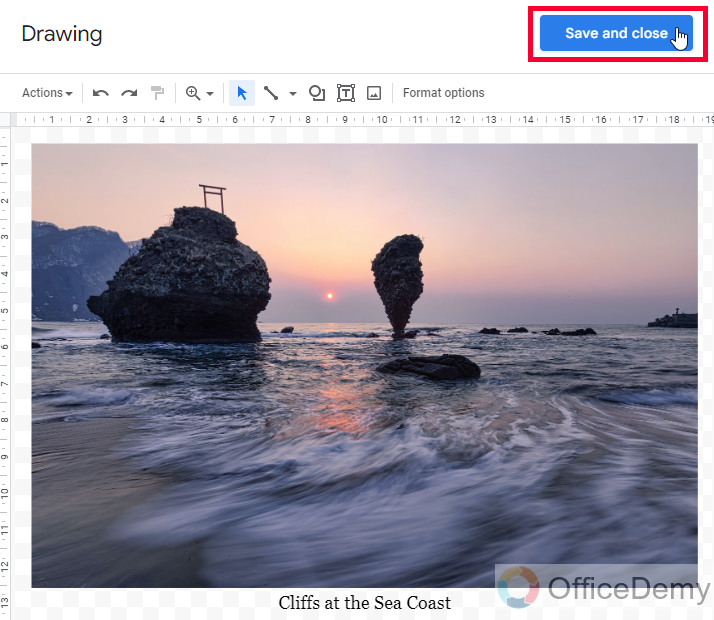
Adjust the text box position by holding and dragging with the mouse, making it perfect to look like the caption to the above image.
Step 7
Once you’re done click on the Close and Save button
Step 8
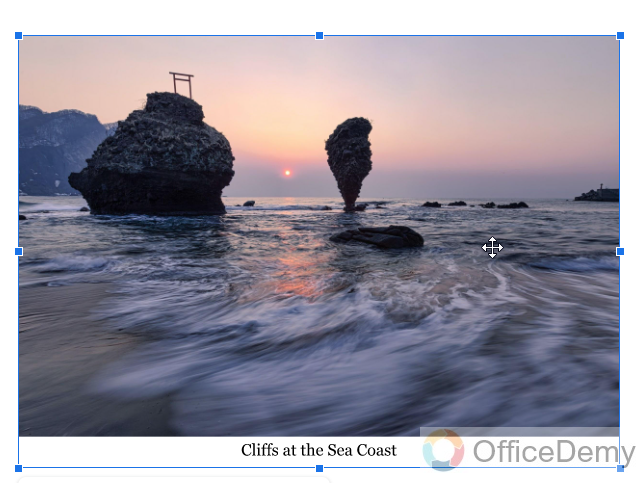
You can see the image and the caption has become a single entity they are moveable and resizable together
This is how to add caption to an image using the drawing method in Google Docs.
Add Caption to Image in Google Docs – Using a Table
In this section, we will see another method to add caption to image in Google Docs. We have seen two easy methods, but for any reason, if they did not work for you, you can use the table method. Here we draw a 1×2 table and then keep our image in the first row and caption in the second and then we hide the overall table, this way we make an image and text below it look like an image caption. Let’s see this method with a step-by-step procedure.
Step 1
Go to Insert > Table > 1×2 table

Step 2
Now in the first row place your cursor at the beginning
Step 3
Go to Insert > Image > select a source and import your image
Step 4
In the second row, write down your image caption text
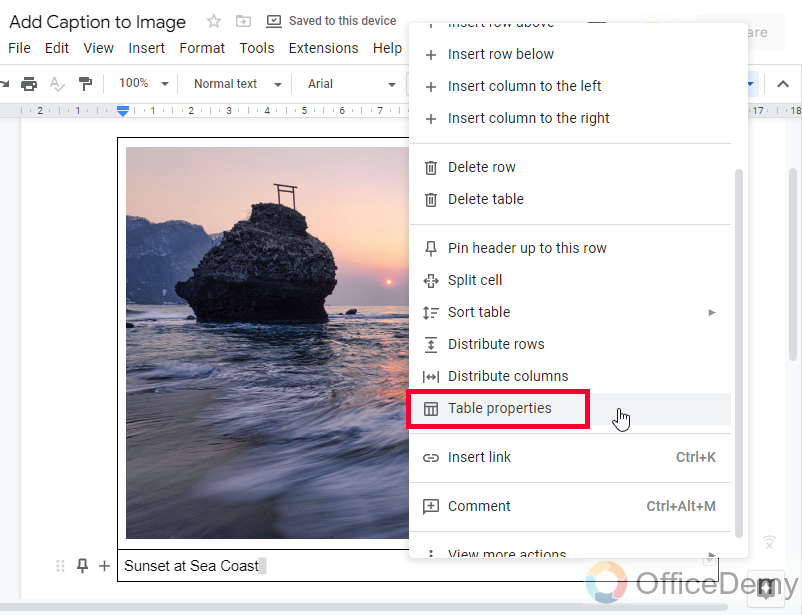
Step 5
Now right-click on the table and go to table properties
Then go to the Color dropdown and select the color white for the table border
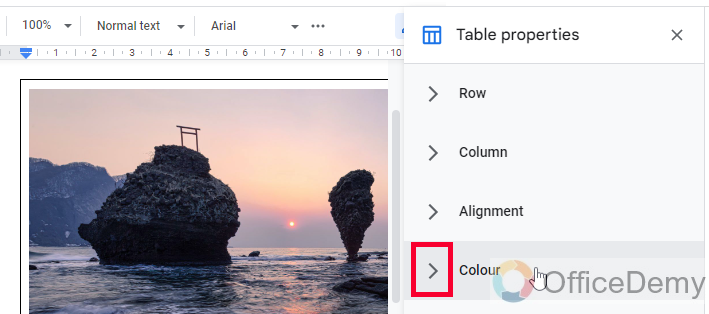
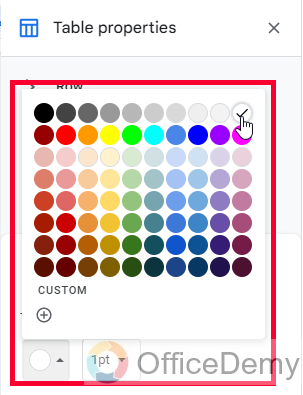
Right-click on the table and in the toolbar select the border width and select 0 pt
Both of the above steps will hide the table body, one will turn its color white so it will not be visible, and the second will minimize its width to 0 so it will not be wide enough to be visible.
This is how to add caption to image in Google Docs using the table method.
So, these are the most optimum methods to add caption to image in Google Docs. You can also find some third-party add-ons to do this, but why should we use them when we can add caption to image using the direct method without any external resources?
It’s your preference if you want to use a third-party add-on to add caption to image in Google Docs, then I suggest Caption maker.
This add-on is used to automatically caption to your tables and images in the entire document. You have so many customization options and settings for the caption of your table and images once you set all the things right then all your images and tables will be got an automatic caption.
Important Notes
- There is no direct button for adding captions to images like in Microsoft Word.
- We can use any method to add captions to images from the above three.
- The best method to add an image with the combined caption is the drawing method, we have complete control over our image size, and the position of the caption box, we can adjust it and keep it very close to the image, and it will be locked once it’s closed from the Drawing tool, so it helps when we need to move our images, the caption is connected with the image and will be moving along with it.
Frequently Asked Questions
Can I Group Images with Captions in Google Docs?
Yes, you can group images with captions in Google Docs. The grouping images in google docs feature allows you to select multiple images and captions, and then group them together as a single entity. This makes it easier to move, resize, or delete the images and captions as a group, without affecting their individual positioning or formatting.
What is the difference between alt text and caption?
Alt text is an alternative text to an image or table or any graphical object on your document or the web. Alternative text is the text which is shown when for any reason the image, graph, or chart is not loaded. For instance, when the internet connection is slow, and the images are not loaded properly on the page, then for the unloaded images the alternative text will appear which will tell a user about the image, or what’s inside the image. Alternative text only appears when the image is not appearing, if the image is appearing then there is no need for the alt text. While the caption is something else, the caption is visible every time with the image and tells a short meta information of the image, such as an image having some mountainy view, then the caption can be like “Beautiful mountains”. The caption can also be used for reference purposes, such as for table, table 2.1, diagram 12.5, and so on.
Conclusion
So, today we learned various methods on how to add caption in Google Docs. We have seen three individual methods to caption the images in Google Docs. Lastly, I also mentioned a free Add-on for Google Docs to add auto-captions to your tables and images with so many settings and controls. I tried to cover all the methods in the easiest way possible. I hope you find the above guide helpful. I will see you soon with another useful article. Keep learning with Office Demy.


