
To Add Cells in Google Sheets
- Select the cell where you want to add a cell or cells.
- Right-click on the selected cell.
- Choose “Insert cells and shift right” or “Insert cells and shift down” based on the desired direction.
OR
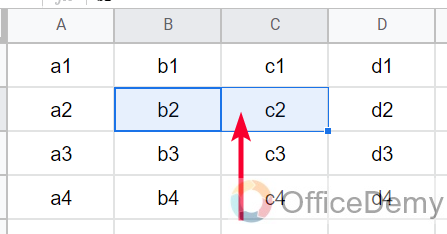
- Select the cell(s) where you want to add cells.
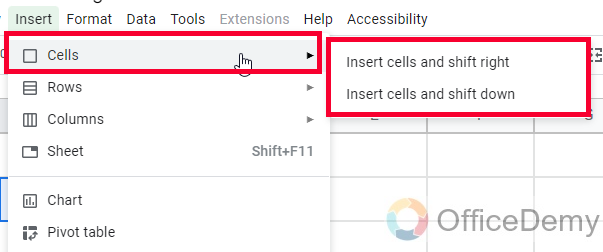
- Go to the “Insert” menu.
- Navigate to “Cells” and choose “Shift down” or “Shift right” based on the direction you want to add cells.
In this article, we will learn how to add cells in Google Sheets. Adding rows or columns are similar things, but adding a cell is a little more advanced. It’s recently added to solve a problem. First, we should understand the problem. Many times, when you work with Sheets or Excel, and in the middle of work, you feel like adding a cell to a relative position to your current cell. But you also know that adding a cell to the row will also affect the column, and adding a cell to the column will also affect rows.
So, when I need to add a cell on a position let’s say B1, now what I do, I will add an entire row to get a cell. This means that I have to insert the entire row without any reason to add a single cell. This becomes very problematic sometimes. But now we have a new feature that helps to add cells only. Now we can add cells on both sides x-axis and y-axis, or in columns and a row. We don’t need to add an entire row or column, we can simply add a cell and stop the row to affect the column and wise versa.
Importance of adding Cells in Google Sheets
When you are working on already written data in Sheets or Excel, and you find that you need to add a cell to add a new value or heading or anything that supports the content. In such cases, before cell features, the normal practice is to add an entire row or column and then re-adjust the content according to the new layout. Adding a single row or column means that changing the overall layout of the contiguous headings will break. To resolve this issue, Google Sheets has brought a feature for adding cells.
We can add cells on the selected column only, this will not affect other columns, and this is a big thing if you have worked with Sheets, you will understand it. So, these are the reasons we need to learn adding cells works, and how to add cells in Google Sheets.
How to Add Cells in Google Sheets?
There are a few ways to add cells in Google Sheets. We will discuss and implement all the methods one by one, and I will show you every method with examples.
How to Add Cells in Google Sheets – Right Click Method
In this section, we will learn how to insert add cells in Google Sheets using a right-click method. This is very similar to inserting rows or columns. We have two options but we need to understand what they do. So, let’s start with this method and we will see both options with the help of an example.
Step 1
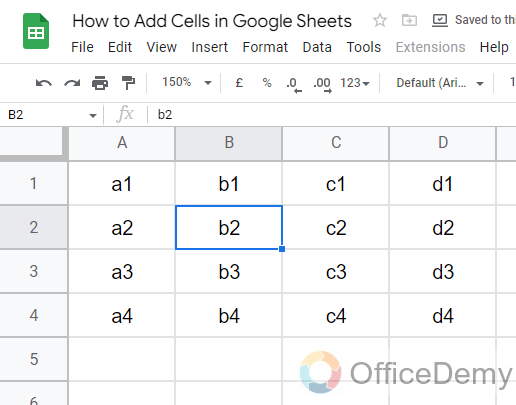
Select a cell to add cells related to its position.
The selection of the cell(s) will decide where the cell will be added. Just like rows or columns, when you select a row for example row2, and try to add a row, then you will have two options, insert 1 row below, which will add a row below to the selected row which is row2, which means a new row will be added with the row number 3. Or, if you click on Insert 1 row above, it will add a row above to row2 and now a new row is added with the name row2, and the original row2 will become row3.
And if we add a column in the same scenario, then it will ask “Insert 1 column to left” or “Insert 1 column to right“. Now left and the right side will be the sides of your selected cell. I hope this logic is clear to everyone.
Step 2
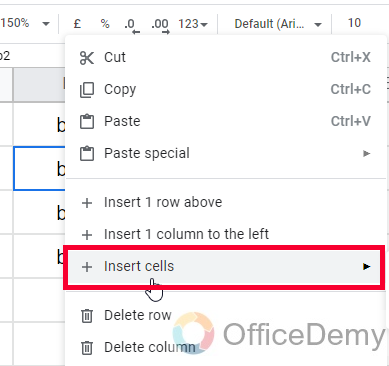
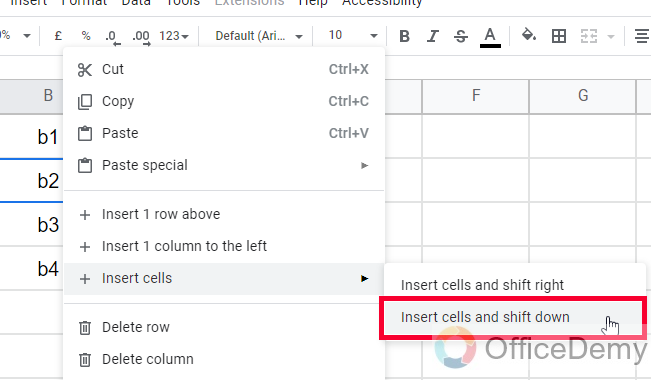
Right-click on the selected cell, and then go to Insert cells.
Step 3
Now you have two options here:
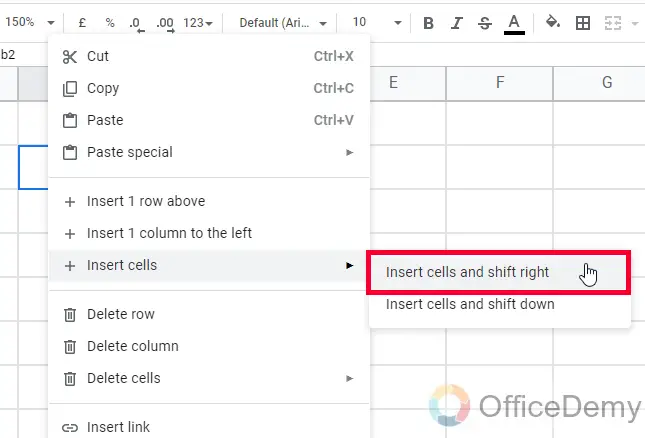
- Insert cells and shift right
- Insert cells and shift down
Now you may notice there is not a clear direction of the number of cells, it depends on the number of cells you have selected.
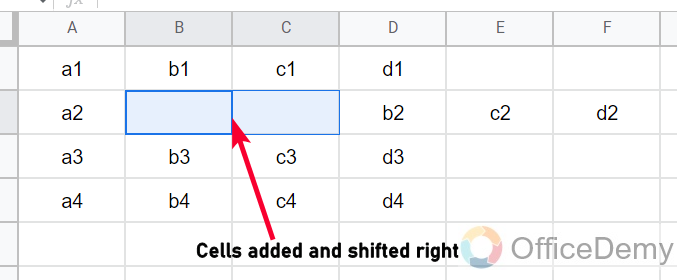
I have 1 cell selected, so it will add one cell to my current position and move the rest part of the row to the right side if I selected “Insert cells and shift right“. And, when I choose “Insert cells and shift down“, then it will add 1 cell and move the rest part of the column down.

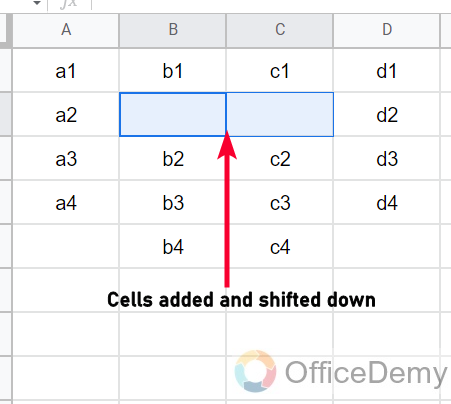
A thing to remember about adding cells is when it says shift down, means you are adding a cell to the column. because the column has up and down positions.
When it says shift left, means you are adding a cell to the row because the row has left and right sides. I hope this is clear to everyone.
Step 4
Now, I am clicking on the first option which is Insert cells, and shift right.
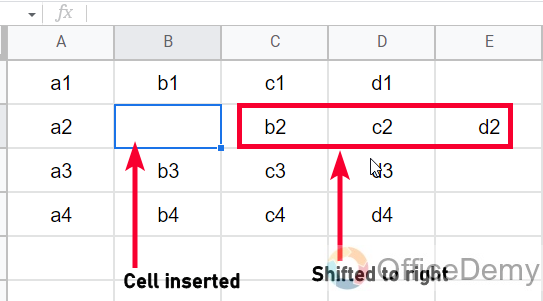
This will create the below effect
Step 5
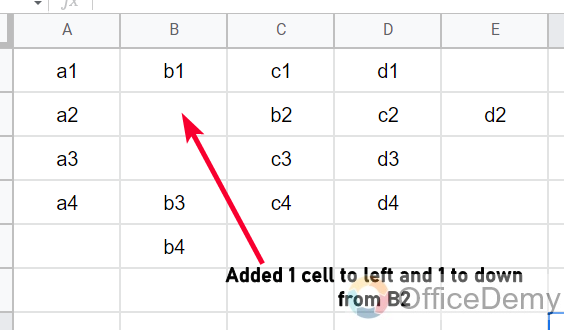
Now, I am clicking on the second option which is Insert cells, and shifting down
This creates the below effect
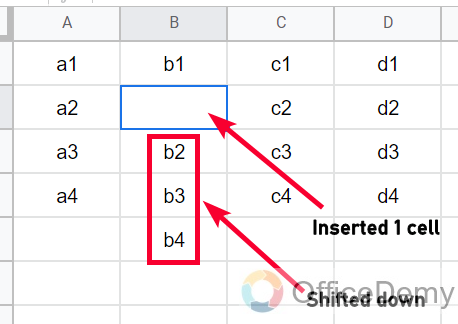
I have written cell addresses in the cells so that you can see the movement of the cells very clearly.
Step 6
Now, let’s compare adding cells, and adding rows/columns when we need only one cell extra.
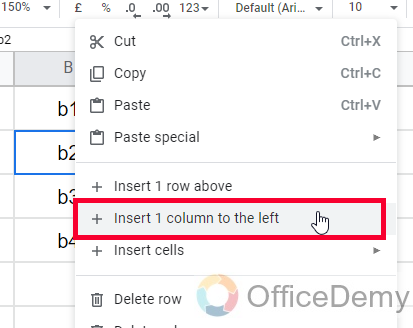
I am currently on cell B2, and I want an extra cell on the left side of it.
Let’s try adding a column here
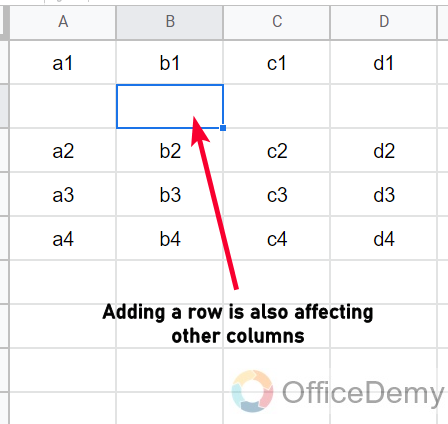
Now, let’s add a row.
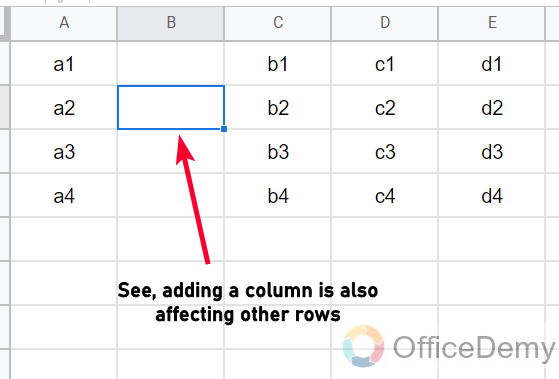
You can see in both cases, we have entire rows and columns added just, and those created a change to
Now let’s add a cell.
You can see a clear difference. When we added cells, there is no extra cells to manage. So this is why it helps a lot when working on Google Sheets or Excel-like software.
How to Add Cells in Google Sheets – Using Insert Menu
In this section, we will learn how to add cells in Google Sheets using the insert menu. The very first thing we need to do is the selection of cell(s). If you do not select any cell, then this option will become unavailable. When selecting a cell, you also need to take care of the number of cells you want to add. If you want to add 2 cells, then select 2. If you want to add 66 cells then select 66. Let’s practically see how it’s done.
Step 1
Select cell(s)
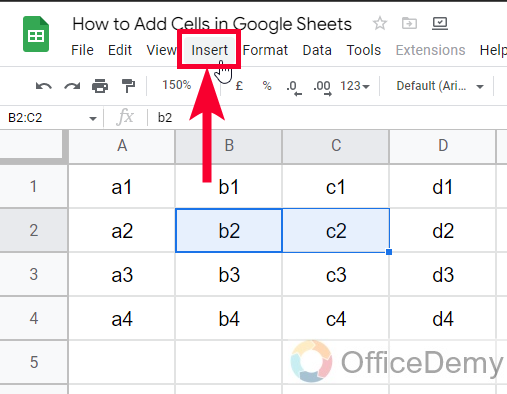
Step 2
Click on the Insert menu
Step 3
Go to Cells > and pick any option from the two.
Above, we have deeply discussed these options.
Step 4
Now you can see the cell(s) is added to the right position.
Important Notes
- There is no other way to add cells in Google Sheets
- Adding cells and rows/columns are different
- The number of cells you select is the same as the number of cells you will be adding because there is no numeric value involved in this process to tell you how many cells you will be adding.
- Adding cells help us not to affect other rows and column while adding extra space.
- Before this feature, we used to add rows or columns to add only a single cell, and then we need to readjust the other content as well.
Conclusion
Wrapping up how to add cells in Google Sheets. We have learned two easy methods to add cells in Google Sheets. I hope you have understood how adding cells works, and how to add cells to relative positions. You must understand the behavior of this process, and I will recommend repeating this example with different scenarios. I will see you soon with another useful guide. Keep learning with Office Demy.


