
To Add Grammarly to Outlook
The Grammarly Setup:
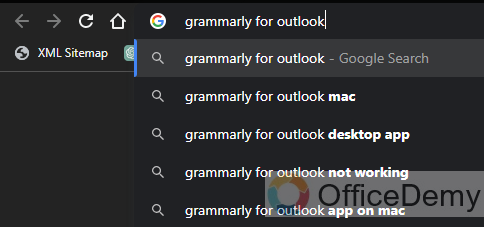
- Open your web browser and search for “Grammarly for Outlook“.
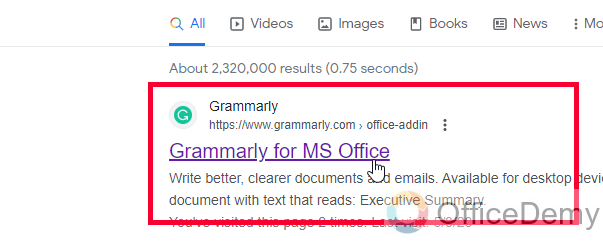
- Click on the first link.
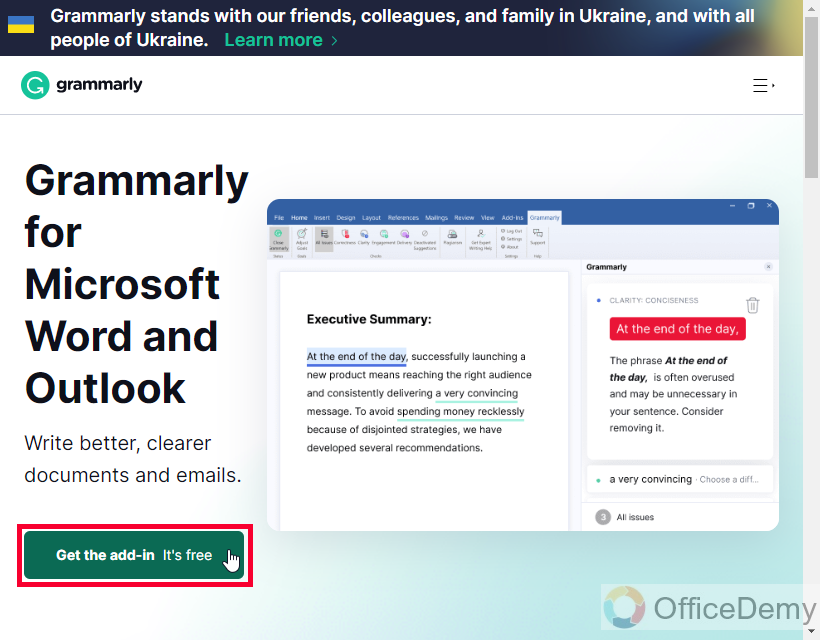
- Click the “Get the Add-in, it’s free” button.
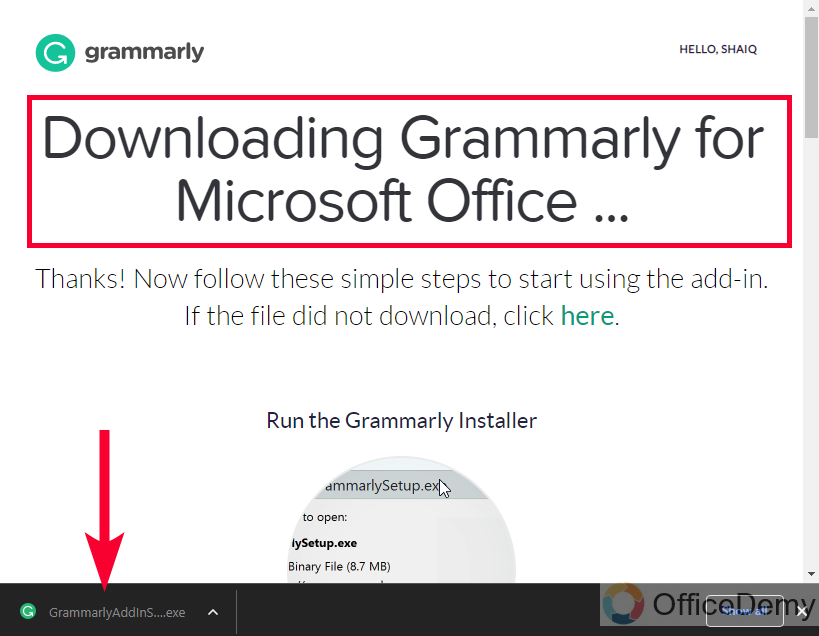
- The Grammarly add-in will be automatically downloaded to your computer.
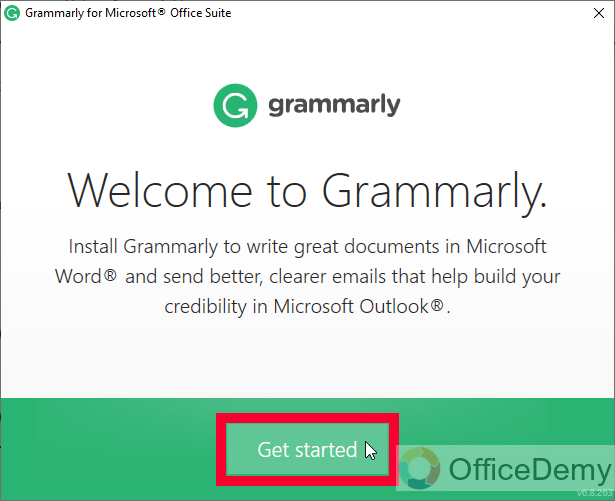
- Run the Grammarly Setup on your PC and click “Get Started“.
- Click the “Install” button > Click “Finish“
Log in with Grammarly:
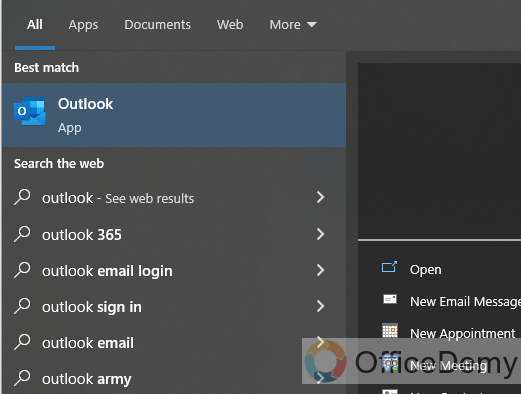
- Open your Outlook application.
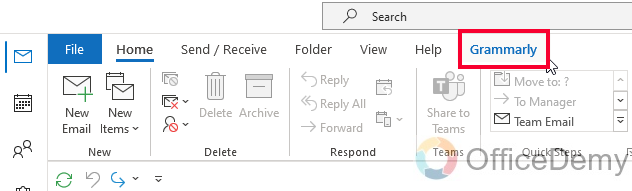
- Click the new tab “Grammarly” in your main Ribbon.
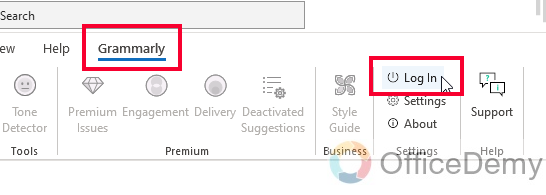
- Click the “Log In” button in the settings tab.
- You will be directed to the web for login.
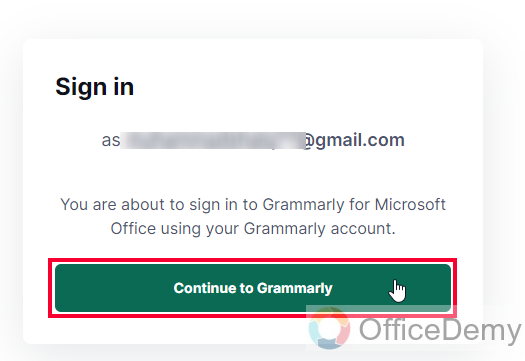
- Choose your account and click “Continue to Grammarly“.
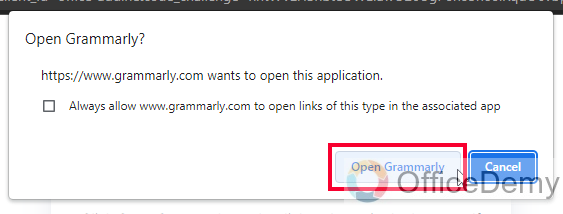
- Click “Open Grammarly” to complete the setup.
Correcting Your Email Writing:
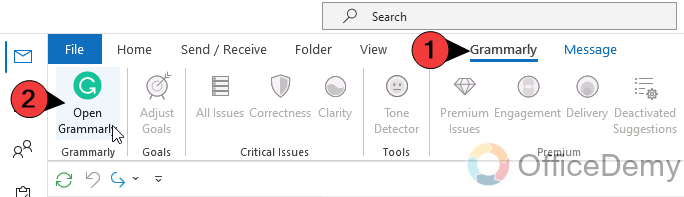
- To check your writing, click on the “Grammarly” tab and select “Open Grammarly“.
- A sidebar will open, displaying errors in your email writing.
- Click on each error in the sidebar, and Grammarly will provide instant suggestions to correct it.
Hi, welcome to another guide, today we will learn how to add Grammarly to Outlook. We will explore the seamless integration of Grammarly with Microsoft Outlook, empowering users to elevate their written communication. With Outlook’s robust email management features and Grammarly’s advanced writing assistance, you can enhance the clarity, professionalism, and overall quality of your emails.
Whether you are a professional looking to polish your messages or a student striving for impeccable grammar, this guide will walk you through the simple steps to add Grammarly to Outlook and unlock a powerful tool for effective written communication.
Why learn to add Grammarly to Outlook?
Learning how to add Grammarly to Outlook is crucial for improving your written communication in various ways. By integrating Grammarly with Outlook, you can enhance the quality and professionalism of your emails. Grammarly’s renowned features, such as grammar checks, spell checks, and punctuation corrections, ensure that your messages are error-free and convey your intended meaning accurately.
Also, the integration saves you valuable time. Instead of manually proofreading and editing your emails, Grammarly provides real-time suggestions and corrections while you compose your messages within Outlook. This feature streamlines your writing process and eliminates the need for extensive revisions, allowing you to communicate more efficiently and effectively.
Adding Grammarly to Outlook opens a world of writing assistance. Grammarly offers vocabulary enhancement suggestions, tone adjustments, and style improvements, empowering you to tailor your emails to the desired tone and audience. It acts as your writing assistant, helping you craft compelling and impactful messages that leave a lasting impression.
How to Add Grammarly to Outlook?
Grammarly is a popular and simple application that also comes as a Chrome extension and Microsoft add-in. It can be downloaded from its website, or also from the Microsoft App store. Then the add-in can be added to Outlook. So, we will learn to download, install, and use the add-in. I will teach you to start to end Grammarly with Microsoft Outlook.
Add Grammarly to Outlook – The Grammarly Setup
In this section, we will learn how to add Grammarly to Outlook, and we will learn where and how to get a setup of Grammarly for desktop applications such as Outlook and Microsoft Word. So, let’s begin.
Step 1
Open your browser and search “Grammarly for Outlook”.
Step 2
Open the first link, here is the direct link to the download page
Step 3
Click on the “Get the Add-in its free” button
Step 4
The Grammarly add-in will be downloaded to your PC automatically
Step 5
Open the Grammarly Setup on your PC, and run the setup, click on the Get Started button.
Step 6
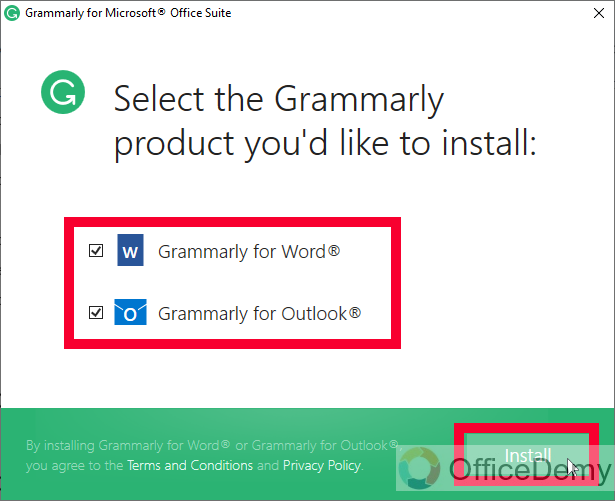
You can keep only Outlook or both; Word, and Outlook, check the buttons if you want to get Grammarly for both apps, and click on the Install button below.
Step 7
The setup will start the installation
Step 8
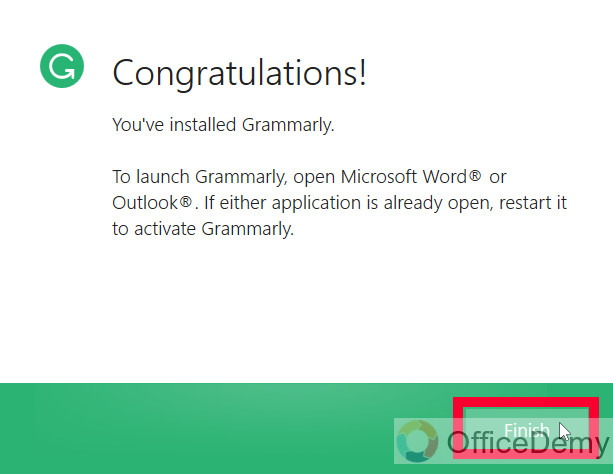
It will be finished in a few seconds, now click on the Finish button.
Now, let’s go to Outlook and see how to log in and set up Grammarly there.
Add Grammarly to Outlook – Login with Grammarly
In this section, we will learn how to add Grammarly to Outlook and how to log in with the app after the installation process, so let’s see the below steps.
Step 1
Open your Outlook App.
Step 2
You will get a brand new exclusive tab in your main Ribbon named “Grammarly”
Step 3
Click on the Grammarly tab, and then click on the “log in” button in the settings tab.
Step 4
It will take you to the web and will ask you to log in. Choose your account, and click “Continue to Grammarly”
Step 5
It will ask you to open the App with your account, click on “Open Grammarly” to continue
Step 6
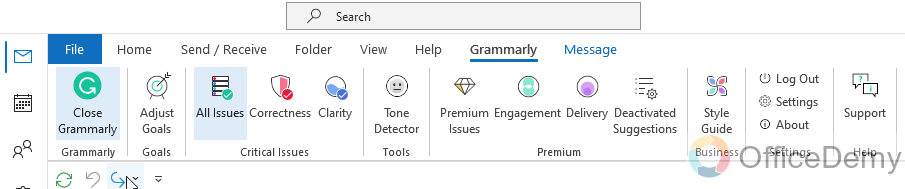
As you click on it, your Grammarly add-in will be ready in your Outlook App, open the App, here you can see an extensive menu of Grammarly to correct your writing like a pro.
Step 7
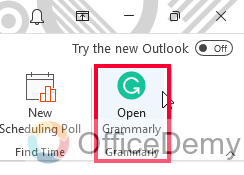
You can click on the “Open Grammarly” button in the home tab to start checking for errors.
So now, the Grammarly add-in is installed, and we have done with the login setup, now it’s time to make corrections in emails.
Add Grammarly to Outlook – Correct your Email Writing
Finally, in this section, we are learning how to add Grammarly to Outlook, and we will specifically learn to correct our email writing within the Outlook app using Grammarly add-in for free.
Step 1
To start checking your writing, click on the Grammarly Tab > Open Grammarly
Step 2
It will open a sidebar for you, with all the errors in your email writing.
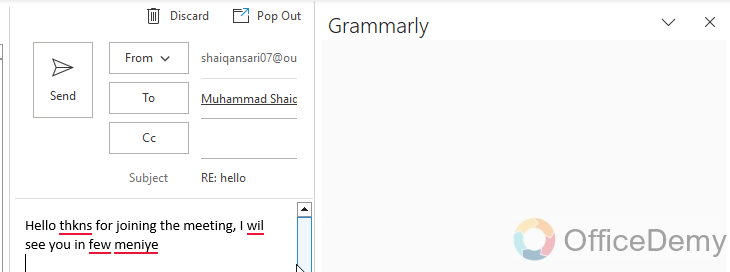
Now, you can click on each error from the sidebar, and Grammarly will show you instant suggestions to correct the word.
This way, by learning how to add Grammarly to Outlook, you can seamlessly enhance your written content, ensuring it is error-free and polished. Unlock the power of Grammarly’s writing assistance within Outlook and take your communication to new heights.
Things To Remember
- Learn how to seamlessly integrate Grammarly with Outlook.
- Enhance the quality and professionalism of your written content.
- Receive real-time suggestions and corrections while composing emails.
- Save time by eliminating the need for manual proofreading.
- Benefit from vocabulary enhancements, tone adjustments, and style improvements.
- Ensure clear and precise communication with error-free messaging.
- Make a professional impression by eliminating grammar mistakes.
- Improve efficiency by composing error-free emails within Outlook.
Frequently Asked Questions
Is Spell Check in Outlook Similar to Using Grammarly in Outlook?
Outlook’s spell check settings and Grammarly in Outlook serve the same purpose but differ in functionality. While Outlook’s spell check features basic error detection, Grammarly offers advanced grammar, punctuation, and style suggestions. However, both tools are helpful for ensuring error-free and professional-looking written communication.
Q: How to add Grammarly to Outlook?
A: To integrate Grammarly with Outlook, you can install the Grammarly add-in from the Microsoft Store or download the Grammarly for Microsoft Office software. Follow the prompts to set up the integration and start using Grammarly within Outlook.
Q: How to enable Grammarly for all Outlook emails?
A: Once Grammarly is integrated with Outlook, it automatically starts checking your emails as you compose them. There’s no need to enable it separately for each email. Grammarly works in the background, providing real-time suggestions and corrections.
Q: How to customize Grammarly settings in Outlook?
A: To customize Grammarly settings in Outlook, click on the Grammarly tab in the Outlook ribbon. From there, you can adjust various options such as language preferences, writing goals, and specific writing style preferences.
Q: How to disable Grammarly temporarily in Outlook?
A: If you want to disable Grammarly temporarily in Outlook, you can click on the Grammarly icon in the Outlook ribbon and toggle the “Disable Grammarly” option. This will temporarily deactivate Grammarly’s suggestions and corrections while you compose your email.
Q: How to update Grammarly for Outlook?
A: Grammarly for Outlook usually updates automatically. However, if you want to manually check for updates or ensure you have the latest version, you can visit the Microsoft Store or the Grammarly website to download any available updates.
Conclusion
Wrapping up how to add Grammarly to Outlook. I tried to cover the entire topic and give you all the relevant information about setup, installation, and using Grammarly with Outlook. I hope you like this guide, and I will see you soon with another helpful tutorial. Thanks for reading. Keep learning with OfficeDemy.


