
To Add Images to Google Data Studio
- Open your report in Google Data Studio.
- Click the image button in the toolbar.
- Choose to upload from your computer or add an image via URL.
- Adjust the image’s position and size.
- Further, customize the image in the setup and style tabs.
- Save your work.
OR
- Create a data source with image URLs.
- Edit the data source and change the data type for the image column to URL.
- Add a custom field for the image column.
- Use the image function from Google Sheets to convert URLs into visible images in tables.
In this article, we will learn how to add images to Google Data Studio. we have already covered so many tutorials in our Google Data Studio series, but we have not learned about images so far. So, today, I will teach you everything about an image in Google Data Studio. We can have different meanings for adding an image to Data Studio. We can directly add an image by uploading it to the report, or sometimes we need an image inside a table or any other component.
This tutorial will solve all your problems, and I will teach you everything about images, how to add them, how to edit them, how to customize them, how to add links to them, and so on.
Advantages of adding Images to Google Data Studio
Images are one of the most important data types that are used in almost every report, presentation, document, and even in your resume. So, adding images to our work becomes very important. In Sheets, we can add images by selecting a cell and clicking on the insert tab, the same in slides, and docs. But, in Google Data Studio, we don’t own the tables in the sense that we cannot manipulate their data like Sheets by clicking a table cell. It’s logical, we have to bring the data from the backend and cannot do anything from the upfront. So, adding images directly into the charts like tables becomes difficult, but don’t worry if you are reading this article, you will learn everything about images, and you will never face any problems when working with images in Google Data Studio.
I will first teach you the simple method to add a static image directly onto your report, and not in any component, and then we will see how to add images to elements, components, charts, tables, shapes, etc. So, these are some reasons, we need to learn how to add images to Google Data Studio.
How to Add Images to Google Data Studio?
From this section, we will practically learn how to add images to Google Data Studio. We will start with the easy methods and will proceed to advance methods. I will use some sample images for the demonstration. you can follow the steps to do the same, and lastly, we will learn to edit and customize our images.
Add Images to Google Data Studio – Using the Image button
In this section, we will learn how to add images to Google Data Studio using the direct image button available in the toolbar. We can add any image from our local computer or we can fetch any online image by its URL. So, let’s see the steps to add or fetch images in Google Data Studio
Step 1
Open a Google Data Studio report, or start with a blank starter template.
Step 2
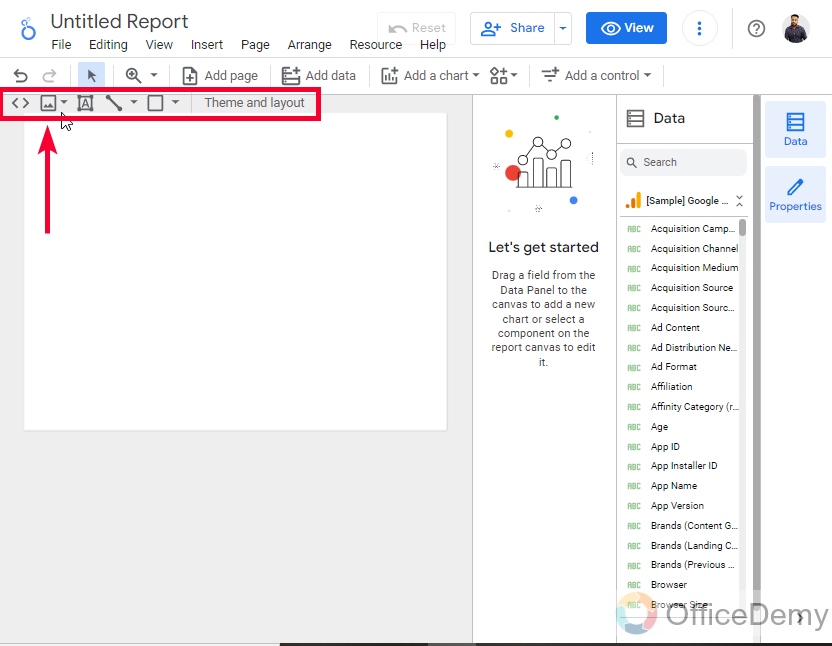
Above your canvas, you can see a toolbar, in which you have an image button containing the Gallery icon.
Step 3
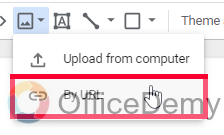
Click on the image button, and you will see two options
Upload from Computer
By URL
Step 4
Let’s continue with the first option. Clicking on it will open your local directory from where you can navigate to the targeted folder and double-click on the image to bring it up in your report.
Step 5
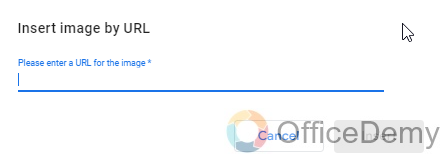
If you choose “By URL”, you will be asked to add a complete URL (link) to the image that is stored somewhere on the internet
Step 6
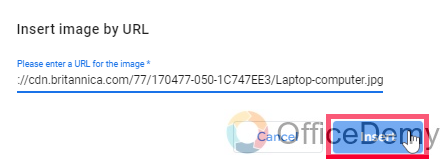
Copy the link and paste it here, and then click on the Insert button, and your image will be added to your report.
Step 7
you can resize, rotate, and pan your image freely over the report by holding and dragging with your mouse.
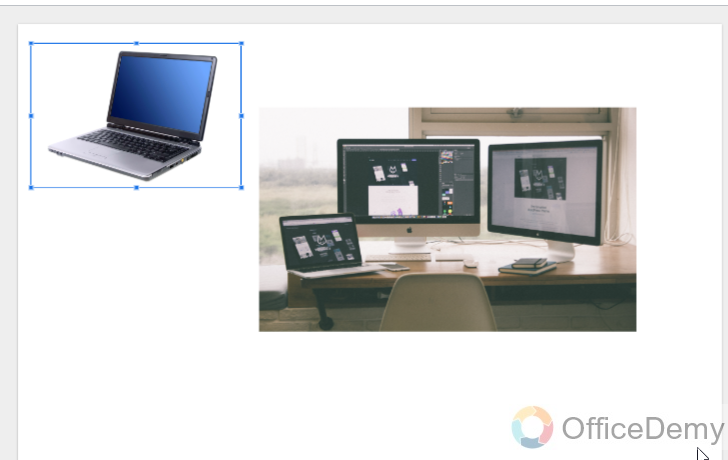
After you have added an image, now you have some basic formatting options. We will see them in the next section.
Add Images to Google Data Studio – Styling an Image
In this section, we will learn how to add images to Google Data Studio, and then how to set up and style them using the image sidebar just like we used the chart’s sidebar on the right-hand side. Some basic formatting options can be used as per your preferences. Let’s check them out
Step 1
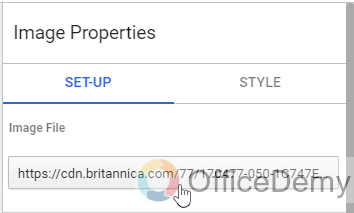
In the setup tab, you have a couple of options, firstly you can change the image by clicking on the image name and then selecting another from your local directory.
Step 2
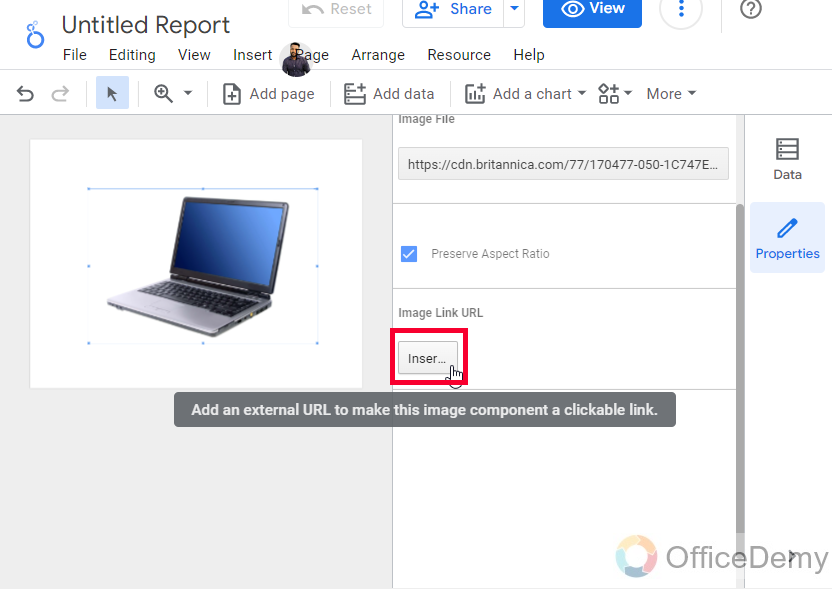
Secondly, you have a very useful checkbox “Preserve aspect ratio” it’s checked by default. This checkbox prevents the image from losing its original proportion. You must have seen this checkbox named “Lock aspect ratio” in photo editing tools like Canva.
Step 3
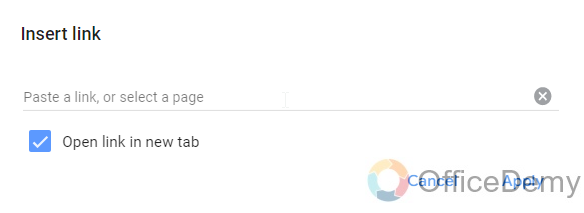
Below, you have an “Image Link URL” section, and a button with a placeholder “Insert“, you can use this button to add an external link to any web address, and the image will become clickable, if any user clicks on the image, then they will be redirected to the address you have added to it. In this way, we can make our images dynamic and can be used as links. They can also be used as hyperlinks and can take the user to the other pages of the same report.
Step 4
Now, we will move to the style tab, here the first option is a color box for the background of the image, but this is not useful because the image has no background other than its original one.
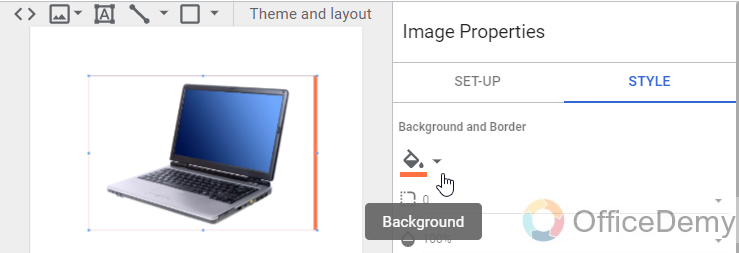
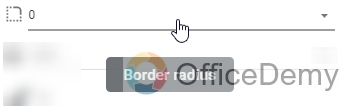
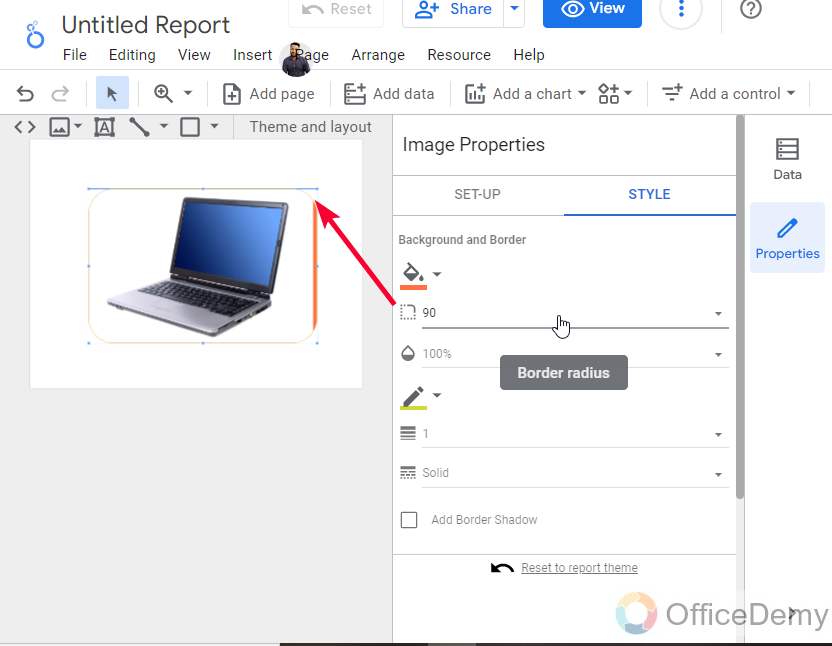
Step 5
Below, we have a dropdown for border-radius, we can change the border radius in pixels, by choosing a number from the list, let’s say border-radius = 25;
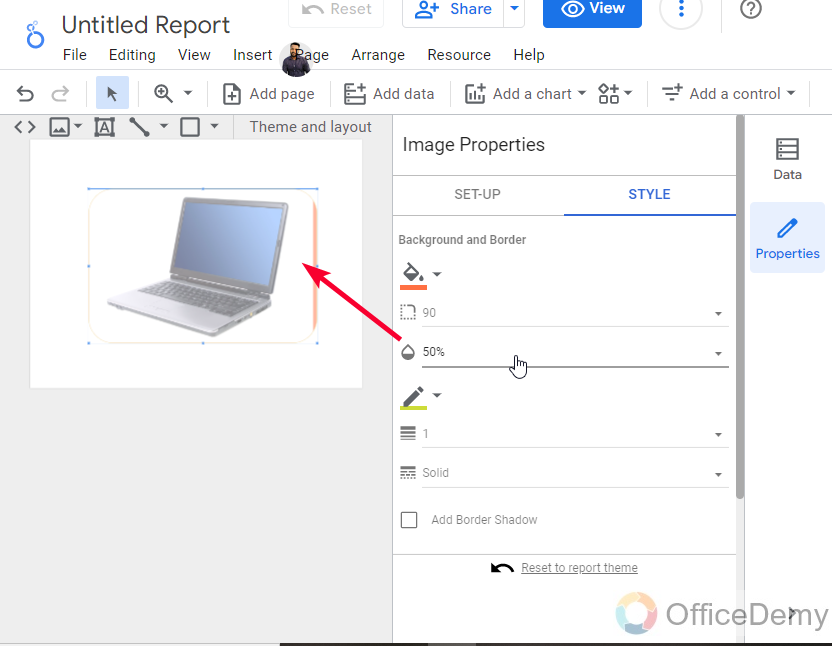
Step 6
Now, we have an opacity button, here we can choose a number between 0% to 100% to change the overall opacity/transparency of the image
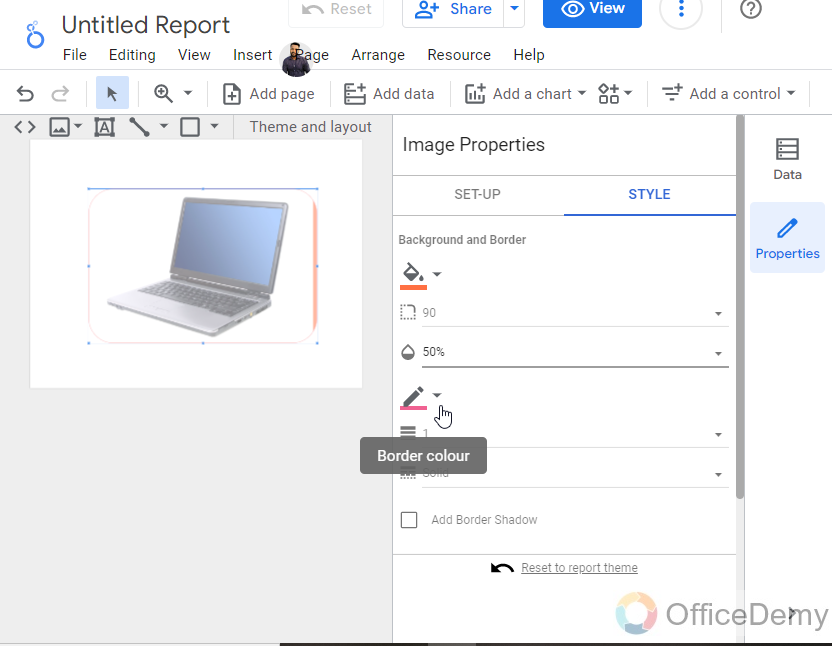
Step 7
Here we can set the border color for the outer-most border of the image
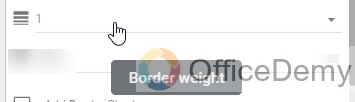
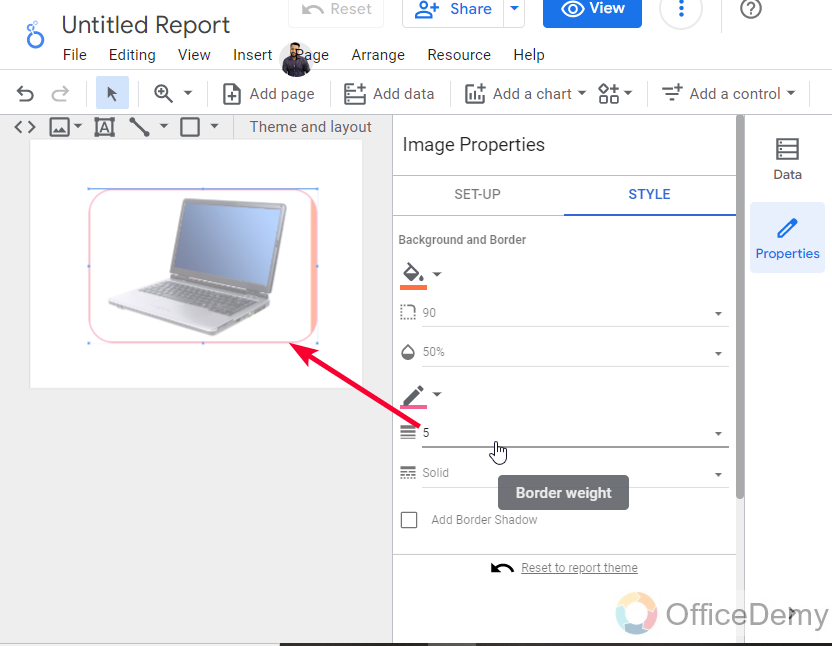
Step 8
You must find the border very thin, so now we have some border styling features, so the first option is border weight, which means the thickness of the border, you can select any number between 1 to 5, or you can select “None” as 0 value. (It will hide the border)
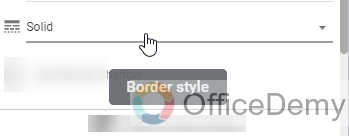
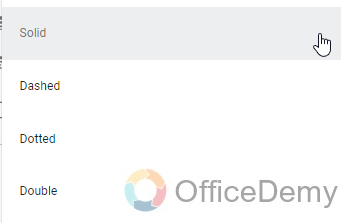
Step 9
Now we can set the border style, in the style we have a few types of the border, such as Solid (default), Dotted, Dashed, and Double. you can pick any style from these.
Step 10
Here, you have a border shadow checkbox, it’s unchecked by default, and it gives you a slightly visible shadow of your border when checked.
Step 11
Finally, a reset button to reset all the formatting and styles as per the report theme.

Add Images to Google Data Studio – Adding Images to Tables
We have learned how to add images to Google Data Studio directly on the report, now we will learn how to add images to Google Data Studio inside the tables. This is tricky, if you add a table to your report, and try to select a cell to add an image, you will be failed 100 times out of 100, because this is not the way to add images to the table. The table or any other chart in Data Studio works on logic, not on the drag-and-drop method. As the table has all the data coming from a source, so obviously the images also be coming from a source, we cannot add them directly. Let’s see how to add images to tables in Google Data Studio.
You need a source file that you will connect to Data Studio for reporting purposes. In that file, you must have your images in the form of URLs, and the rest will be done by Data Studio.
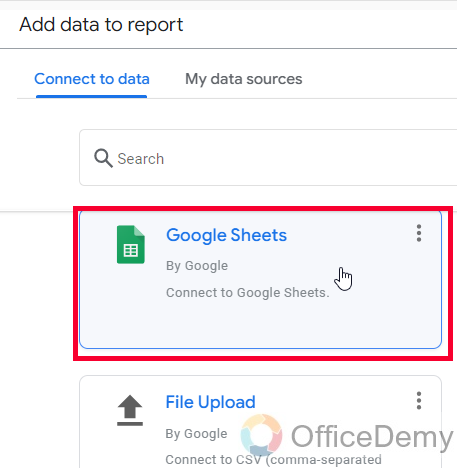
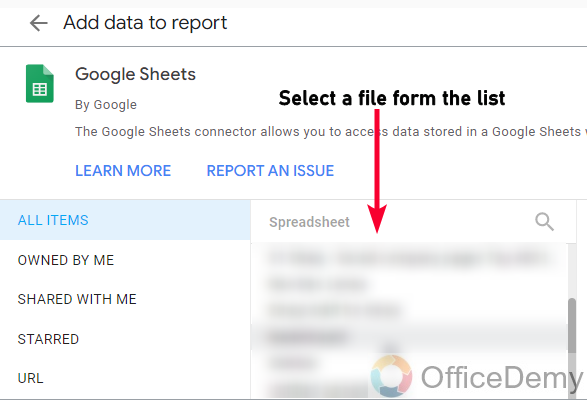
Step 1
Adding a Sheets file to Google Data Studio report having the valid image URL

Step 2
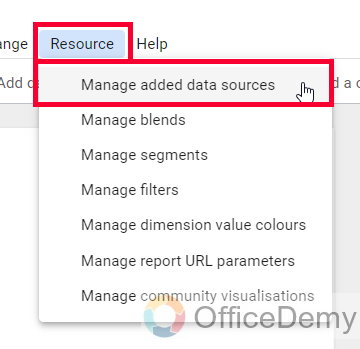
In Data Studio, go to resource > manage added data sources
Step 3
Click on the Edit button on the new Sheets data source you have just added

Step 4
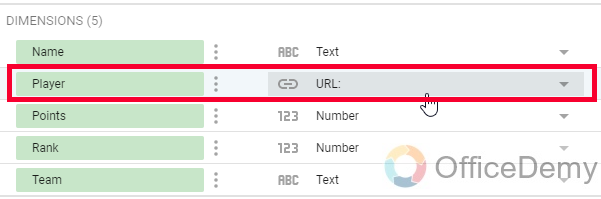
Change the data type for the column that contains images to the URL
Step 5
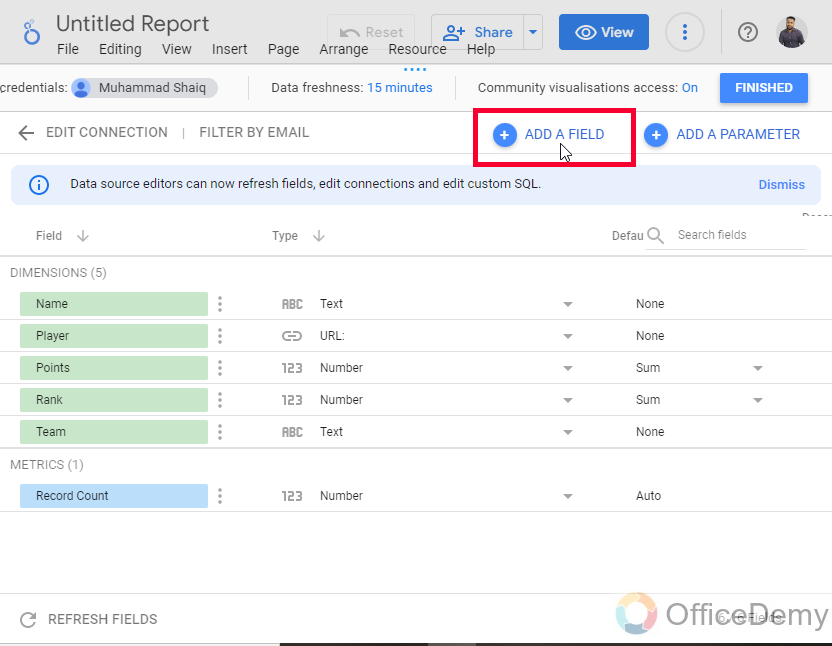
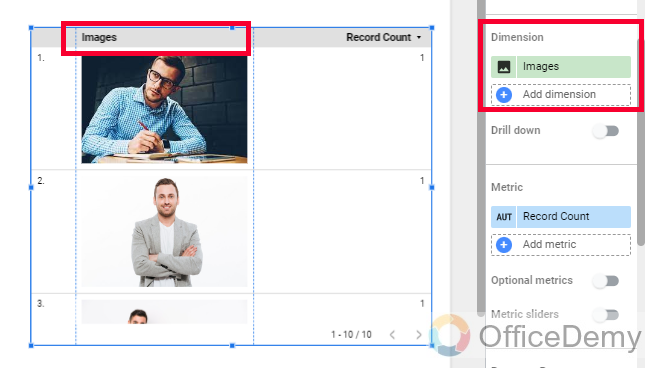
Now, click on the “Add a Field” button, and add a new custom field for the image columns, note that the field name will become the column name in the table. So, assign a meaningful name.
Step 6
Add the image function of Google Sheets, and then pass the column name that has your images links/URLs
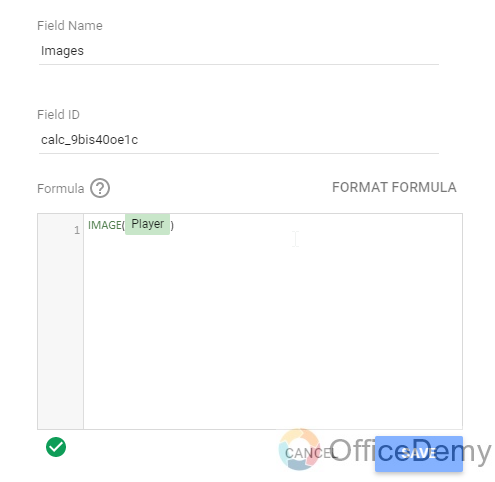
Note: Save the field, and now you will need to use this name as your dimension when you want to show the images inside the table.
Step 7
The images are here, so this is how you can add images to Google Data Studio inside the tables.
Important Notes
- Images can be added directly using the image button, and then from computer or by a URL.
- Another way is to add images inside the table cell, by creating a sheets file with all the image’s URLs, and then connecting it to Data Studio, and then adding an image function to convert those URLs into visible images inside the table.
- You can adjust the image customization as per the table in the Table’s Style section.
- You cannot resize images inside the tables, you only can resize the entire table so all the inside elements will also be resized.
Frequently Asked Questions
Can I use the same methods to add images to Google Data Studio as I would to add tooltips?
When it comes to adding images to Google Data Studio, the same methods may not apply as they do for adding tooltips. The use of google data studio tooltips is straightforward and commonly used to provide additional information or context. However, adding images to the platform may require different techniques and considerations.
How to add images inside a shape in Google Data Studio?
We sometimes need to add images to shapes inside Google Data Studio. We can simply add a shape from the toolbar, and then keep the shape selected, and click on the image button to add an image from the computer or the URL. And then, you can select both components, shapes, and images, and then group them. So, whenever you want to move the shape, the images will also be moved and will not leave their position.
Conclusion
That is all from how to add images to Google Data Studio. Today, we have learned two ways to add images to Google Data Studio, the first method is the direct method to add free images to your canvas, and the other way is to add images into a table, this can not be done directly like the previous method, I have taught you how to do that in detail. Then, we can add images to shapes and lines by simply adding them to the position on the canvas. I will see you soon with another helpful guide, till then, take care and keep learning with Office Demy.


