
To Add and Remove a Header in Google Docs
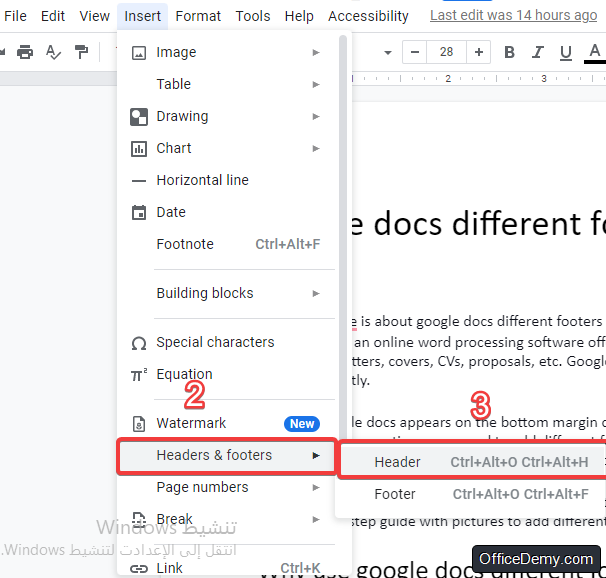
- Go to “Insert” > Select “Headers & footers” and click “Header“.
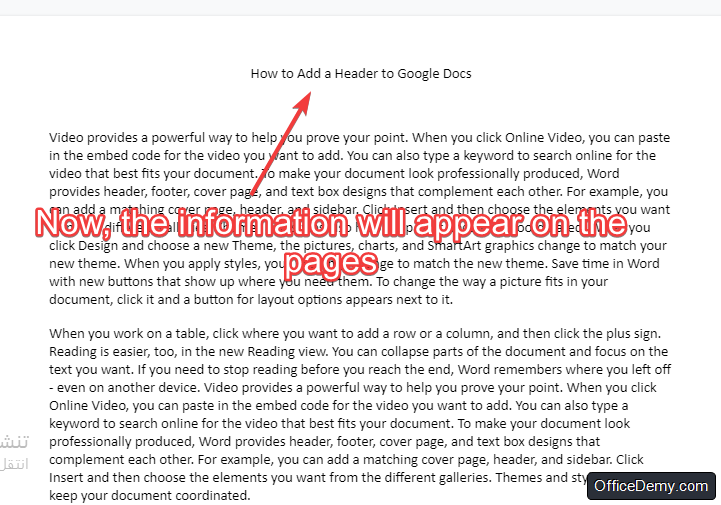
- The header will appear.
- Press “Escape” to close the header.
- Right Click > Select “Remove Header“.
OR
- Press Ctrl + Alt + O + H and the header will open.
In this article, you will learn how to add a header in Google docs. Google Docs is a free, online, and web-based word processor offered by Google. It has many advantages such as smooth real-time collaboration, the ability to see the history of changes in the document, auto-saving, the ability to work from anywhere … etc. Whether you are using Google Docs to write a book, a research paper, or your resume, you probably know that the format of the document is as important as the content itself. One of the most useful features of Google docs is the headers. But before we learn how to add a header in google docs, what is a header and why is it useful?
Why Should You Add a Header in Google Docs
A header is that part of the document that exists in the top margin of the page. Headers (and footers too) are used to add additional information about the document that you want to display on all the pages. For example, if you are writing an academic paper, you should add the name of the chapter, the name of the section, and their number. Also, if you are writing a report, you may want to add the writer’s name, the creation, and the title of the document. And so on. In other words, the header helps make the document more organized and easier to read. In this article, you will find a step-by-step guide on how to add a header in google docs.
How to Add a Header in Google Docs
There are two ways to add a Header in Google Docs. In this tutorial, you will learn both.
Add a header from the toolbar
The first method to add a header in google docs is quite simple. To add a header, follow the following steps:
- Go to the toolbar at the top of the document, then click the Insert button.
- From the drop-down menu that will appear, go to “Headers &footers” and click Header
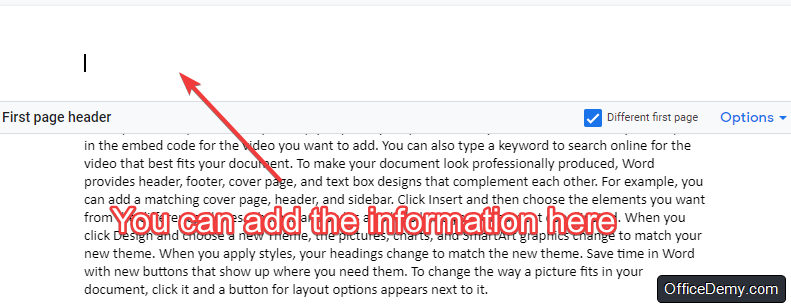
- the header will open
- you can type your text on it to appear in the whole document
- after you write the desired text, click escape to close the header
- the header will look like this

Add a header using the keyboard shortcut
This is the second method to add a header in google docs, and it is even simpler than the first one. All you have to do is press Ctrl + Alt + O + H, and the header will open immediately. Then, you can add your text to it.
How to Remove a Header in Google Docs
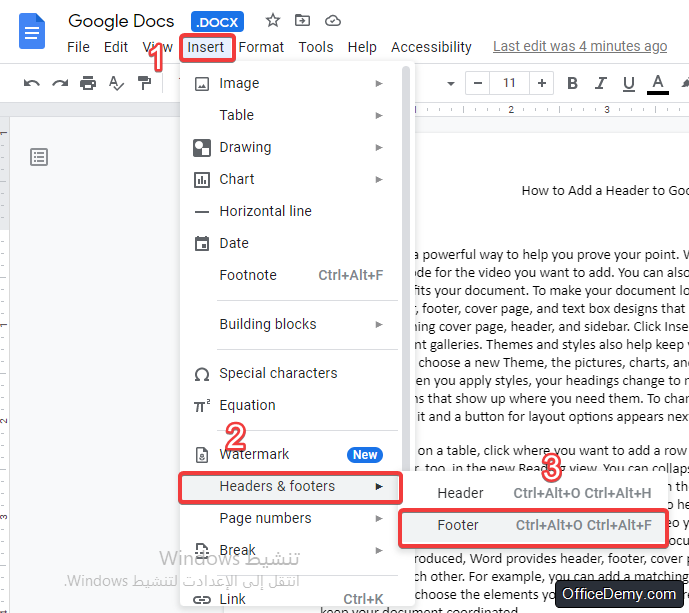
- If you want to add a footer, the process will be the same. But in step 1.3, instead of clicking Header click footer. And in the second method press Ctrl-Alt+O+F.
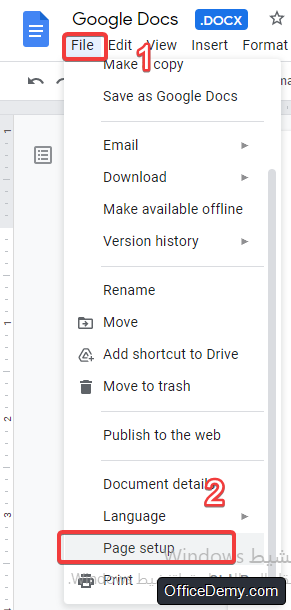
- You can adjust the header by going to the File menu and clicking Page Setup. Then, change the header by typing new numbers in the box. Finally, click ok to save the changes
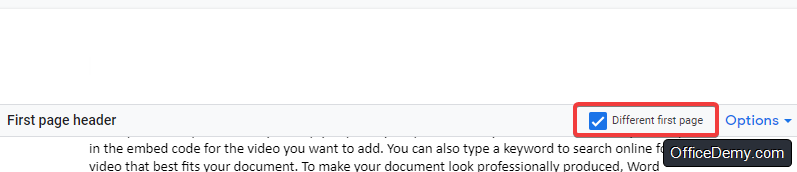
- In many cases, you will notice that it’s better if the first page has a different header. To that, make sure to click the box next to “Different First page”. In the header
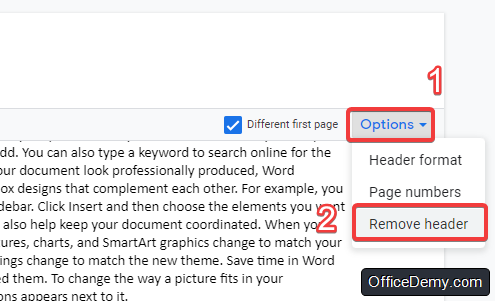
- To remove a header, open the header and then click the options button at the right bottom of the header. Then, from the drop-down menu, click remove header as shown in the picture
- If you want to have a different header for every page in the document, you have to use section breaks to divide the document into two sections. Follow those instructions:
- place your cursor at the end of page one.
- Click the Insert tab in the toolbar and from the drop-down menu go to breaks. Then, click section break(next page)
- Now go to the page and add the new header
- Repeat the process for every page you want to have a different header
Conclusion
In conclusion, the part of the page in the top margin is called a header. It is an important part of the document because it enables the writer to add additional information about the document such as the creation date, the name of the document, the chapter, or the author’s name. Adding this information to the document will make it easier to read. In this article, we’ve learned how to add a header in google docs. It is pretty easy. First, go to the toolbar and click “Insert”. From the drop-down menu go to Headers & footer and then click Headers, or you can just press Cttl + Alt + O + H.


