
To Bring an Image Forward in Google Slides
- Select the slide with the image.
- Choose the image.
- Click “Arrange” in the toolbar.
- Select “Order” and then “Bring to front“
OR
- Use the keyboard shortcut CTRL+SHIFT+Up Arrow.
In this article, we will learn about how to bring an image forward in google slides presentation.
If you have positioned elements on your slides in Google Slides, and those elements overlap one another, you may need to modify the layering order of elements so that the text is brought to the front, or an image is placed in front of another image. Google Slides has options for moving slide objects to the front and for moving them to the back. To help make this process easier, you can use keyboard shortcuts to bring slide objects to the front or send them to the back, without needing you navigate to a menu.
If you are having trouble with an image that is being covered by other object on your slide, or you want to ensure that all the images on a slide are visible to the audience, then you can manually arrange them so that one is in front of another.
Many setting options exist for working with images in Google Slides. You can crop them, adjust their size and shape, assign borders, and more. However, you may find an image where one of those options is failing to meet your needs.
If you are interested to learn about how to do word art in google slides, please follow the link below.
How to Do Word Art in Google Slides (Complete Guide)
This guide will show you how to bring an image to the front in Google Slides over other object available on the google slide.
How to Bring an Image Forward or at the Top Layer of the Google Slide
Even though the steps in this article were performed in the desktop version of Google Chrome, they will also work in other desktop browsers like Firefox or Safari.
Step 1:
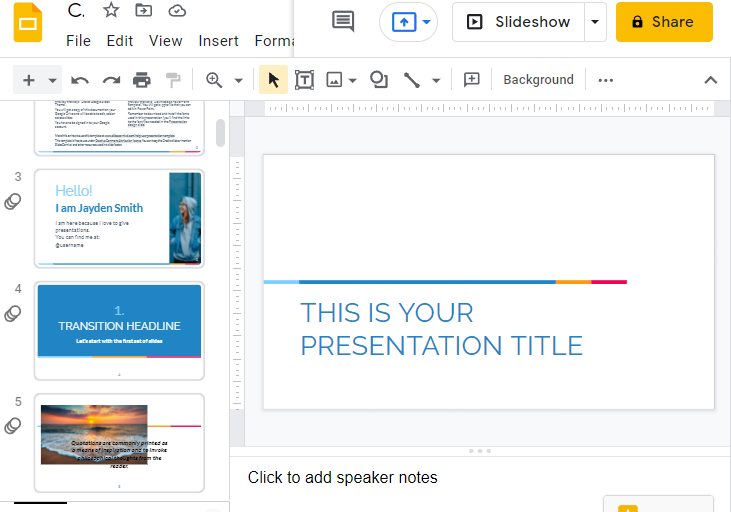
Open your google slide presentation that contains image that needs to bring forward in google slides.
Step 2:
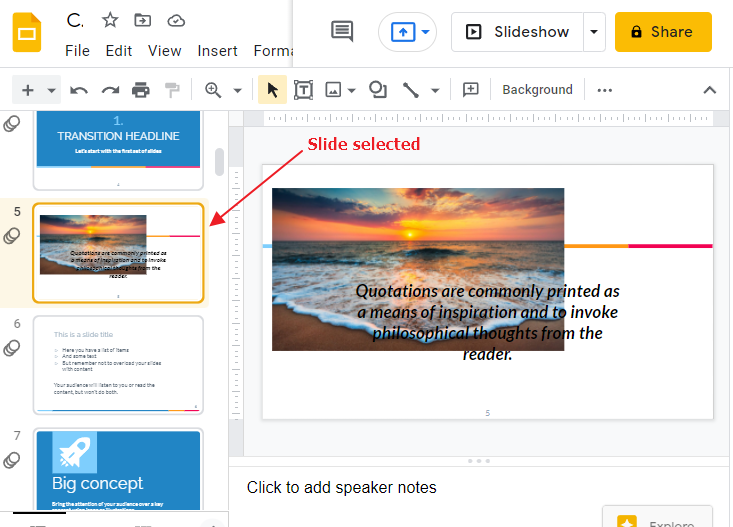
Select that exact slide with the image that needs to be adjusted from the slide pane in the left of the window. As you select the slide, the corners of the slide will turn yellow.
Step 3:
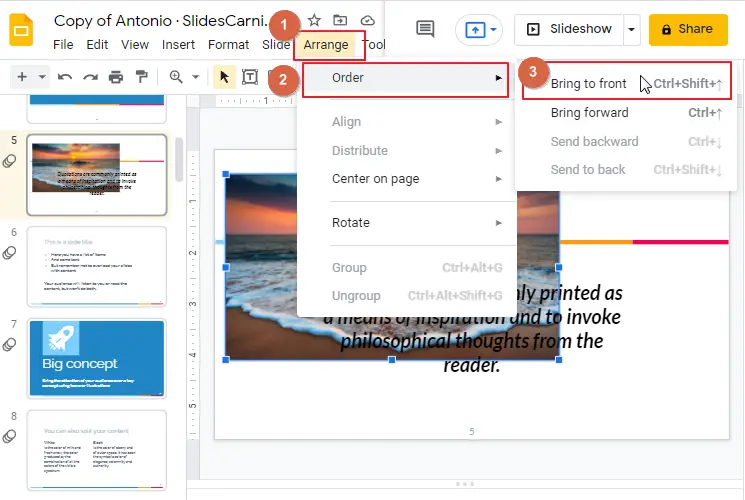
Select the image first in the slide. Click on the Arrange in the toolbar located at the top of the window. A pop-up menu will appear. click on Order > Click on Bring to front.
Or keyboard shortcut to bring an image front is CTRL+SHIFT+ up arrow.
As soon as you click on Bring to front, the image will come forward.
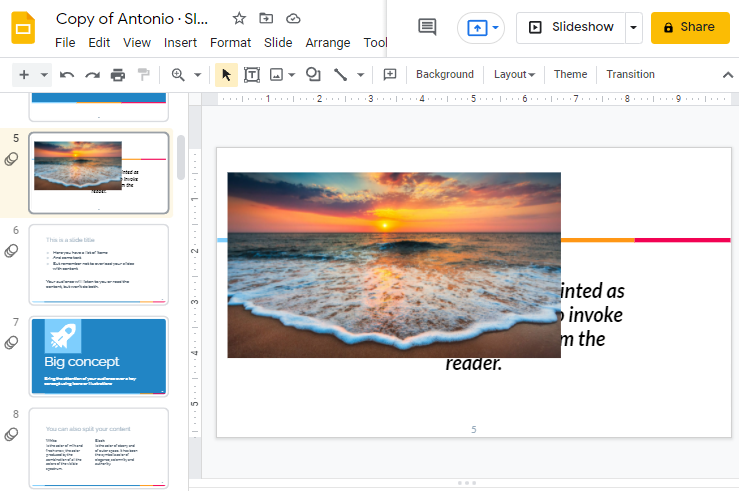
That’s it. You are done.
Tutorial: How to Bring an Image Forward in Google Slides
More information on how to bring an image forward in google slide
With the knowledge of how-to bring items forward in a Google Slides presentation you’re better able to design advanced slides and work with many different layers of slides. This can be a simple process if you keep in mind that most of the time it’s best to have a single item forward, when multiple items overlap. As you learn more about Google Slides and its capabilities you will begin to realize just how useful an advanced understanding of positioning slide elements is.
If you have been putting together presentation slides in Google Slides and image elements keep getting covered and hidden by other items in your slides, the “bring image to front” command can help you solve that problem.
The Bring to Front command is a great way to place an image on the top layer of your document. This can be useful for a handful of reasons.
- First, it allows you to place an image on the top layer and then create text over it. This is helpful if you want to use an image as a background or if you want to add text over it.
- Second, this command can help you create a more aesthetically pleasing layout by placing the most important item on top and the rest of the content below it.
- Third, this command will help with accessibility by making images easier for people with disabilities to see when they are using screen readers.
Conclusion
The Bring image to front command can be useful for a handful of reasons. First, it allows you to place an image on the top layer of the slide so that you can position it more easily. You may have already found that certain elements, like text boxes, can easily get in the way when you are trying to move images that are on a lower layer. Beyond simply pulling images to the front, this command also applies to some other content types within Google Slides, including shapes, lines, and arrows. Regardless of what type of content you have selected, the same button will be used to bring it all forward.
Well, the article is about to end. Hope you enjoyed this article. Please don’t forget to check other sections here in OfficeDemy.com


