
To Change Cell Size in Google Sheets
- Select the cell you want to modify.
- To change cell height, drag the lower cell boundary downward.
- To adjust the width, drag the right cell boundary to the desired size.
Note: This method changes the entire row’s or column’s cell sizes.
OR
- To alter cell height (vertically), right-click the row header, choose “Resize row,” and enter the desired height.
- For width (horizontally), right-click the column header, select “Resize column,” and specify the desired width.
Note: This method lets you set specific cell sizes for individual rows or columns without impacting others.
Hi, in this article, we will learn how to change cell size in Google Sheets. Changing cell sizes become important when we have smaller and larger texts in different cells. In these situations, we may use wrap text but it can change the height of the entire row. So, many users prefer changing cell size. But, how to do that? Can we have all cells of different sizes?
Well, it’s technically yes. But normally it’s understood that when working on Sheets or Excel, our entire spreadsheet is dependent. The cells are not independent, but they are inside a row and a column. So, changing the height of a cell will change the height for that entire row, and similarly changing the width of a cell will change the width of the entire column. So, there is some dependency, but still, we can change cell size in Google Sheets using many ways.
Importance of changing Cell Size in Google Sheets
When you are creating a table layout on Google Sheets or Excel, you keep all cells or rows/columns of the same size, but when you are adding data to your table you may see some cells contain more and some contain less data length, so here we have some options to adjust the longer text inside of a cell. There are three ways essentially for formatting a lengthy text inside a small cell.
We have Overflow, Wrap, and Clip, but all of these text-adjusting options have some limitations. For instance, if you use overflow, then the text will overflow from the cell and will go to the right side (because the English language goes left to right), else if you use the wrap option, then it will adjust itself within the cell, but the height of the cell will be increased, and this will change the height for the entire row, lastly, if you use the clip, then your text will not be visible inside the cell unless you go to Editing mode. So, these are some limitations. Instead of these options we should learn and use how to change cell size in Google Sheets.
How to Change Cell Size in Google Sheets?
I have got three methods to teach you how to change cell size in Google Sheets. We will cover all three methods with examples and practical implementation. We will see how we can use other tools to perform changing of cell size, we will see some very common use cases of changing cell size, and some easy and real-life examples of those. Let’s get started with the first method which is most commonly used in day-to-day tasks.
How to Change Cell Size in Google Sheets – Manual Method
In this section, we will learn how to change cell size in Google Sheets using the most common manual method using mouse drag. This method works in Google Sheets, and Excel very identically. So, let’s see how this method works and how it can help us change cell size in Google Sheets.
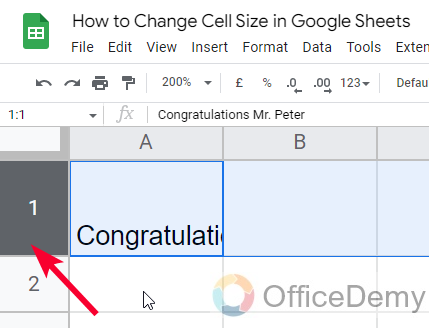
Step 1
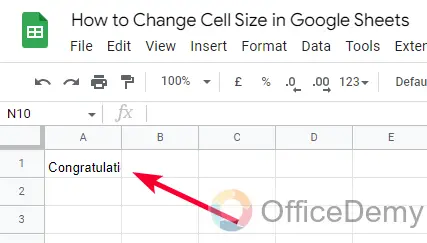
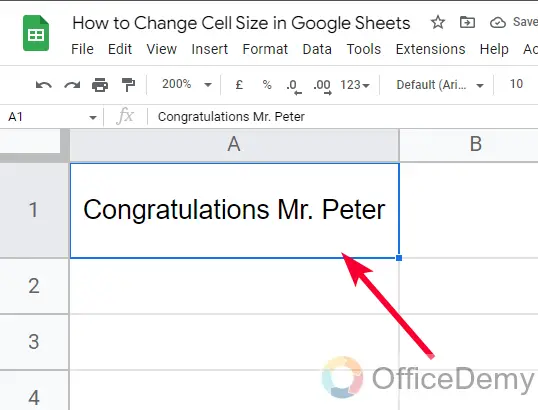
I am writing a longer text inside a cell so that you can understand the effect of this method before and after.
The text looks like this, it’s longer than the cell size.
Note: Changing a cell size is possible in two ways, whether you can change the cell size vertically, or horizontally.
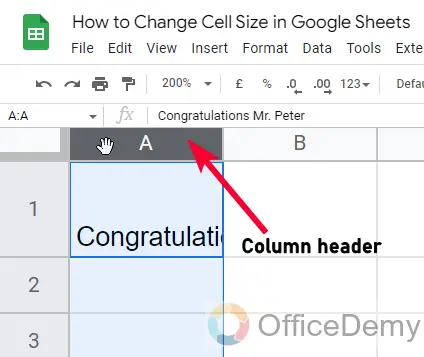
Step 2
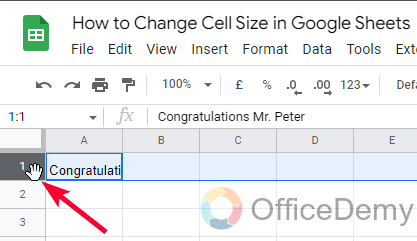
To increase the cell size vertically
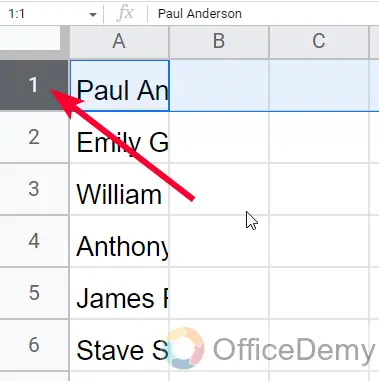
Select the cell, and place your cursor on the row header (It will be highlighted as the cell is selected)
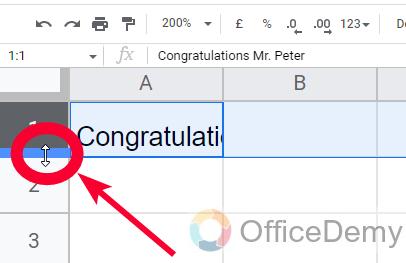
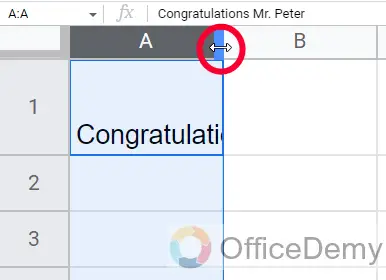
Step 3
Place your mouse on the lower line of the cell and your cursor will change into a two-sided arrow.
Step 4
Click and hold, and then gradually drag down, and you will the size will be changing in real-time
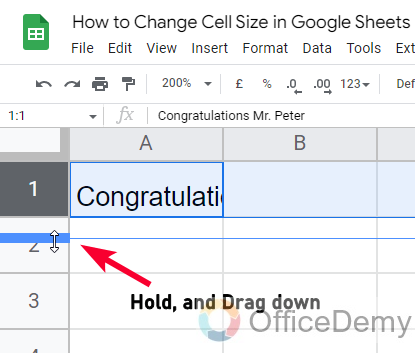
Note: Don’t do this on the upper line of the row header, it will reduce the size of the upward cell.
Step 5
Stop mouse dragging and leave your mouse button when you have got the desired size for the cell/row
This is how you change cell size vertically in Google Sheets.
You noticed that this method changes the entire row size means all the cells in that row will take the same size.
Step 6
To increase the cell size horizontally
Select the cell, and place your cursor on the column header (It will be highlighted as the cell is selected)
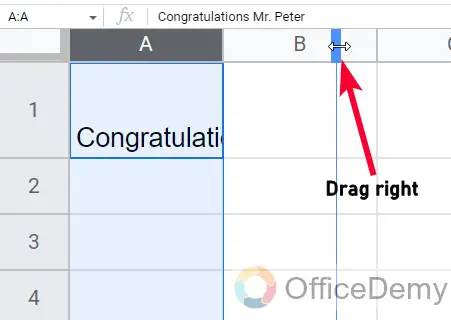
Step 7
Move your mouse a little toward the right-side boundary of the column header and the cursor will change into a two-sided arrow
Step 8
Now click, hold, and drag the mouse to the right side, and you will see the size will change in real-time.
Step 9
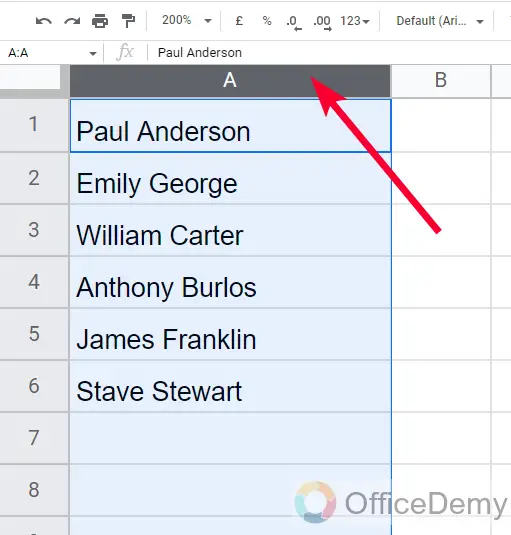
Leave your mouse button, and you can see the cell size has been changed horizontally, and now your text is fully visible
Note: Don’t perform this method with the left side boundary of the column header, else it will reduce the size of the previous column
Pro Tip: In Google Sheets, when you are changing row/column size you don’t see any number, but in Excel, you see numbers in pixels when you are changing so you can get an idea of the cell size (in pixels) in real-time.
We have seen how to change cell size in Google Sheets, but this method is changing the size of the entire row/column, and also, we cannot have an optimum size for the cells. If this method is applied to multiple cells, then it will be a difficult task to keep all changed sizes of the cells equal.
Let’s see another method.
How to Change Cell Size in Google Sheets – Resizing Method
In this section, we will learn how to change cell size in Google sheets using the Resizing method, this method solves our second problem, which is not getting the optimum equal size for all changed cells. In this method, we can define the size of the cell in numbers, and thus we can give the same number to all changed cells to make them of equal size.
Step 1
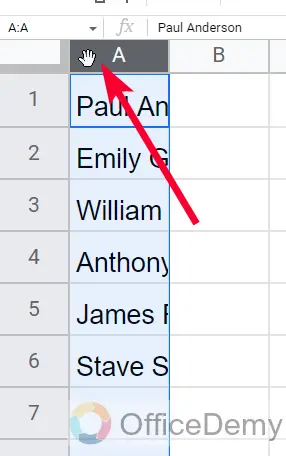
If you want to change the cell height (changing cell size vertically), then click on the row header and it will be highlighted.
Step 2
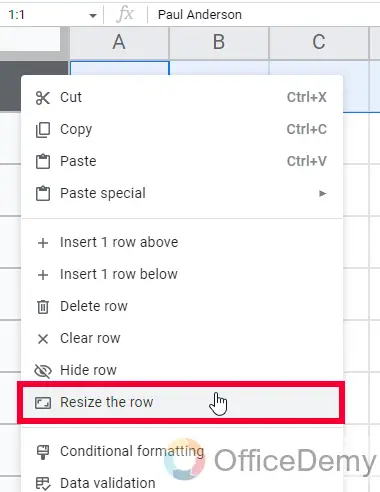
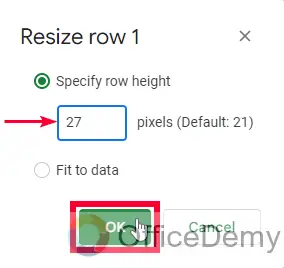
Now right-click on the row header, and you will see an option “Resize the row”
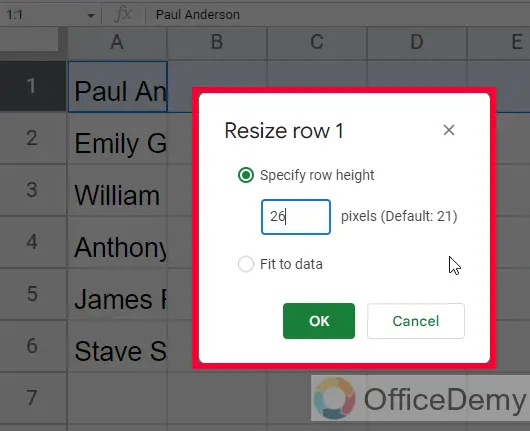
Step 3
A dialog box will appear, and here you can define the size of the row in number, you can also see the default size of 21 pixels for an idea.
Step 4
Enter a number and Click Ok and it will quickly change your row size.
Step 5
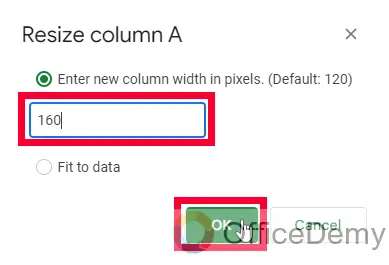
Else if you want to change the cell width (changing cell size horizontally), then click on the column header and it will be highlighted.
Step 6
Again, click on the resize row in the context menu, and you will see a dialog box for column size, enter a number and Click Ok to change the column size.
This is how you can change cell size in Google Sheets using an optimal way, this method is useful when you want to keep all cells exactly equal to each other.
But there is a problem, this method also changed the entire row or column, then what is the way to change specific cell sizes in Google Sheets?
Well as per Google Sheets’ native features, there is no legit way to change specific cell size because cells are bounded inside rows and columns and they cannot be changed because they have to be inside a grid. But we have a workaround that can be used to change the individual cell size in Google Sheets. Let’s see how to use that.
How to Change Cell Size in Google Sheets – Merge Cells Method
In this section, we will learn how to change cell size in Google Sheets using the merge cells method. But the merge is a different thing, still, we can make a workaround and change individual cell sizes (in a way), but the merge also has some limitations. So, let’s see how should we use the merge feature for changing individual cell sizes in Google Sheets.
Step 1
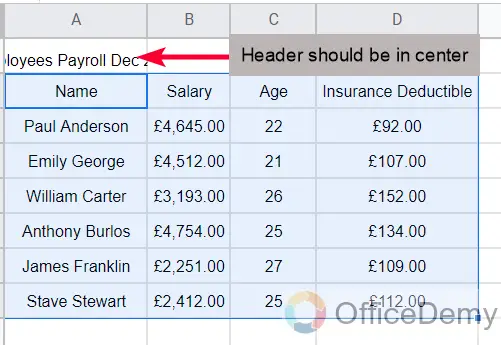
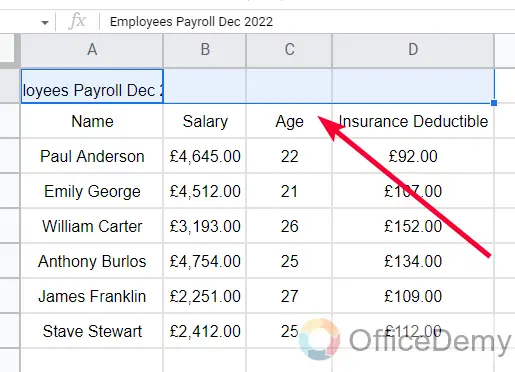
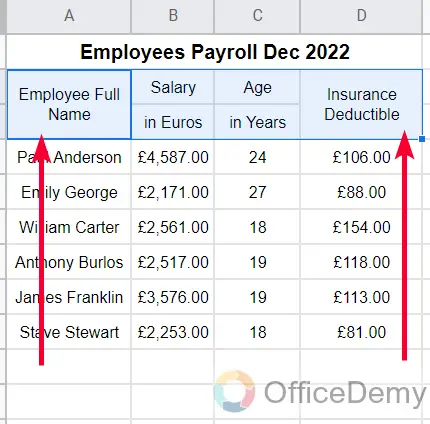
Let’s see this is your sample data and now you want to make a header on the top, but when you change the column size the entire layout is demolished.
Step 2
Instead of changing cell size, simply select all the cells till where you want to increase their size.
Step 3
Go to the Merge button in the toolbar, and click on it (not on the dropdown icon)
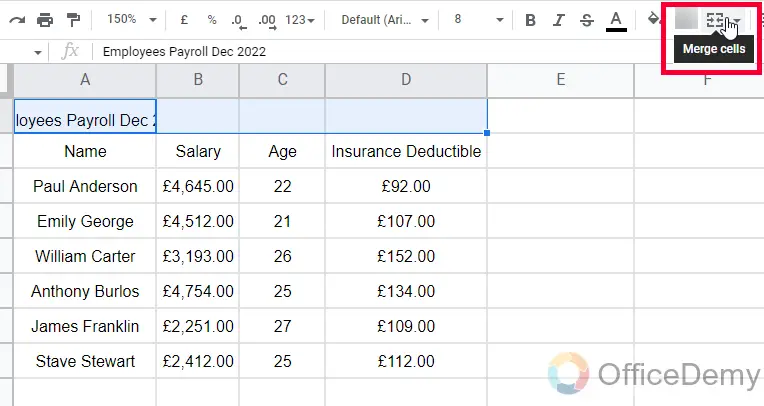
Step 4
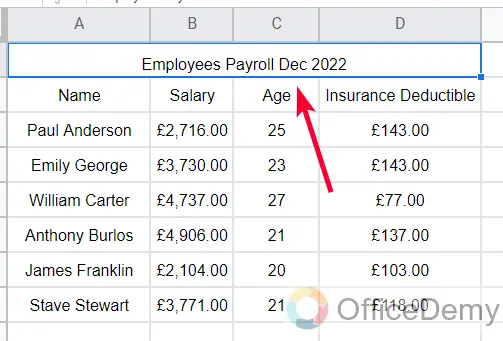
You can see your cells have been merged and they are looking like a single cell with a larger size.
Step 5
This can also be done for rows
We have two types of merges in Google Sheets
- Merge horizontally: It merges the cells horizontally, which means it combines several columns to increase the width of the cell
- Merge Vertically: It merges the cells vertically, which means it combines several rows to increase the height of the cell.
Now in the above method, we have solved both of our problems, now we can get optimum cell sizes, and we can change the cell sizes for individual cells.
Frequently Asked Questions
Can we merge rows and columns?
Yes. If you want to make a block, a divider, or a text container, to keep your content, you can merge columns and rows, you can even create an art board-like page by merging various rows and columns. but there are some limitations while merging, you cannot cross-merge a column or row. For example, if you have some data in A2, and some data in B2, then you cannot merge both of these cells, if you do you will lose the date of the second cell, so whenever you are merging cells for making a layout, it’s highly recommended to do it on an empty sheet and then put your data to save it from losing.
How to change all cell sizes together?
You can select all column headers, and then change the cell size using mouse drag, you use this same method on rows as well. Or, you can select the sheet’s origin point, and then drag the column first (any column) and all cells will take the same size, and then do it for a row (any row) and all the rows will take the same size.
Can I Add a Header in Google Sheets and Change Cell Size?
Yes, you can add headers in Google Sheets by simply entering text in the top row. To change cell size, you can go to the Format menu and select Row height or Column width to adjust accordingly. Adding headers in google sheets is an easy way to organize and label your data effectively.
Conclusion
This is all about how to change cell size in Google Sheets. I hope you have learned and understand the tactics behind changing cell sizes. I tried to cover all possible methods and use cases to change cell size in Google Sheets. I hope you find the above tutorial helpful and that you have learned something new from it. I will see you soon with another useful guide. Keep learning with Office Demy.


