
To Indent the Second Line in Google Docs
- Click on “View” and make sure the “Show ruler” option is checked.
- Select the paragraph.
- On the ruler, locate the blue triangle and drag it to indent the entire paragraph.
- Drag the rectangle back to its original position.
- Your second line should now be indented as desired.
OR
- Select the paragraph you want to indent the second line for.
- Click on “Format” in the toolbar, then choose “Align & indent,” and select “Indentation options“.
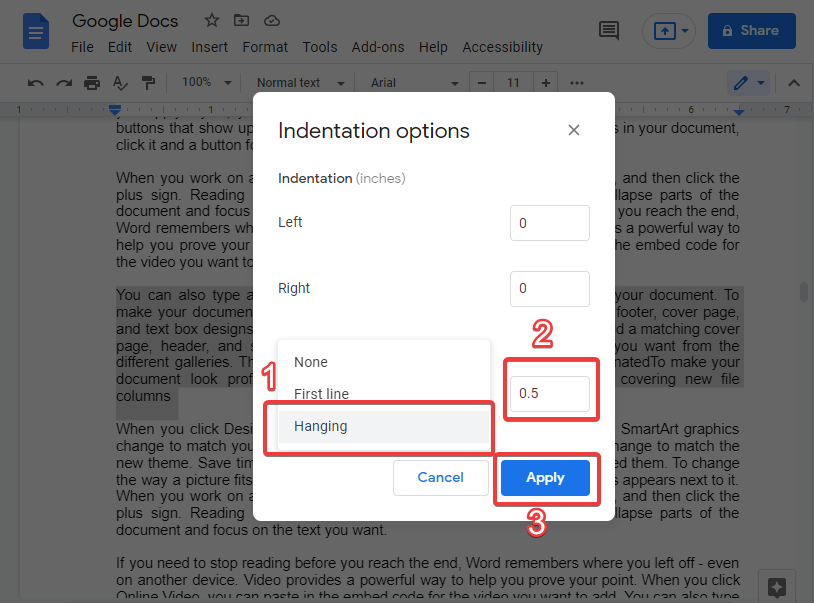
- In the “Indentation options” window, choose “Hanging indent” and specify the desired indentation in inches.
- Click “Apply“.
In this article, you will learn how to add columns in google docs.
Google Docs is a free, online, and web-based word processor offered by Google. It has many advantages such as smooth real-time collaboration, the ability to see the history of changes in the document, auto-saving, and the ability to work from anywhere. Whether you are using Google Docs to write a book, a research paper, or your resume, you probably know that the formatting of the document is as important as the content itself.
Sometimes when you are writing a document, you might need to indent a paragraph for some reason, so instead of pressing space many times, google docs created a feature that allows you to create indentation easily. But sometimes you might need to ident starting from the second line. In this article, you will find a step-by-step guide on how to ident the second line in google docs. But before that, let’s see what is the second line indent and when you need to use it.
If you are interested to learn about the procedure to do the regular hanging indent in google docs, please follow the link below.
How to Do a Hanging Indent on Google Docs (2 Methods)
When you should indent the second line if google docs
Second-line indentation, also known as hanging indent and reverse indent is a formatting feature that allows you to ident the second line and the subsequent lines without indenting the first line.
- Hanging is used when you are working on bibliography pages, works cited pages, or reference pages. Its main purpose is to make it easier to read the document.
- Depending on the citation style you are using, you might need to use the hanging indent(second line indent) in some styles such as the Chicago Manual of Style (CMS), American Psychological Association style (APA), and Modern Language Association style (MLA).
How to Indent the Second Line in Google Docs
There are many methods to indent the second line in google docs, all of them are easy and doesn’t consume a lot of time:
Method 1: Indent the second line in google docs using the ruler
Step 1:
Open google drive and then open the document that you are working on
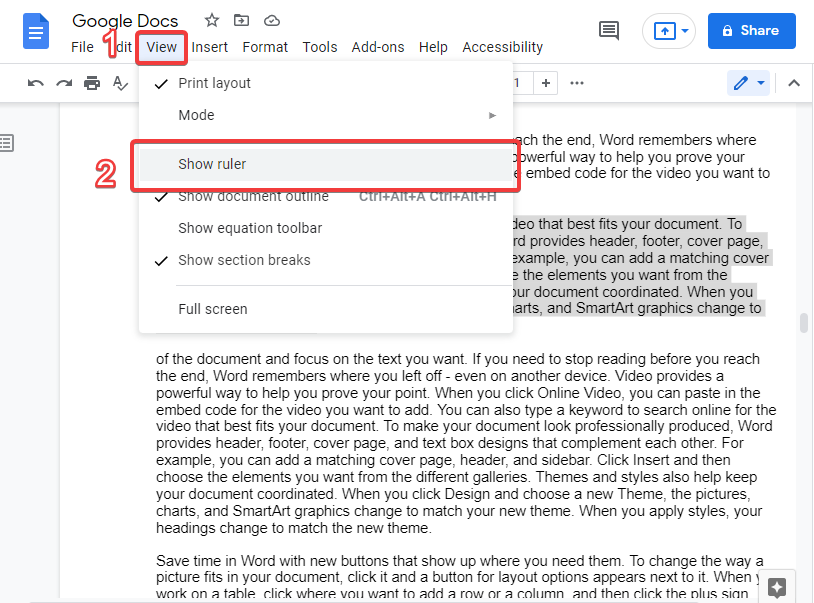
Step 2:
In the toolbar, click view, and then check the Show ruler option if it’s not checked
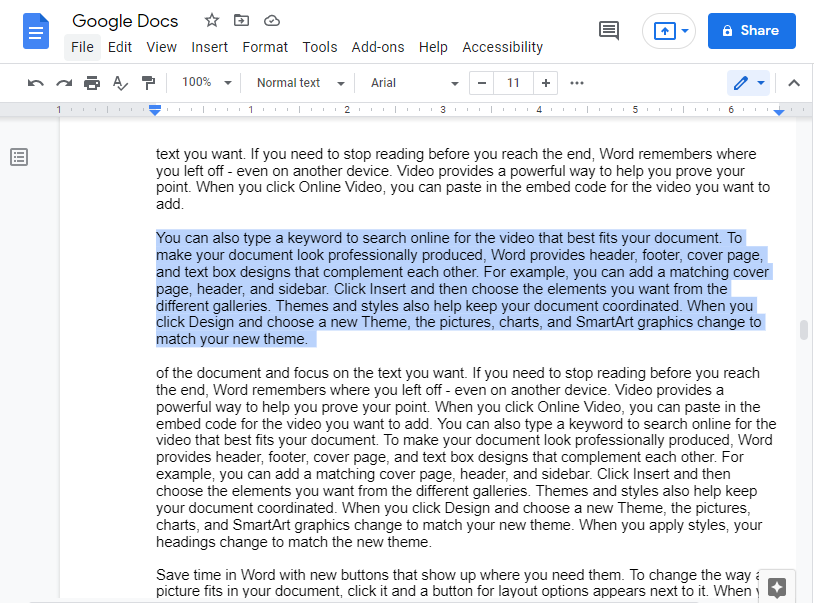
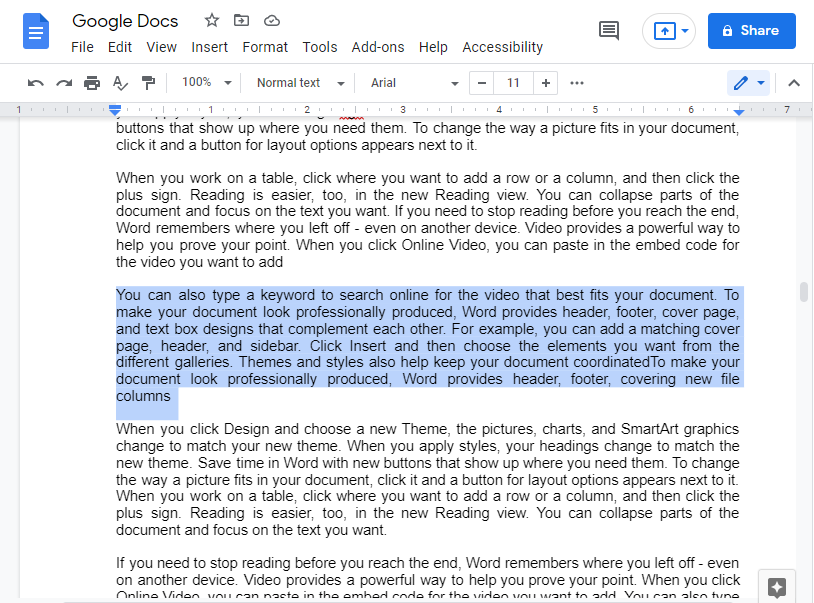
Step 3:
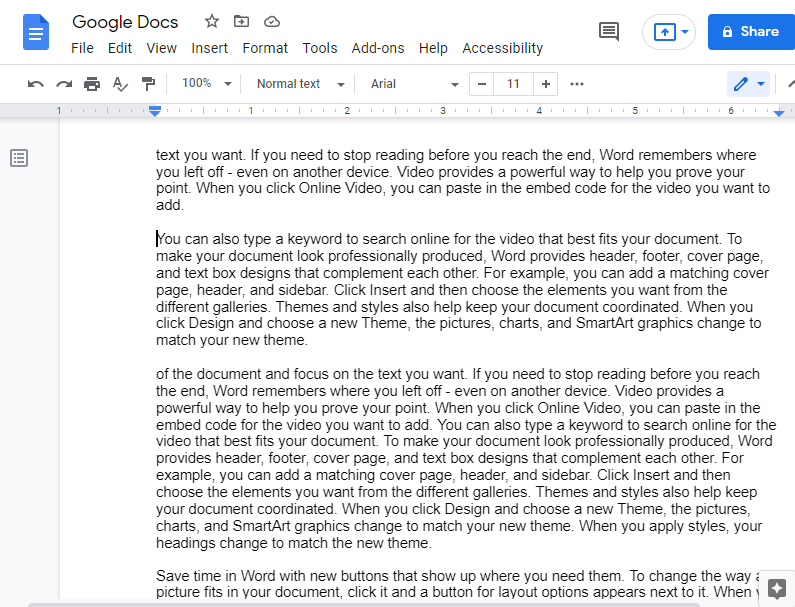
Use the mouse cursor to select the paragraph that you want to indent its second line
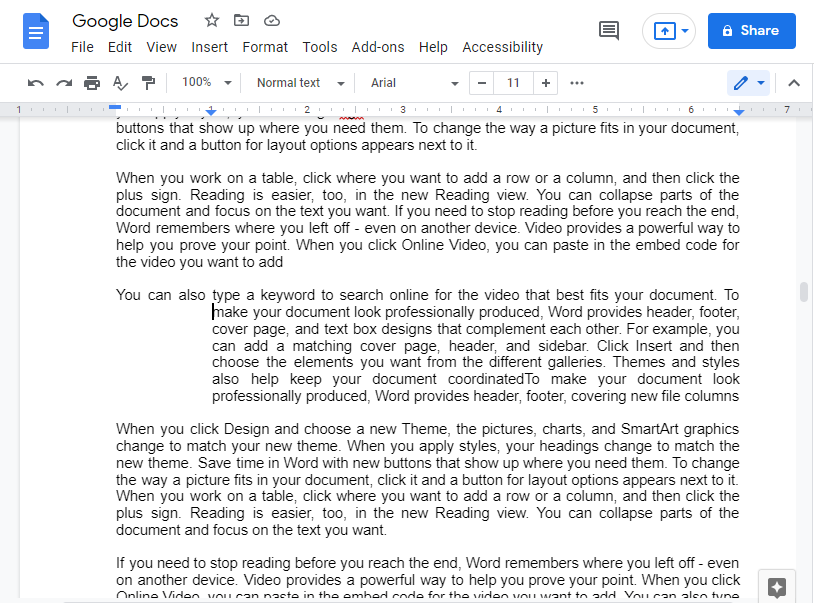
Step 4:
Go to the ruler and drag the blue triangle until the entire paragraph is indented
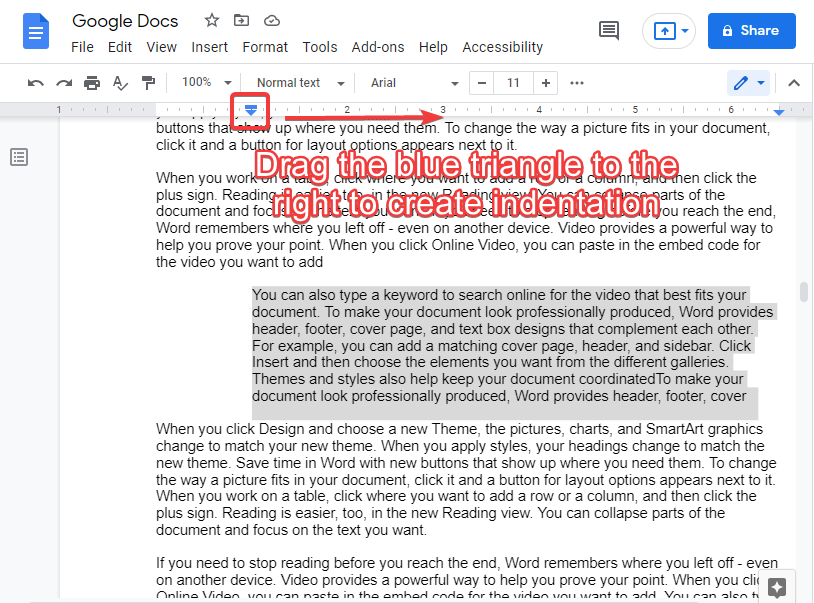
Step 5:
Above the blue triangle, there is a blue rectangle. Drag the rectangle back to its original place.
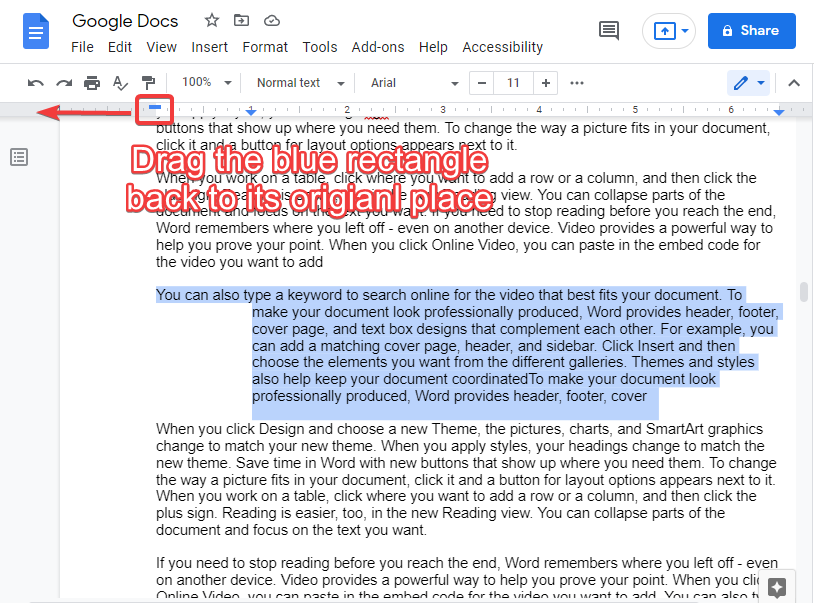
Step 6:
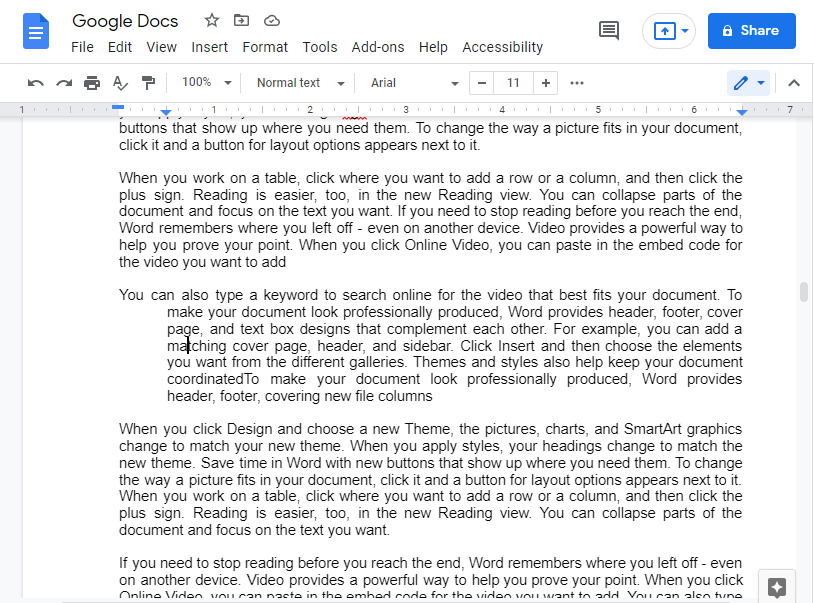
Now the second line should be indented as you want
Method 2: Indent the second line in google docs using Format tab
Step 1:
Open google drive and then open the document that you are working on
Step 2:
Select the paragraph that you want to indent its second line
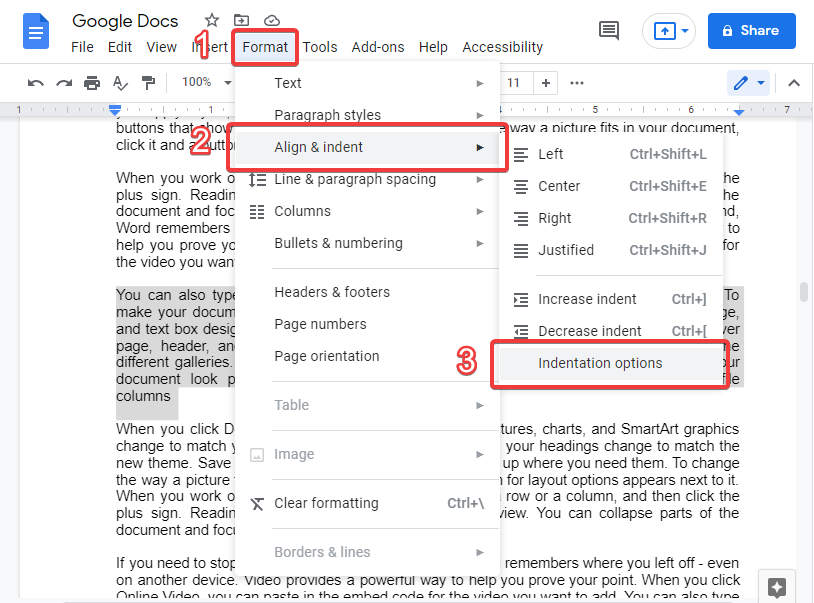
Step 3:
Click Format from the toolbar and then choose Align & indent, and then click Indentation options
Step 4:
Indentation options window will pop out
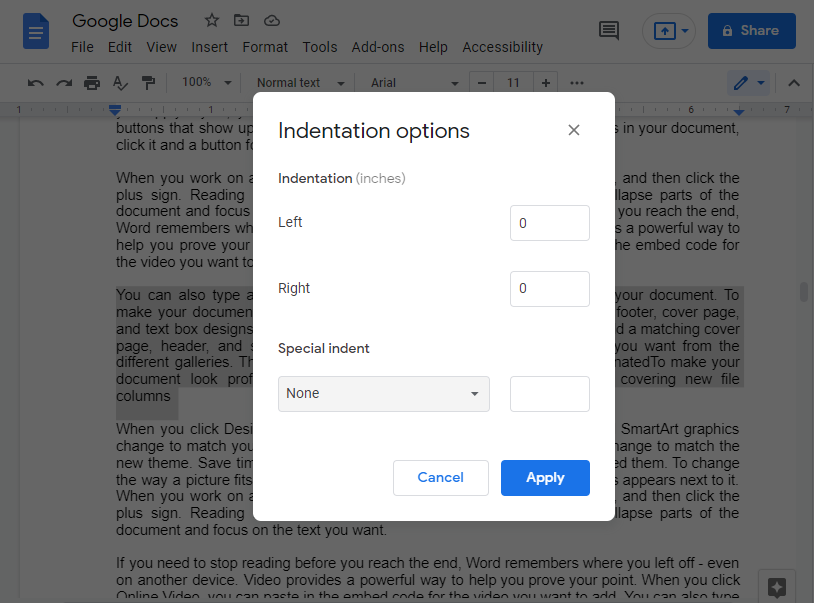
Step 5:
In the window, click the special indent then choose how many inches should it be from the box next to it.
Step 6:
Click Apply
Step 7:
Now, the second line should be indented
Notes
Now that you’ve learned how to indent the second line in google docs, there are some tips and notes that you should consider:
- If you only use the hanging indent for one paragraph, you can just hit Space five times. Although it may seem a trivial method, it works just fine.
- Both methods can be applied to multiple paragraphs or even the entire document if you need to indent all of it.
Conclusion
In conclusion, the second line indent or the hanging indent is a formatting tool that allows you to indent the entire paragraph except for the first line. It’s used to write bibliography pages, reference pages, and works cited pages. In some citation styles such as MLA and APA, using hanging indents is a must. In this article, you’ve learned how to indent the second line in google docs. The first way is to use the ruler tool. Go to the View tab and click the Show ruler option. After that, drag the blue triangle to indent the paragraph, and then drag the rectangle above the triangle back to its original place. The second method is using the Format tab. Go to Format>Align & indent>Indentation options and choose Hanging indent from the window.


