
To Make a Book in Microsoft Word
- Set Layout.
- Add a cover page.
- Insert page numbers and headers.
- Use “Dropped Cap” for decorative elements.
- Add images.
- To print a booklet, set page layout to “Book fold” under “Layout” then print in duplex mode from the “File” tab.
- For PDF export, use the “Export” option under the “File” tab.
Hi, welcome to a very useful tutorial. Today we will learn how to make a book in Microsoft Word. Microsoft Word is becoming more prominent in providing more opportunities to users, similarly, Microsoft Word can facilitate the writers to publish their thoughts on their own devices. You can easily create a booklet in Microsoft Word. In this article on how to make a book in Microsoft Word, we will teach you enough stuff to get your booklet so let’s move towards the next section.
Why make a Book in Microsoft Word?
Making a book in Microsoft Word can give you a platform to format and set up the document in a centerfold so that writers can assume their books’ real look and can make changes if needed to update the formatting. Microsoft Word has hundreds of features and enough tools that may be needed in making a book. Not only creating, but Microsoft Word can also give you book printing customization to order the pages so you can also easily bind your book. Learning how to make a book in Microsoft Word makes it easier to complete hundreds of projects and accomplish them by publishing.
How to Make a Book in Microsoft Word
The procedure of making a book in Microsoft Word is not rocket science but you must have a script for your book then you can easily write a book in Microsoft Word. All essential fundamentals that are used in writing or making a book can be learned by the following steps.
Step 1
First, we will take a new blank file when we open Microsoft Word.
Step 2
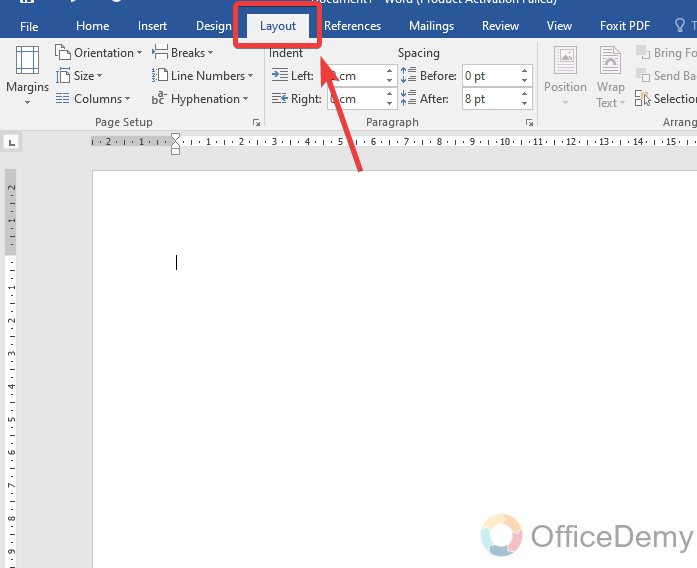
To make a book in Microsoft Word, first, we will set the layout of the page. To set the layout there is a tab in the menu bar named “Layout“, you can change all the layout options by accessing this tab.
Step 3
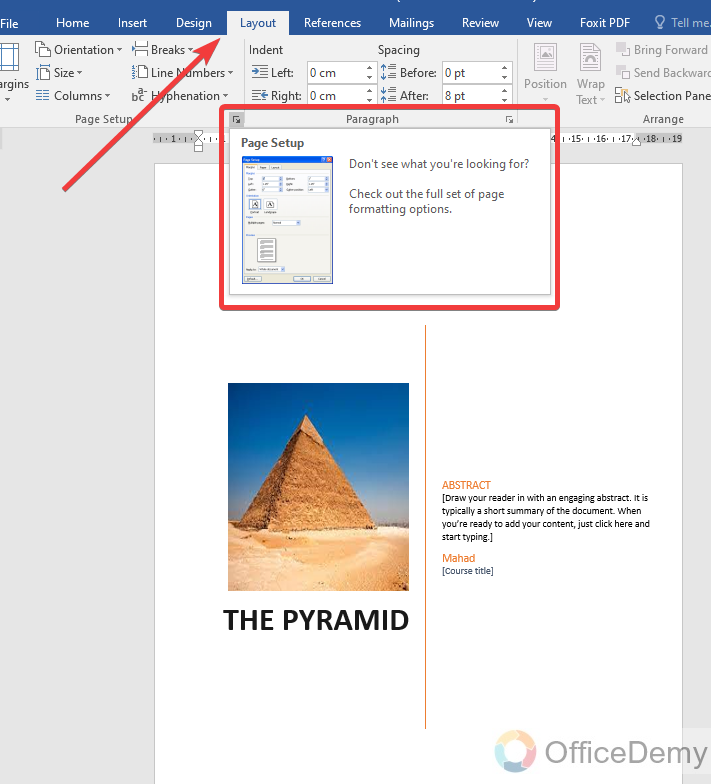
When you click on this tab of the menu bar, and look at the page setup section, you will see a small arrow at the bottom end of the section, through which you can access the page setup properties.

Step 4
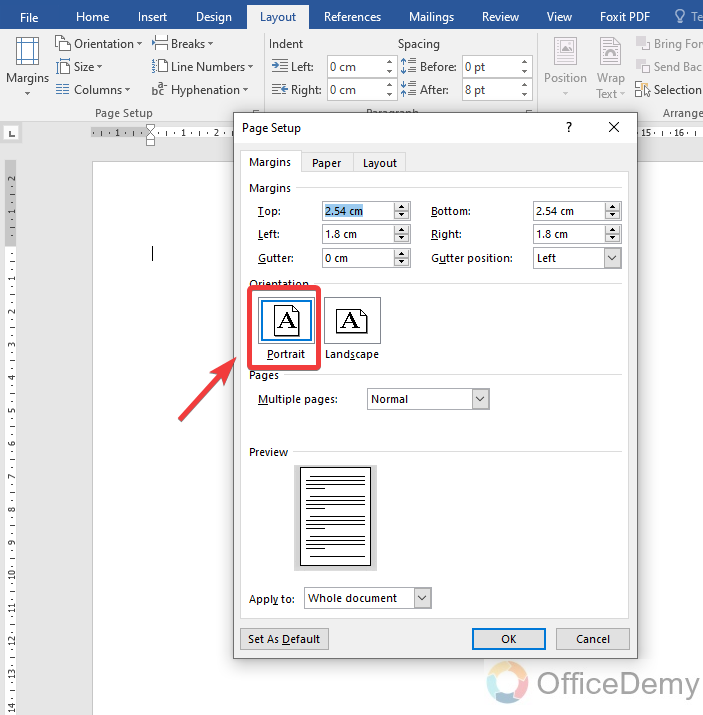
First, we will set the page margins for the book. As you can see in the following picture in the properties dialogue box at first there are margins measurement boxes as highlighted below. For my book, I am selecting narrow margins of 1.8 cm along the width and for height would remain the same as the default.

Step 5
If we talk about orientation, obviously we will use “Portrait” orientation for our book. Select the orientation from the following options, you can also select landscape if you want to create your book in landscape format.
Step 6
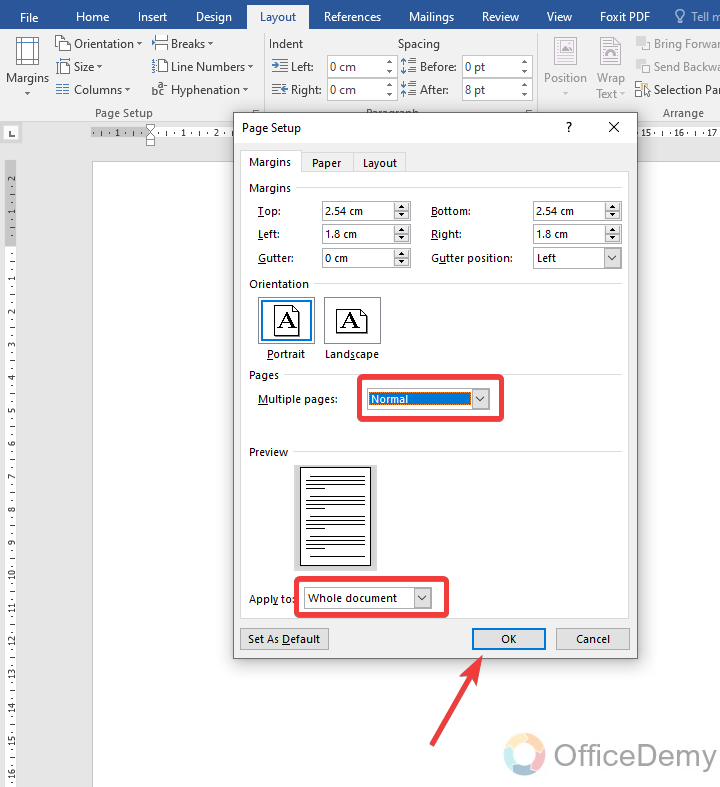
Similarly, check out some more options from the properties dialogue box according to your need then simply click on the “Ok” button to apply these changes to your document.
Step 7
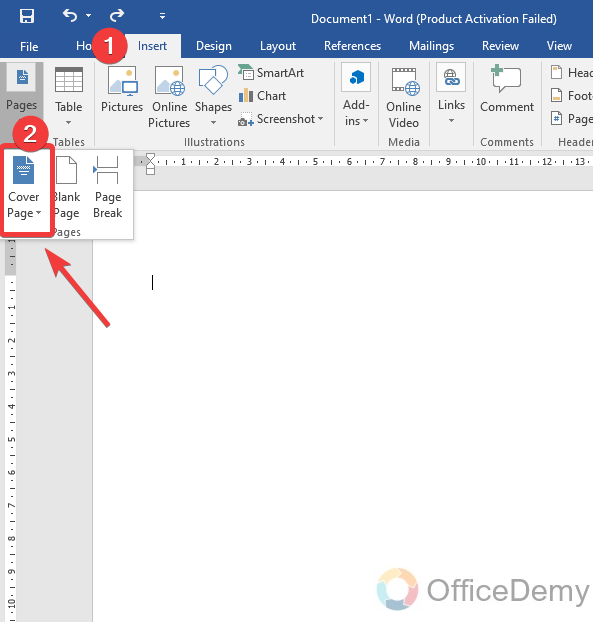
Page setup for the book has been set, now let’s start to create a book in Microsoft Word. As we know, a book is known for its title. To make an attractive cover page for the book. I will use the Microsoft Word cover page feature which we may find prepaid attractive cover pages for the book. Ro access this cover page option go into the Insert tab of the menu bar then at the first option, you will find the “Cover Page” option in the “Pages“.
Step 8
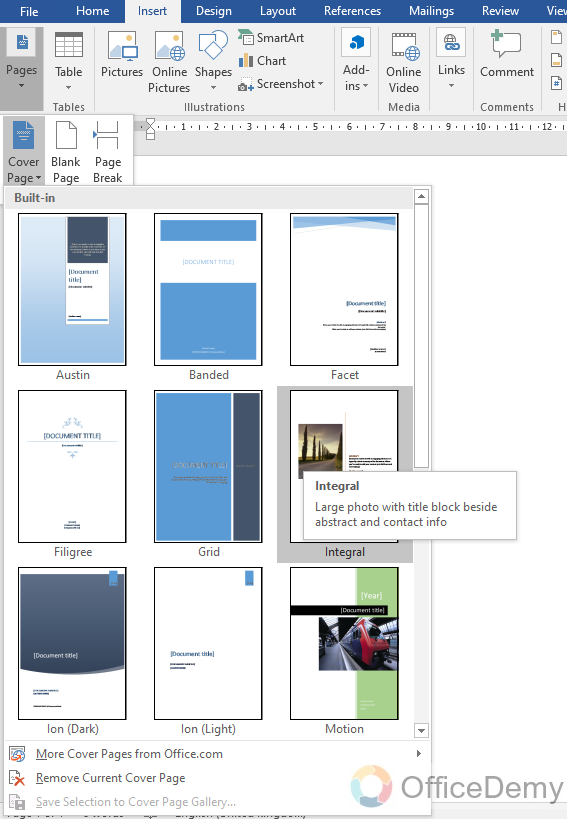
Select your favorite cover page for your book, related to your book title.
Step 9
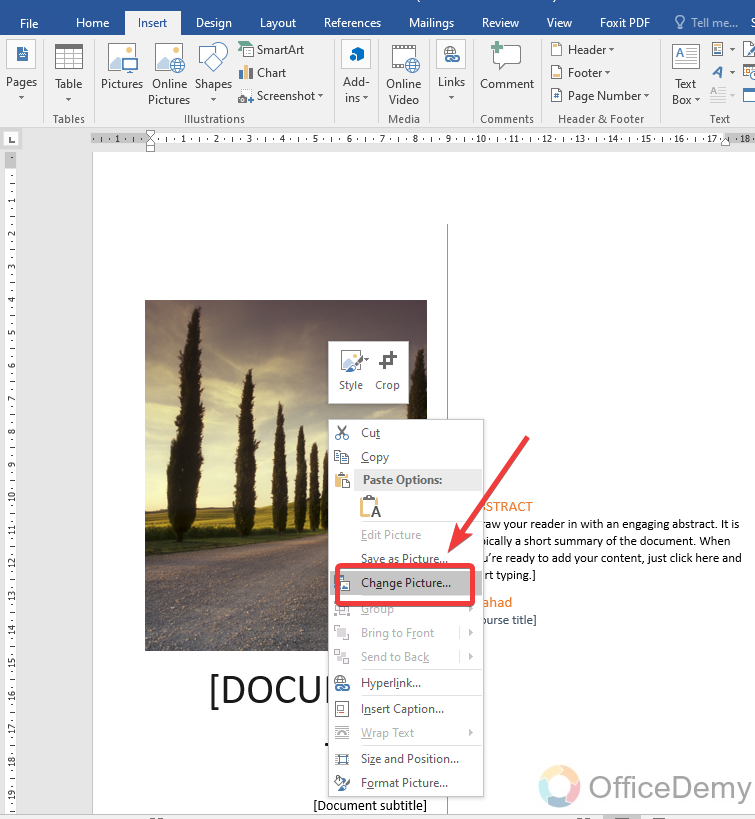
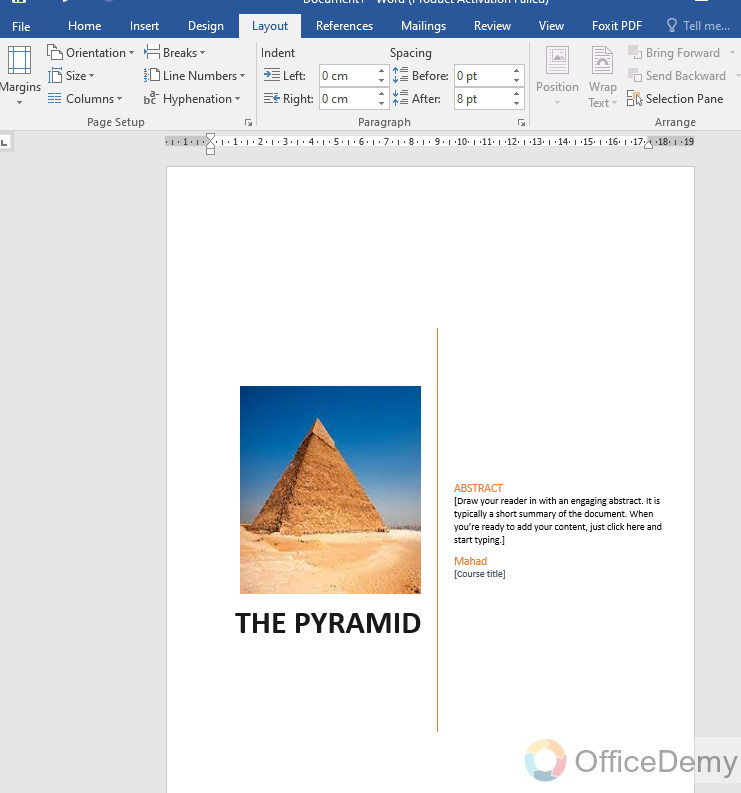
These prepared cover pages include some text and figures in it which you can change or customize according to your topic. As you can see in the following picture, I am changing the default picture of the cover page by right-clicking on it, where we will find the “Change Picture” option.
Step 10
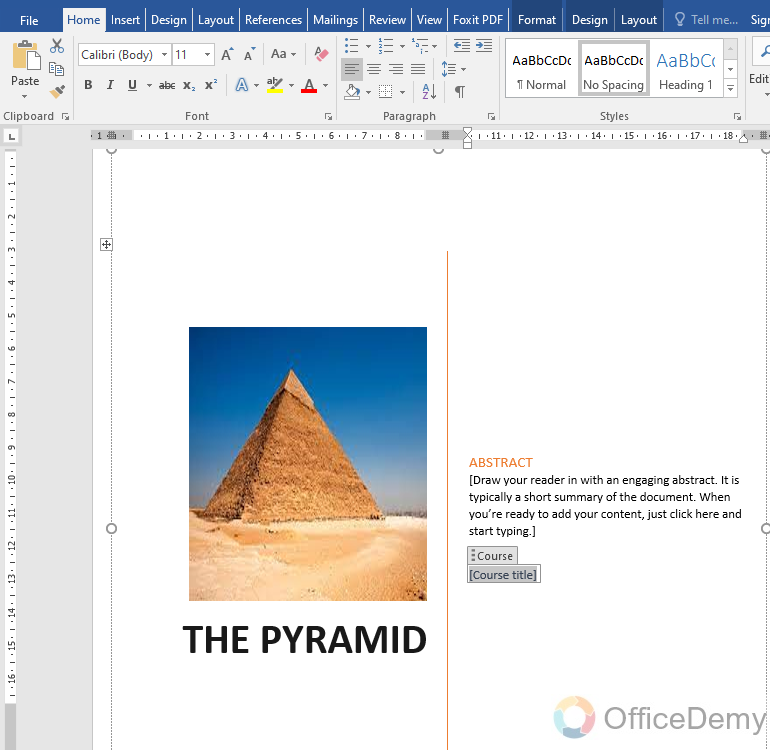
You can see the result, picture and title have been inserted and our title page is almost ready.
Step 11
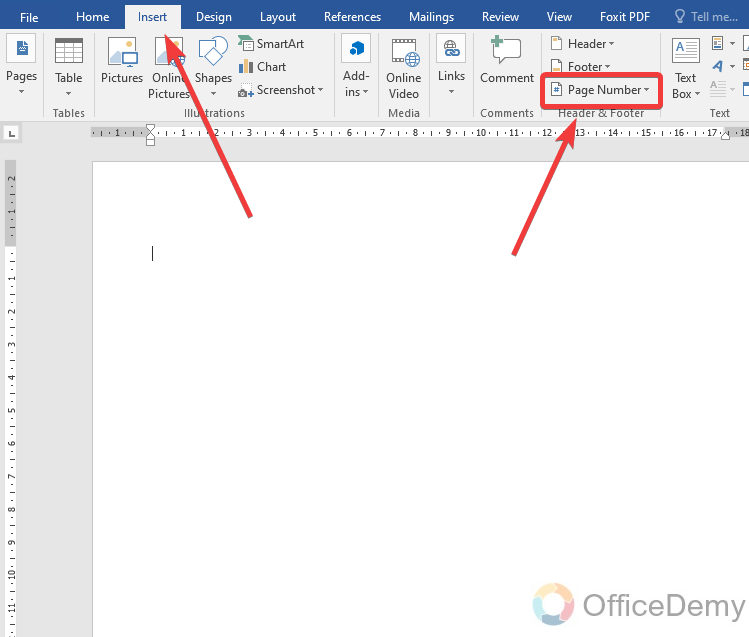
Before starting, writing in a book I will insert the most important factor of the book which is Page number. To insert page numbers in a book, open the “Insert” tab of the menu bar where you will find the “Page number” option easily as shown below.
Step 12
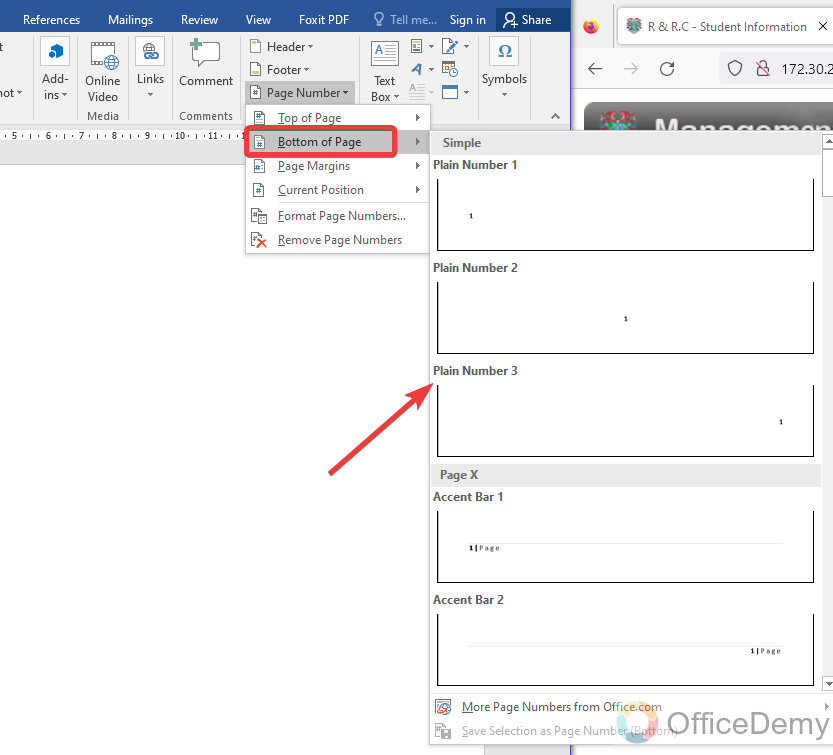
When you click on this Page number option, it asks you about the format of the page number about where you want to place it. In these options, you may point your page numbers in your document anywhere.
Step 13
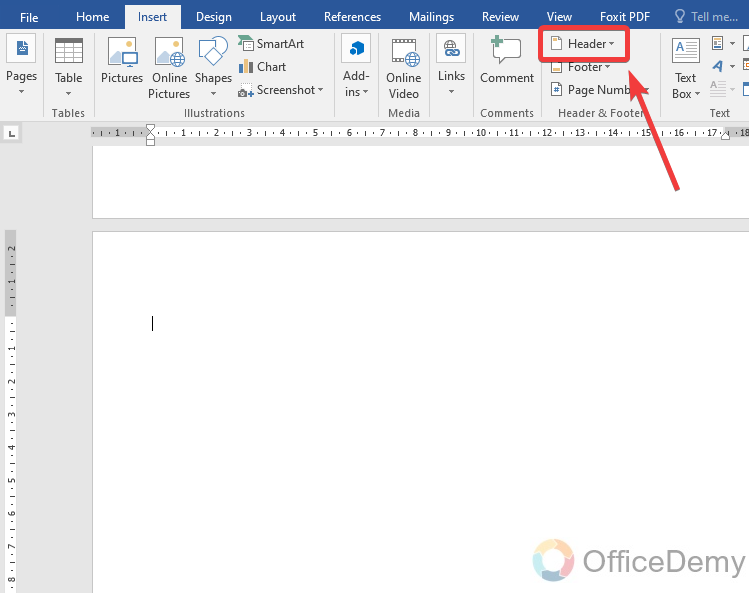
While reading a book, you have noted at the top of the book has some text as a header in which you may find the author’s name, chapter number, book title, etc. This can also be inserted in Microsoft Word as well with the following option as highlighted in the following picture.
Step 14
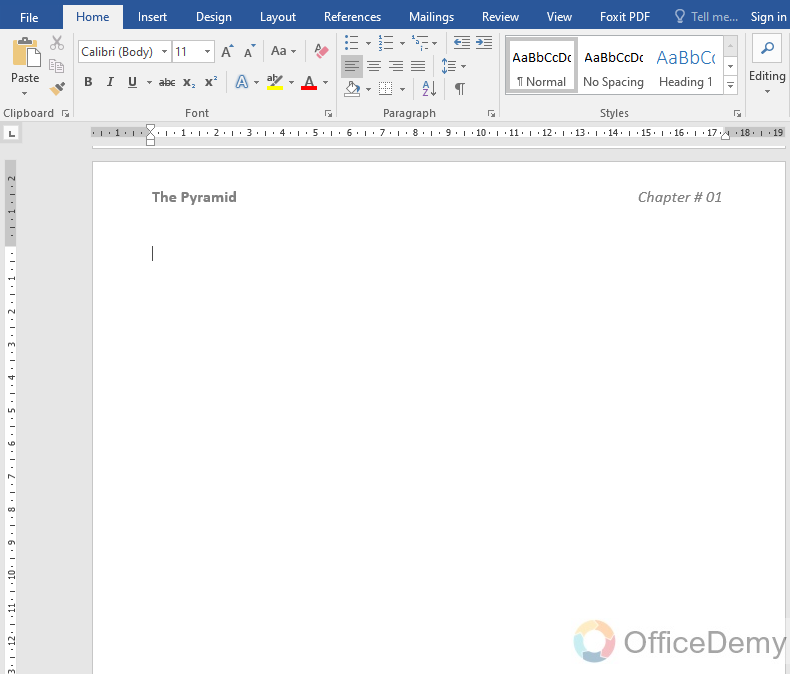
The result is in front of you as shown in the following picture. You can also add these headers in Microsoft Word to make your book a complete look.
Step 15
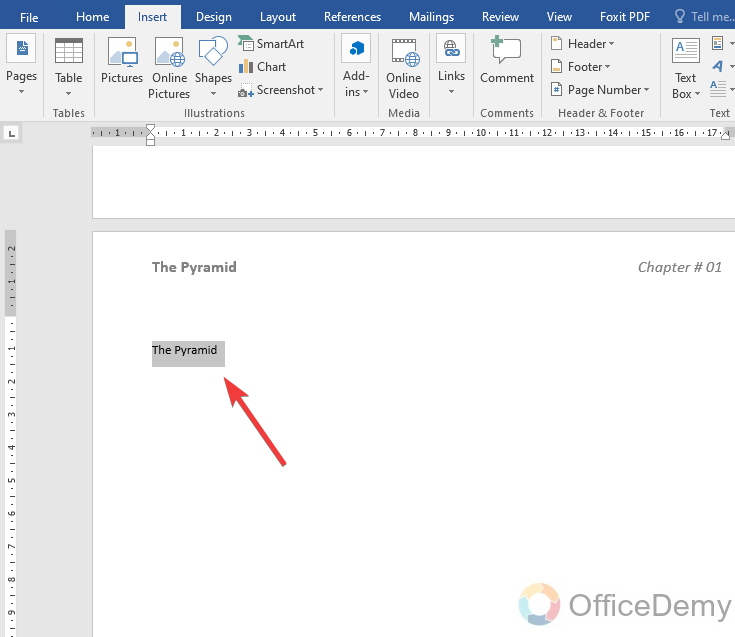
One more feature of Microsoft Word is that it is so interesting which may be helpful to you while making a book in Microsoft Word. Let’s suppose you are starting to write a book as follows.
Step 16
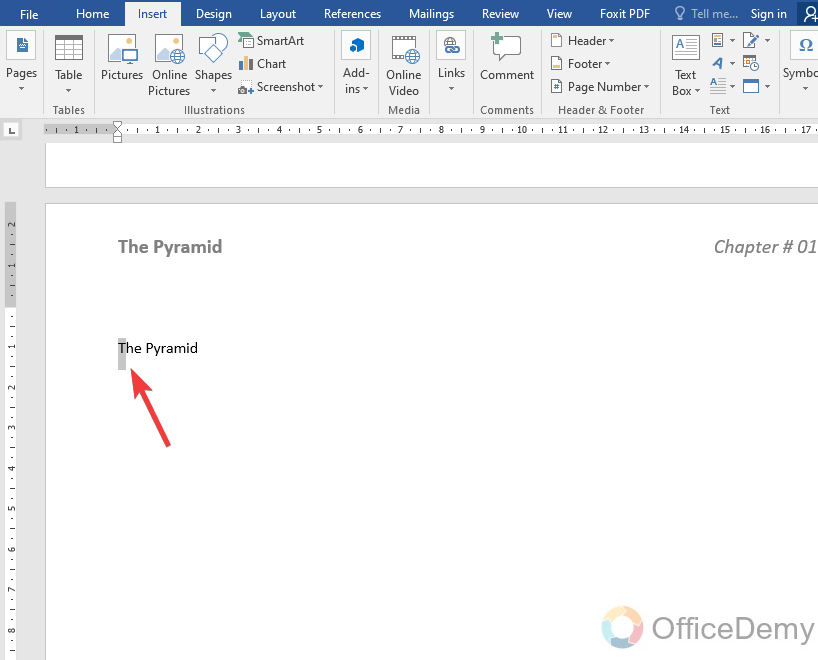
Select the first letter of your sentence from your writing.
Step 17
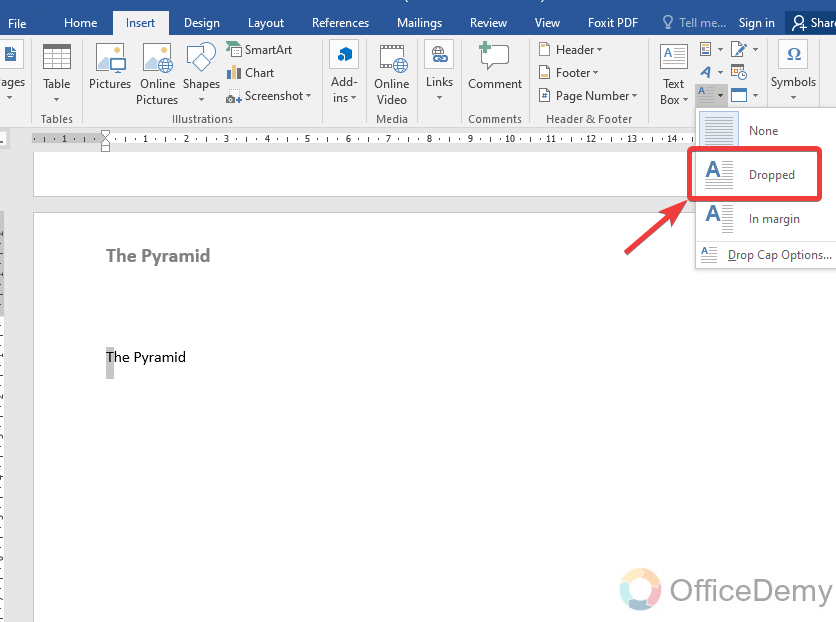
Then go into the “Insert” tab of the menu bar, just next to the Word art option, you will see an option in which you can see a “Dropped” cap option.
Step 18
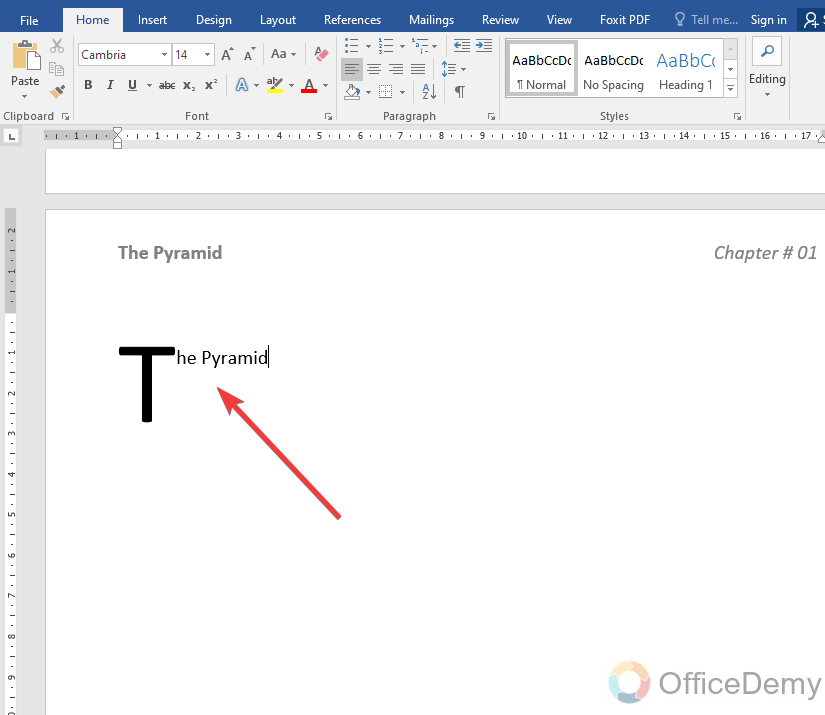
This will give you the following result which is mostly used in making books to decorate elements at the beginning of a paragraph or section.
To make a book all of the above essential factors are almost enough. You can create a complete book easily with the help of all the above features. One thing more you may need while making a book in Microsoft Word is to add images to your book.
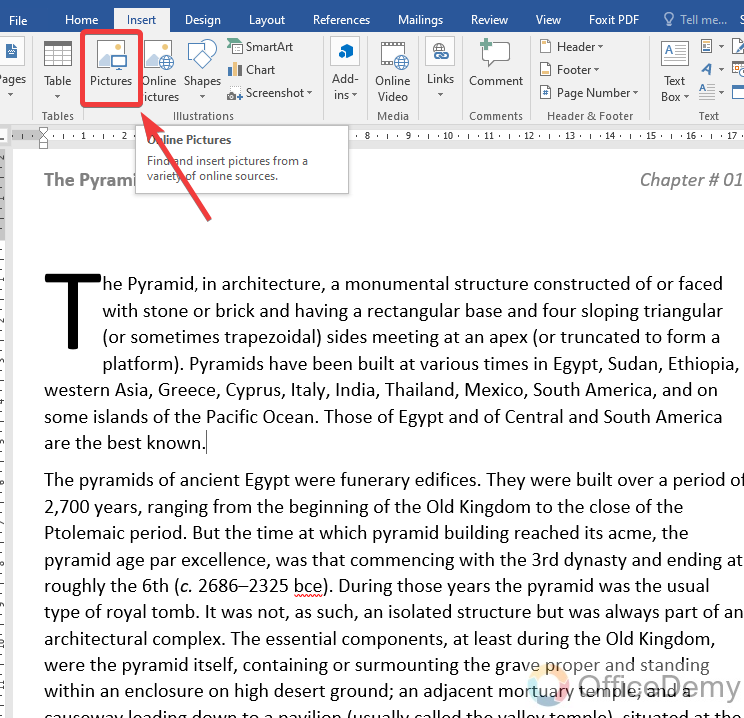
Step 19
If you want to add an image to your book in Microsoft Word, then you can easily insert it from the “Pictures” in the Insert tab.
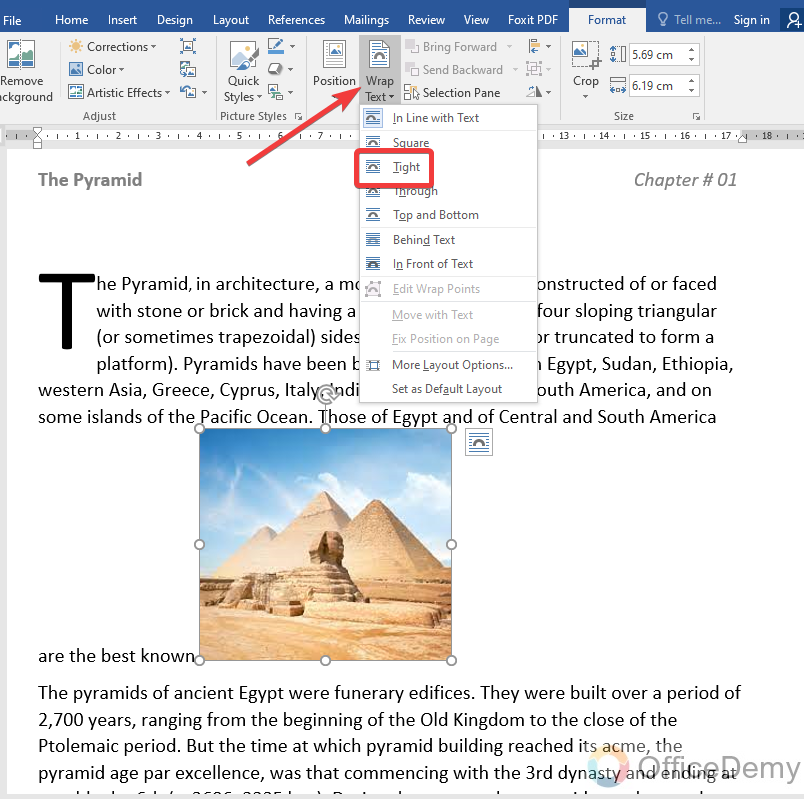
Step 20
Once you are done with inserting an image in Microsoft Word, apply wrap text on it to move it. This wrap text option can be found in the “Format” tab. Select your wrap text option. As I have selected “tight“.
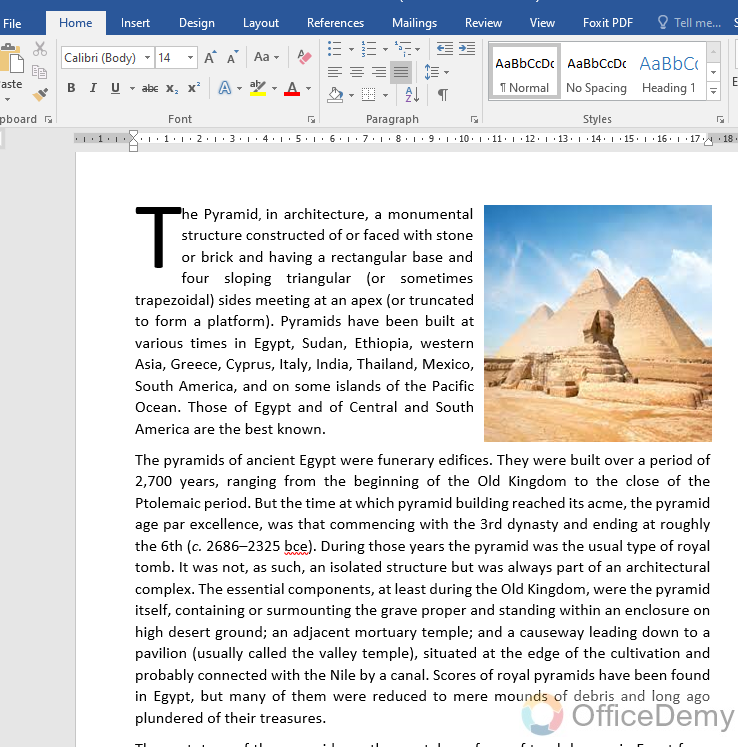
Step 21
Now, you can easily move your picture by dragging it. We are almost done with a book format in Microsoft Word. In this way, you can easily make your book with the above features in Microsoft Word.
Frequently Asked Questions
Can I Use the Same Steps in Microsoft Word to Make a Booklet in Google Docs?
When it comes to creating a booklet in google docs, you may wonder if the same steps used in Microsoft Word are applicable. While the two software have similar functions, the process may differ. However, with Google Docs, you can still achieve the same result by utilizing tools like the Booklet add-on or customizing your page setup according to your desired booklet format.
Q: How to print a book in Microsoft Word?
A: By default, Microsoft Word usually prints a single side sheet of paper but in a booklet, we need to print in both sizes and a consecutive sequence. But don’t worry, Microsoft Word provides more custom features to print a book easily. These are the following steps through which you can easily print a book in Microsoft Word with just one click.
Step 1
Let’s suppose, you have written your book and are ready for print, then following are the steps to print a book in Microsoft Word.
Step 2
First thing you need to do that, open the “Page Setup” option from the Layout tab of the menu bar.
Step 3
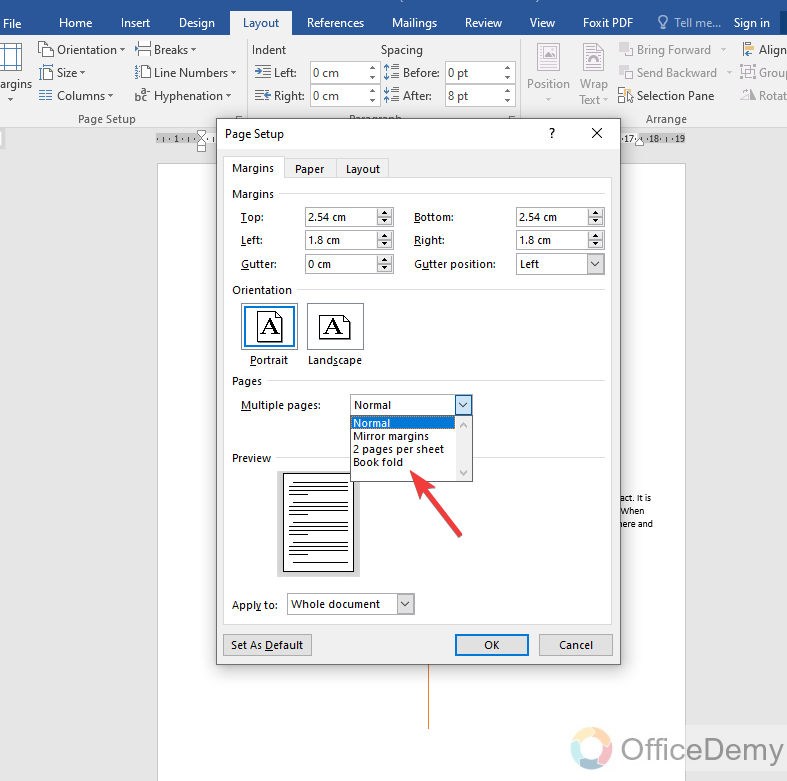
In this Page setup properties, you may see an option of “Multiple pages” in the properties dialogue box in which select the “Book fold” format.
Step 4
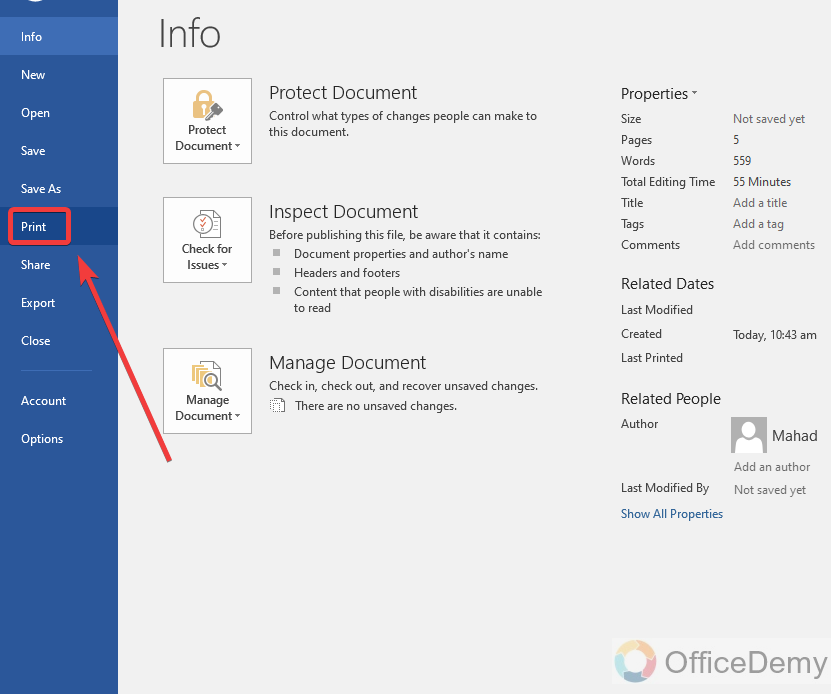
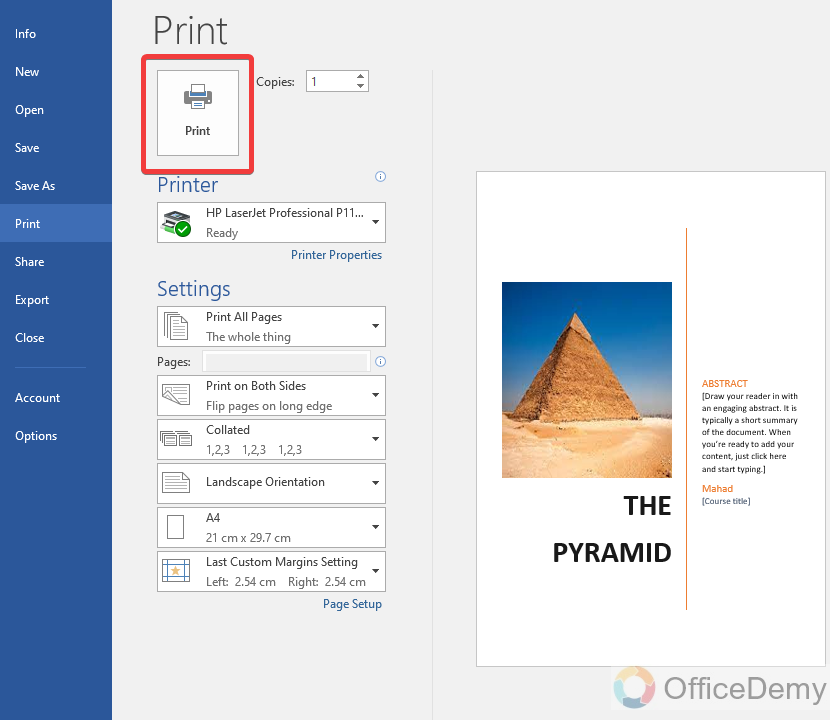
Then come back into the “File” tab and then click on the “Print” option from the left bar menu. You can also directly press the print shortcut key “Ctrl + P” to print your book.
Step 5
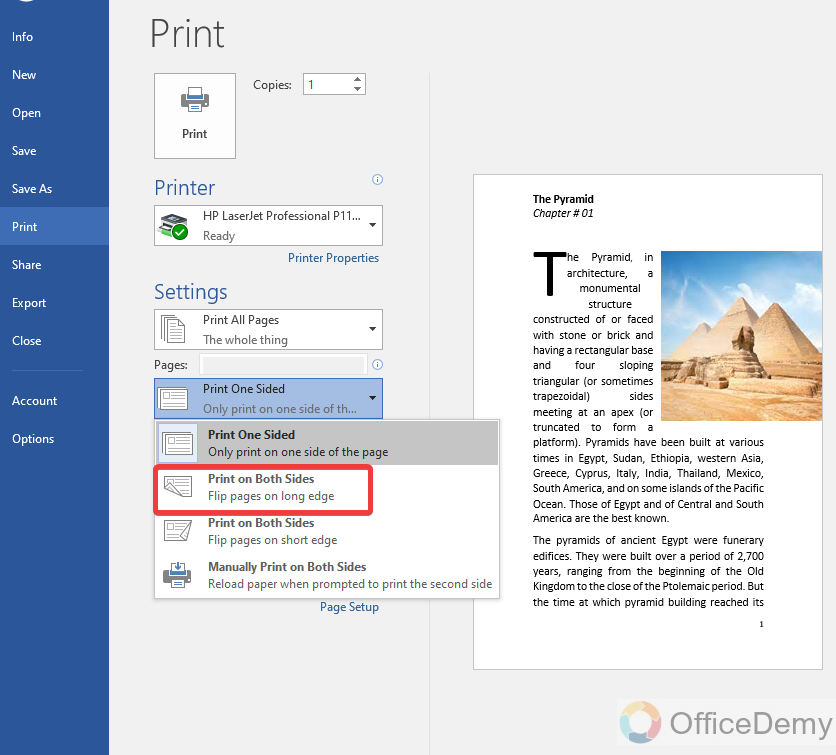
Before pressing the printing button, set the page’s format to “Both sides printing“. to print your book pages in a duplex.
Step 6
Now, you can press the “Print” button to print your book in Microsoft Word. These custom changes will give you print pages in the sequence and on both sides to make a book.
Q: Can we export books in pdf in Microsoft Word?
A: Once you have completed a book in Microsoft Word and want to share it in Pdf format with anyone then you don’t need to go for any third-party app, because you can get your pdf book in Microsoft Word itself. This export button you can find in the “File” tab of the menu bar of Microsoft Word.
Conclusion
So, this was all about how to Make a Book in Microsoft Word. I am sure, if you are a book lover then after reading the above article on how to make a book in Microsoft Word, Microsoft Word must be found valuable in your opinion. If you have any thoughts on this, tell us in the comments section now.


