
To Make a Collage on Google Docs
- Open Google Docs.
- Access the drawing tool via “Insert“.
- Upload and arrange your images.
- Add borders if desired.
- Save your collage.
In today’s article, we will learn how to make a collage on Google Docs. Google Docs is not just used to make and edit documents but there is much more than you think. The beauty of using Google Docs is that it allows you to do multiple tasks on a single platform. It can be used to perform basic tasks of editing images too. You can also make a collage on Google Docs. A photo collage is a collection of photos in which we assemble various photographs on a large surface.
There is no direct way to make a collage in Google Docs. However, you can do this by indirect methods without leaving the Google Docs page. Don’t worry, the procedure steps are quite simple and easy to understand even for a beginner. You don’t even require any other tools or techniques for this job. Just read this article completely till the end and it will surely guide you on how to make a collage on Google Docs in different ways.
Importance of making a Collage on Google Docs
Inserting a collage rather than individual images in Google Docs is sometimes beneficial for us because firstly, a collage acquires less space on the page, and secondly, it is easier to edit or move a collage than individual photos or images. We have different modes of editing collages in Google Docs such as move, resize, and rotate as well as we can select and apply desired color, style, border, etc to make an impressive photo collage.
If you are confused about selecting one photo to display then a collage is the best way that allows you to show a collection of photos in a single frame. Furthermore, a collage could be more interesting as compared to a single photo, that’s why business employers also make collages for their digital content because it helps them to engage readers.
Therefore, this is an interesting art with several advantages. Let’s learn how to make a collage on Google Docs to create beautiful collages. In the next section, we are going to explain a step-by-step procedure of how to make a collage on Google Docs. So have a look at these steps.
How to Make a Collage on Google Docs
Google Docs is a word processor online application but still, Google Docs is providing many features to make a drawing, charts, booklets, pamphlets, and brochures, and also deals with the formatting of pictures in a different manner. Similarly, you can easily make a photo collage in Google Docs as well by adding multiple images and adjusting their size, shape, and border. You can learn all these techniques in the following steps so you can also make your photo collage in Google Docs.
Step 1
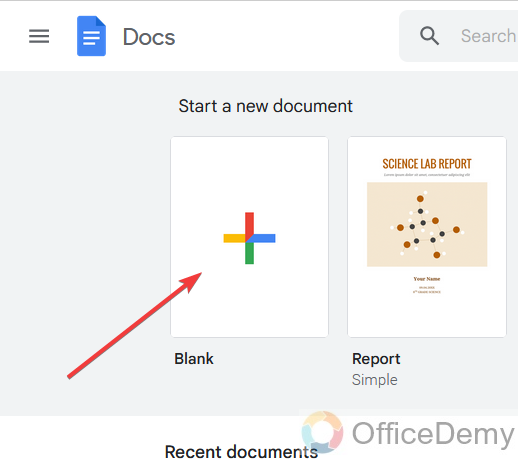
Open Google Docs and take a new blank file.
Step 2
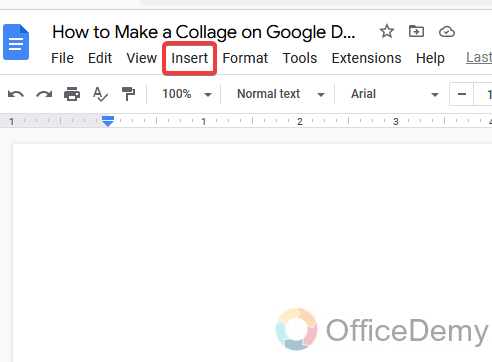
Then to make a collage, we can not directly mess with the images so here, we will use the drawing tool of Google Docs. To open the drawing tool, go to the “Insert” tab in the menu bar.
Step 3
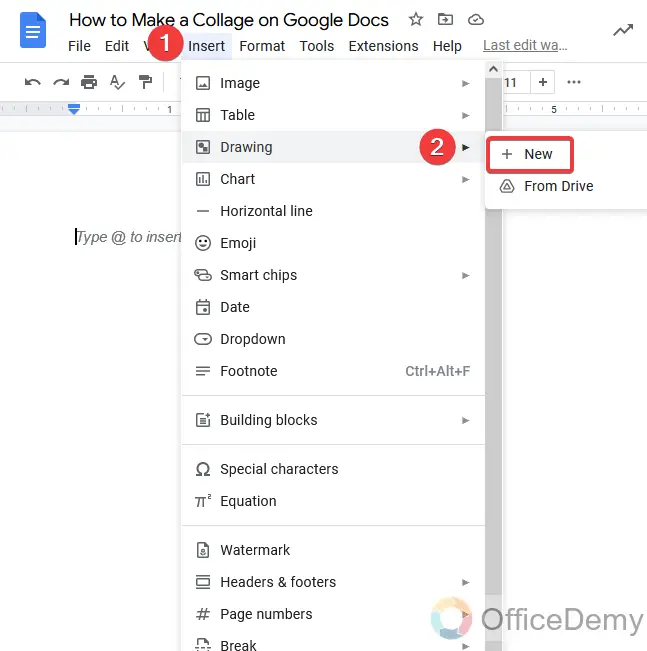
When you click on the insert tab a drop-down menu will open where you will find the drawing tool, click it to expand more and take a new file.
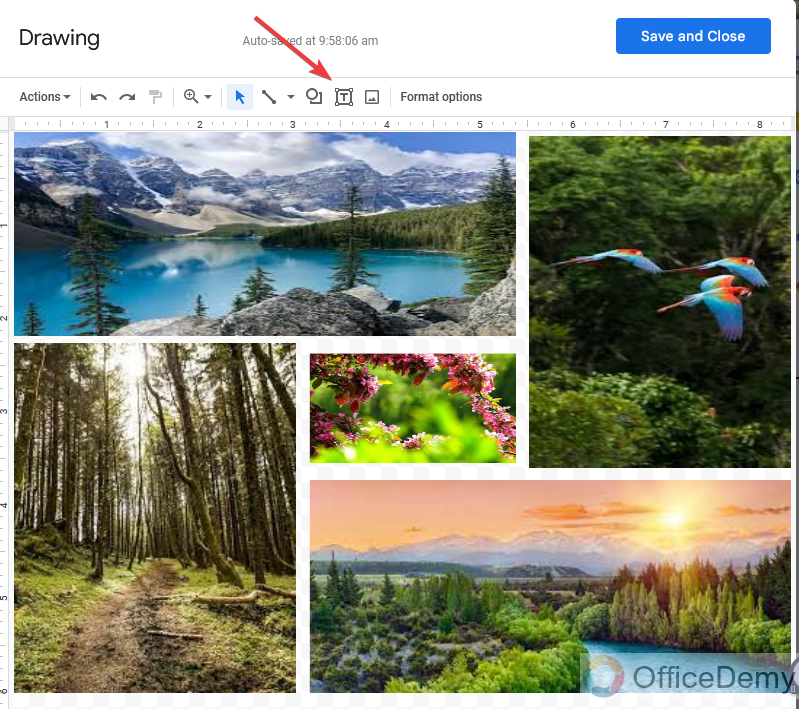
Step 4
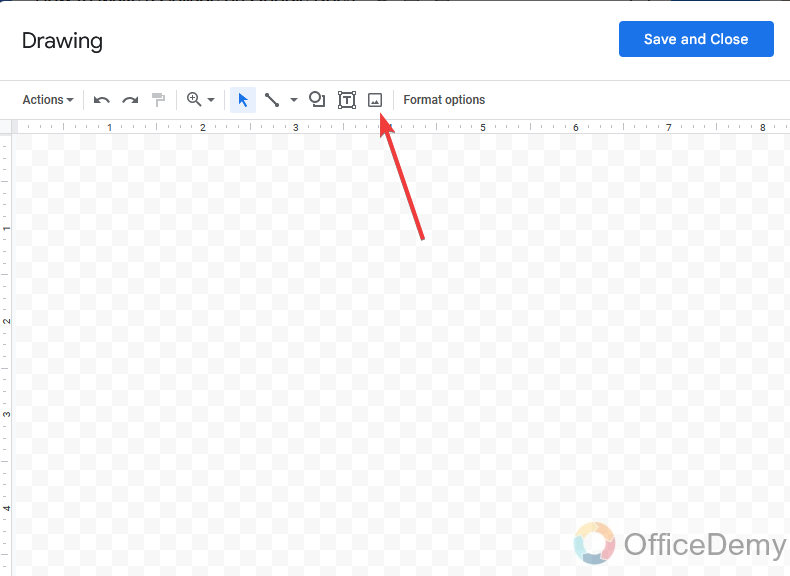
This is the drawing tool window of Google Docs in front of you, as you can see the image uploading icon mentioned in the following picture. You can upload images from this icon.
Step 5
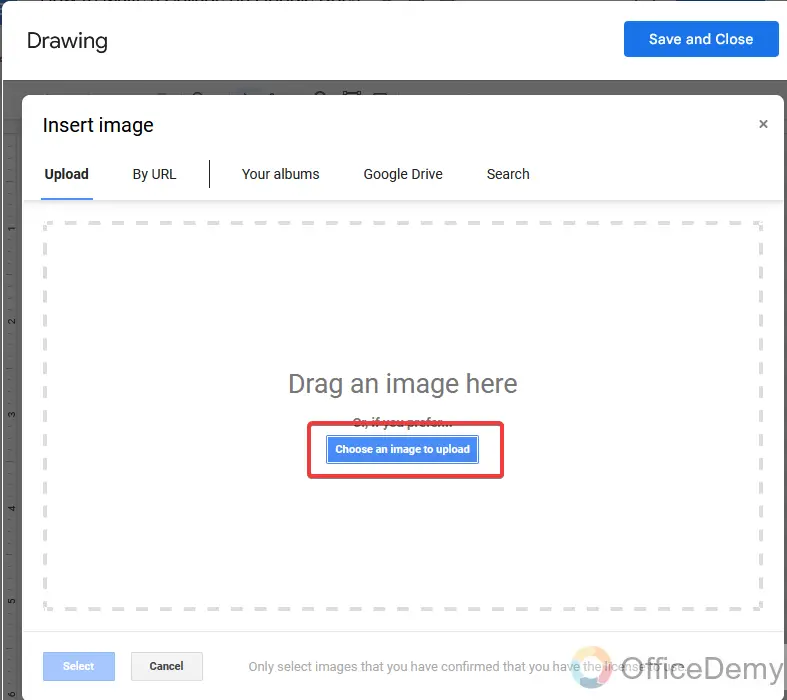
When you click on the image uploading icon a new pop-up window will appear where you can drag your images to upload or can use the upload button.
Step 6
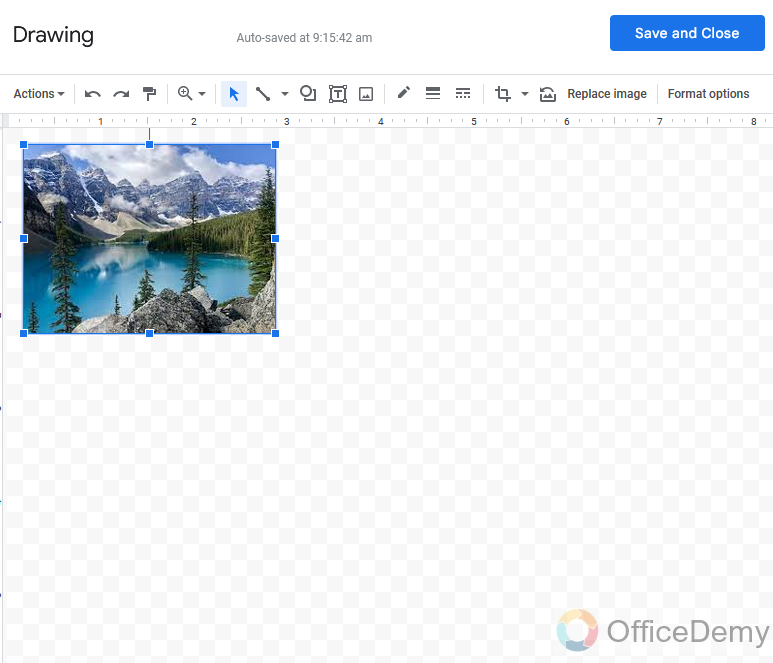
Once you click on the upload button, it will ask you to select a file, as you select the file and open it, it will be uploaded to your drawing tool for further formatting.
Step 7
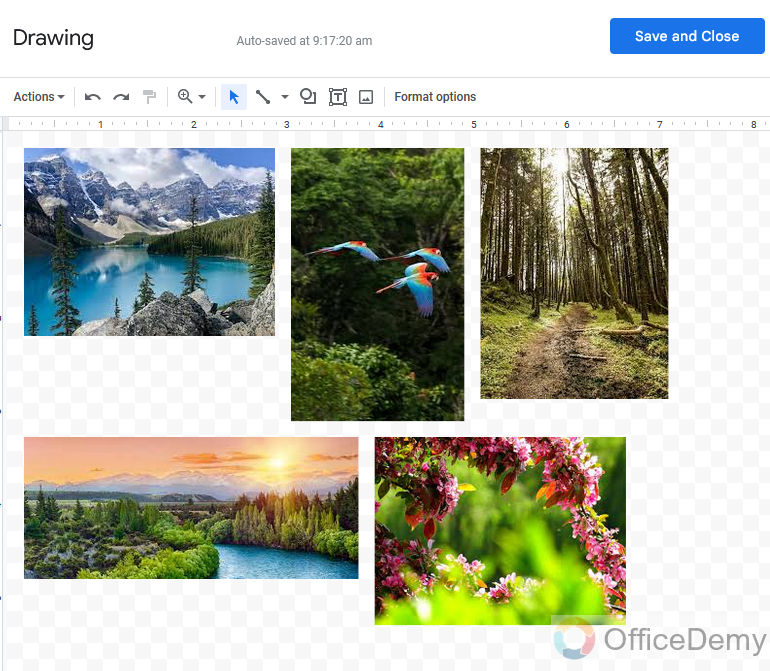
As we are making a collage, we need multiple images so here I have uploaded some more pictures.
Step 8
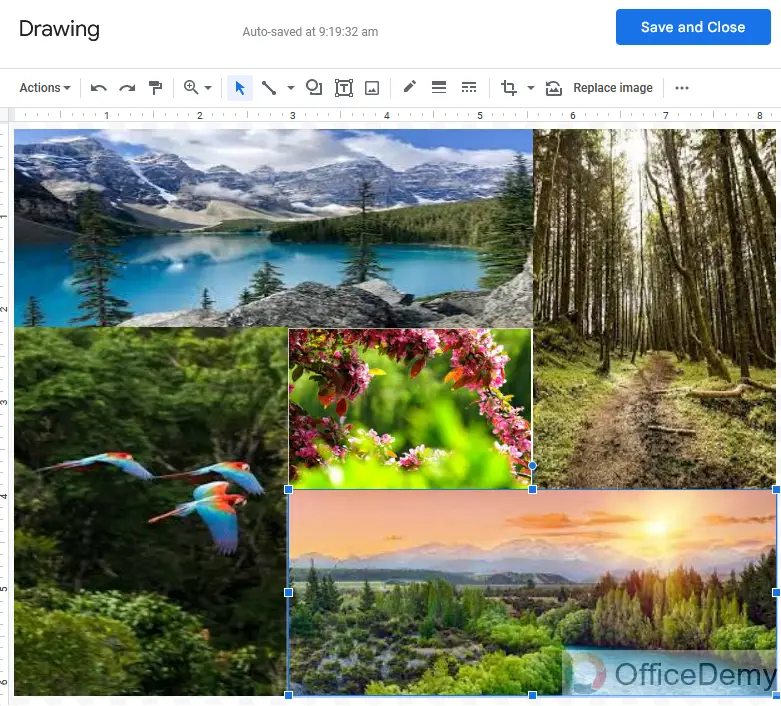
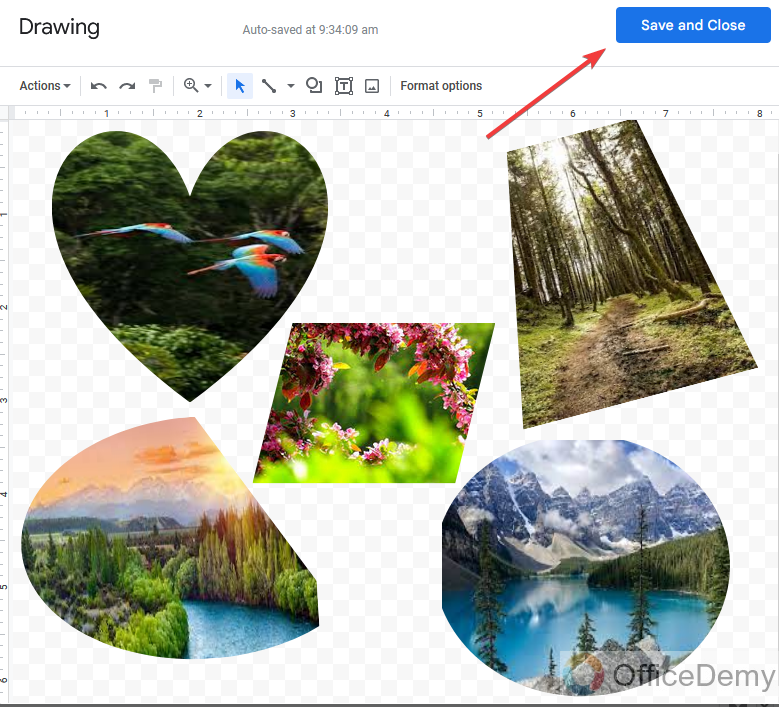
Making a collage is not rocket science, it is just a combination of multiple images in different formats. So, here I have just adjusted the images and arranged them in some pattern to make a collage.
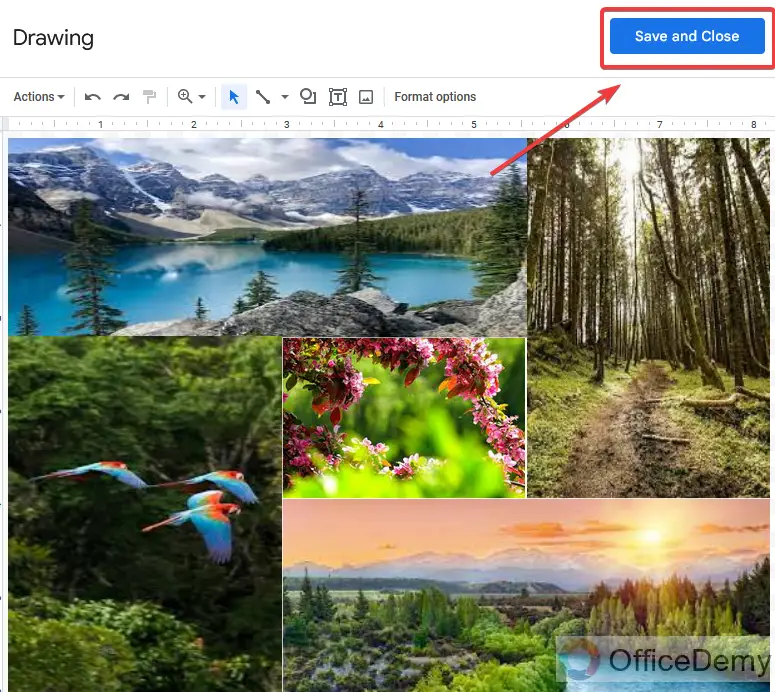
Step 9
Just make it simple, once you complete the formatting click on save and close the button to finish it.
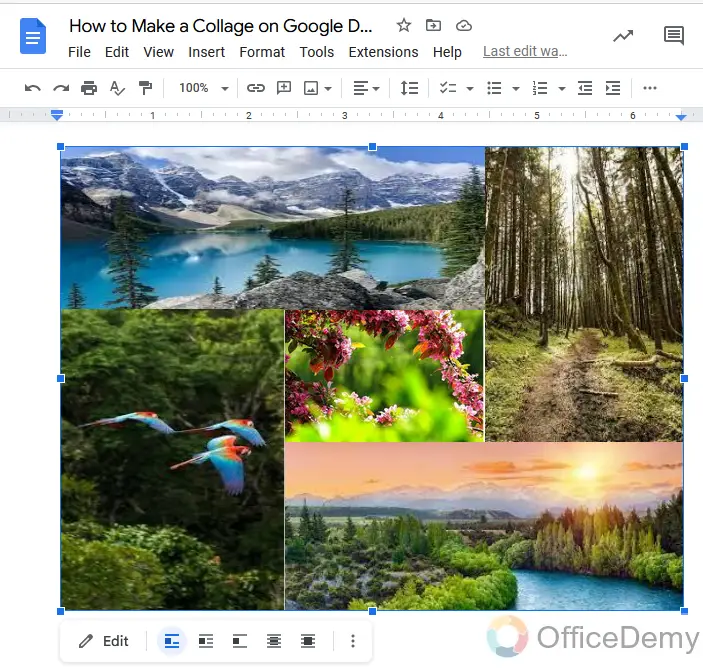
Step 10
As you can see from the result, our photo collage is ready.
Step 11
If you are not satisfied with this simplicity, there are many more formatting options in Google Docs as well by which you can make beautiful collages in different patterns.
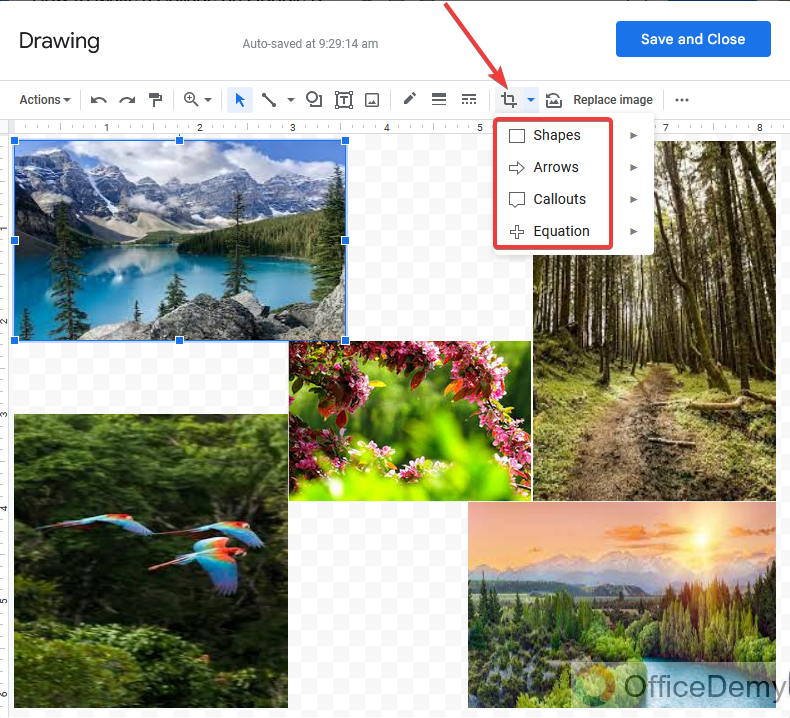
Let’s suppose you have uploaded several pictures to the drawing tool of Google Docs with the same above method, then you can crop them in different shapes.
First, select the image which you want to crop, then look at the toolbar you will find the crop icon button, when you click on it, it will ask you to crop the image into shapes, arrows, callouts, and equations
Step 12
Here, I will use the shapes option, when you click on shapes, you will get different types of shapes and you can select any of them to crop your image in.
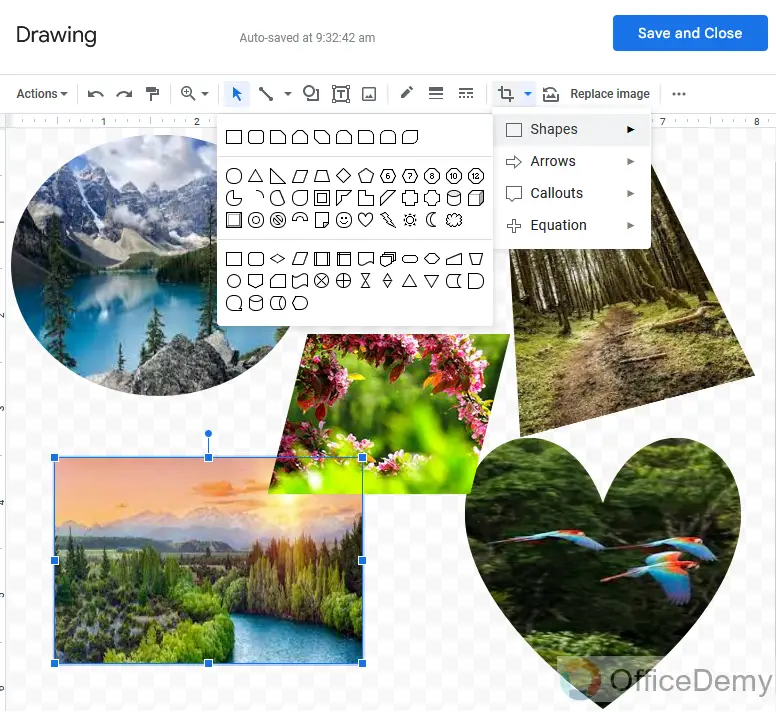
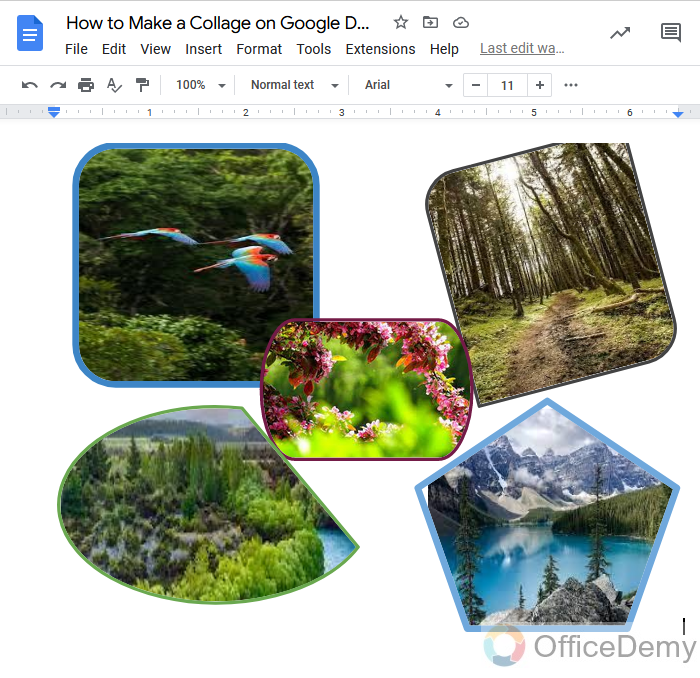
Step 13
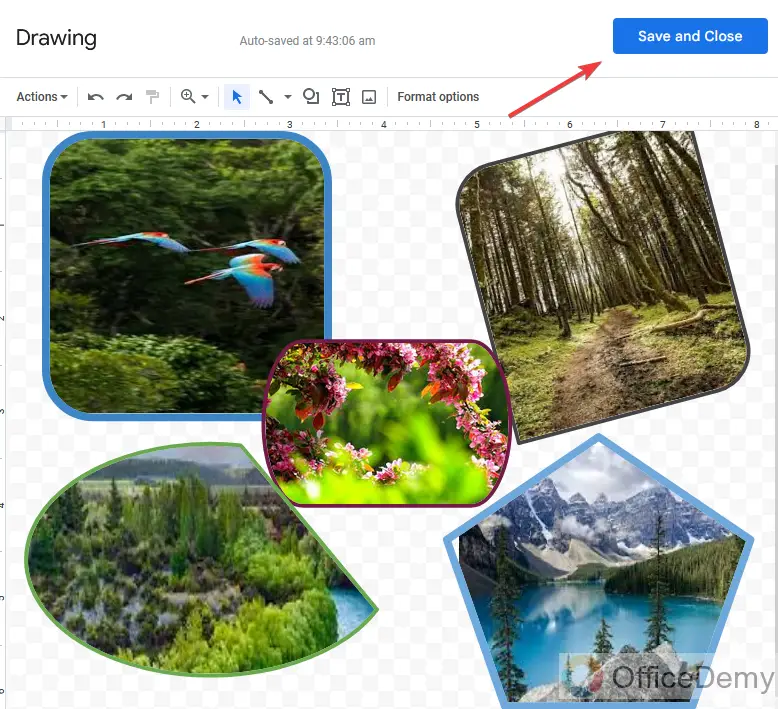
As you can see, I have cropped all the images in different shapes and then set the orientation to look at a photo collage.

Step 14
Now to insert it in Google Docs just press the save and close buttons.
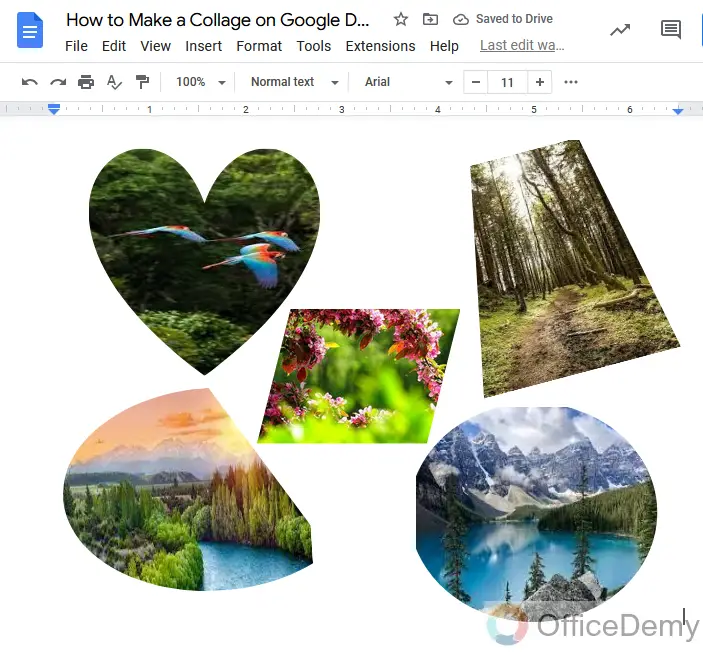
Step 15
Your photo collage is ready and has been inserted into the Google Docs document.
Step 16
If you are still not satisfied with your photo collage, then one more thing I can add to this tutorial that will make your collage more beautiful is the image border.
Select the image and then click on the image border icon just left to the crop icon, and select the thickness of the border.

Step 17
Here I have added a thick border to my image, you can also change the border color from the following path as I am selecting here according to my picture.
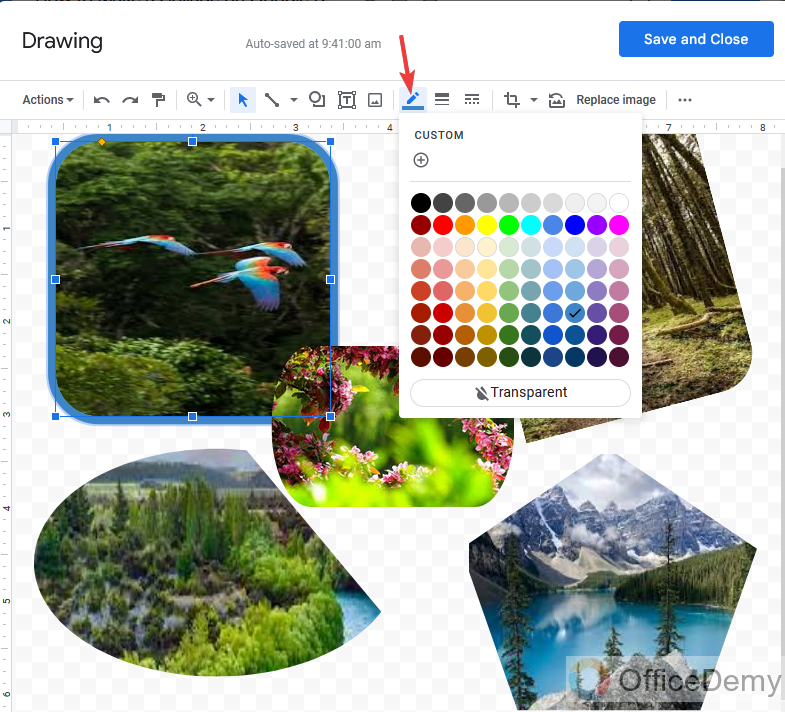
Step 18
I am almost done with the border of the image and have colored them. Now I am going to press the save and close buttons to add this beautiful collage to my document.
Step 19
You are done now and have made a collage in Google Docs.
I think these features of Google Docs are enough to make such a type of photo collage as we have created shown in the above pictures. You can also make a beautiful collage with the help of the above steps. But If still, you are not happy with it, then I will suggest you go through the third-party apps, First I will recommend you to use Google Photos which is connected to Google’s other apps and can easily access Google Docs as well and can add images easily. First, go to Google’s web page, open Google photos and create your photo collage from utilities and then insert the image in Google Docs from the Photos option in the drop menu of upload image.
Frequently Asked Questions
Q: What is the purpose of a collage?
A: A collage is an easy way to display a collection of photos. It can be difficult sometimes to choose more than one photo to display, so a collage makes it simple and more convenient. In a single collection, you can show multiple images that tell about your family, your wedding, your baby’s first year, and more without having to frame and hang lots of pictures
Q: Can we add text or labels to the collage in Google Docs?
A: Yes! Why not Google Docs is featuring so many formatting options to make a collage, and there is an insert text feature also available in the Google Docs drawing tool with the help of which you can add text or labels to your images. Let me show you how to add text or labels to collage in Google Docs.
Step 1
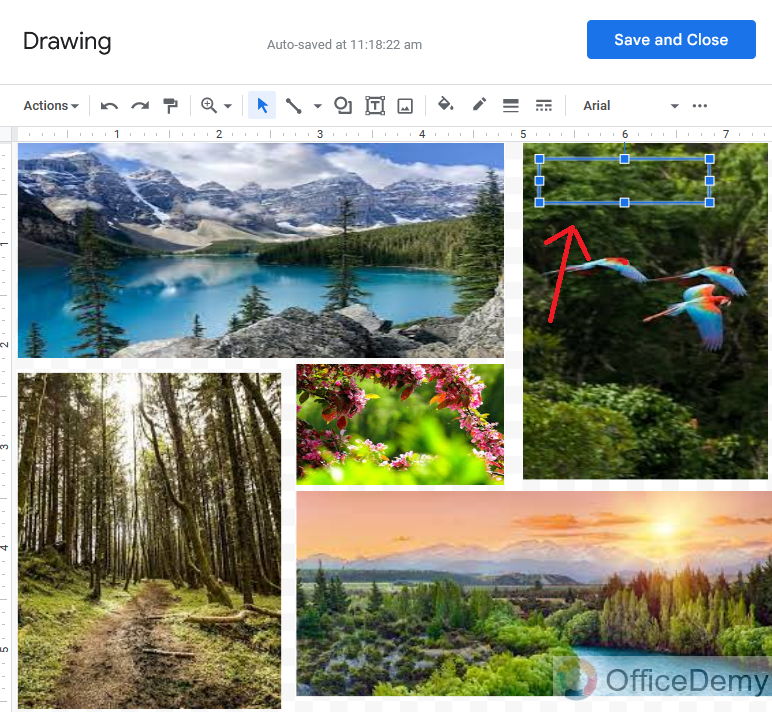
Once you complete your photo collage, then look at the toolbar you will see a text icon button here, which can be used to add text or labels to your collage.
Step 2
Draw the text box anywhere you want to add text or labels, you can adjust the size of the text box and can format your text by its color and style as well.
Step 3
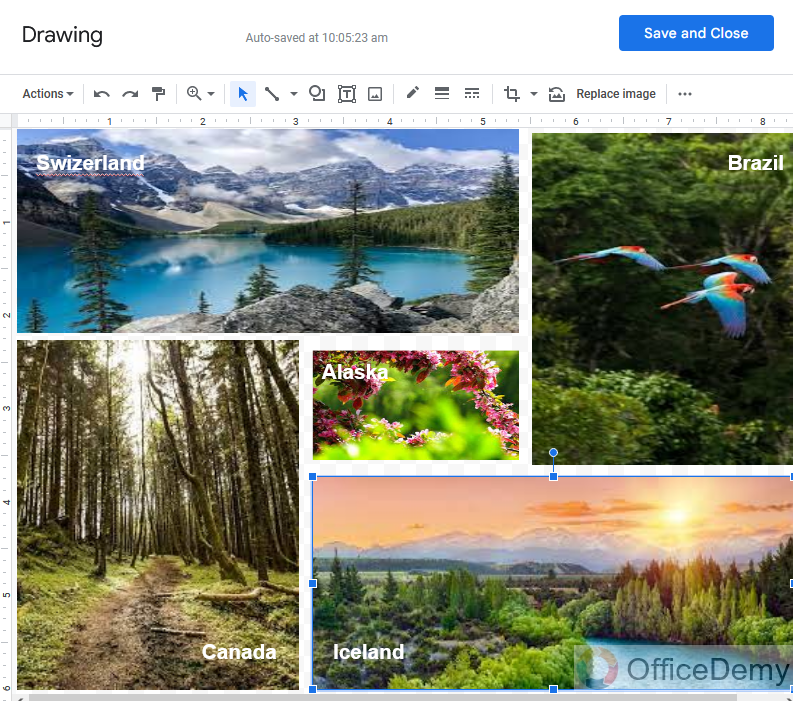
Here is the result in front of you, I have labeled all the places by adding text to the photo collage.
Q: Can we download our collage in Google Docs?
A: Google Docs do not only provide their users all the facilitation to make something in Google Docs, but even you can also download them and save them to your device with a simple few clicks. Just give an eye on these steps to download a collage in Google Docs.
Step 1
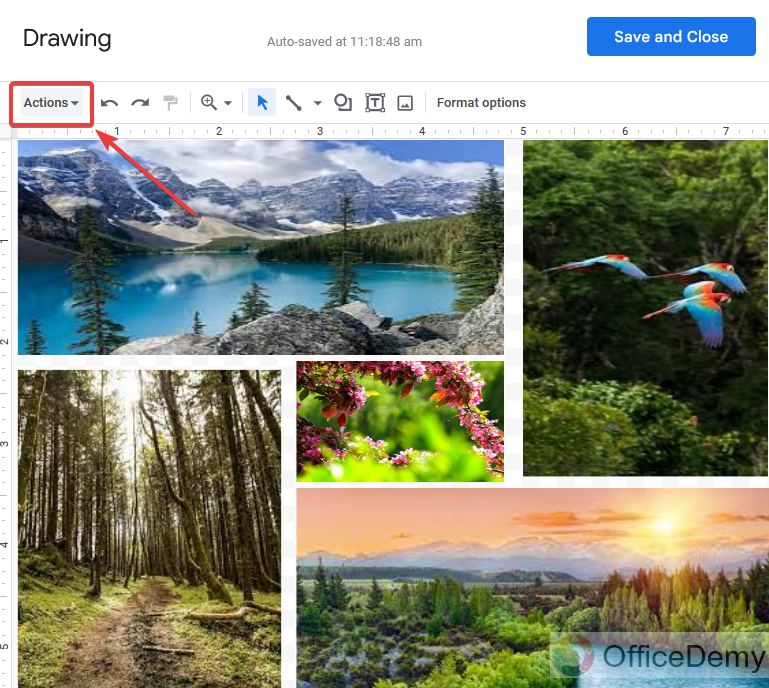
When you are done with making a collage in Google Docs, there is an “Actions” button at the left top of the drawing window of Google Docs. Click on it to see the download button.
Step 2
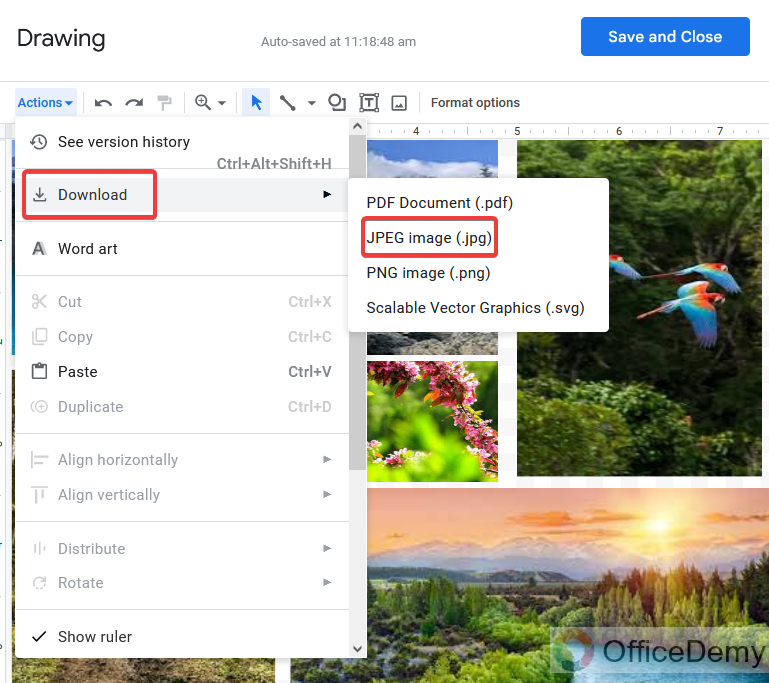
As you can see the download button in the drop-down menu, when you click on it, will just ask for the format of the file in which you want to download your collage. Select the format in which your photo collage will be downloaded
Conclusion
Google Docs offers a variety of other interesting features to customize your documents, and making a collage in Google Docs is one of them. You can insert images and perform basic image editing tasks easily in Google Docs. As we have learned in the above tutorial how to make a collage in Google Docs. The beauty of adding photo collages to Google Docs is that, first, it saves space, and second, collages are easy to move compared to individual images.
So, I hope, this article is gonna be very helpful to all of you.


