
To Make a Table in Microsoft Word
- Place the cursor where you want the table.
- Go to Insert > Table.
- Select the desired number of rows and columns.
- The table is inserted into the document.
OR
- Go to Insert > Table > Click on “Draw Table“.
- Use the drawing cursor to create a table by drawing it over the content.
- Release the mouse button to create the table.
- Access table customization options under the “Layout” tab.
Hi guys. Today, we are going to teach you about Microsoft Word. We will learn, how to make a table in Microsoft Word. Tables are highly useful in Word and Google Docs-like tools where we only have blank pages, unlike excel or sheets where we already have tables.
So, are you struggling to create tables in Microsoft Word? Tables can be incredibly useful for organizing data and presenting information in a clear and concise manner. Well, if you are not familiar with the process, it can be daunting to get started. Fear not, as this article will guide you through the steps on how to make a table in Microsoft Word. Whether you need a simple table for a school project or a more complex one for a business report, we have got you covered. So, let’s dive in and learn how to make a table in Microsoft Word!
Importance of Making a Table in Microsoft Word
Tables are an essential tool for organizing information in a clear and structured manner. Whether you are a student writing a research paper, a professional creating a report, or simply someone who needs to keep track of data, tables can make your life easier. With Microsoft Word being one of the most widely used word processing applications in the world, knowing how to create tables within the program is a valuable skill to have.
By learning how to make a table in Microsoft Word, you can effectively organize data, make it easier to read, and even enhance the visual appeal of your document. Tables can be used to display data such as statistics, survey results, or financial information. They can also be used to create schedules, calendars, and even seating charts.
Moreover, creating tables manually can be a tedious and time-consuming task, but with the help of Microsoft Word’s built-in table tools, you can easily create, modify, and customize tables with just a few clicks. Knowing how to use these tools can save you time and effort in the long run and can even impress your colleagues or professors with your professional-looking documents.
So, finally, we can say learning how to make a table in Microsoft word is a good to have skill if you work with Word in your day-to-day life.
How to Make a Table in Microsoft Word?
Microsoft Word’s tables are way smarter and more customizable compared to Google Docs. Words have numerous table features that are very exciting to learn and use in our daily tasks. Today, in this guide, we will see 5 different sections about Tables in Microsoft word. I will teach you everything related to tables, and they will help you a lot boosting your productivity. So, let’s get started with the first method which is the basics of creating a table in Microsoft Word.
Make a Table in Microsoft Word – using Insert a Table
In this section, we will cover the basics of table creation in Microsoft word, and we will cover how to make a table in Microsoft Word. So, let’s see the steps required to start with a simple table.
Step 1
Open your Microsoft Word document, and place your cursor where you want to insert a table
Step 2
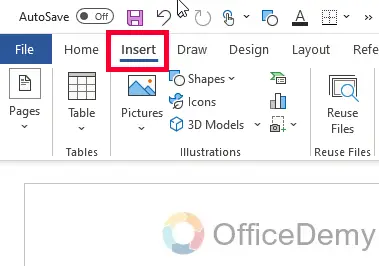
Go to Insert in the main ribbon
Step 3
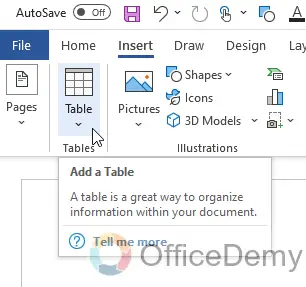
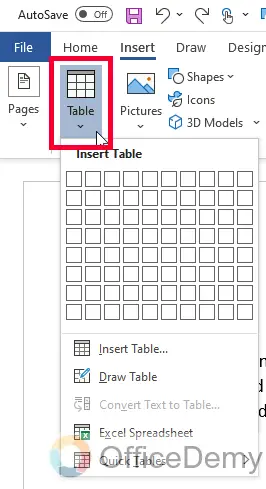
Click on the Table dropdown, which is located inside the Table group
Step 4
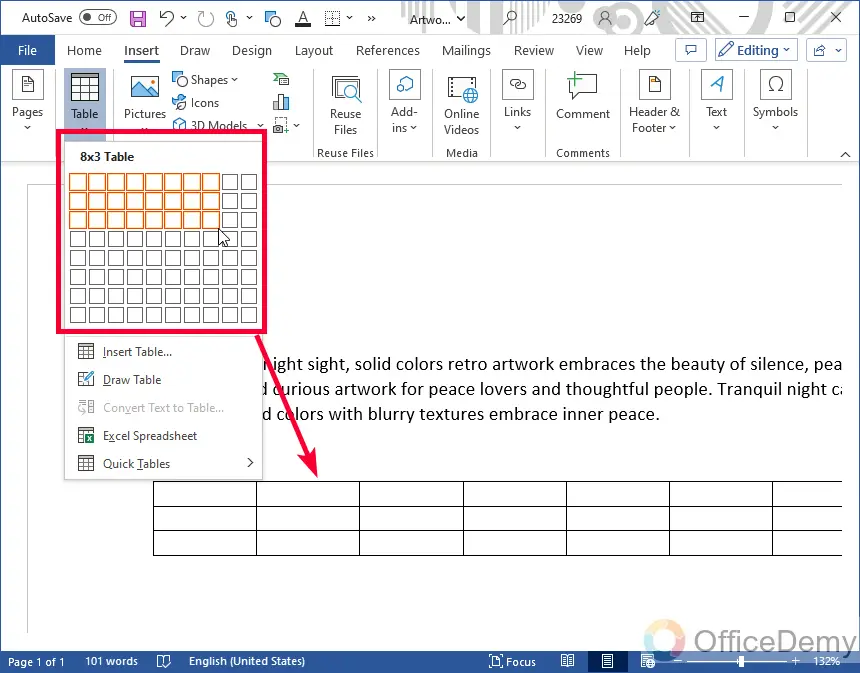
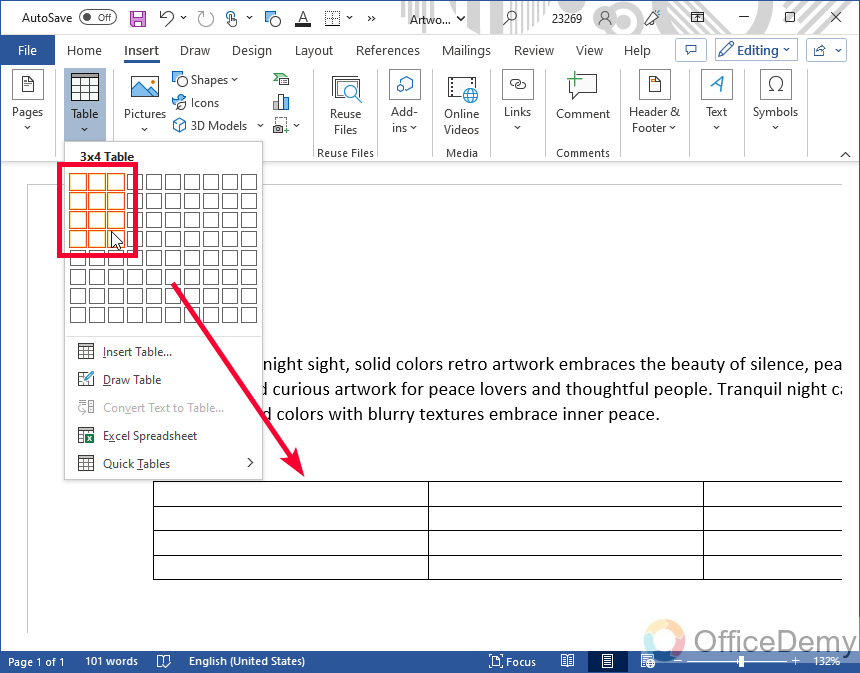
Below you will first see some boxes, they are looking like a table combined with rows and columns
Step 5
Selecting the rows and columns will help you define the number of rows and columns in your table. As you hover over them you will see a table will be showing on your document.
Step 6
Click when you have selected your desired number of rows and columns and then your table will be locked and added to the document.
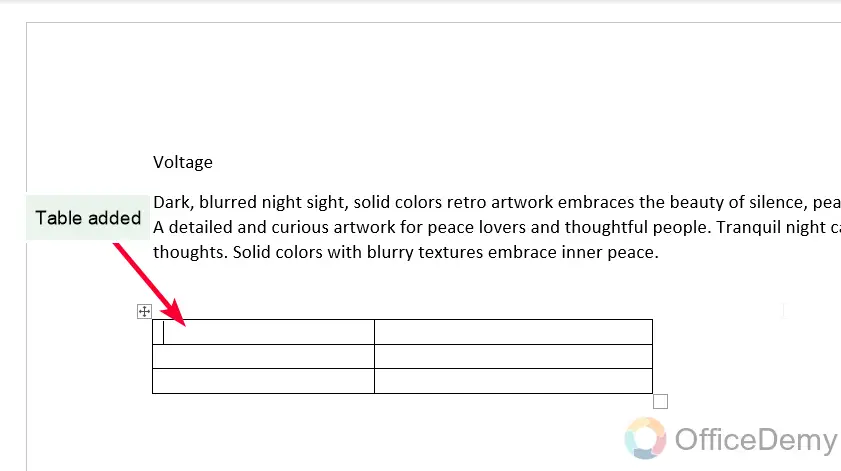
Your table is ready, so this was the basic tutorial on how to make a table in Microsoft Word.
Make a Table in Microsoft Word – using Draw a Table
In this section, we will learn how to make a table in Microsoft Word, but this method does not use the row-column combination, instead, it uses the drawing technique. We can simply move our mouse or touchpad to draw a mouse over the document and it will make a suitable table based on the type of content on your document. So, let’s see the steps for this method.
Step 1
Go to the Table dropdown in the Insert menu
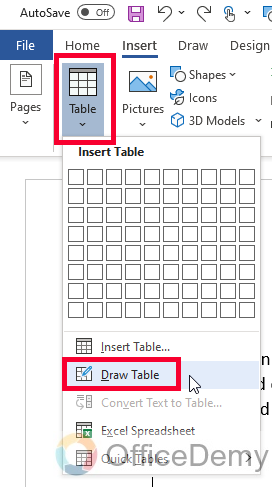
Step 2
Skip the rows and columns boxes, come down to more options, and click on the Draw table button
Step 3
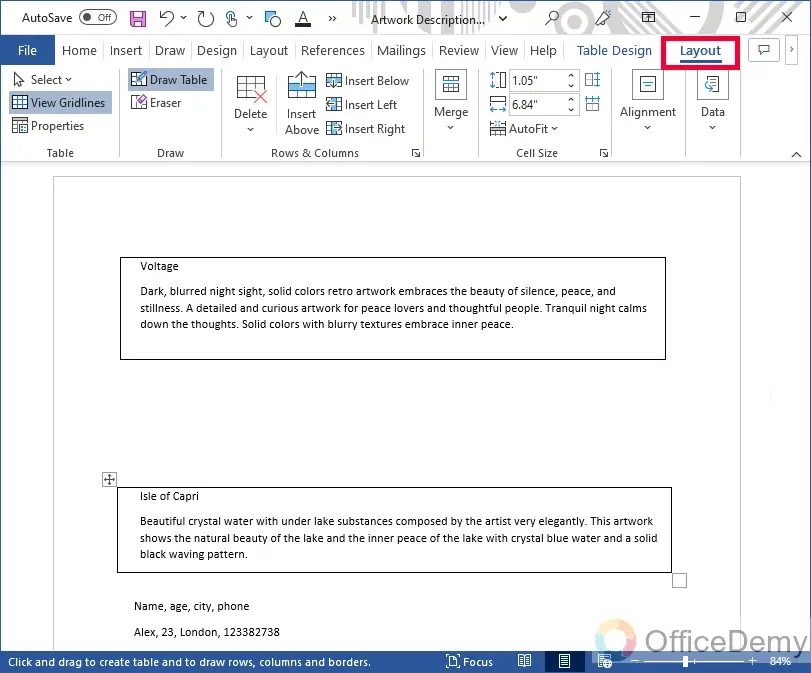
Your cursor will be replaced with a pencil icon which is indicating that now you are not writing, but you are in the drawing mood, and you can draw your table on the document.

Note: The table will be automatically created based on your content’s style, if it’s a 2-line paragraph then you will get an outer table of paragraph size.
Step 4
Now draw the table over your content, and you will see an indicating column will be created over your content.

Step 5
Leave your mouse button when you are done with it, and instantly you will see a table surrounded by your content.

Step 6
As you are finished with it, you will quickly see some changes in the main menu, now you have so many table options in the main menu inside a newly added “Layout” tab.
We will discuss the customization part in the next section.
Make a Table in Microsoft Word – using Convert Text to Table
This section is very interesting. In this section, we will learn how to make a table in Microsoft word, not from scratch but using a quick tool which is a native feature of Microsoft Word to convert plain text into a table. Sometimes, you have content ready in plain text form, but now you need a table, but adding a new table and then moving the content into the table can be hectic so there is an easy tool called “text to table”. Let’s see how it works.
Step 1
First, I am making some sample table content on my document without a table.
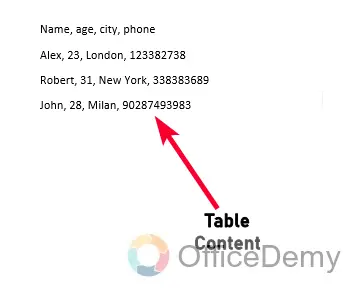
Note: The data should be separated with line breaks (for row change), and with commas (for column change)
Step 2
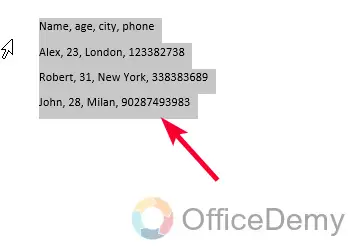
Select the entire content by mouse drag
Step 3
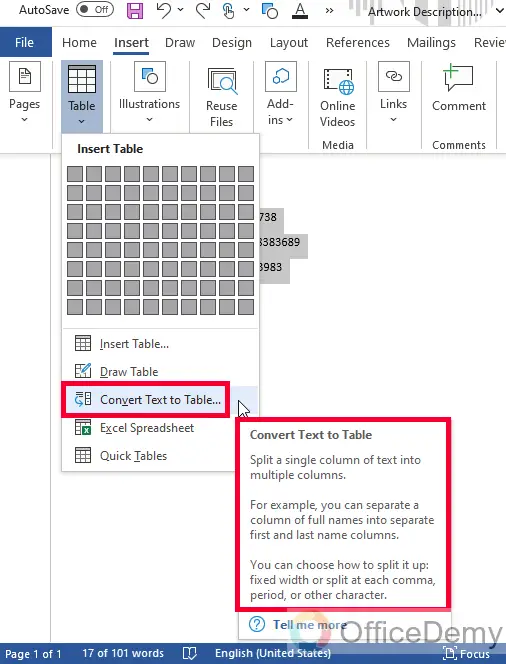
Go to Insert > Table > convert text to Table
Step 4
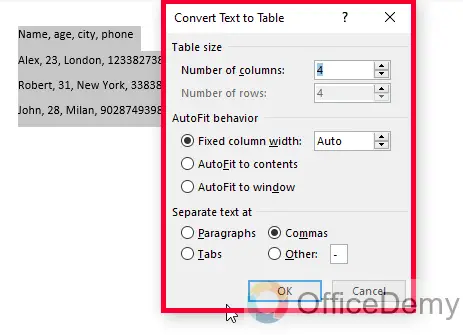
You will have a new “Convert Text to Table” dialog box appeared here you need to define your specifics about the table
Step 5
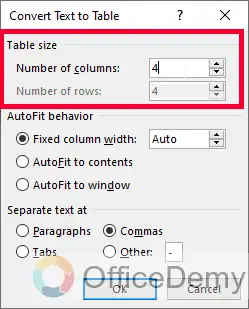
By default, Microsoft Word picks the right details, just see the number of rows and columns are detected correctly, and in the “Separated text at” section, make sure it’s a comma and you have also separated your text with commas.
Step 6
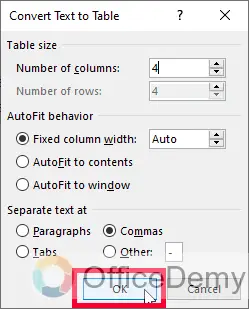
If these details are correct, then Click on the Ok button.
Step 7
Boom, your text has converted to a table instantly.
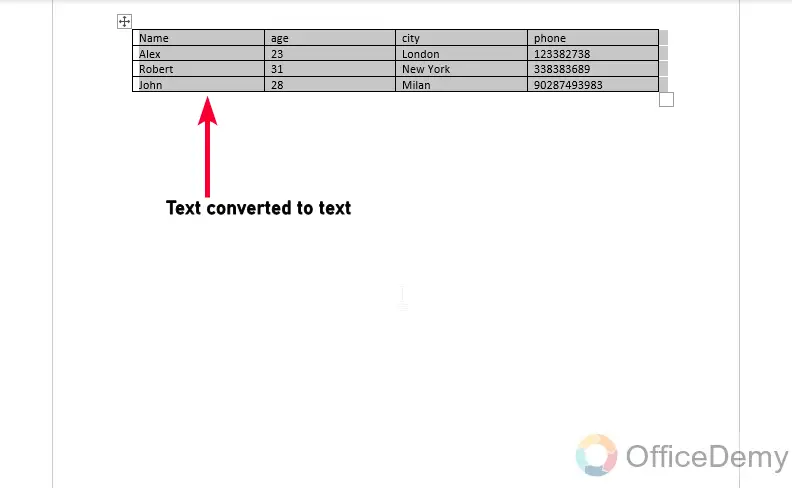
That’s how you can use the Text to table feature to quickly convert your text into a table.
Tip: This can also be done even if you have a lot of data with so many columns and rows.
Make a Table in Microsoft Word – using Quick Tables
In Microsoft Word’s Table section, we have some quick tables available to use. In this section, we will learn how to make a table in Microsoft Word and will see how to access quick tables given by Microsoft word as some pre-sets of frequently used table templates.
Step 1
Go to Insert > Table > Quick Table
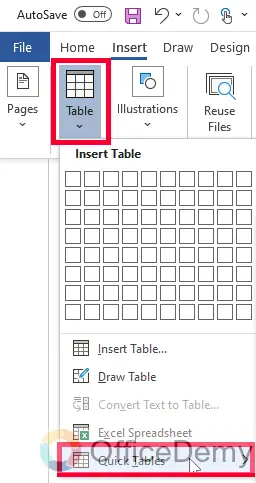
Step 2
Here you can see some quick table templates for different purposes, such as a common table is of a Calendar template.

Step 3
Just click on them, and they will be quickly added to your document, then you can edit them as per your needs.

Make a Table in Microsoft Word – Table Designs
We are almost done with all the methods of making a table in Microsoft Word. In this last section, we will learn how to make a table in Microsoft Word, and then how to edit and customize it using all the native features of Microsoft word.
Step 1
After creating your table from any of the above methods, see if you have selected the “Layout tab” in the main menu.
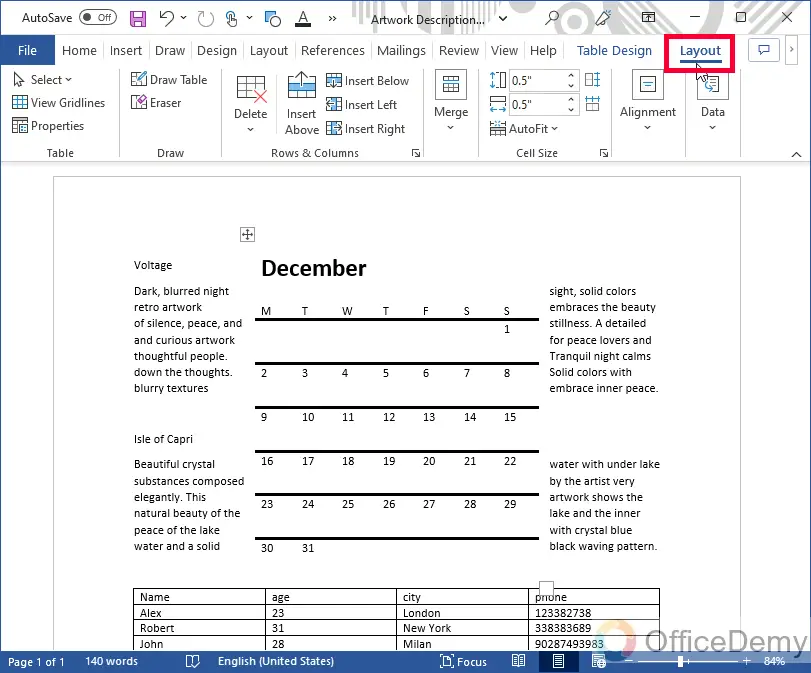
Step 2
Here you have so many sections having numerous tools to adjust and alter your table, you can add/remove rows/columns, set positions of the cells, adjust the margins and paddings of the cells, and any other thing you can think about tables.

Step 3
After this, now you can go to the previous tab in the main menu which is “Table Design”
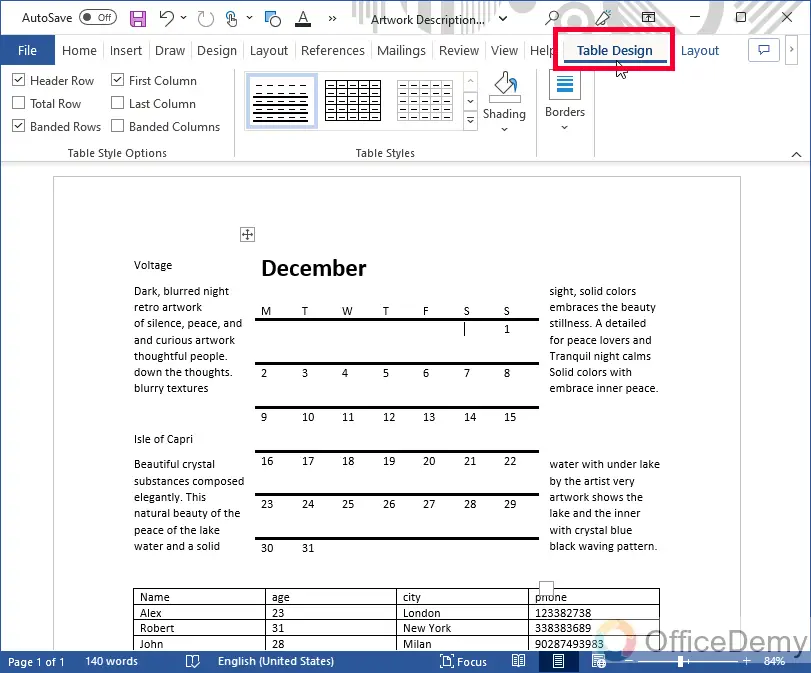
Step 4
Here you can first select the pre-defined styles of the table for making a proper design without any hassle, then you can see other options like border style, border color, cell colors, background colors, shading, etc.

So this was today’s guide, I hope you enjoyed it and you have learned everything about the tables in Microsoft word.
Frequently Asked Questions
How Can I Repeat the Table Header in Microsoft Word?
To repeat a table header in Microsoft Word, use the quick and easy method for table header repetition. Simply select the table, go to the Table Tools tab, and click on Repeat Header Rows in the Layout group. This will ensure that the table header is repeated on every page, making it easier for readers to understand the content.
Conclusion
Here we are done with how to make a table in Microsoft Word with the hope that I helped you and solved your table issues in Microsoft word, I will see you very soon with another useful guide. Thanks, and keep learning with Office Demy.


