
To Make a Timeline on Google Slides
- Delete any pre-existing text boxes.
- Click on “Insert” > Select “Diagram“.
- Browse through available timeline templates.
- Choose a template with your preferred number of dates and style.
- Edit the content to match your project’s timeline.
In this article, we will provide you with tips on how to create timelines in Google Slides.
When working on a planning strategy, it is useful to have a timeline of events as an essential element. A timeline is a handy structure, a step-by-step roadmap of events for a user to follow.
Producing a timeline in Google Slides is among the first steps toward establishing an effective plan or strategy.
What is the definition of a Timeline?
A timeline is a chronological statement that allows readers to identify a chain of events or activities that occurred over a period of time. A timeline can be represented by lists, tables, or images. Timelines are used for many purposes, including presentation, education, journalism, and research.
A flowchart is a simple visual representation of a series of steps and decisions. It is easy to understand and makes it easier to identify and follow certain patterns in a scheme or course of operation.
Because an outline timeline can outline many different projects, it may be used for quite a few purposes, including chronology, observing a long historical period, or charting a project’s sequence step by step. A timeline makes details a lot easier to understand by compressing over dart-throwing chaotic details and making them more one-dimensional.
How to Make a Timeline on Google Slides
We can create a timeline using Google Slides or Google Docs . There are a couple of ways to create a basic Google Slides timeline. It is possible to look at the methods below to begin creating a new Google Slides Timeline Project.
How To Create a timeline Template Manually in Google slide?
If you want to use an alternative Google Slides timeline template, you may create one that is suitable for you. You can select between a horizontal or vertical template; the format of the timeline is up to you.
Follow these steps to learn how to create a timeline in Google slide manually,
Step 1: open a google slide presentation first.
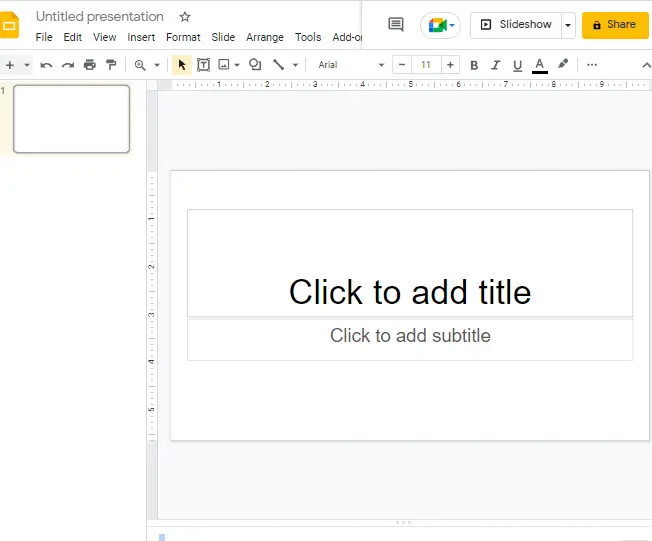
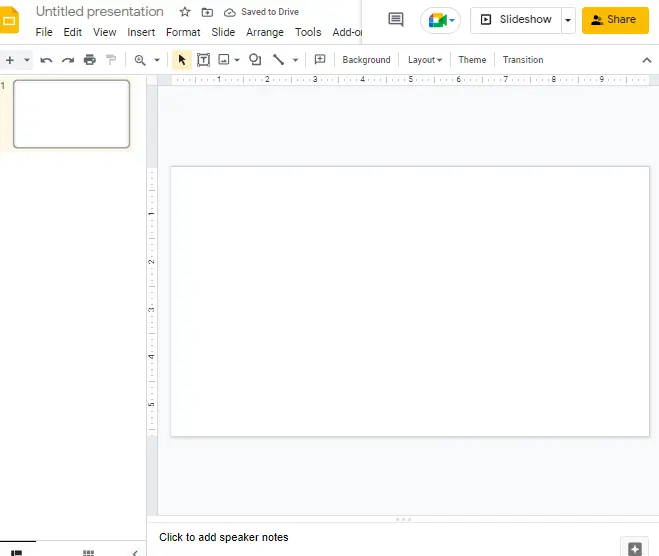
Step 2: Make sure you’re working on a start off with a blank slide. Then, erase the Title and Subtitle boxes from the slide.
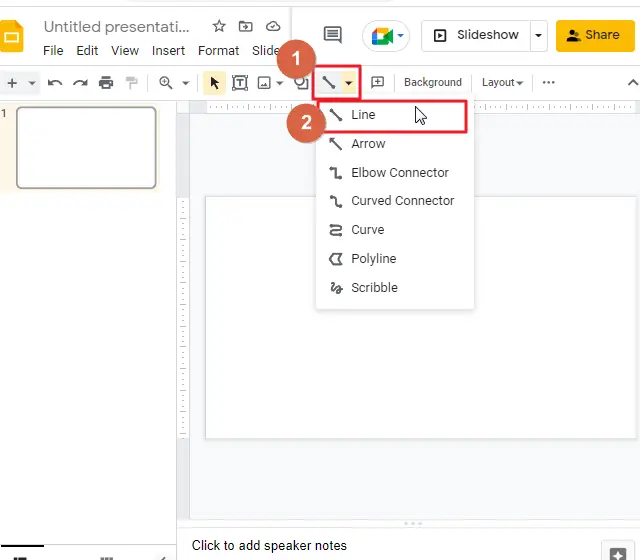
Step 3: Now click on the line icon which is located at the top of your screen in the menu bar. A drop -down menu will appear. select the very first line.
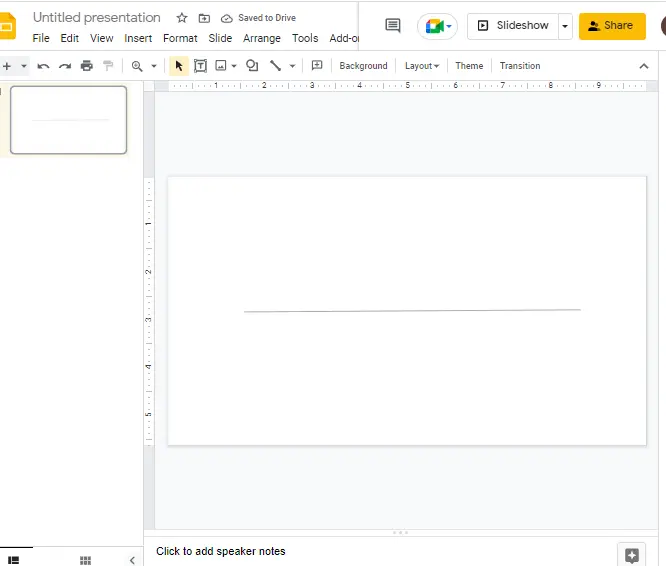
Step 4: Place a line in the middle of your slide.
How to add color to the timeline
You can also use color on the line you just inserted on your slide. To add color to the line, click on the line first so that the line color option which is disable by default will be enabled. Now click on the line color option so that a list of different colors will appear on your screen. select a color according to your choice.
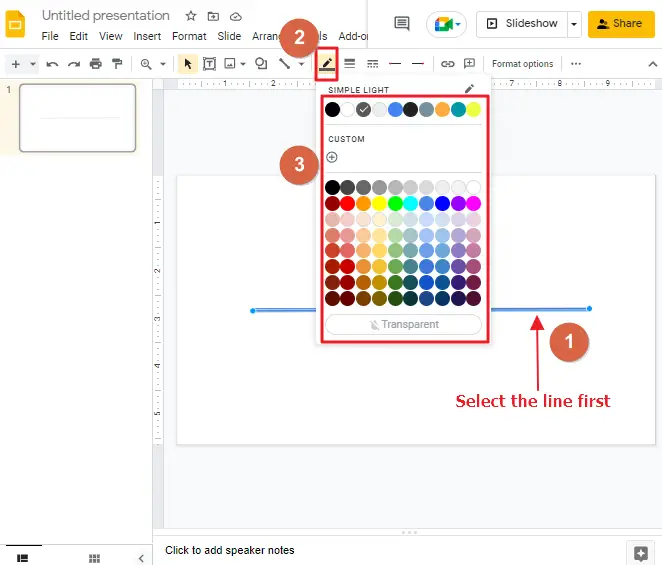
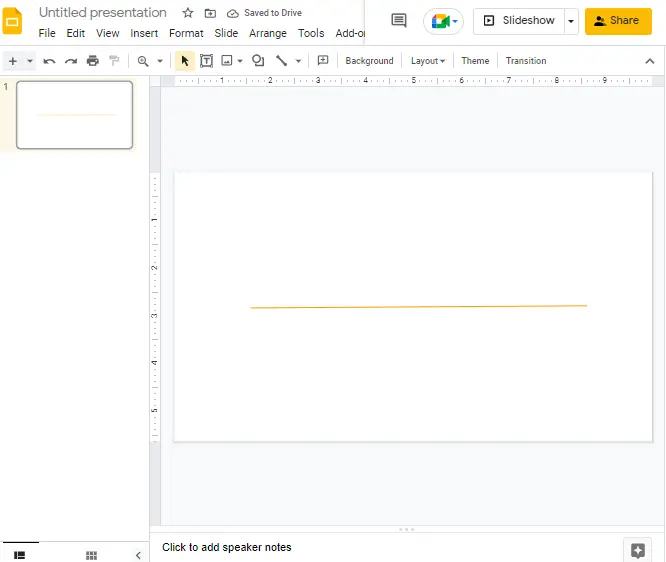
For example, I have selected orange,
How to increase timeline weight
To increase the weight of a line, click on the line weight option in the menu bar. A dropdown menu will appear. select an appropriate weight according to your preference.
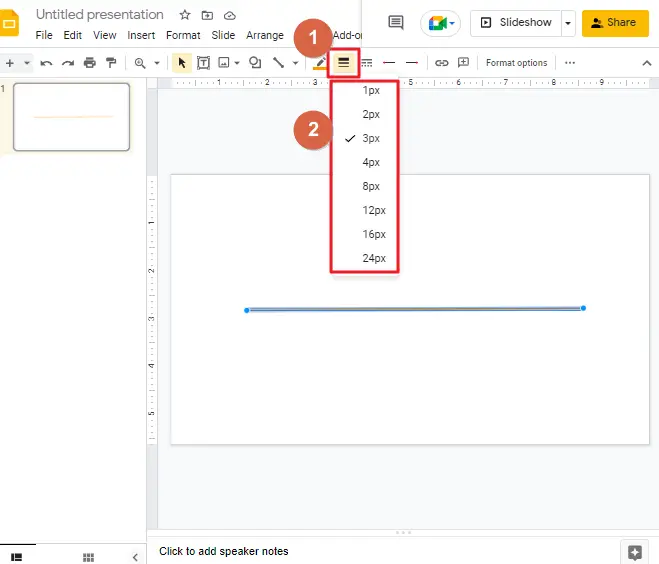
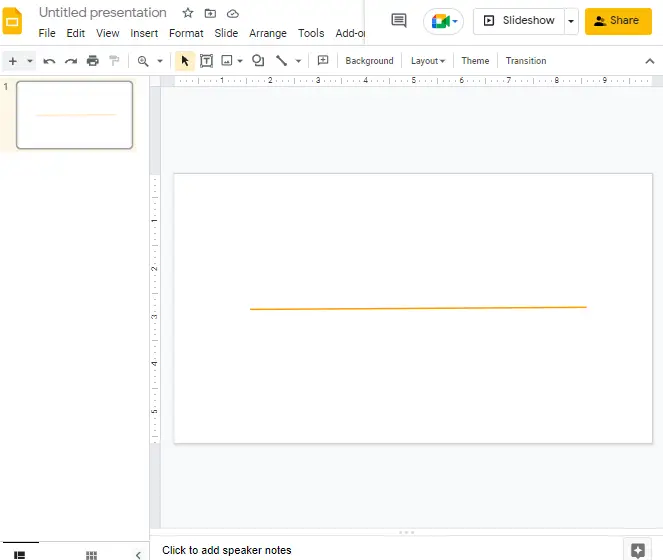
Here I have selected the weight 3px. So, this is how my line looks after applying the weight 3px,
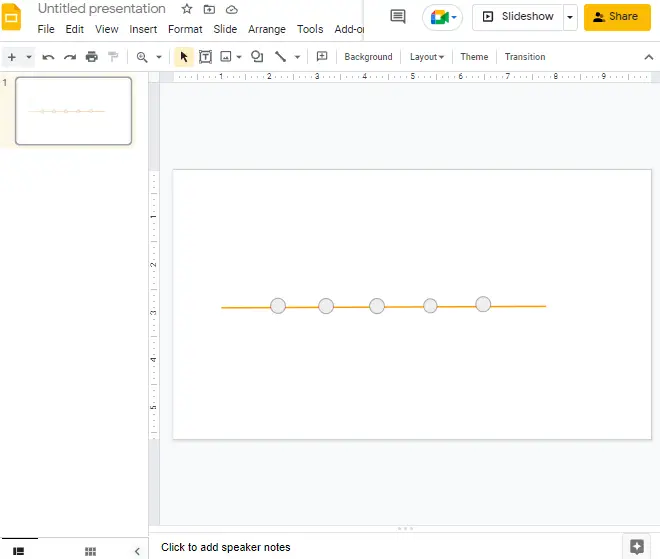
Step 5: You can use circle shape to represent a specific sequence on the timeline. To do so, click on the shape icon in the menu bar so that a dropdown menu will appear. click on the shape. Select an appropriate icon from the list.

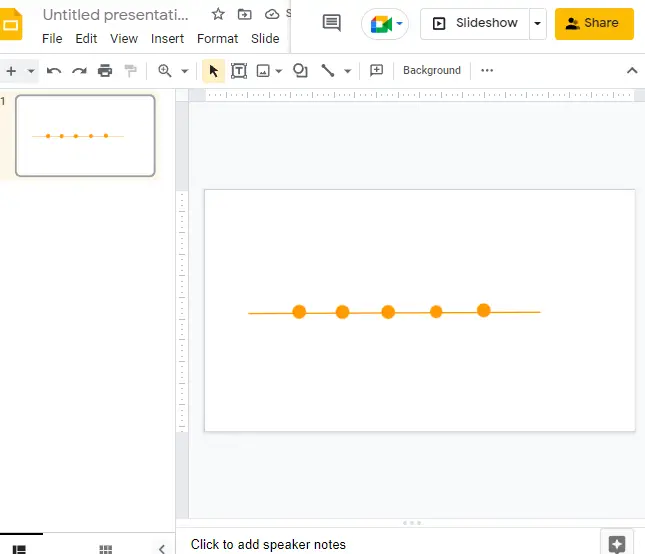
Here I have selected the shape circle from the list and placed 5 circles on the line.
How to add color to the shape in timeline
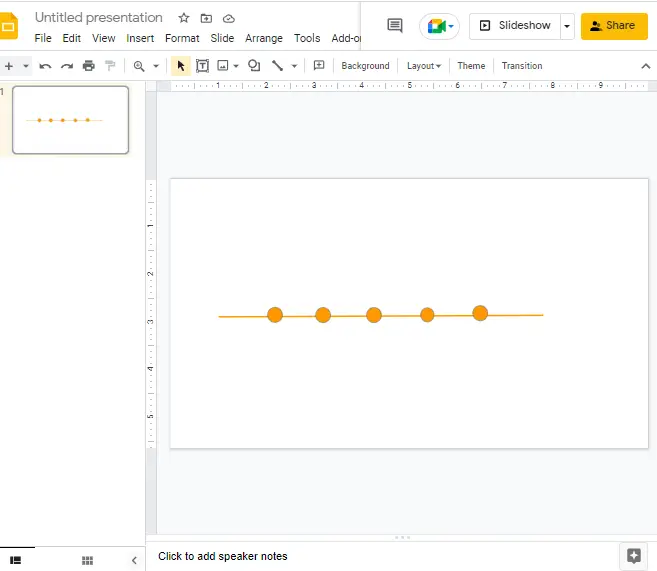
To top it off, you can use the Fill Color palette option to change the color of your circle to your liking. To add color to the circle, select the circle first so that the fill color icon will be enabled which is disable by default. Click on the fill color icon so that a list of different colors will appear on your screen. select a color according to your choice from the list.
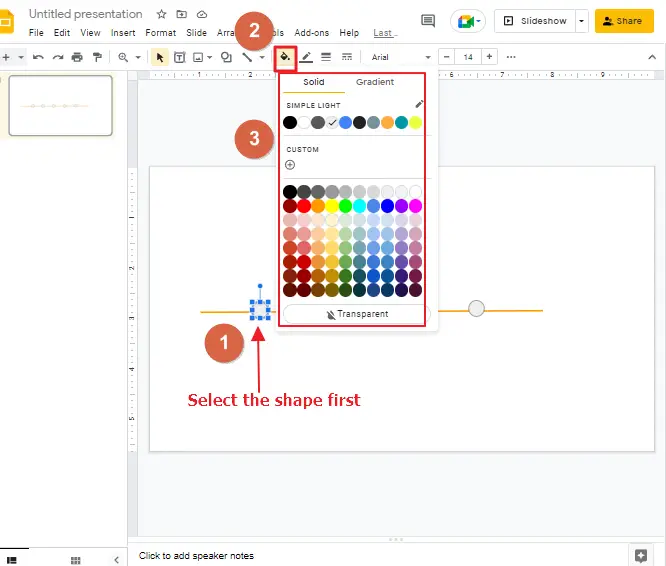
Here I have selected orange so that the color of the line and the circle will be matched.
How to change the border color of the shapes
To enhance the shape even more, you can change the border color of the shapes too. To do so, select the shape first so that the border color icon will be enabled. Click on the border color icon. A list of border colors will appear on your screen. select a color according to your preference.
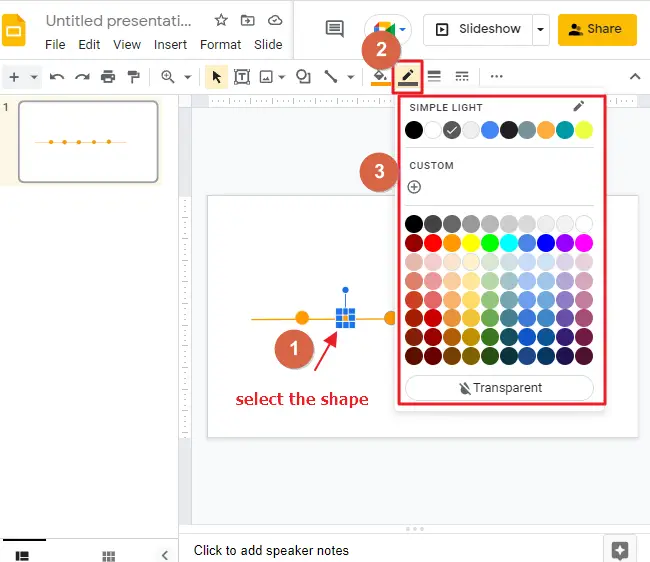
I have selected orange.
Step 6: You’ll need to make callouts in your timeline diagram to clarify each stage. Callouts are diagrams that explain the text description of each stage.
Click on Insert on the top of your screen in the menu bar. A dropdown menu will appear. Select the shape. Select callouts. A list of callouts will appear on your screen. select one according to your choice. To provide a clearer picture, we recommend one of the two square callouts.

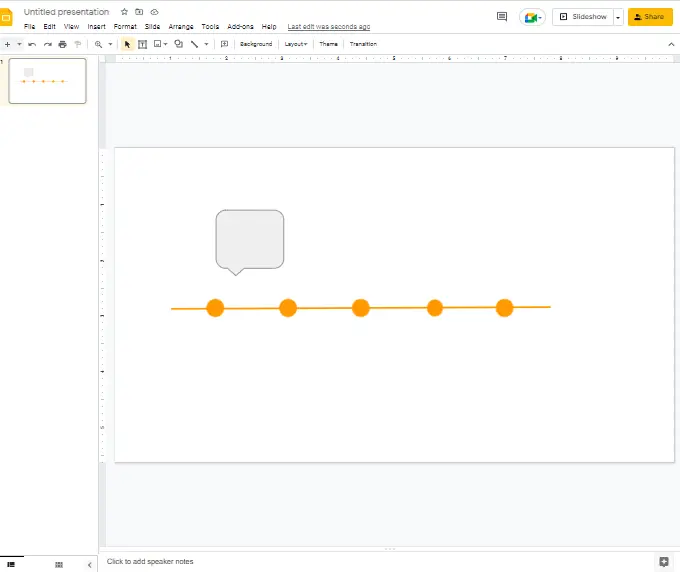
I have selected rounded rectangular callout.
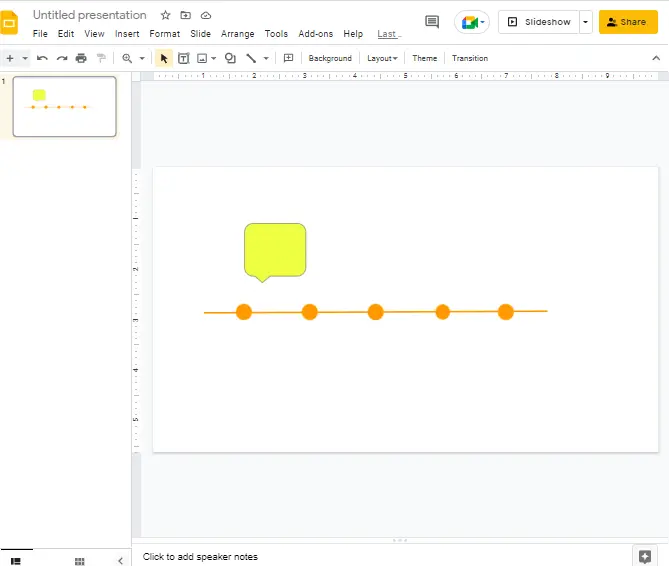
Step 7: now we have to insert color to the callout. To do so, select the callout first. Click on the fill color option in the menu bar. A dropdown color option will appear. select an appropriate color.
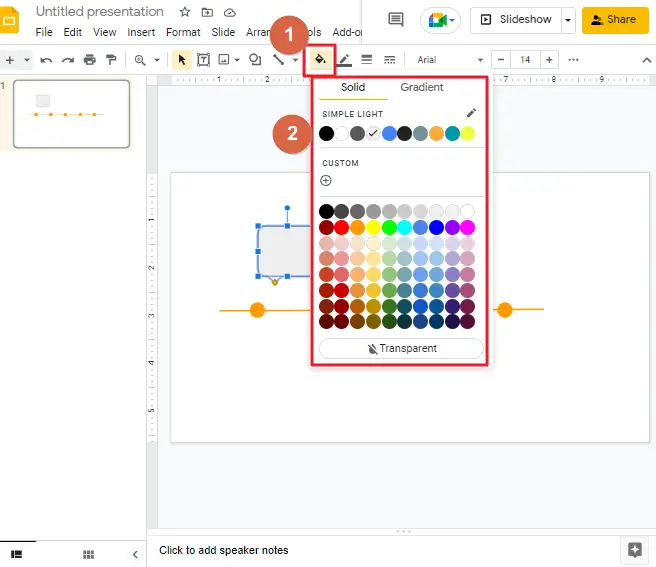
Here I have selected yellow,
Step 8: Now, you can create a duplicate of this callout and place it properly on the timeline. To create copies, right click on the callout so that the context menu will appear. Select a copy from the list.

Once you have copied the item, now place the cursor anywhere in your google slide and again right click. A context menu will appear. select paste from the list.
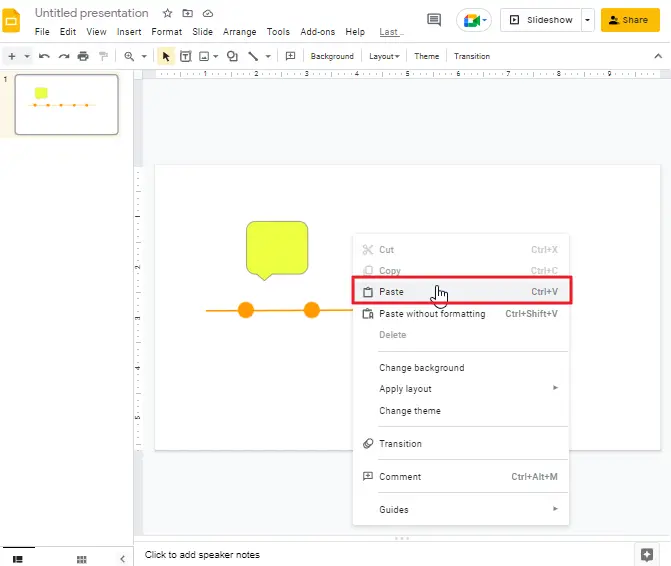
The callout will be pasted on your slide. Click on the callout and drag it to the proper place.
You need to modify the callouts to ensure they point directly towards the circle when you place the callouts beneath the line. Right click on the callout which is below the line. From the context menu select rotate > Click on flip vertically.
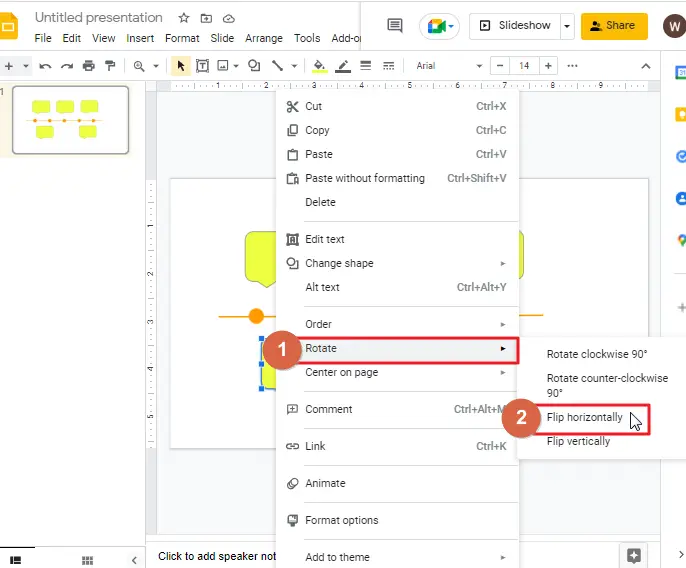
Repeat the process with all the callouts below the line to fix this.

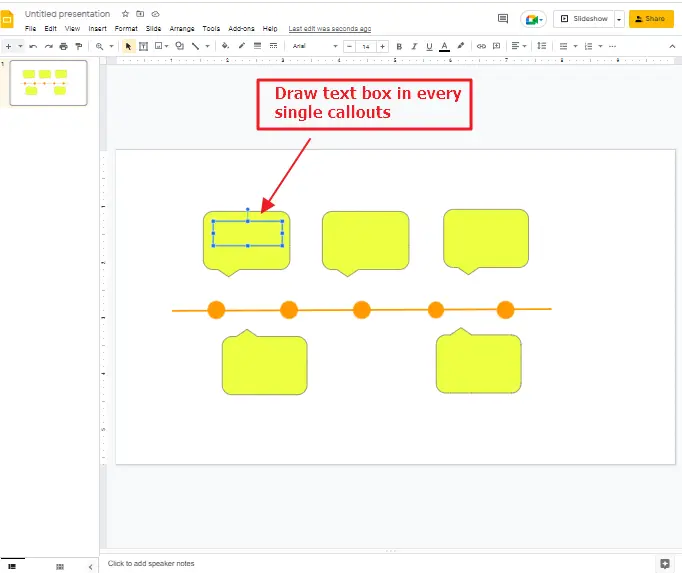
Step 9: now the final step has arrived. The text box needs to be inserted here inside the callouts. To do so, click on the text box icon in the menu bar.
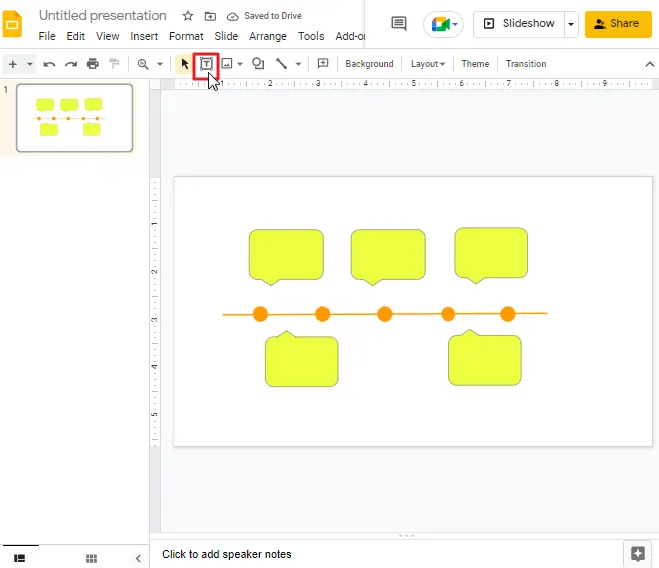
Once the text box is selected, draw the box inside the callout. You have to repeat the process for every single callout.
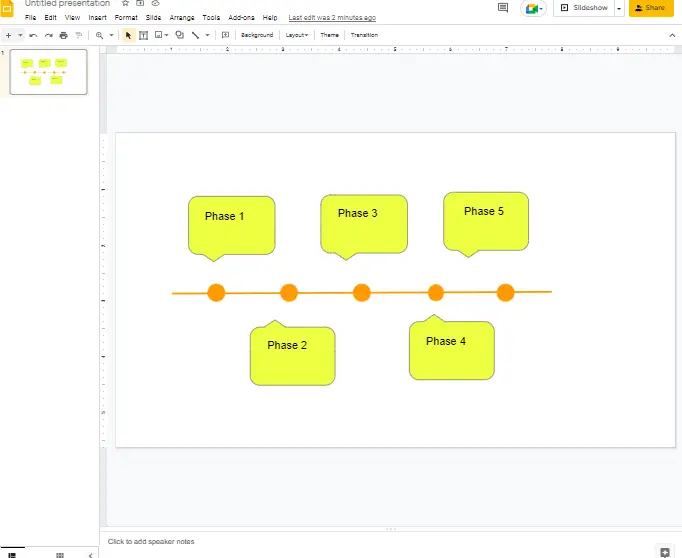
Given that you insert the text box, you’ll be able enter all the necessary data. You can also leverage several unique attributes, such as Bold, Italic, or Underline, to highlight the text you are inputting in the box.
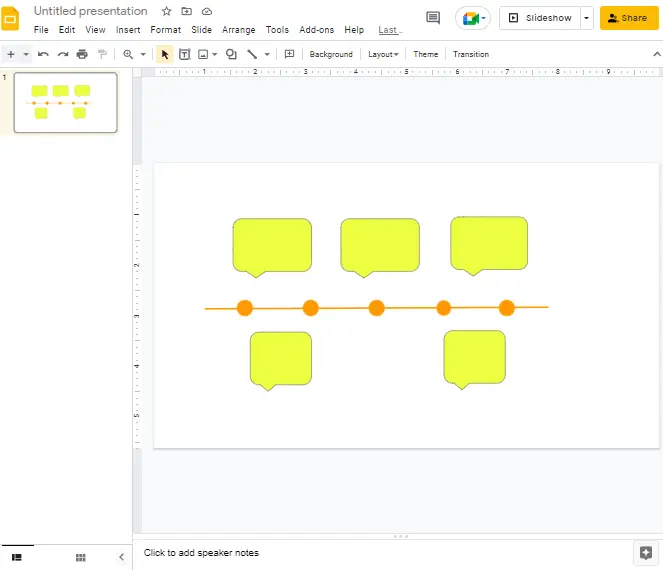
This is how the final look is,
That’s everything you need to know in order to create a timeline without having to pay extra for a template in Google Slides. You can use other features and other options in order to customize it to fit your desires.
How to Make Timelines in Google Slides using Templates
Google Slides has an intuitive solution if you don’t wish to create your own timeline chart, or if you require a simple design for your poster. You can use the templates that are available and edit them to your needs.
Insert a timeline chart into your Google Slides presentation by following these steps.
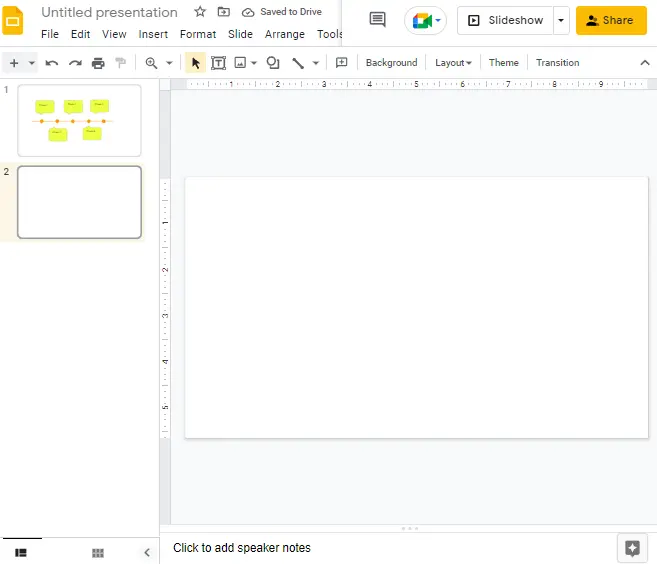
Step 1: open a google slide presentation and delete the text boxes. Make it completely blank.
Step 2: click on insert in the menu bar. A dropdown menu will appear. select a diagram.
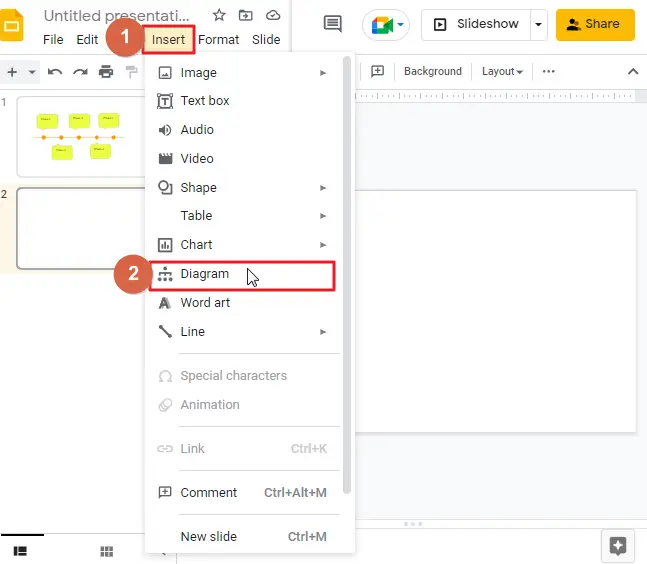
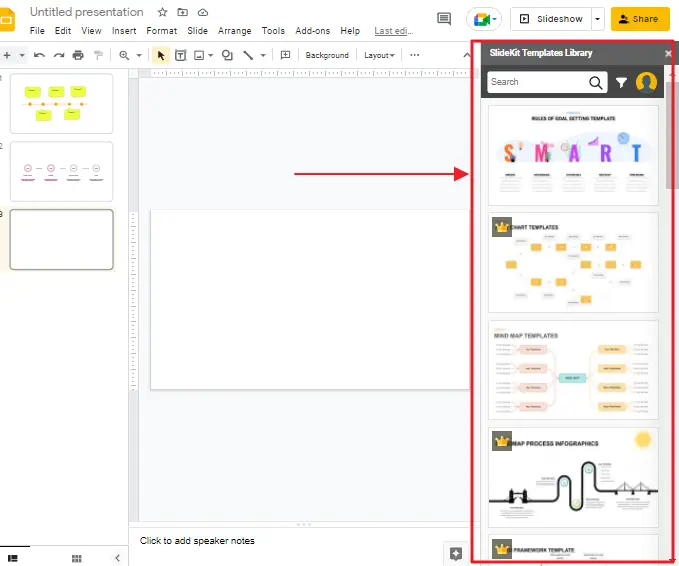
Clicking on the diagram will open a new window on the left side of your screen. here you will be able to see all the templates that are available to use.

Step 3: click on the diagram type that you would like to use from the left side of your screen. Select the color from the drop-down list at the top of the window and select a number of dates by clicking near the bottom.
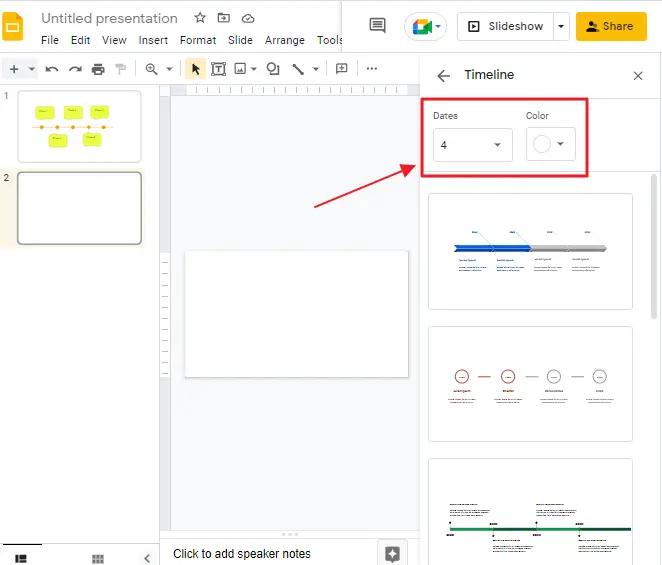
Conventionally, Slides offer choices such as 4. But you may select up to 6.
Step 4: Click on the timeline which best fits your project.
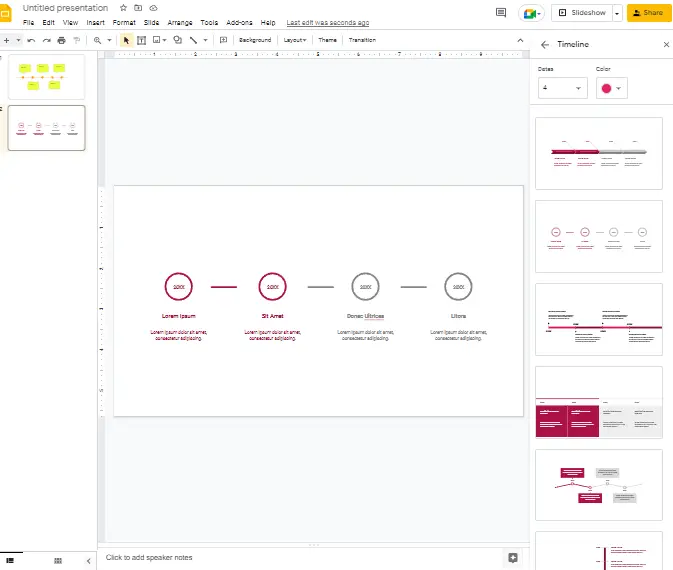
As it is noted previously, Slideshows let you make some modifications in the timeline diagram. Such as, if you drag the edges on the timeline, the timeline will be elongated. Moreover, you can change the color of a particular area as well. Just select a certain section and click Fill Color, then you can make your color selection from there.
So, all you should do is insert the relevant text, and that’s it.
How to Make Timelines in Google Slides using Add-ons
While the native timeline graphics are good, they do not match the sharpness of your work. If you want your presentation to have graphics of similar quality, consider adding a timeline add-on.
Lucidchart and SlideKit Templates can help you try out different approaches for arranging timelines. These diagrams add an impressive visual pop and will actually add value to your narrated slides.
SlideKit Templates let you use premade transformations, while LucidChart enables you to produce customized modifications.
Read an easy-to-follow guide on how to install and use Add-ons.
Make Timelines using Slidekit in Google Slides
Step 1: open a google slide presentation. Click on add-ons. Click on the Insert slide from the dropdown.
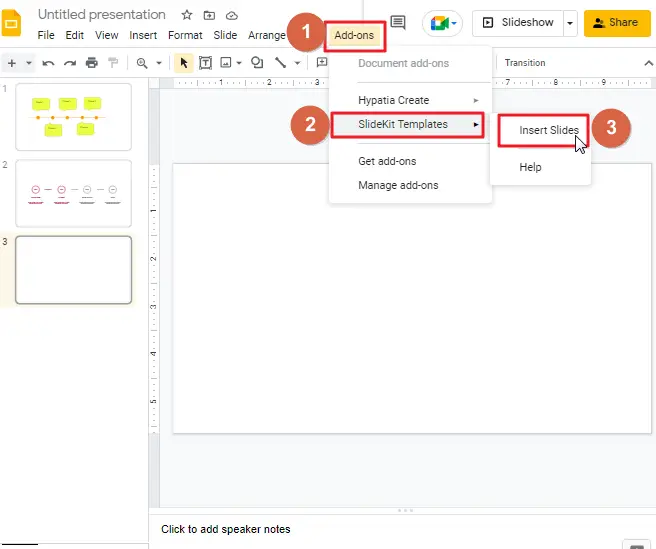
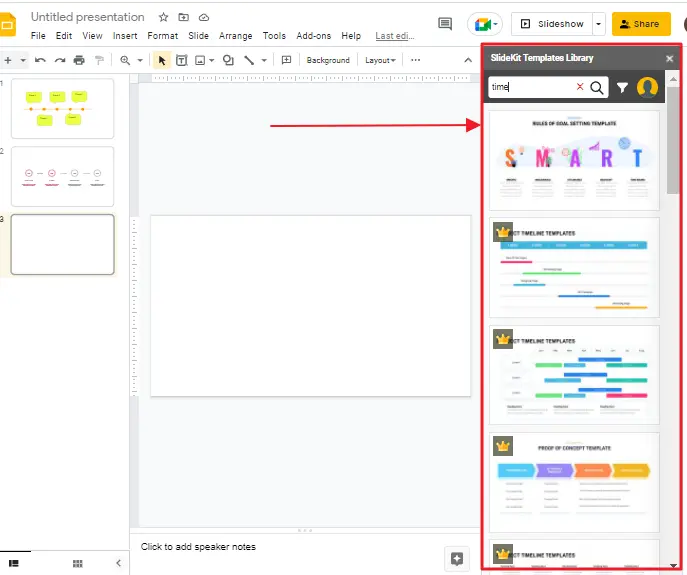
Infographics will be displayed on the right side of your screen.
Step 2: Search for the term Time to separate the time line-related slides. While reviewing your options, click on the slide to include.
From now on, you have control over the text color and graphics color of your choosing.
SlideKit Template is a free add-on with slides containing a mixture of freely accessible and paid graphics. The only fault is that the slide has to include the maker’s copyright after usage.
Make Timelines using Lucidchart in Google Slides
Lucidchart is among the most popular tools for diagramming. It comes with a heartful of functions and templates to help the process of drawing diagrams a swift and easy one. One such distinction between the LucidChart SlideKit Template and LucidChart integration in Google Slides is that the lucidchart provides you with the ability to import your own diagrams.
Different types of timelines can be created on Lucidchart, then transferred to Slides. Isn’t it amazing?
Of course, you have to log in using the same account on both.
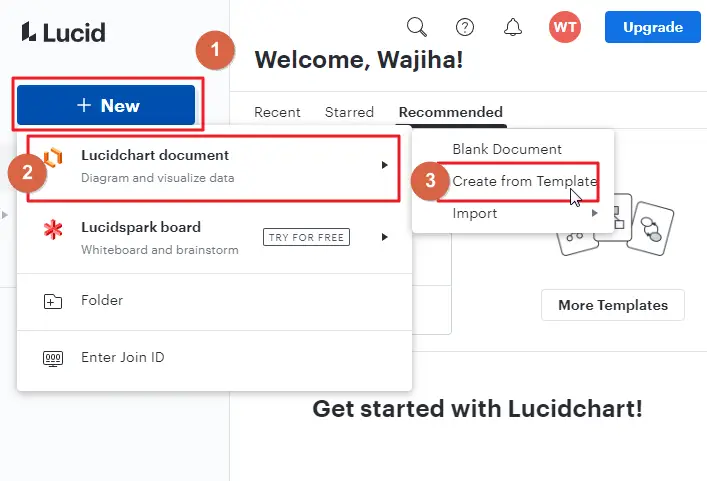
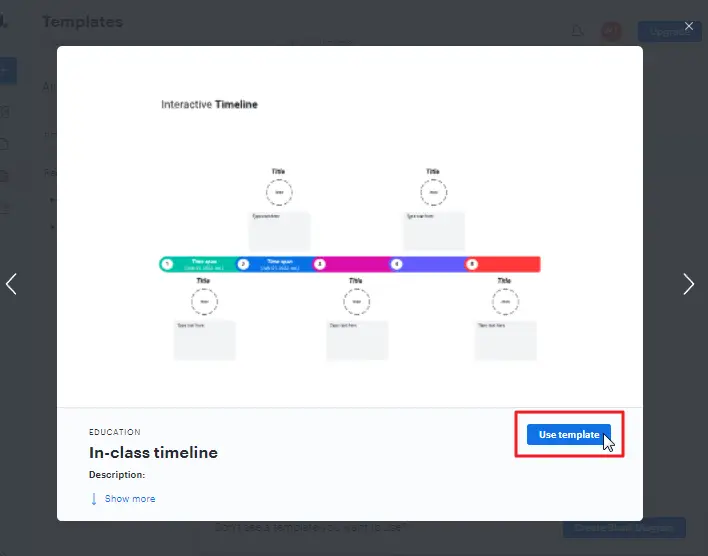
Step 1: open lucidchart first. Click on new. Click on lucidchart document > Click on create from template.
Step 2: In the search box, look for timeline.
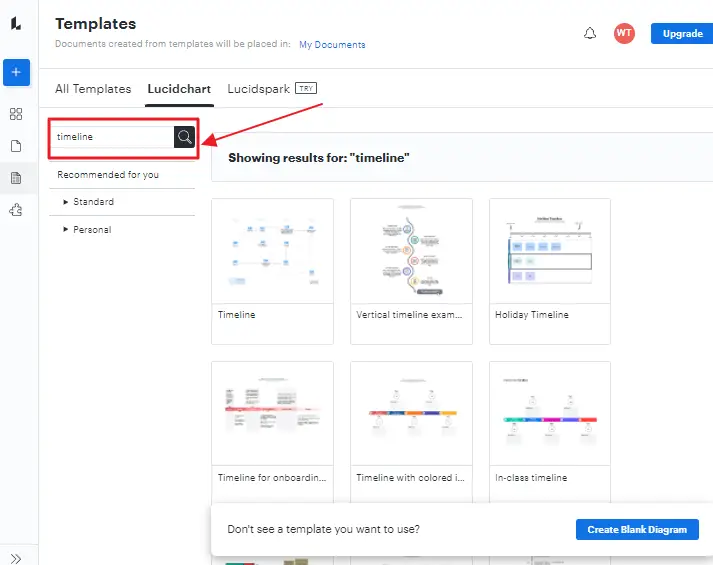
Once you have a favorite, select Use Template.
Step 3: Now, use the template to the maximum extent necessary. it is a diagramming software, you’ll have the opportunity to play around with numerous features.
Once created, save your diagram.
Step 4: now go to your google slide. Click on add-ons. Click on Lucidchart diagrams > Click on insert diagram.
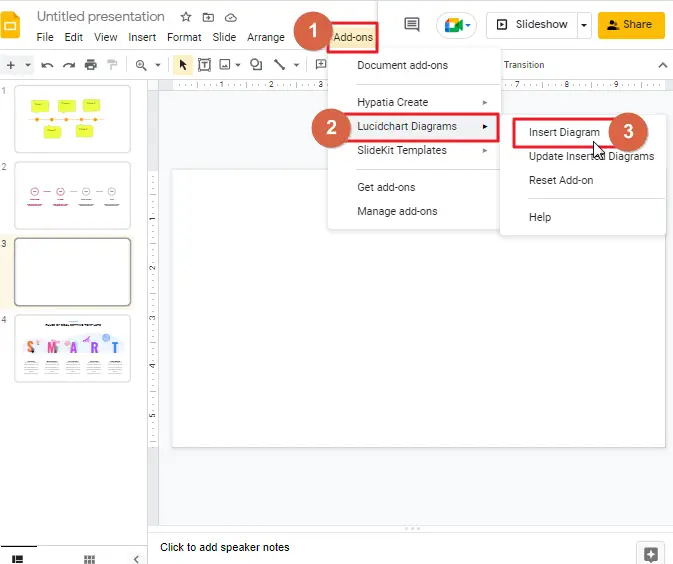
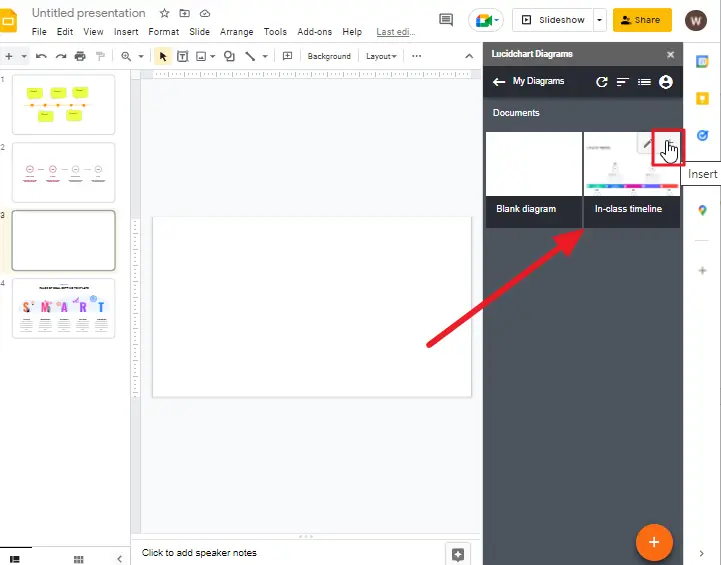
In a few seconds, your diagrams will be listed in the panel on your right. Locate the correct one and hit the Insert button.
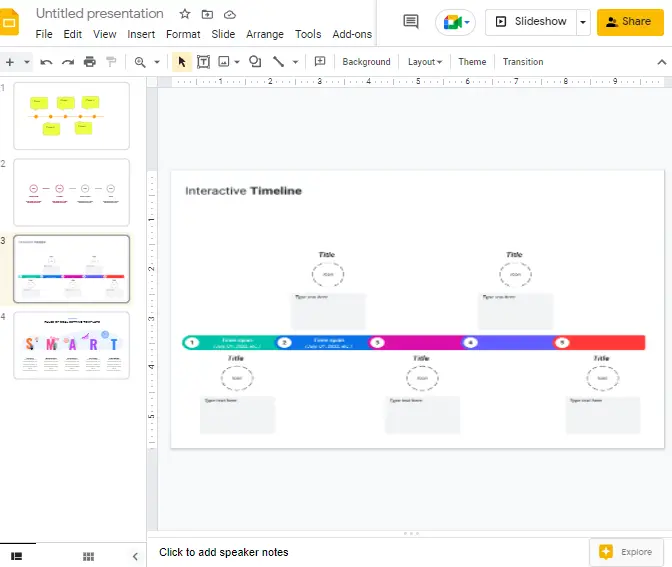
Step 5: Google Slides will automatically add the Timeline diagram to the display.
Frequently Asked Questions
How can timelines be used in presentations?
Many timelines are extremely valuable in visual displays. Beyond this, there are numerous examples.
- As a project manager, you can give a presentation that outlines your objectives, deadlines, and results.
- If you’re a startup company seeking an investment, it is advised to provide your potential investors with a timeline for your project or product so that they may determine if you’ve managed to meet the expectations previously delineated.
- A salesperson can reveal how a company’s services have matured over time for a business proposal.
How can I easily create a timeline in Google Slides?
You can download a pre-made template from Google Slides or create a timeline more regarding your needs manually.
How To Make a Gantt Chart in Google Slides?
You can design a Gantt chart in Google Slides using a Gantt chart template. In internet you will find different free and premium gantt chart templates which you can easily download and use it in your google slides.
Is it possible to create a Gantt chart or a timeline template for a Google Slides presentation?
Yes, Google Slides includes many useful functions beyond creating presentations. But to create a gantt chart template you must need to learn how to create or modify existing template to give a proper shape of a gantt chart.
Is it possible to create a timeline on a Google Form?
No, it is not possible to create a timeline in google Form because Google Forms is a question-and-answer tool used solely for feedback purposes.
How To Use Google Drawing Tools in Google Slides to Create a Timeline?
Google Drawing is an effective timeline composer application to Google Slides; however, Google Workspace doesn’t directly unite both.
For example, you can create a timeline in Google Docs with the Google Drawing tool. All you have to do is create the timeline in a Google Doc and then insert it into your document.
For Google Slides presentations, you can switch to Google Drawing, which allows you to create custom templates for your presentations. This choice will serve well for you in case you are unable to access your Google Slides account for any reason.
A more creative alternative to Google Drawing is Lucidchart Diagram, or you could organize all your vital content into a vibrant SmartArt graphic.
A lot of folks do not like a graphic timeline, so you can make a simple one on a Google sheet with just a Google account. That is all about creating a timeline with Google Slides.
Can the Methods for Creating a Timeline on Google Docs be Applied to Google Slides as Well?
Yes, the methods for creating a timeline using google docs can certainly be applied to Google Slides as well. Google Slides also allows you to insert tables and shapes, just like Google Docs, making it possible to visually represent your timeline in a clear and organized manner. Utilize the same steps and features to create an impressive timeline on Google Slides.
Can I Use Google Docs to Create a Timeline Instead of Google Slides?
Yes, you can use Google Docs to create a visual infographic timeline instead of Google Slides. While Google Slides offers more design features, Google Docs can still serve as a useful tool for basic timeline creations. With clever formatting and the use of tables or shapes, you can achieve a visually appealing timeline in Docs.
Can you create a Google Slides timeline on a cellphone?
We experimented with creating a timeline in the Google Slides mobile app. And we found two things that surprised us.
- It’s not possible to create a timeline with a template in the Google Slides app. You can use shape to create timeline manually.
- The small size of the slide on a cellphone makes it difficult to create diagrams and text boxes. Moreover, despite the fact that the user interface of the app is not large, developing a good representation of a timeline is difficult.
It’s most convenient to use a PC than a traditional phone when creating a timeline. Use the Google Slides app to make minor edits to your timeline remotely.
Tutorial: How to make a timeline in Google Slides
Conclusion
With an advanced timeline creator and collaboration features, Google Slides is the better option to create a timeline.
Google Slides has been around for quite some time now, and it’s one of the most popular presentation tools used by businesses and individuals alike. The reason why Google Slides gained popularity so quickly is because of its ease-of-use and flexibility. You can create your own timeline using this software, or you can choose from a number of readymade templates available online.
We hope you enjoyed this article on How to make a timeline on google slides. If you have any questions or comments, please feel free to reach out! We’d love to hear from you.
If you’ve enjoyed this article, please share it with your friends and colleagues! You can use the social media buttons below or share the link to this page.


