
To Make Labels on Microsoft Word
- Go to the Mailing tab.
- Click on Labels.
- Enter label information.
- Choose printing options.
- Select a label product or create a custom one.
- Add labels to a new document > Print the labels.
OR
- Open your label document.
- Select the entire document.
- Go to the Layout tab.
- Adjust alignment and text direction.
- Modify cell margins.
- Access Table Design for design and coloring options.
- Set shading and customize borders.
Hello and welcome to another new tutorial in our Microsoft Word series. Today, we are going to learn how to make labels on Microsoft word. Labels, as we all know, are a convenient way to organize your documents, files, and other items. They can be used for labeling envelopes, folders, boxes, and even products. With Microsoft Word, creating and printing labels is quick and easy. Unlike Google Docs Microsoft Word has a built-in Label feature that saves our time and allows us to make our labels quickly with a lot of variety of designs, and customization. If you want to learn how to make labels in Google docs, you can check out this tutorial.
Whether you are a small business owner looking to label your products, or an individual looking to organize your personal belongings, Microsoft Word can help simplify the process. In this article, we will guide you through the step-by-step process of creating and printing labels on Microsoft Word, so you can streamline your labeling tasks and stay organized.
Importance of making Labels on Microsoft Word
Learning how to make labels on Microsoft Word is an essential skill for anyone who needs to organize documents, products, or other items. Creating labels can save you time and make it easier to find what you need when you need it. For small business owners, creating labels for products is a cost-effective way to add a professional touch to your brand. For example, creating custom labels for your products can help you stand out in a crowded marketplace, and make it easier for customers to remember your brand.
In addition to business applications, creating labels can also be helpful for personal use. Whether you need to label items for a move, organize your home office, or create name tags for a social event, Microsoft Word can help simplify the process. With its user-friendly interface and powerful tools, you can create labels quickly and easily, without the need for expensive software or equipment. By learning how to make labels on Microsoft Word, you can stay organized and save time, both in your personal and professional life.
How to Make Labels on Microsoft Word?
Since Microsoft Word has already provided a built-in feature design for creating labels, we will see that feature instead of creating custom label designs, the label feature allows us to edit our labels as much as we need to. So, this article is mainly divided into two sections, the first is to learn how to create labels from scratch, and the second is how to customize those labels as per our brand identity. So, let’s get started with the first method.
Make Labels on Microsoft Word – Create Labels
In this first section, we will learn how to get started with labels. I will teach you how to make labels on Microsoft word from the very scratch. These labels can be adjusted, edited, customized, and colored later; this section only talks about the creation of labels. Let’s see the below steps to learn how to make labels practically on Microsoft word.
Step 1
Open a new Microsoft Word document.
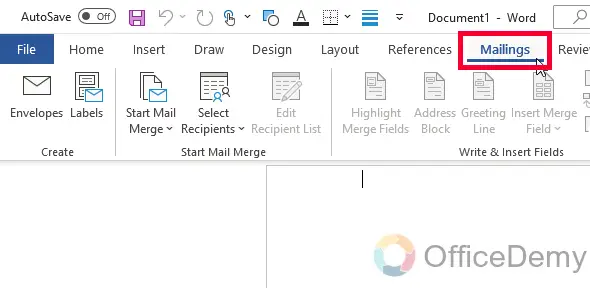
Step 2
Go to the Mailing tab in the main menu ribbon.
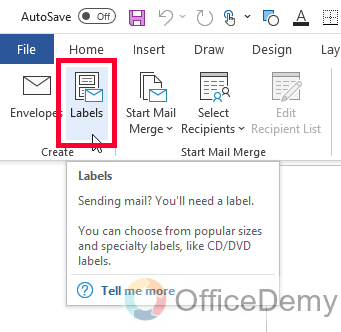
Step 3
Click on the Labels from the Create section
Step 4
Now you will get an “Envelope and Labels” dialog box opened.
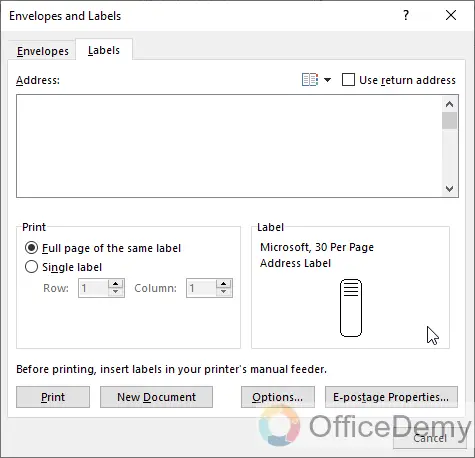
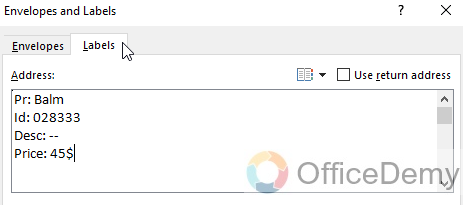
Step 5
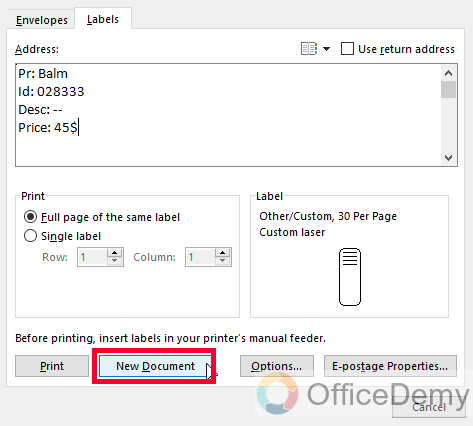
Select the Labels tab, and write your label information such as product details, recipient address, company address, etc.
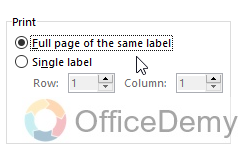
Step 6
Now in the below “Print” section, select if you want to print only one label or the same label on the entire page.
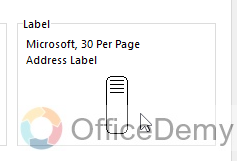
Step 7
Then next, in the Label section click anywhere to open more options
Step 8
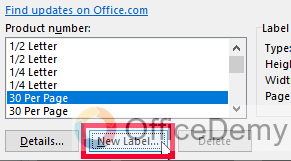
Here in the Product number section, you can select any item as per your label style type.
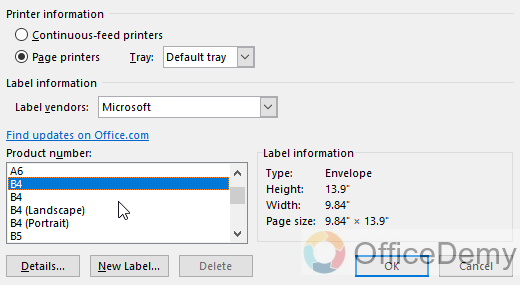
Step 9
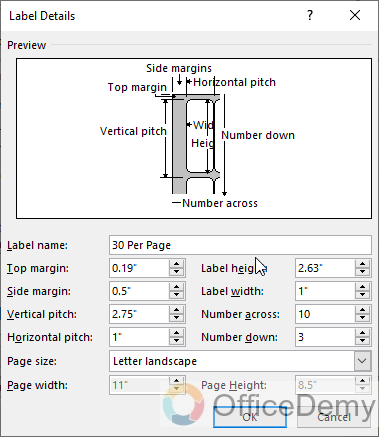
You can also create a custom new label by clicking on the new label button
Step 10
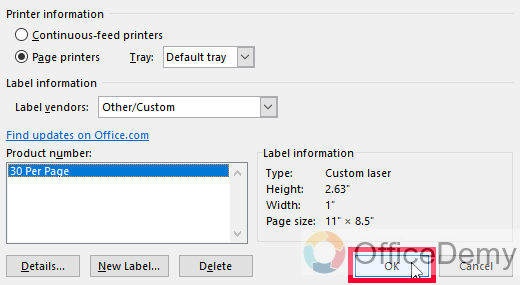
Click on the Ok button to get back to your original label screen.
Step 11
Now click on the “New document” button to add this label to a new Microsoft word document.
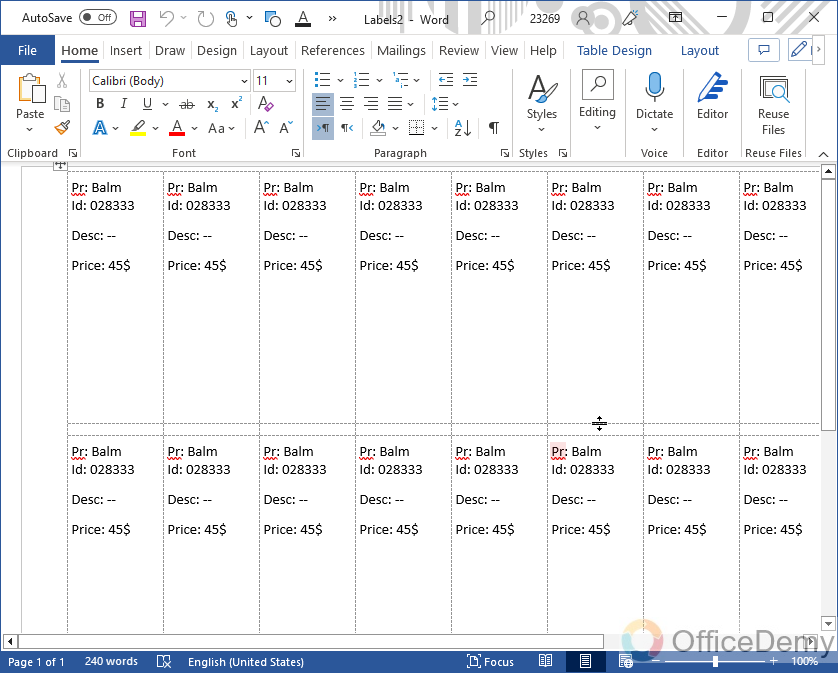
Step 12
Here is your document, you can see Microsoft Word automatically positioned all the labels on one page.
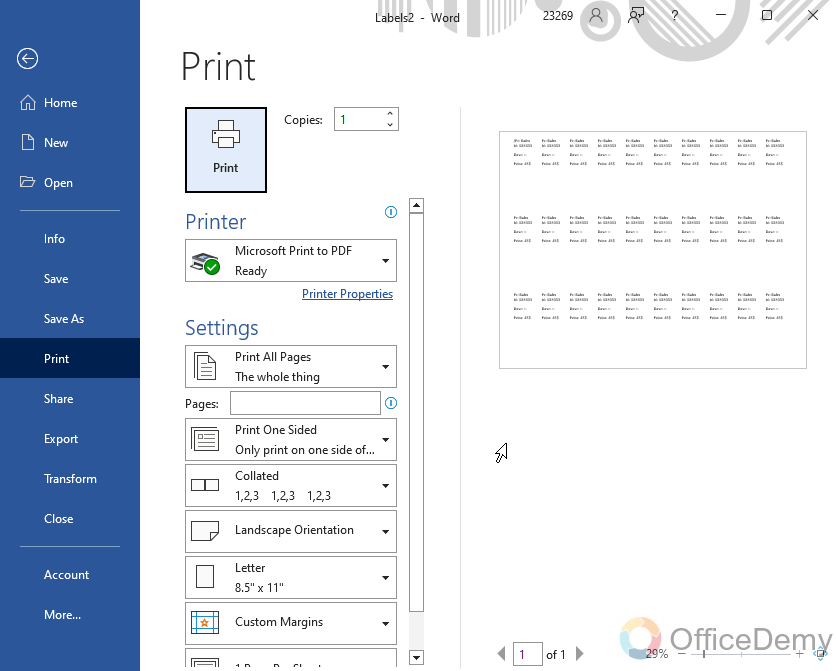
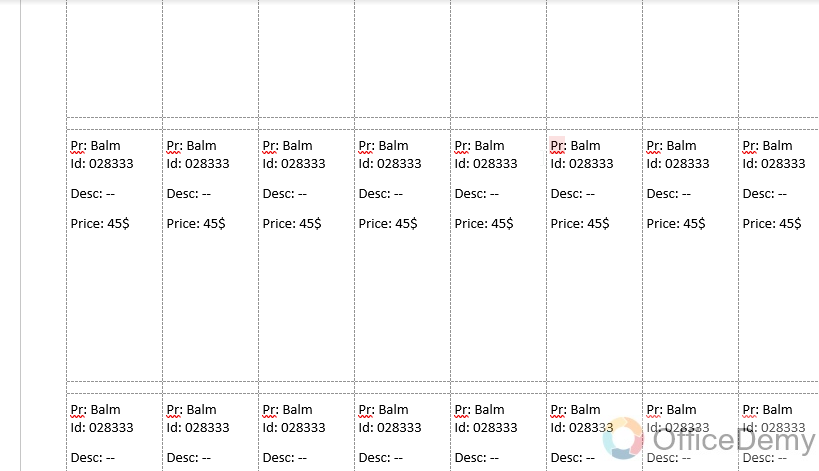
Step 13
Now you can print them (Ctrl + P) is the keyboard shortcut to Print.
This is how to make labels on Microsoft Word using pre-built features.
Make Labels on Microsoft Word – Customize Labels
In this section, we will learn to customize, color, and fancy our labels made in Microsoft Word and how to edit them based on our requirements and as per our brand colors and font. Microsoft Word labels are fully customizable, and we can perform all types of editing right away without any add-ins or third-party applications. Below are the steps to learn how to customize labels in Microsoft Word.
Step 1
Open the document that has your labels made in Microsoft word.
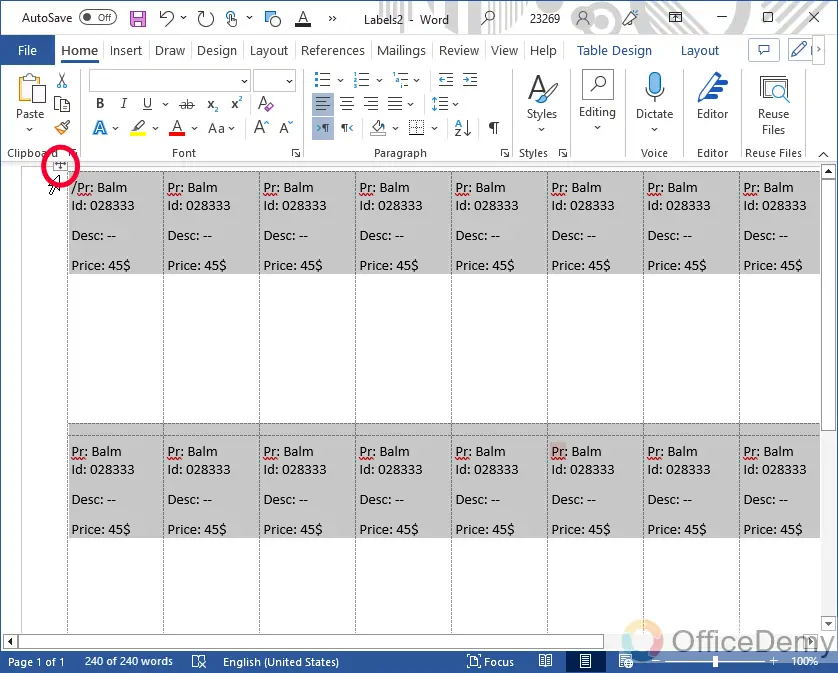
Step 2
On the top left of the document, you have a table holder, click on it and your entire document will be selected.
Step 3
Now, click on the Layout tab in the main menu

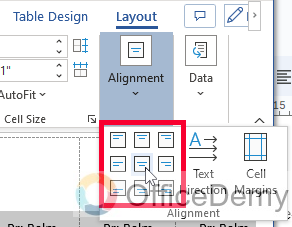
Step 4
Here, from the Alignment section, you can adjust the alignment of your labels with these 9 pre-set buttons
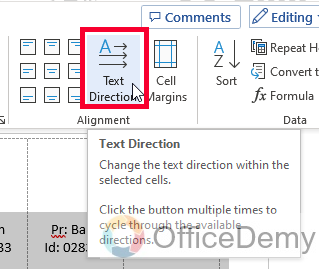
Step 5
Next to it, you can use different text directions, if you want your label to be written vertically
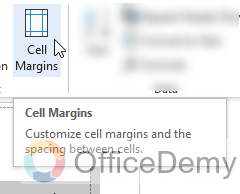
Step 6
Next to it, you have cell margin options by which you can increase or decrease the margin of your labels.
Step 7
Now, click on the Table Design menu in the main ribbon
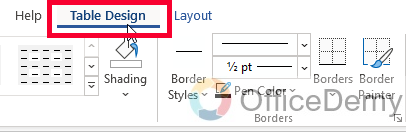
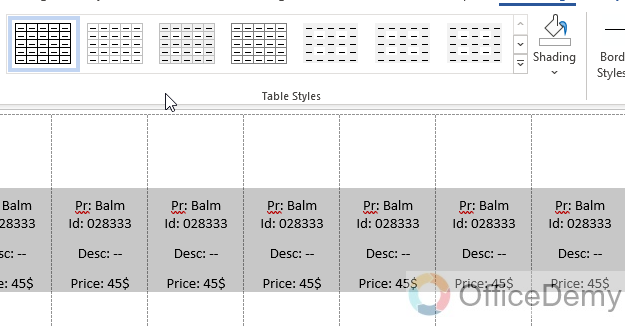
Step 8
Here you have some design and coloring options in the “Table styles” section
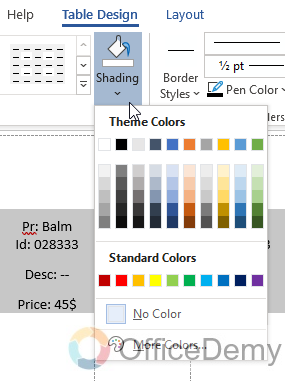
Step 9
Next to it, you can set the Shading using this shading dropdown
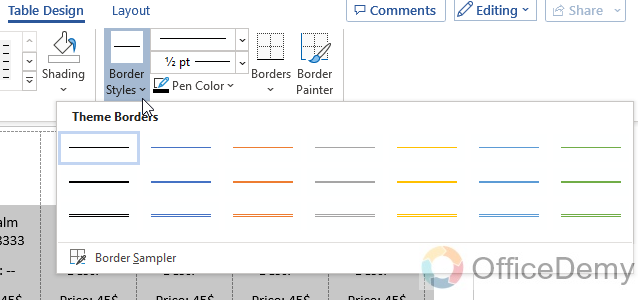
Step 10
Next to it, you have all the border options such as border style, border type, border color, etc.
This is how to make labels in Microsoft word and customize them using pre-built features.
Important Notes
- If you’re creating labels for a large mailing, consider using a mail merge to populate the labels with information from a data source, such as a spreadsheet or database
- To save time, you can create a label template with all the formatting and layout options you need, and then use that template for future labels.
- If you’re having trouble aligning your labels correctly, try adjusting the margins or changing the layout options
- Be sure to use the correct label size and type that matches the labels you have on hand. You can usually find this information on the label packaging or the manufacturer’s website
- If you’re printing labels with a color printer, make sure to select the appropriate color settings in Word to ensure that your labels come out looking the way you want
- If you are printing many labels, consider printing them in batches to avoid wasting paper or ink.
Frequently Asked Question
What is the best way to make a label in Microsoft Word?
To create a label in Microsoft Word, go to the Mailings tab and click on Labels. In the Labels dialog box, select the label, then type in the text that you want to appear on the label. Finally, select the number of labels that you want to print, and click on the Print button.
Conclusion
That’s all from today’s guide. We learned how to change language in Microsoft Word using various methods, tricks, and techniques. I hope you like this guide, and that you have learned the art of changing languages of the interface, and of the document, as well. Understanding the difference between the two is very important. I will see you next time with another useful guide, till then take care and keep your learning up with Office Demy. Thank you!


