
To Move Image to Back in Google Slides
- Open your Google Slides presentation.
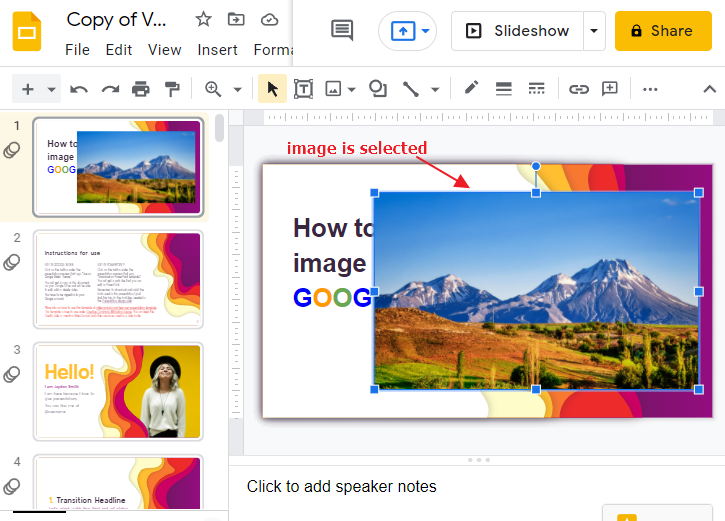
- Select the image you want to move to the back; you’ll see a blue border around it when it’s selected.
- Click on “Arrange” in the toolbar.
- Then choose “Order” and select “Send to back“.
In this article, we will learn how to move image to back in google slides.
Google Slides is an online tool that anyone can use to create interactive presentations. It has similar features to PowerPoint and Apple’s Keynote, yet it is entirely web-based, making it accessible for anyone with a Google account.
There are times in which when you are editing a slide, there may be some parts in it that don’t look well together with one another. One of the elements here could be an image since this may make a text or another shape a bit hard to read and understand. To deal with this, you can always change the layering of the inserted elements by putting one behind another. This can be done through using Google slide´s Send to Back feature
Is your slide difficult to manage especially if you have texts and images on the same slide? No need to worry anymore because in this article, we will teach you how to you can send an image back without blocking the text or other google slides object available on the slide.
If you are interested to learn about how to duplicate a slide in google slides, please read the article How Do You Duplicate a Slide in Google Slides (2 Methods).
How to Move an Image to Back in Google Slides
How to Insert an Image in Google Slides
Before we learn how to move images back in google slides. We must know how to insert an image in google slide. Inserting an image in google slide is an incredibly easy process. Follow these steps to insert an image in google slide.
Step 1:
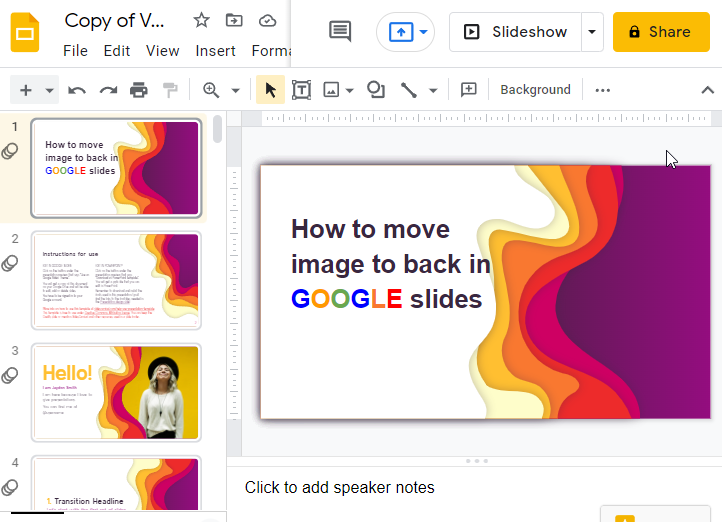
Open your google slide presentation.
Step 2:
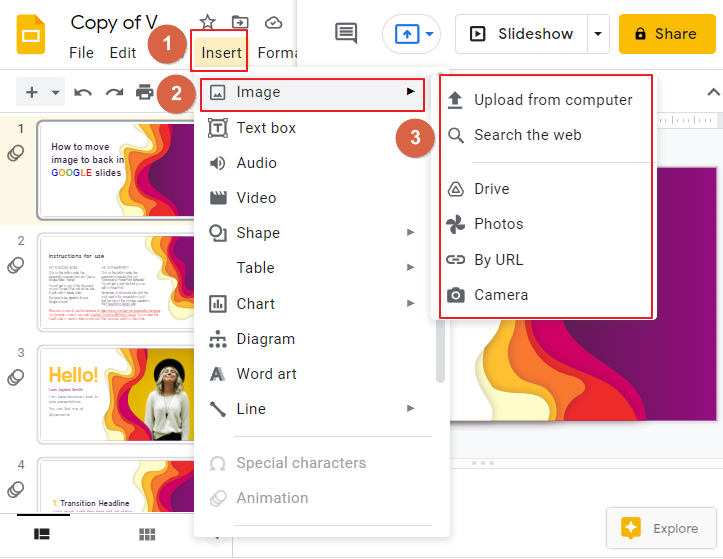
Now click on Insert in the toolbar at the top. A popup menu will appear. click on Image. There you will find several options to upload an image in google slide.
I have uploaded an image which I had in my computer for my google slide presentation.
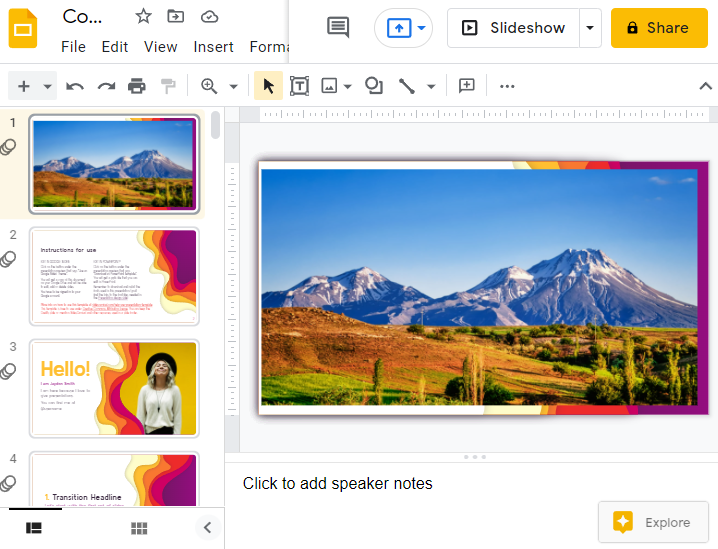
That’s it. You are done.
Tutorial: How to Insert an Image in Google Slides
How to Send an Image Back in Google Slides
Do you wish to place your product image behind the text you wrote which serves as a description? Or does the image which you used on your site happen to clash with the background? No worries, this article will help you out.
Follow these steps to send an image back in google slides.
Step 1:
Open your google slide presentation. Select the exact image that you want to send back or under certain elements. As soon as you select the image, there will be a blue box around the corner of the image. That means the image is selected properly.
Step 2:
Now click on Arrange. A pop-up menu will appear. click on Order > Click on Send to back.
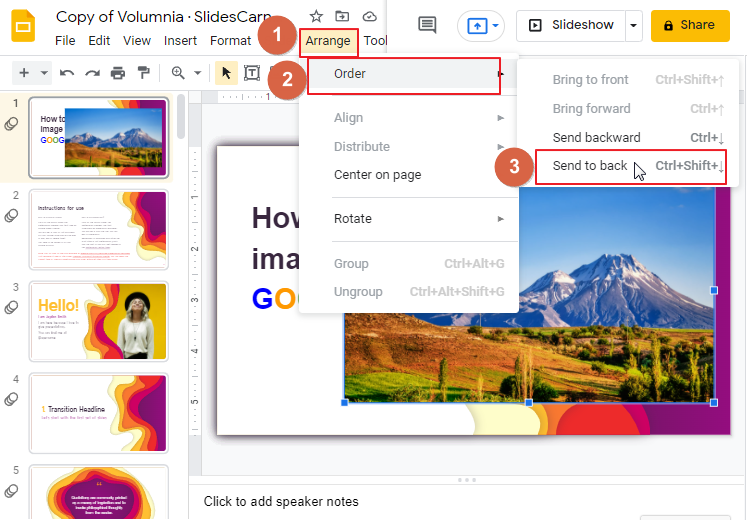
As soon as you click on Send to back. The image will go behind every element present on the slide.
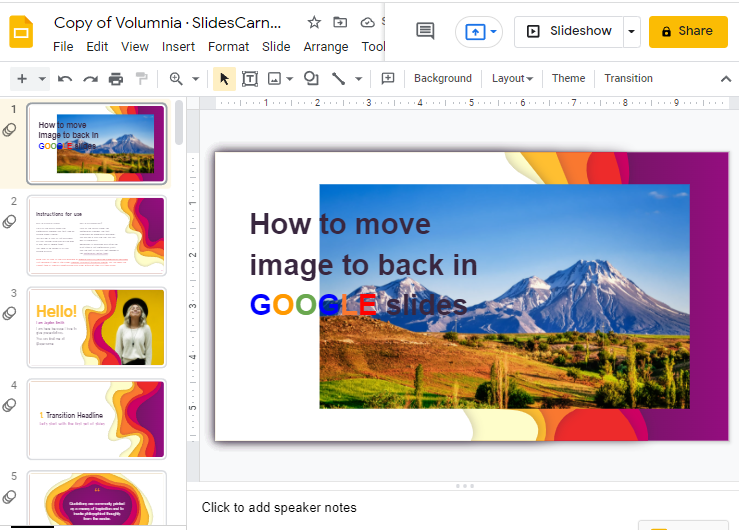
That’s it. You are done.
Tutorial: How to Send an Image Back in Google Slides
Bonus Tips
If you are not satisfied with your image positioning, you can re-adjust it anytime by selecting the image and dragging its corners to a specific position that you are satisfied with.

Frequently Asked Questions
Can I Lock an Image or Object in Google Slides After Moving It to the Back?
When using Google Slides, securing images and objects is possible after moving them to the back. This ensures that they stay in place and cannot be accidentally selected or moved while working on your presentation. Simply right-click on the image or object, go to the Order option, and select Lock on Back.
Conclusion
If you have read the guide above and followed the instructions, hopefully, you now know how to fix the layering of your images in Google Slides. There are many built-in tools available in google slides that you can use to improve google slides presentation to look professional, such as curving the text, adding a border or frame to your image.
Now that you know how to insert an image and fix the layering of your added image, then I’m sure editing and creating a good presentation in Google Slides would now be a lot easier for you.
Thank you for reading this article. If you need some more solutions, don’t forget to check our other sections here in OfficeDemy.com


