
To Show & Hide Slides in Google Slides
Show
- In the slide navigation pane on the left, select the specific slide to hide.
- Right-click > “Skip slide” from the dropdown menu.
- The slide will be hidden.
Hide
- Select the hidden slide you want to unhide.
- Right-click the slide and choose “Skip slide” from the dropdown menu.
- The crossed-out eye icon will disappear, and the slide will be visible again.
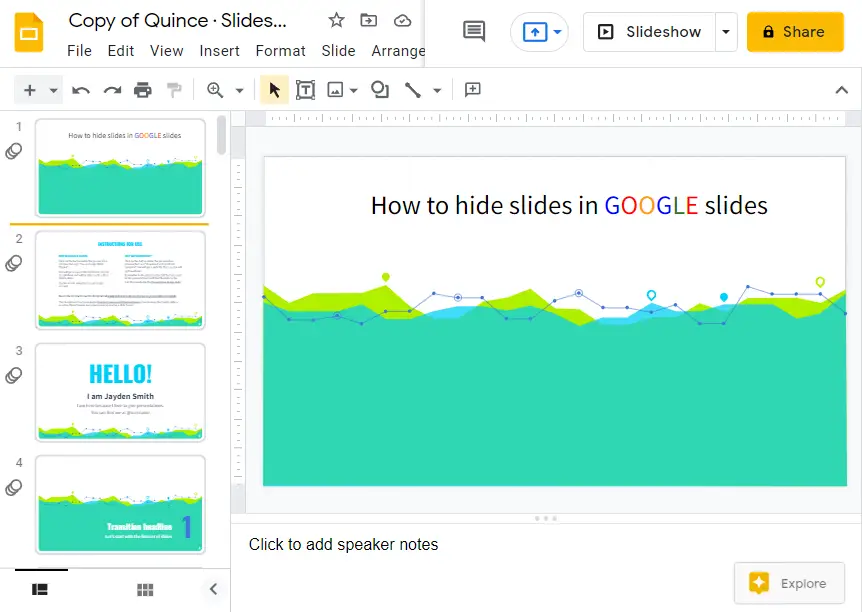
In this article, we will learn how to hide slides in Google Slides. We will also learn how to show them if hidden.
The ability to hide slides in Google Slides is particularly useful if you are working on a presentation that you are likely to reuse later. You can hide slides that use a particular template or that you want to reuse later while editing the presentation.
Hiding slides will let you exclude individual slides from your presentation but keep the slide ready to be viewed at any time. Learn how to hide slides in Google Slides, but also how to unhide them if necessary. If you have slides that you do not want to display during a presentation, but still want them to remain in your presentation, you can hide slides by using the Hide option.
If you are interested to learn about how to add and remove slide numbers in google slides, please follow the link below.
How to Add & Remove Slide Numbers in Google Slides (Best Practice)
So let´s learn how to hide slides in google slides step by step:
How to Hide Slides in Google Slides
Most of the time, you’ll want to hide certain slides in a presentation. For example, if you have slides that include speaker notes, you won’t need them when you are giving your speech to an audience; however, you might want to keep them for reference during the presentation. Hiding a slide prevents it from appearing during the presentation or when printing your presentation.
Step 1: Open your google slide first.
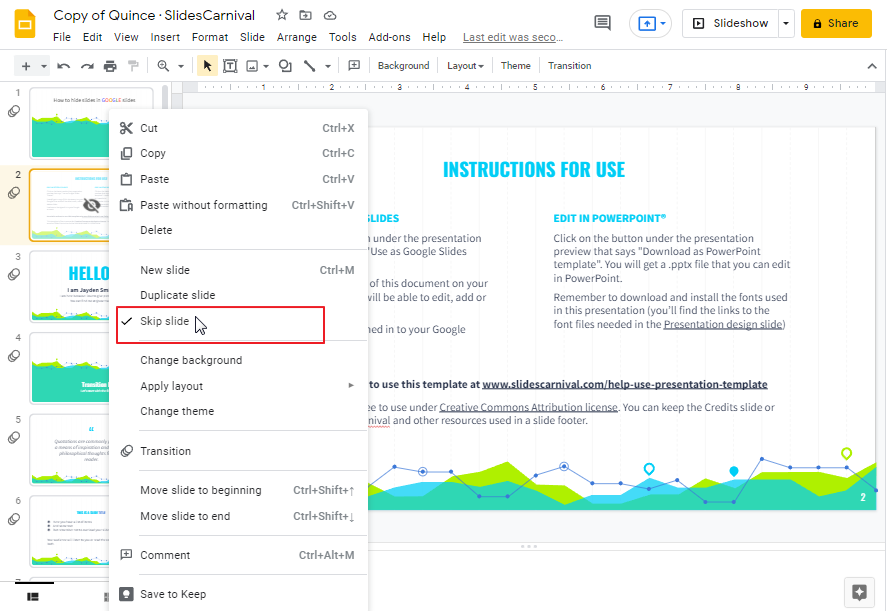
Step 2: From the slide navigation pane on the left, select the specific slide that you would like to hide. Right click on that slide to open the dropdown menu. Click on Skip slide.
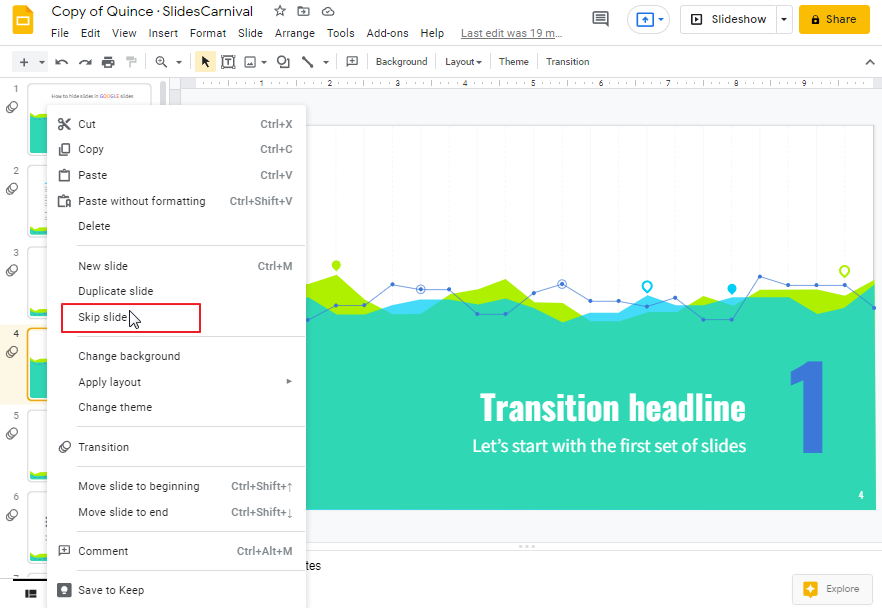
Step 3: As soon as you click on the Skip slide option, a crossed-out eye icon will appear on the selected slide and that specific slide will be hidden from the presentation.
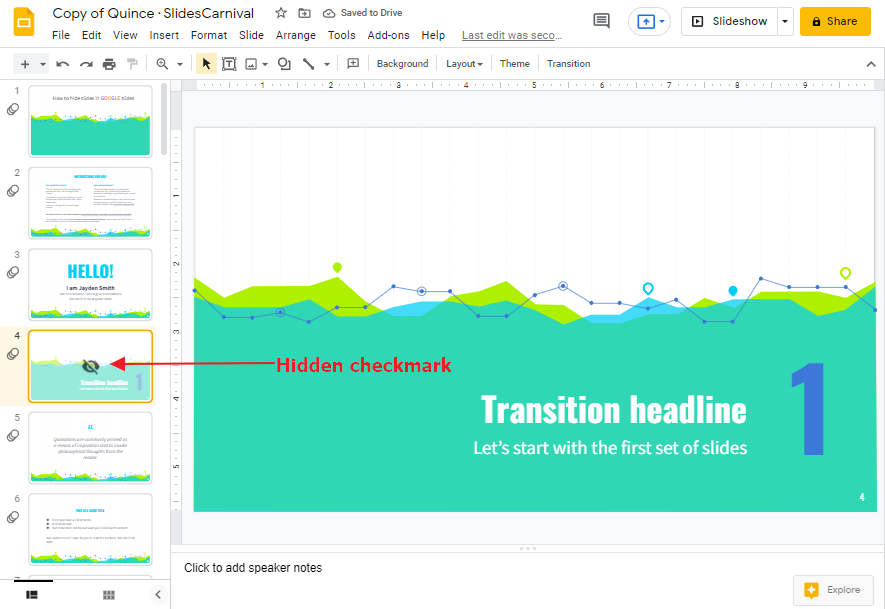
Don’t forget to verify your presentation. Once the slide is hidden, that specific hidden slide will look a bit transparent on the slide navigation pane. A check mark will also appear on the slide meaning that the slide is completely hidden now.
Animated Tutorial: How to Hide Slides in Google Slides
NOTE: Not only one, but you can also hide as many slides as you want by the steps mentioned above.
Bonus Tip
Before your presentation if you want to check how your slide presentation is going to look during presentation, please follow these steps:
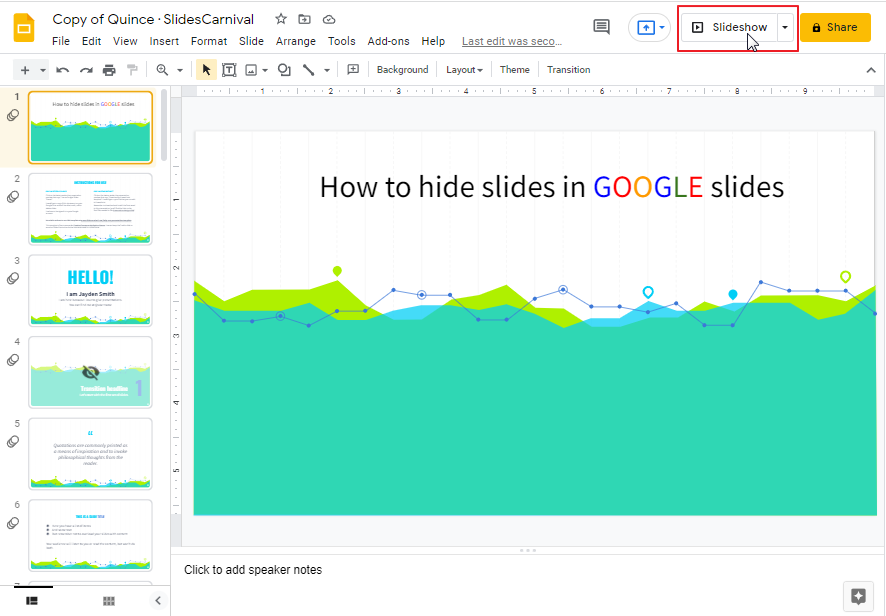
Step 1: Open your google slide presentation. Click on Slideshow.
This is how you will be able to see how your presentation will look during your presentation.
How to Show Hidden Slides in Google Slide
If you have hidden a slide and want to unhide it, you can do it anytime easily just by some clicks. Follow these simple steps to unhide a slide.
Step 1: open the google slide presentation. Select that specific slide that is hidden. Right click on that slide. A drop-down menu will appear. Click on Skip slide.
As soon as you click on the Skip slide, THE crossed-out eye icon will disappear form that selected slide and the slide will come back to its previous position. Example below,
Animated Tutorial: How to Show Hidden Slides in Google Slides
Frequently Asked Questions
Can I Hide Edit History on Google Slides using the same methods as Google Docs?
Yes, you can hide document editing history on Google Slides using the same methods as Google Docs. By following these steps, you can maintain the privacy of your edits and keep the editing history concealed. So, if you want to protect your work by hiding document editing history, Google Slides offers a simple way to do so.
Conclusion
Hiding slides in Google Slides can be a great way to keep them safe until you’re ready to present them. It’s also a great way to organize your slides into different categories. For example, you could have all your title slides hidden, and all your completed content slides showing in the Google Slides editor. Hide slides in Google Slides to prepare for a presentation or before handing off your deck to someone else for review. It’s easy to hide slides and even easier to unhide them again when the time is right.
Thank you for reading this tutorial by OfficeDemy.com. Your feedback is appreciated. Please feel free to send us your questions and/or suggestions about this article. We will try to reply as soon as possible.


