
To Spell Check on Microsoft Word
Direct Corrections:
- Open your document.
- Look for squiggly lines: red for misspellings, blue for grammar, and dotted for clarity.
- Click on a highlighted word for suggestions or ignore.
Spelling and Grammar Editor:
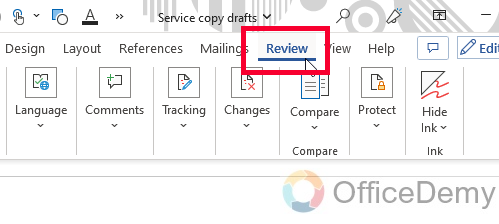
- Go to the “Review” tab.
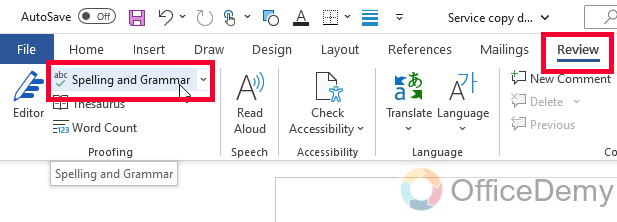
- Click “Spelling & Grammar” in the “Proofing” group.
- Review and correct spelling and grammar errors.
- Customize autocorrect options.
- Access the dictionary and thesaurus for word definitions and synonyms.
Hi. Welcome to another tutorial of our Microsoft Word series. In this guide, we will learn how to spell check on Microsoft Word. Microsoft Word is an essential tool for writing and editing documents, and it offers a wide range of features to help you create high-quality content. One such feature is the spell check tool, which helps you catch and correct spelling errors in your documents. Spell check is a crucial tool for anyone who wants to produce professional-quality documents, and it can save you time and effort by identifying and correcting spelling mistakes automatically.
In this article, we will explore how to spell check on Microsoft Word. This guide is for seasonal Word users, or also for those who just getting started, this guide will help you make the most of this powerful feature. We’ll cover everything from basic spell-check settings to advanced options like custom dictionaries and proofreading tools. With these tips and tricks, you can ensure that your documents are error-free and ready to impress.
Importance of using Spell Check on Microsoft Word
Learning how to spell check on Microsoft Word is crucial for anyone who wants to create high-quality documents. It can help you catch spelling errors, which are common mistakes that can negatively impact the quality of your work. Spell check saves time and effort by automating the process of identifying spelling mistakes, which can be a tedious and time-consuming task to do manually.
By using the spell check tool, you can improve your credibility, especially in professional or academic settings. Spelling mistakes can negatively affect your image as a writer or professional, but using the spell check tool can help you avoid such mistakes. Spell check is a valuable skill that enhances your attention to detail and reflects your professionalism in your work.
So, we can say, learning how to use the spell check tool in Microsoft Word is a valuable skill that can improve the quality of your documents and enhance your credibility as a writer or professional.
How to Spell Check on Microsoft Word?
We have a built-in Grammar, spelling, and clarity checker in Microsoft Word which we can use easily to correct our documents. So, in this guide, I will share two similar methods with you to correct your documents using the in-built spell check on Microsoft Word.
Spell Check on Microsoft Word – using Direct Corrections
In this section, we will learn how to spell check on Microsoft Word using the direct corrections method which is the most common, simple, easy to access, and quick method to do so. But, if you are working on a very serious project, or it’s a very high-class professional document, then I will suggest you do an in-depth spell check on it. But, for a normal level of documents, you can use the direct corrections method. Let’s see how it works.
Step 1
Open your Microsoft Word document
Step 2
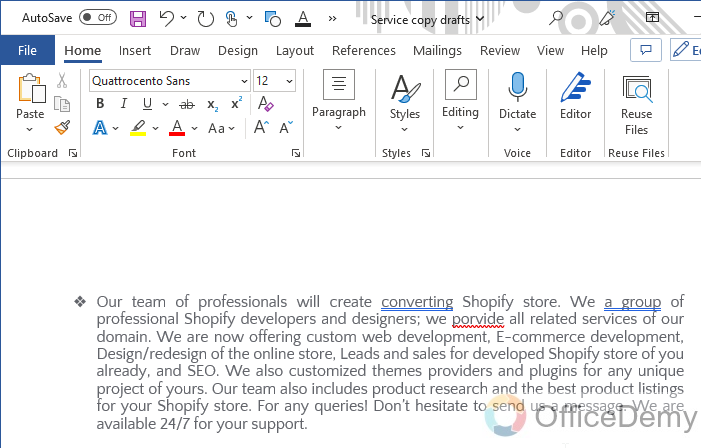
Skim through your document, most probably you will see some squiggly lines below your words by Microsoft Word.

Step 3
We have three types of highlights, a red underline for misspelled words
A double blue underline for grammar

Step 4
A red underline for spellings.

Step 5
A dotted line for the clarity issues.

Step 6
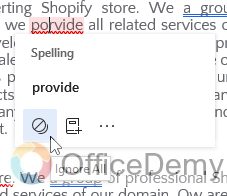
You can click on the highlighted word, and then you can get the suggestions right there to correct your mistakes

Step 7
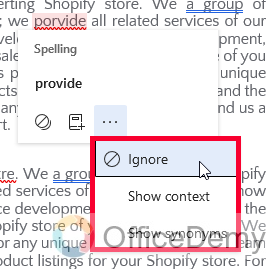
If you do not agree with the suggestions, or it’s not fitting to the context you can click on ignore button to stop checking for this mistake.
Step 8
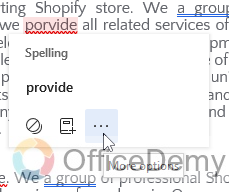
If you are not sure about the suggestion, you can click on “More options”
Step 9
Then, you have some more options about the suggestions you can check them out in detail before accepting/ignoring the suggestion.
So, this is how you can directly use the Word spell check feature to correct your documents without going anywhere from your page.
Spell Check on Microsoft Word – using Spelling and Grammar Editor
In this section, we will learn how to spell check on Microsoft Word by using a dedicated spelling and grammar editor. This is a very precise and detail-oriented feature that helps you correct your documents in detail with all major and minor issues.
Step 1
Open the document you want to spell check in Microsoft Word.

Step 2
Click on the “Review” tab in the ribbon at the top of the screen. The ribbon is a series of tabs and buttons that appear across the top of the screen in Microsoft Word.
Step 3
In the “Proofing” group, click on the “Spelling & Grammar” button. Alternatively, you can press the “F7” key on your keyboard to open the spell check tool.
Step 4
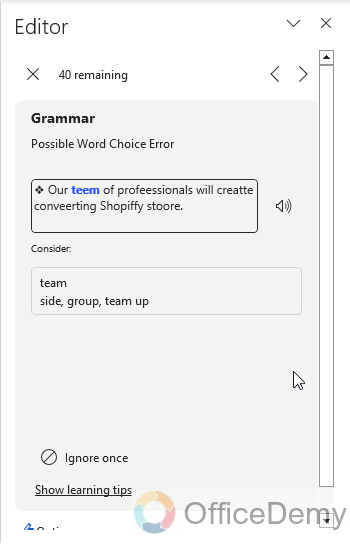
Microsoft Word will start checking the document for spelling and grammar errors. If the spell check tool finds an error, it will highlight the word in either red or blue, depending on the type of error. Red is used for misspellings, and blue is used for grammar errors.
Step 5
To correct the error, you can select one of the suggested corrections in the “Suggestions” box. You can also type the correct spelling in the “Change to” box and click on the “Change” button to correct it.
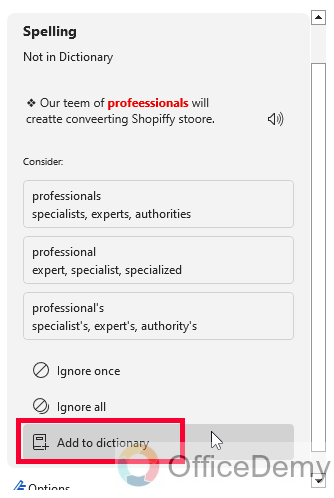
Step 6
If the suggested corrections are not correct, you can choose to ignore the error by clicking on the “Ignore” button. Alternatively, you can add the word to your custom dictionary by clicking on the “Add to Dictionary” button. This will ensure that the spell-check tool doesn’t flag this word as an error in the future.
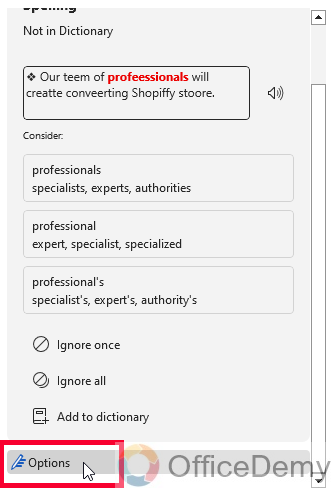
Step 7
If you want to correct all the errors automatically, click on the “Options” button
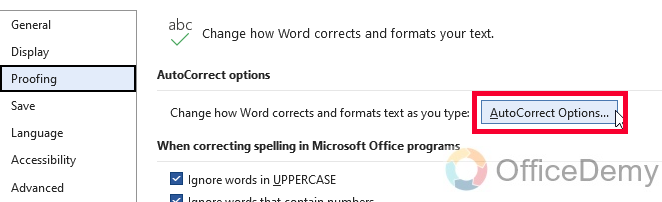
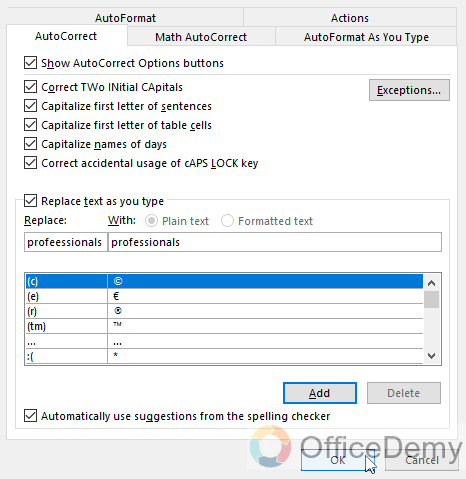
Step 8
Now click on the “AutoCorrect Options“, set the right word for the error word, and Click on the “Ok” button to auto-correct all.
Step 9
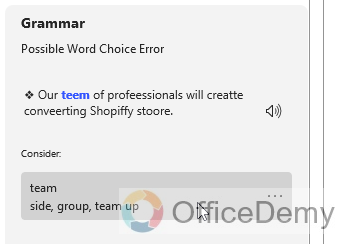
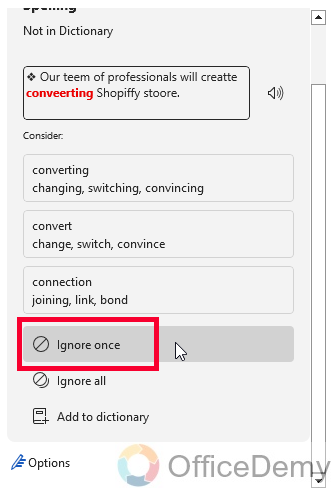
If the spell check tool stops at a word that is spelled correctly, you can tell Microsoft Word to ignore this word by clicking on the “Ignore Once” button. This will skip this word and move on to the next error.
Step 10
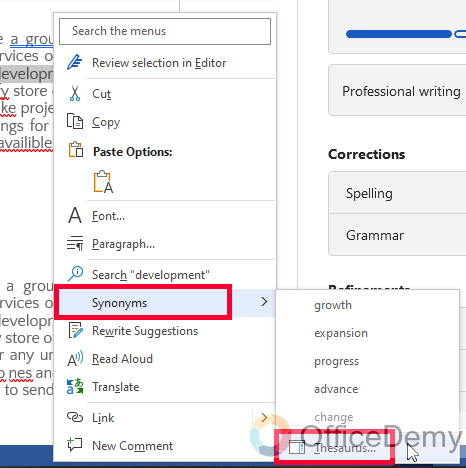
If you want to look up the definition of a word or find synonyms for a word, you can use the built-in Microsoft Word dictionary and thesaurus. To access these tools, right-click on the word and select “Synonyms” from the context menu.
Step 11
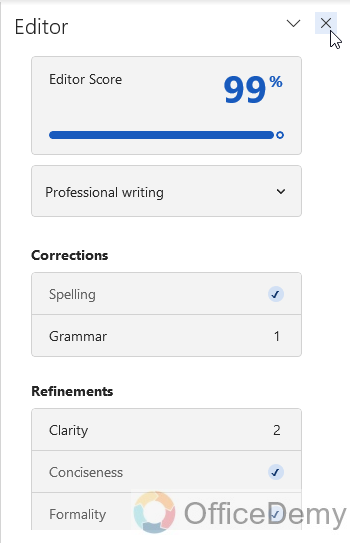
Once you have finished reviewing all the errors, Microsoft Word will display a message that the spell check is complete. You can then close the spell check tool by clicking on the “X” button in the top right corner of the window.
So, this was an in-depth guide with a step-by-step procedure for how to spell check in Microsoft Word using the spelling and grammar editor.
Frequently Asked Questions
How to turn on automatic spell check in Microsoft Word?
You can turn on automatic spell check in Microsoft Word by going to the “File” tab, selecting “Options,” click on “Proofing,” and then checking the box next to “Check spelling as you type.” This will automatically check your spelling as you type, without needing to manually run the spell check tool.
How to change the language that Microsoft Word uses for spell check?
Go to the “Review” tab, click on the “Set Proofing Language” button, and then select the language you want to use. This is useful if you are working on a document that is written in a different language than the default language of Microsoft Word.
Conclusion
Today we learned how to spell check on Microsoft Word. I deliberately break this guide into two primary parts so that users with different problems can only see what’s useful for them without wasting more time learning the entire tool at once. I hope you like this guide; I will see you soon with another useful tutorial. Thanks, and keep learning with Office Demy.


