
To Add Grammarly to OneNote
- Open the browser.
- Search “Grammarly for Microsoft”.
- Open the first link.
- Click on the Get Grammarly button.
- Sign up.
- Open the downloaded file and install Grammarly to your computer.
- Open Grammarly to configure.
- Now Open Microsoft OneNote.
- Grammarly has been added.
Today, we will learn how to add Grammarly to OneNote. First, what is Grammarly? Grammarly is an online writing assistant tool that provides you with several features that help you proofread documents, automatically detect errors, and suggest the right choices for the text.
As we know OneNote is a note-taking application in which mostly we need to write text, here we should have something like Grammarly. So, therefore, we have brought to you an article on how to add Grammarly to OneNote.
Benefits of Adding Grammarly to OneNote
How perfect in grammar you are, you might commit a mistake somewhere, or in flow we usually commit spelling mistakes or phrase mistakes. Grammarly detects these mistakes automatically and gives you suggestions for making corrections.
Grammarly also detects phrases to give you a perfect match and suitable words for the sentence, by which you completely prevent Grammarly mistakes. If you also want to benefit from this fabulous online tool, then learn how to add Grammarly to OneNote in this exclusive guide.
How to Add Grammarly to OneNote
In this guide on how to add Grammarly to OneNote, we will discuss adding Grammarly to all versions of OneNote.
- Add Grammarly to the OneNote Desktop and Web Versions
- Add Grammarly to the OneNote Mobile App
1. Add Grammarly to the OneNote Desktop and Web versions
When we install Grammarly on our computer, it works overall applications that will also include browsers as well. So, with this method, you can add Grammarly to the OneNote desktop version and the Web version. So, let’s start.
Step 1
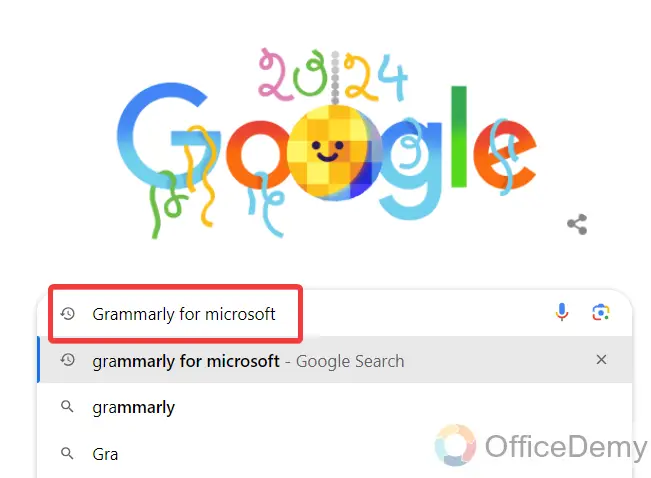
Open any browser on your computer and go for the Google search. Write “Grammarly for Microsoft” in the Google search bar as I have written below and hit the Enter key to see the search results.
Step 2
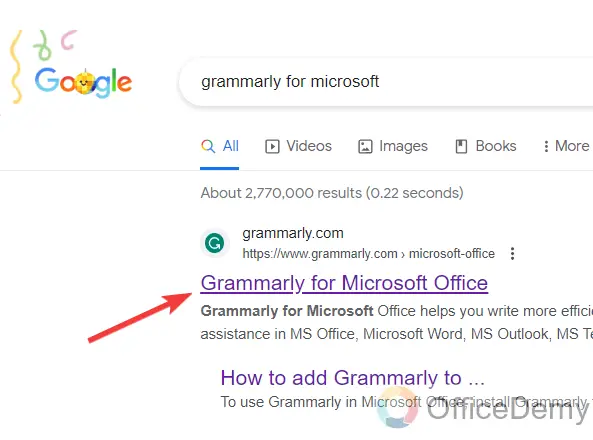
You will get so many results in front of you but click on the first link on Grammarly’s official web as directed below to open it.
Step 3
Once you visit Grammarly’s official website, look at the right top corner of the website, here we will see a green button to “Get Grammarly” through which you can get Grammarly for your device.

Step 4
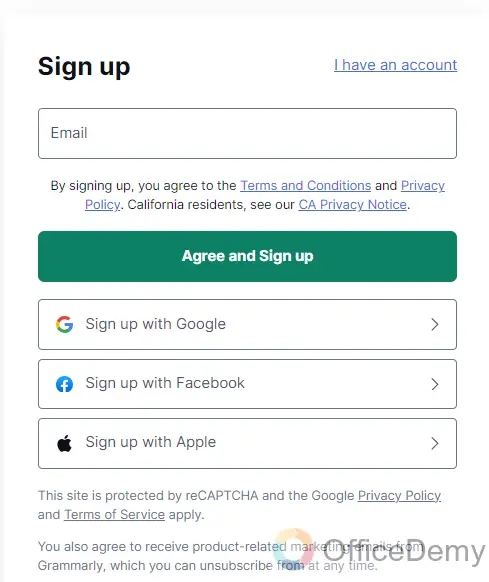
If you don’t have signed in to the Grammarly website, as you click on the “Get Grammarly” button, it will redirect to you the “Sign up” window. First, sign up for free on Grammarly’s website. You can also use your Google or Facebook account to sign up on Grammarly.
Step 5
As you log into Grammarly, a portal will open in front of you where you will see again a button in front of you to “Get Grammarly” as highlighted below. Click on it to get Grammarly.

Step 6
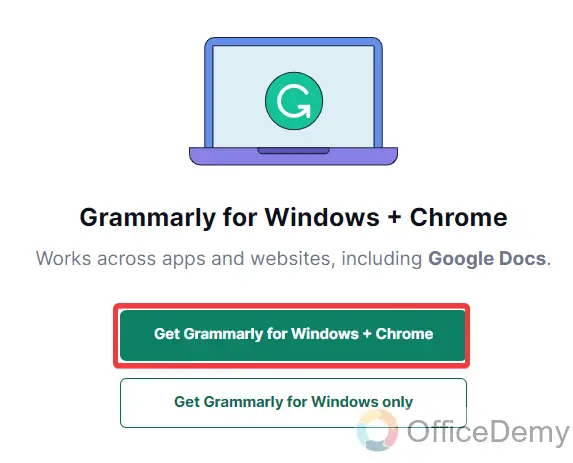
Before downloading the setup, it will ask you for the following options whether you want to use Grammarly only on a desktop or web as well. Select the options according to your need, here I am selecting “Get Grammarly for Windows + Chrome” so that I will be able to use Grammarly on the OneNote web version as well.
Step 7
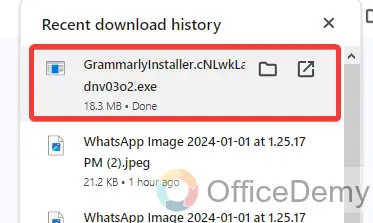
Clicking on the “Get Grammarly on Windows + Chrome” button will start downloading your file set up for Grammarly. Once a file has been downloaded, click on it to install it.
Step 8
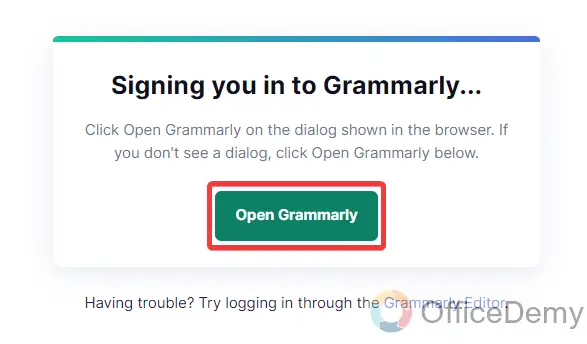
Once you have installed Grammarly on your device, launch it to configure it for the first time. As you open Grammarly, you will see the following window in front of you, click on the “Open Grammarly” button and login to your account.
Step 9
Once Grammarly is on your device, it will automatically launch over all applications. Now open the Microsoft OneNote application, here we will see a small icon as directed below for Grammarly.

Step 10
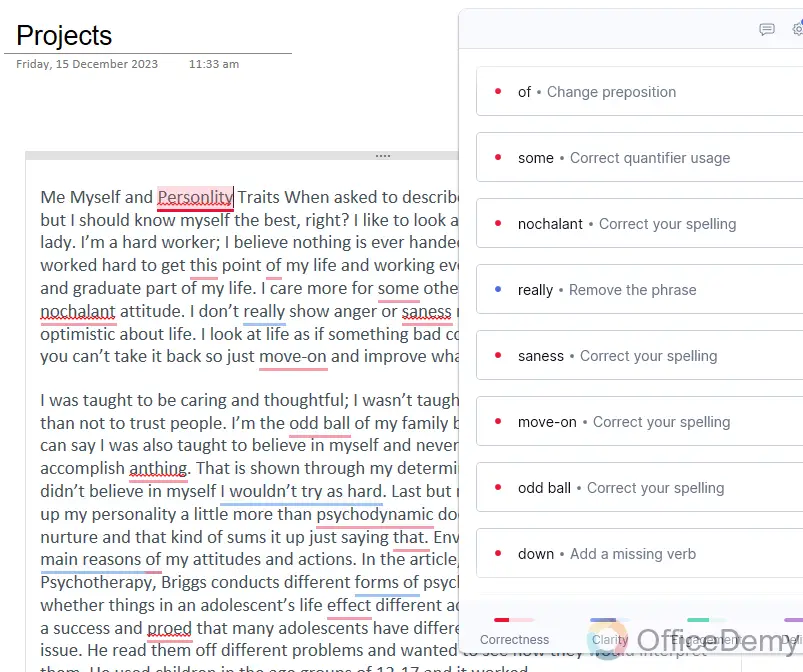
As you click on this small icon, a side panel will open from the right side of the window where you will be able to see all Grammar mistakes in front of you from where you can correct them.
In this way, you can add Grammarly to the OneNote desktop version and the Web version.
2. Add Grammarly to the OneNote Mobile App
If you are using Microsoft OneNote in the mobile version, then follow the below instructions to add Grammarly to the OneNote mobile app.
Step 1
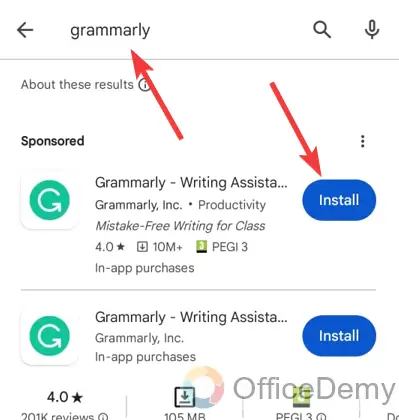
To add Grammarly to OneNote mobile, first, you will need to install the Grammarly App on your mobile. To install Grammarly, open the store on your mobile search for “Grammarly”, and then click on the “Install” button.
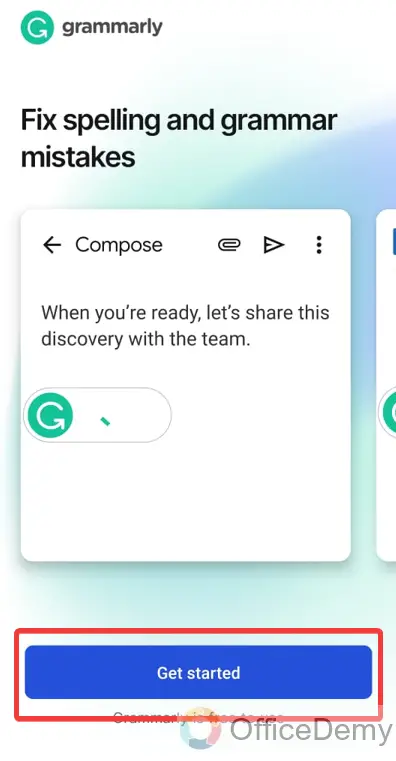
Step 2
Once your application has been installed, open the application that will require several steps to configure it. Click on the “Get started” button and log in to your account.
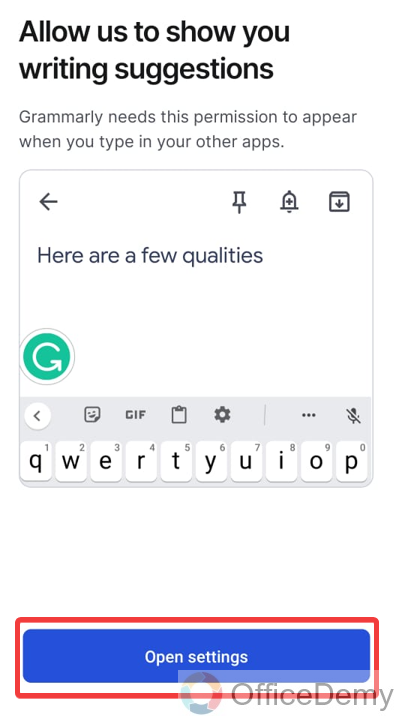
Step 3
In the next step, Grammarly will require some permission to work on the applications. Click on the “Open settings” button to allow it to appear in Grammarly over the other applications.
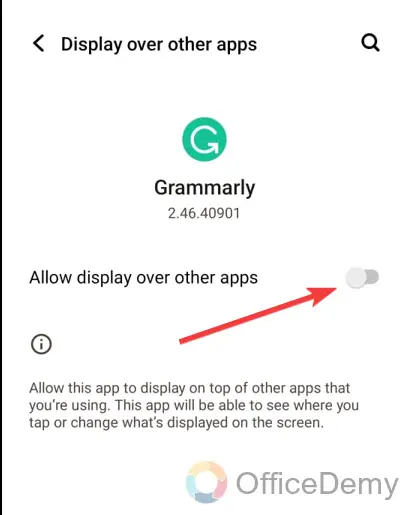
Step 4
As you click on the “Open settings” button, it will automatically redirect you to the following window in front of you, turn on the following fires option to allow Grammarly to appear over the other applications.
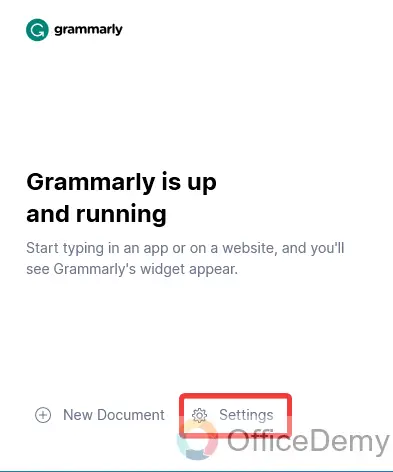
Step 5
Once all is done configuring Grammarly now open Microsoft OneNote, here you can see that, the Grammarly head-up icon will automatically appear on your screen which means that Grammarly has been added to OneNote.

Frequently Asked Questions
Why Grammarly is not opening to OneNote?
By default, when you open Microsoft OneNote, Grammarly automatically starts and launches over the app but if it is not that means Grammarly has stopped. Open the Grammarly application, if it doesn’t start automatically on startup then follow the following instructions to automatically start Grammarly over the applications on startup.
Step 1
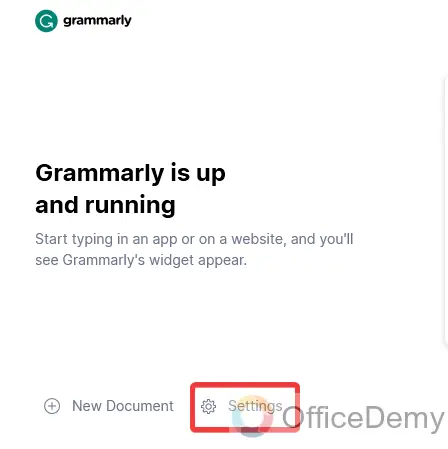
Open the Grammarly application on your computer. You can open Grammarly from your desktop or you can also search for “Grammarly” in the start menu of Windows. Once opened, click on the “Settings” option located at the bottom of the application as highlighted below.
Step 2
After opening Grammarly settings, scroll down the menu where you will find an option for “Launch at startup”. If this option is disabled, click on it to enable it.
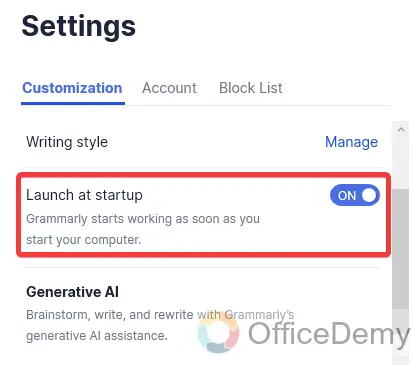
Now whenever you start your computer or OneNote application, Grammarly will automatically open to OneNote.
How to correct mistakes via Grammarly in OneNote?
Once you have added Grammarly to OneNote, then the question is how to use it. Especially how to correct the mistakes in your document by using Grammarly. There are a couple of ways of correcting mistakes which are below.
Step 1
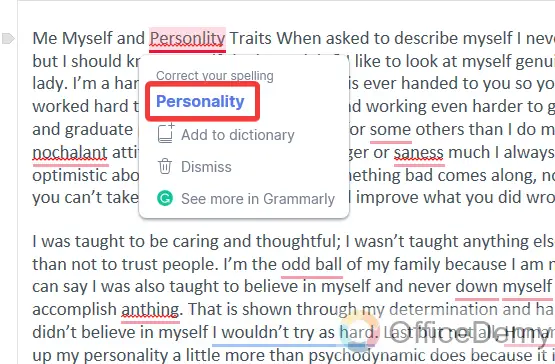
Hover your mouse cursor over the mistakes, and a small drop box will appear in front of you where it will suggest correction for the mistake. You can correct the mistake by just clicking on it.
Step 2
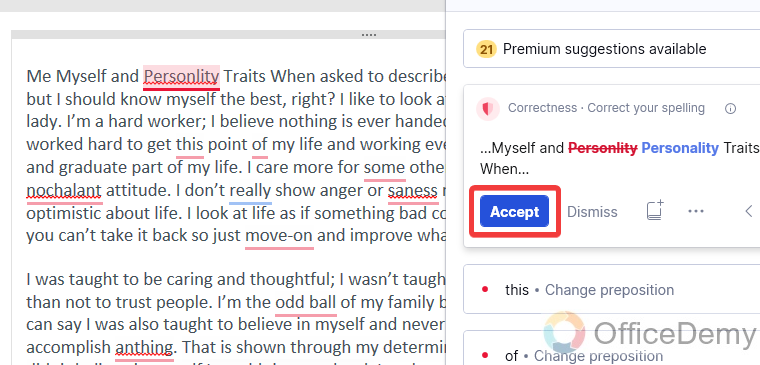
On the second hand, click on the small Grammarly icon to open the Grammarly panel from the right side where you will see all the mistakes, click one by one on it, and you will see an “Accept” button through which you can correct mistakes in OneNote.
Is Grammarly free and how to get Grammarly’s subscriptions?
Yes! Grammarly is almost free with enough features, but it also has some premium subscriptions as well with some extraordinary features. If you want to avail these features, then follow the following steps to get these subscriptions.
Step 1
Open the Grammarly application on your device and go into the Grammarly settings by clicking on the settings icon as highlighted in the following picture.
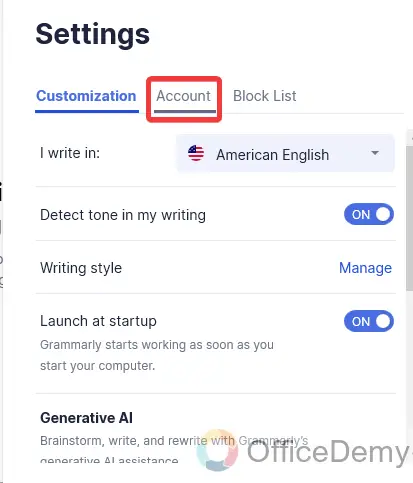
Step 2
In the settings window, you will see some tabs in front of you, go into the “Accounts” tab as highlighted below.
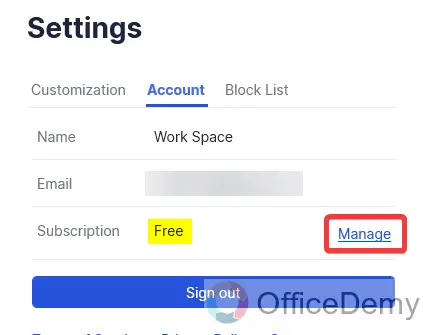
Step 3
In the Accounts tab, you will see all your account details and subscriptions. As you can see the status is Free as highlighted below. To avail of any subscription for Grammarly, click on the manage option along with the subscriptions option.
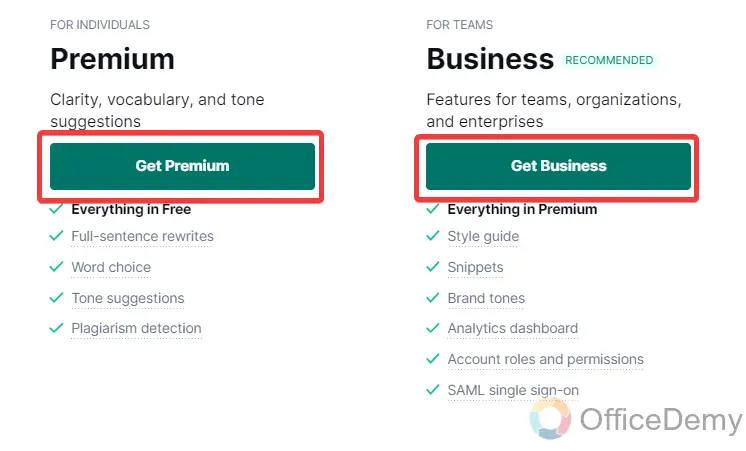
Step 4
Clicking on the “Manage” button will automatically redirect you to the official web page of Grammarly on the subscriptions page from where you can get “Premium” and “Business” subscriptions as needed as can be seen below.
Conclusion
Now, you know how to add Grammarly to OneNote through which you can create proofread and errorless documents. Hope this will be helpful to you. Thanks and keep learning with Office Demy.
