
To Add Lines on OneNote
- Choose or create a page.
- Click the “View” tab.
- Find and click “Rule Lines“.
- Select your preferred line style.
Welcome to another OneNote Guide on Office Demy. In this guide, we will learn how to add lines on OneNote. Many users get confused in adding lines on the page while working on OneNote pages, or in any specific section. OneNote has a lot of brilliant features, and among these features, we can add lines to a page, which mimics the familiar layout of traditional lined notebooks.
This functionality not only aids in maintaining neatness and organization in notes but also provides a structured template that is particularly beneficial for handwritten entries. So, with a further delay, let’s get started.
Why do we need to Add Lines on OneNote?
When we work in OneNote, we have many things to do, especially on a specific page of a notebook. Adding a line in OneNote enhances the organization of notes, making them more readable and structured, which is crucial for reviewing and comprehending complex information.
It facilitates a more traditional writing experience, akin to using paper, thus catering to diverse user preferences. There may be a lot more purposes for it, so now let’s move to practical learning.
How to Add Lines on OneNote
So, in this OneNote guide, we are going to learn all the steps to add lines to the OneNote notebook or pages.
1. Add Lines on OneNote – Desktop App
Step 1
Start by opening the OneNote application on your device.
Step 2
Choose any page where you want to add lines. You can either select an existing page or create a new one.
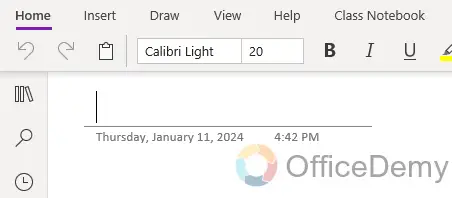
Step 3
In the main menu, at the top of the screen, click on the “View” tab.
![]()
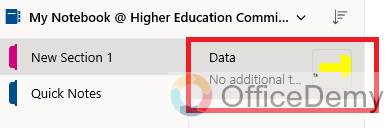
Step 4
In the “View” menu, find the section named “Rule Lines” depending on the version of OneNote you are using.
![]()
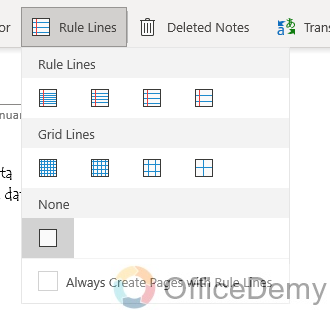
Step 5
Click on “Rule Lines” to see a dropdown menu with different types of lines and grids. You can choose from various styles like standard lines, and grid lines.
Step 6
Click on your preferred line style to apply it to the current page.
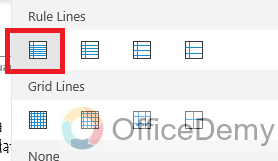
Step 7
The lines will appear as a background, mimicking the look of lined paper.

2. Add Lines on OneNote – Mobile App
Step 1
Open the OneNote app on your mobile device.

Step 2
Choose the notebook.

Step 3
Select the specific page where you want to add lines.

Step 4
Look for the “View” options in the app.
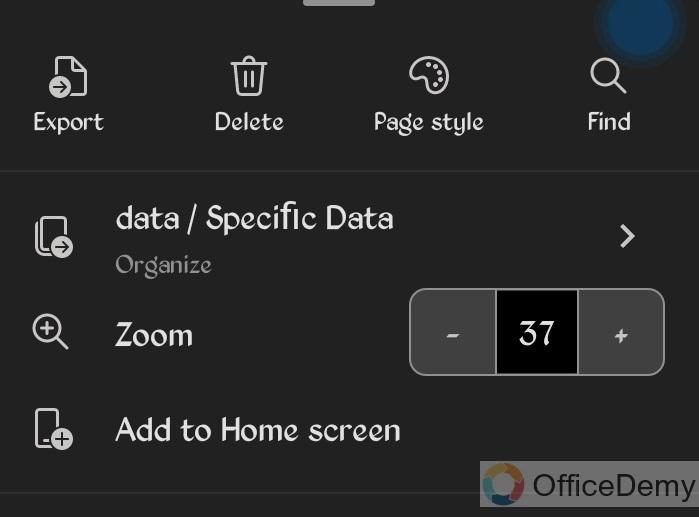
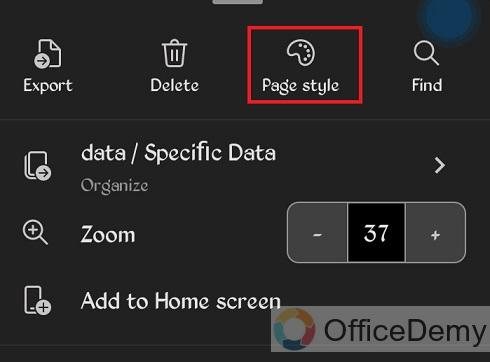
Step 5
Once you are in the “View” options, look for a setting or option named “Paper Style”, ”Rule Lines”, or something similar.
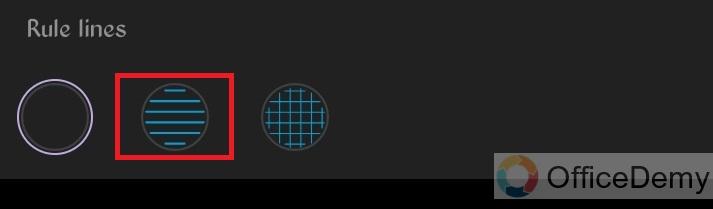
Step 6
In the “Paper Style” or “Rule Lines” menu, you will see various options for line styles and grid lines. Select one option.

Step 7
Choose the style of lines you prefer, and they will be applied to your current page.
Step 8
Generally, OneNote automatically saves your changes. Just navigate away from the page or close the app once you are done.

Frequently Asked Questions
Can I customize the colour and style of the lines in OneNote?
Yes, in some versions of OneNote, you can customize the colour and style of the lines. This is usually done through the same menu where you add the lines, under the “Rule Lines” options.
Is it possible to add lines to all pages in a section or notebook automatically?
OneNote applies line settings to one page at a time. However, you can set a page with your preferred line style as a template and then use this template for new pages.
Do the lines print out when I print my notes from OneNote?
Yes, if you print a page from OneNote that has lines, the lines will usually print out along with your notes unless you adjust your print settings to exclude backgrounds.
Can I remove the lines from a page after adding them?
Absolutely. To remove lines, go back to the “Rule Lines” option and select “None” or a similar option that removes the line format.
Are line options available in all versions of OneNote?
Line options are generally available across most versions of OneNote, including OneNote for Windows 10, OneNote 2016, and OneNote for Mac. However, the availability of certain features might vary slightly.
Can I add lines to a page I have already written on?
Yes, you can add lines to an existing page with content. The lines will appear as a background to your existing notes.
Conclusion
So, it was another simple topic covered at Office Demy in our OneNote series. I hope, now you know how to add lines on OneNote. These lines are available in different styles, trying to give you the vibe and feel of an old-school notebook. Thanks for reading our guide. We will see you soon with another helpful guide. Good luck!
![How to Draw on OneNote [Complete Drawing Guide]](https://www.officedemy.com/wp-content/themes/rehub-theme/images/default/noimage_336_220.png)


