
To Add Tooltips to Google Data Studio
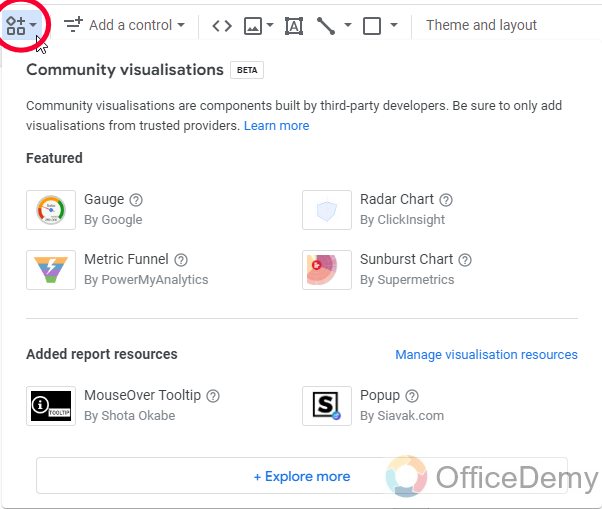
- Go to “Community Visualization“.
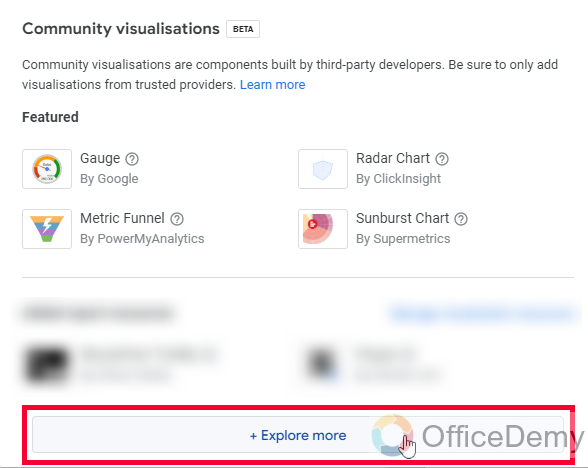
- Select “Explore more“.
- Click “Build your own visualization“.
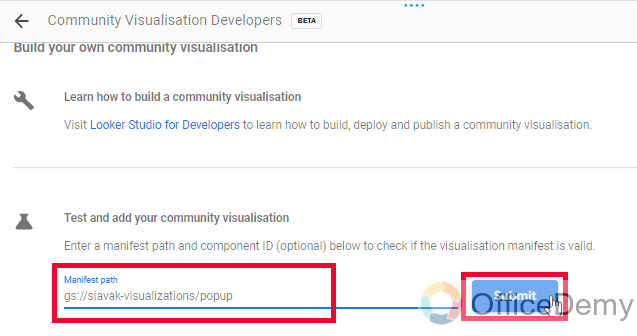
- Paste the provided manifest path in the “Manifest path” field and click “Submit“.
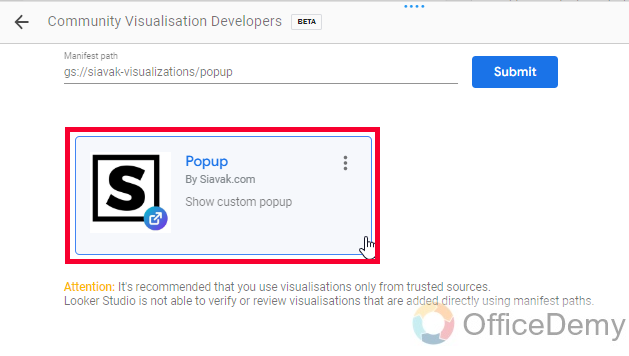
- You’ll now have access to the Popup extension.
- Draw it on your canvas.
In this article, we will learn how to add tooltips to Google Data Studio reports. Firstly, we should learn and know what are tooltips, and why we need them in our Data Studio reports. A tooltip is a small tip about the tool, the tool can be an element, a button, a link, and any type of content in the Graphical user interface, and when we mouse over it, it shows small info about the element. In CSS, we use the hover class to create this tooltip effect on our HTML elements, and then they become tooltips for users.
There is no direct way to add tooltips or work with mouse-over effects, but we can get a free tool from the community visualization in Google Data Studio. We currently have only one tool available for tooltip annotation, and I also have a workaround for it. We will check them out and will practically implement how to use them.
Importance of Adding Tooltips to Google Data Studio
Tooltip is also called an Infotip, adding tooltip annotations is a great way to present extra and useful information to your Google Data Studio reports. Let’s say you have added a button, and now you want that whenever a user hovers over it, it should pop up a message and tell the user what this button is meant for. Or, you have added a cancel button, and you want to add a tooltip over it, so whenever a user comes to use this button, so the pop-up message gives them an alter that they are going to perform a critical action.
This method has so many names in the development industry. In Styling we called it the hover effect, in JavaScript, we can say it is an alert based on the mouse over or an action. We can add these useful tooltips to our elements and give our users a better experience when working with the reports or interacting with a well-detailed dashboard.
Tooltip annotations are very useful, they give users direction and a context to navigate to a dashboard or report.
Tooltips are visual elements, and they have nothing to work with logic or the calculations in your reports, so there is no need for anything when connecting a data source, they will work with any valid data source. The tooltip pops up when a user hovers over a component/element on the screen. They display a small message that is enough to tell a user about the action that will take place after pressing this button.
Tooltips can also be used as icons, you can show a relevant icon instead of text as a pop-up message, such as an attention icon, deletion icon, cancellation icon, success icon, reload icon, and so on.
How to Add Tooltips to Google Data Studio
There is a tooltip extension available in community visualization, so we will see that first, and then we will see another extension that’s not directly available in community visualization I will provide you a manifest path for it so you can get it from there. So, let’s get started with the first method.
Add Tooltips to Google Data Studio – using MouseOver Tooltip Extension
In this section, we will learn how to add tooltips to Google Data Studio using the MouseOver tooltip extension that is freely available in community visualization inside Google Data Studio. So firstly, we will get it from there, and then we will see how to use it and implement a tooltip using it.
Step 1
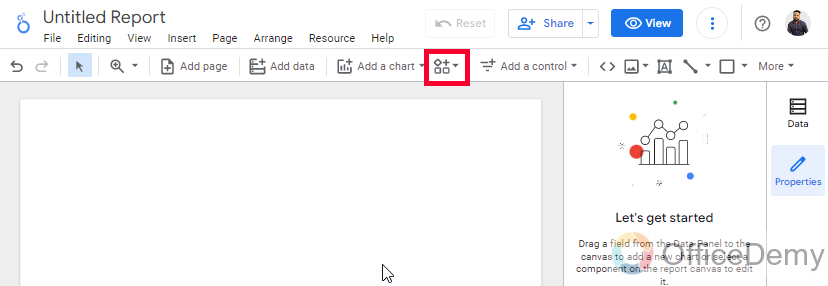
Go to Community Visualization in the toolbar
Step 2
Find and click on the MouseOver tooltip app

Step 3
It will ask for permission, click on allow to continue

Step 4
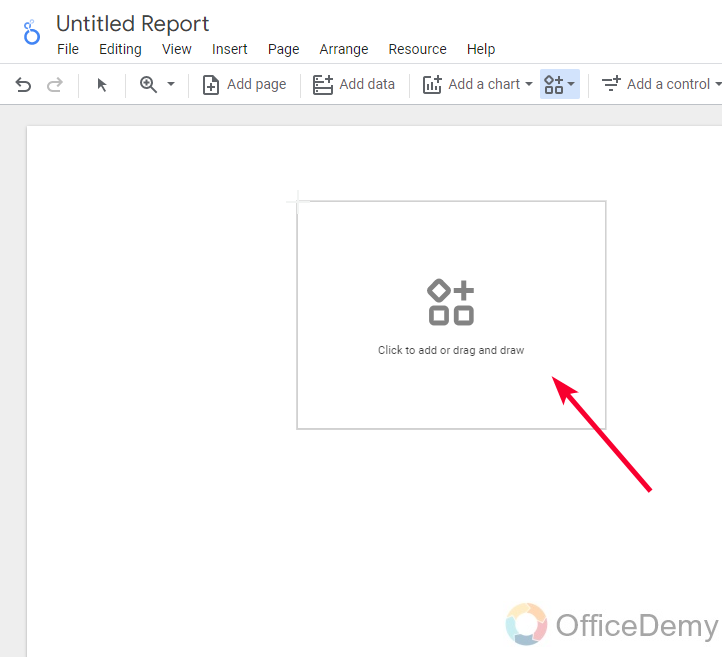
Now, draw the tooltip component on your canvas
Step 5
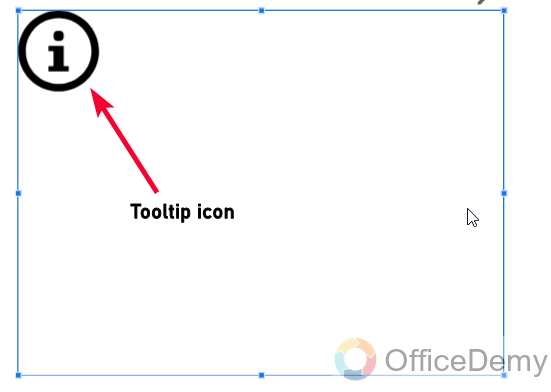
Here is your tooltip annotation icon, and a default pop-up text associated with it, we can customize these things to make a personalized tooltip.

Step 6
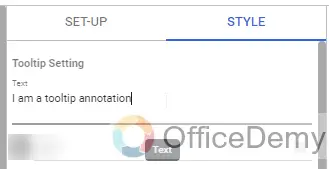
Go to the Style tab, and firstly, set the text that should appear in the pop-up
I am adding a random text here, you should add meaningful text when working on a serious report.
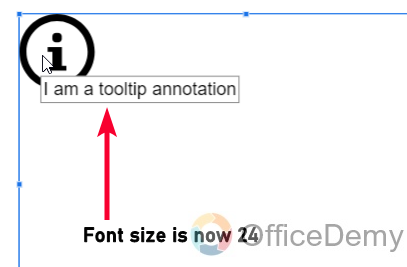
Step 7
Change the font family, and font size. It’s recommended to increase the font size so it’s easily visible.

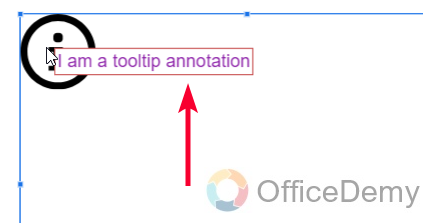
Step 8
You can also change the text color and border-color

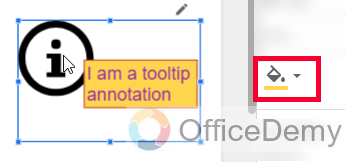
Step 9
The background color
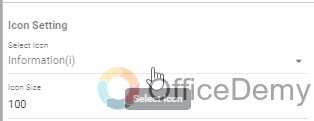
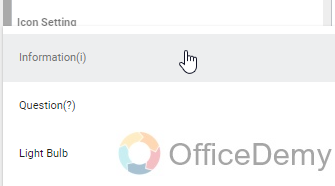
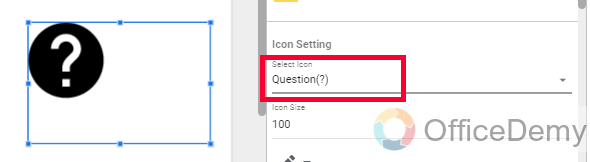
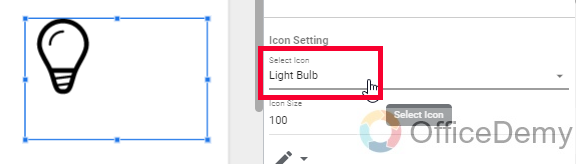
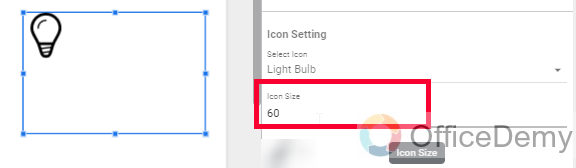
Step 10
Here, you can choose an icon from the list and can also define its size of it (the size of the icon, not the tooltip text)
Rest, we have all the common features like background, border, header, and so on. So, I am closing this section here. I hope you have learned about the MouseOver tooltip extension, and now you can easily make tooltips using it.
Add Tooltips to Google Data Studio – using Popup Extension
In this section, we will learn how to add tooltips to Google Data Studio using the popup extension. This extension is not directly available in the community visualization section. I will provide you a manifest path to grab it to your Data Studio.
gs://siavak-visualizations/popup
Paste the above path as the manifest path to automatically get access to the pop add-on inside the community visualization > build your own visualization.
Step 1
Go to Community visualization
Step 2
Go to Explore more
Step 3
Click on Build your own visualization

Step 4
Paste the above-provided manifest path in the Manifest path field, and click on the Submit button next to it
Step 5
Here it is, you have the popup application in front of you
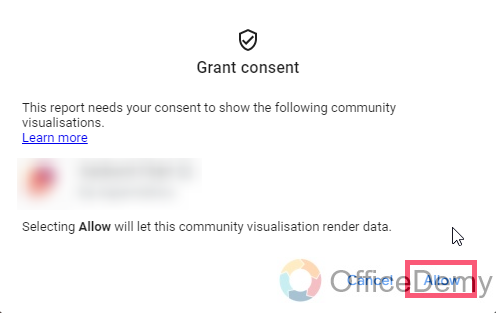
Step 6
Click on it, and allow the consent to continue
Step 7
Draw it on your canvas
Step 8
Now open it and go to the Style tab in the Chart sidebar

Step 9
You can use a checkbox “Always visible“, to make your pop-message always visible, but it’s not recommended.
Step 10
You can change the default text for the tooltip
Step 11
You can change the knob and paste any special character here as text. So, we have Google Docs special characters for it, and we can bring any character to work as a tooltip icon. I have brought here a warning icon from Google Docs.
Step 12
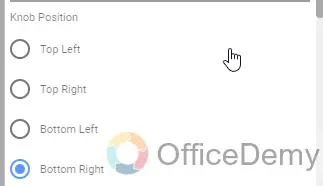
You can set its position relative to its square box using the below options
Step 13
You can change the color of the knob icon, text, and background here
Step 14
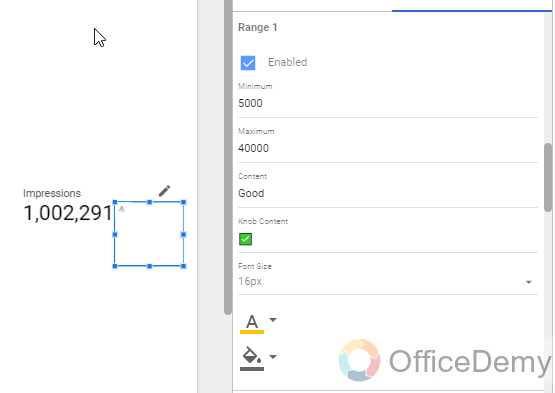
Now, you can have conditional popups as well, you can select a range and define your max and min value and based on that specify a different popup icon and message. This way you can give life to your tooltips
Step 15
You can also use overlays, which means the popup message will not appear in a box but it will cover the entire overlay and overlap everything in the box to show a large message, you can use the overlay checkbox, and “full” fill type to get this feature.
Important Notes
- You can use any of the two extensions to use tooltips in your Google Data Studio reports.
- You can use HTML to create a standard tooltip with no other styling. This looks pretty unique but has some limitations as well.
- You can manually add tooltips by adding images to your data, then use the image function to compile those images, and then add a standard HTML tooltip on it
- The images should be icons, logos, or characters PNG so that show looks like icons.
- In the Popup app, you don’t have any option to increase the size of the popup it has a standard size which is pretty small, and you cannot increase it.
- Whereas in the MouseOver Tooltip app, you can increase and decrease the size of your Tooltip icon, but there you can use any other tooltip icon other than the three that are available by default.
Frequently Asked Questions
What is a tooltip annotation in Google Data Studio?
Tooltip annotation is a universal visual element, that is not directly available as a native Google Data Studio feature. We use it by using some add-on features from the Community visualization Gallery, as we used two apps in this tutorial and see the pros and cons of both of them. The tooltip is the message that appears on the mouse-over, and also the annotation is meant to show something on the mouse-over or hover over a specific object, image, icon, link, or button.
Can I Use Drill Down and Optional Metrics with Tooltips in Google Data Studio?
Google Data Studio provides various powerful features to enhance data analysis with drill down and optional metrics. By using tooltips, you can display supplementary information when users hover over a data point, enabling a deeper understanding of the data. Drill down functionality allows users to explore specific dimensions and metrics within the data, uncovering valuable insights. These combined features make Google Data Studio a robust tool for advanced data analysis.
What are conditional popups?
Conditional popups are nothing but some two-way pops, that have two states. When you are writing a formula in Google Data Studio and you see a green tick mark below if the formula is valid, if the formula is not valid then you have some text commands there with red color. This is the same logic we used in the conditional popups. A conditional popup has two ends, and it works as per the condition if A is true then state 1 will appear, or if B is true then state 2 will appear, it becomes 10 times more interactive when we use conditional popups instead of static ones.
Can I use HTML standard tooltips in Google Data Studio?
Yes, you can use standard HTML tooltips in Google Data Studio, and as well as you can use inline CSS content to style your tooltips, also with the popup app, you can use the custom CSS code to improve the design.
Conclusion
Wrapping up how to add tooltips to Google Data Studio. Today, we learned how to add tooltips using two third-party apps from the community visualization gallery, we see how to install both of them, how to use them, and finally how to customize the tooltips using those two apps. I hope you find this article helpful and that you have learned something new from it. That’s all from today’s tutorial I will see you soon with another helpful guide. Thank you!


