
To Get and Use Google Search Console Data Studio Template
- Access the Google Data Studio template for Search Console.
- Authorize Google Search Console for the report.
- Click the “Copy Report” button to create a copy.
- Customize the data sources as needed.
- Your report is ready for customization.
Hello everyone. Welcome back to our Google Data Studio now known as Looker Studio series of tutorials. In this tutorial, we will learn to set up the Google Data Studio Template for the Search console using a third-party connector from Porter.com
Today, we will learn how to set up an on-page SEO template for the search console in Google Data Studio.
We are using a third-party connector here, you can copy the template from here and then copy the report to get started.
The report is already been made as a template we will take this as a copy and will edit it fully, we will change the metrics, dimensions, dates, logos, icons, color themes, and everything we need to change to make a more personalized and customized report for our client, employer, or for our own business.
Importance of Search Console template for Data Studio
We have to run so many things in a single month, for example, if you are working in an organization, you need to make so many reports for each campaign and you need to show all the aspects, the digital marketing campaign insights, the SEO insights, social media insights, paid vs organic channels insights, and so on. So, to manage so many things we need to have some pre-made templates that help us y saving our time and effort, having a good pre-made template helps us to focus only on the metrics, dimensions, and customization of the report as per the brand or business theme.
Today we have a third-party connector from Porter, and we will use the Search Console to add and then customize this template for free. It’s a free template and its public means that we can copy it and take all the authority to change the data source, colors, metrics, dimensions, custom fields, charts, design, and overall layout of the file, and then share them in the restricted mode to only people who authorize to see or edit the report. So this is why we need a Google Data Studio template for Search Console.
How to use Google Search Console Data Studio Template
There are simple steps only to get and then set up the Google Data Studio template for the search console. We simply need to visit the above link to copy the template, and then it’s all ours. We will customize it by any means, we will change the design, and we will cover everything to make it a fully personalized version for our client, boss, or ourselves. Let’s start learning to set up the Google Data Studio Template for Search Console.
Import Google Search Console to Data Studio
In this section, we will learn how to set up a Google Data Studio template for search console and install the Google Search Console in Google Data Studio templates. This tutorial will help you to set up Google Data Studio On-page SEO report template with Google Search Console data, we will end up making a report as I referred to above in the link.
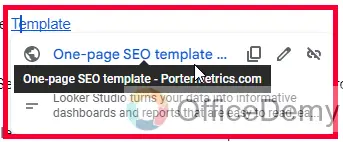
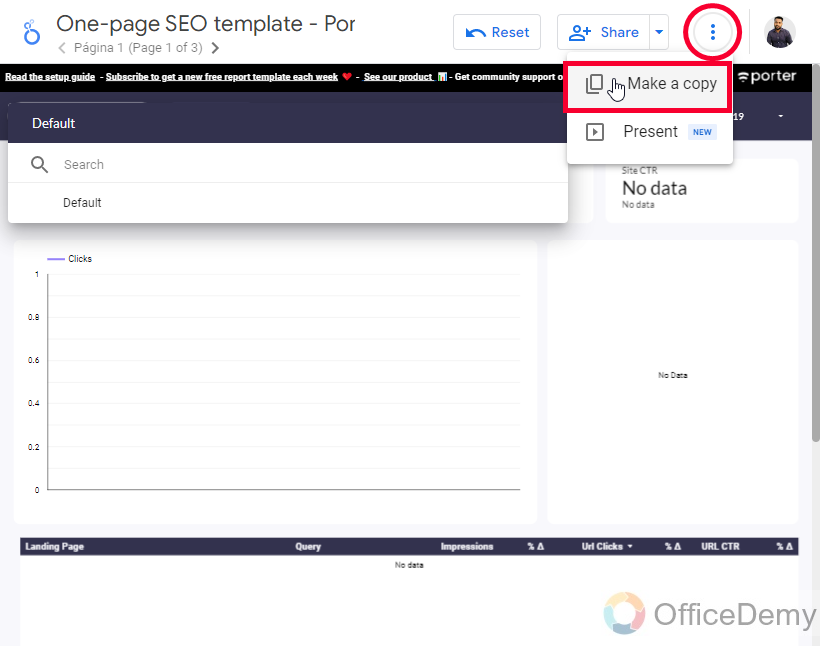
When accessing a Google Data Studio template, open the report and then click the copy icon located in the top-right corner of the page.
Step 1
Open this link to get the Template
Step 2
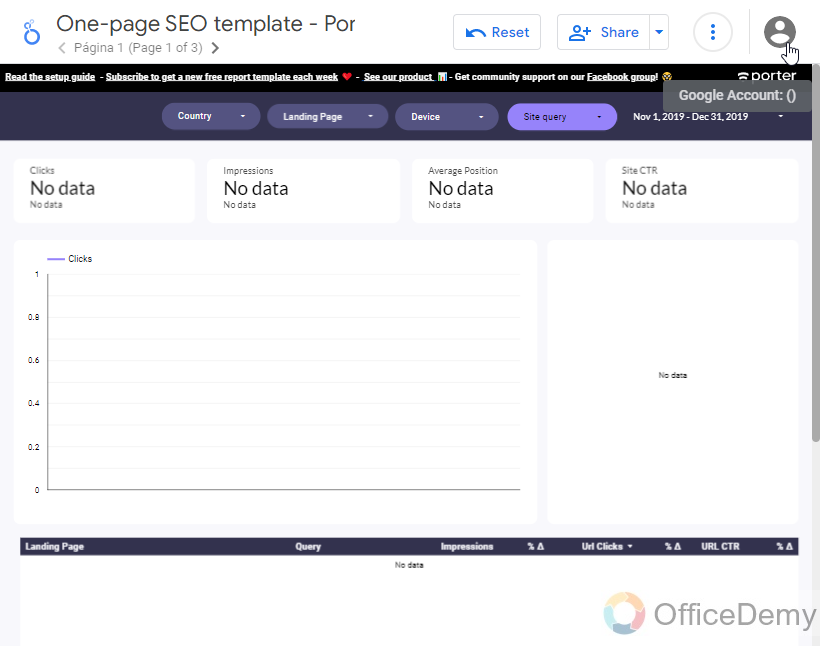
Authorize the Google Search Console for your report on the left side first drop-down button in the report.
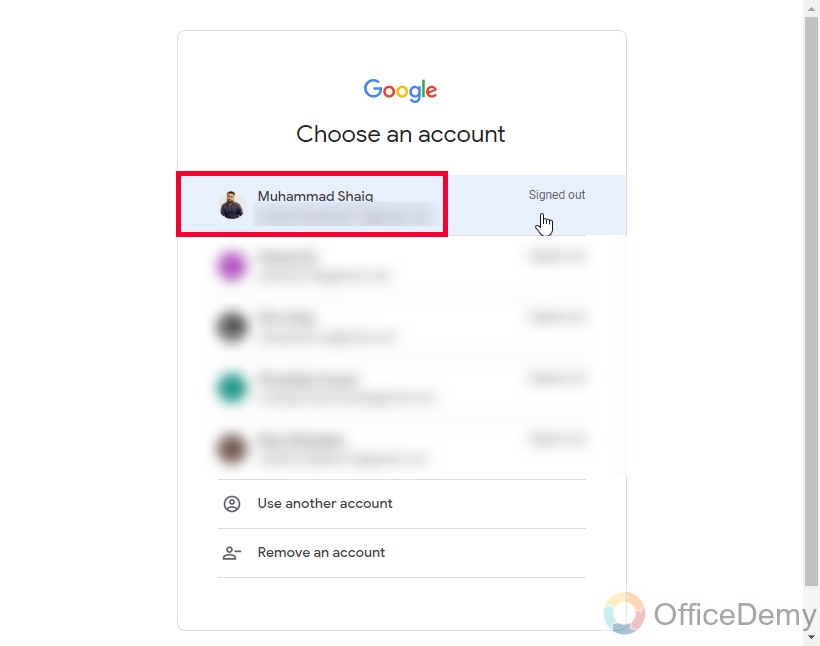
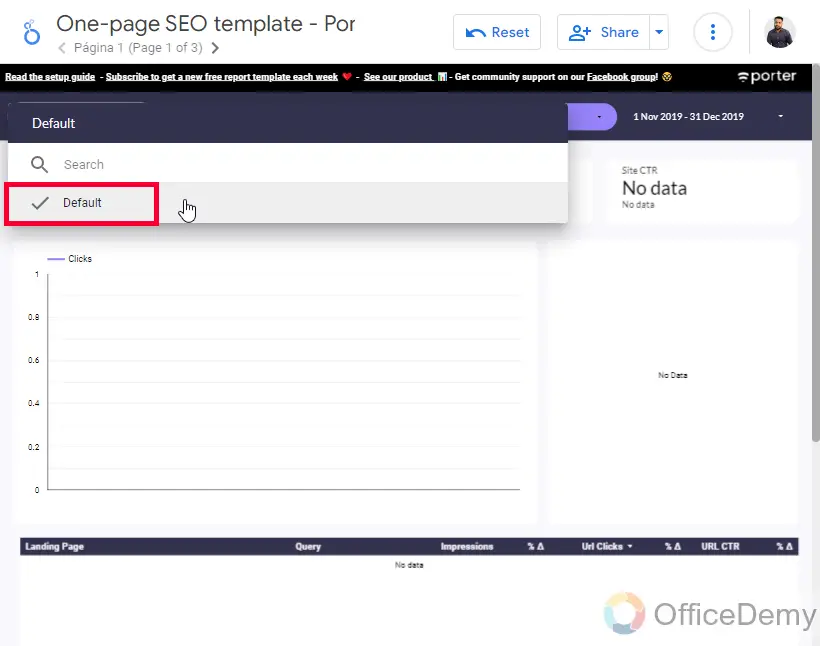
Sign in with your Google Account and select the Default option
Step 3
Click on the copy button on the top right side of the report, or inside the three vertical dots in the same position.
Step 4
A pop-up window will appear. The pop-up shows you the actual data sources of the template and the new ones that need to be added.
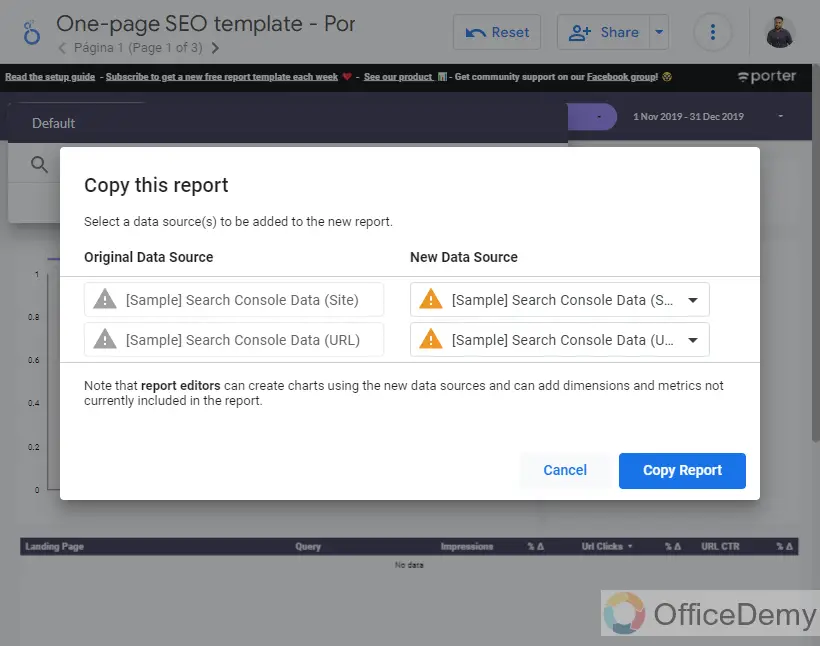
Here, this template requires two data sources (we can use sample data sources as well)
Click the dropdown menu of the first data source in the New Data source section and select a data source, then do it for the second drop-down as well and select another data source.
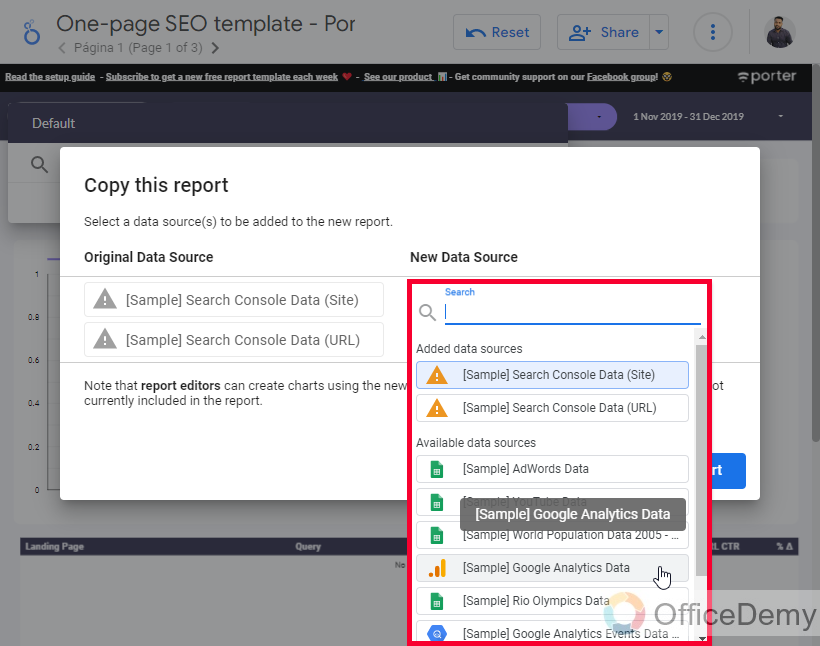
Note: If you don’t have a website then you can use sample AdWords, YouTube, or Analytics data to practice. You will have a lot of data sources to connect with. If it’s your first time using Google Data Studio, then you will have to sign in or sign up with a Google or G-Suite account.
Pro Tip: Google Search Console connector has only two instances: one is URL and the second is Site.
Step 5
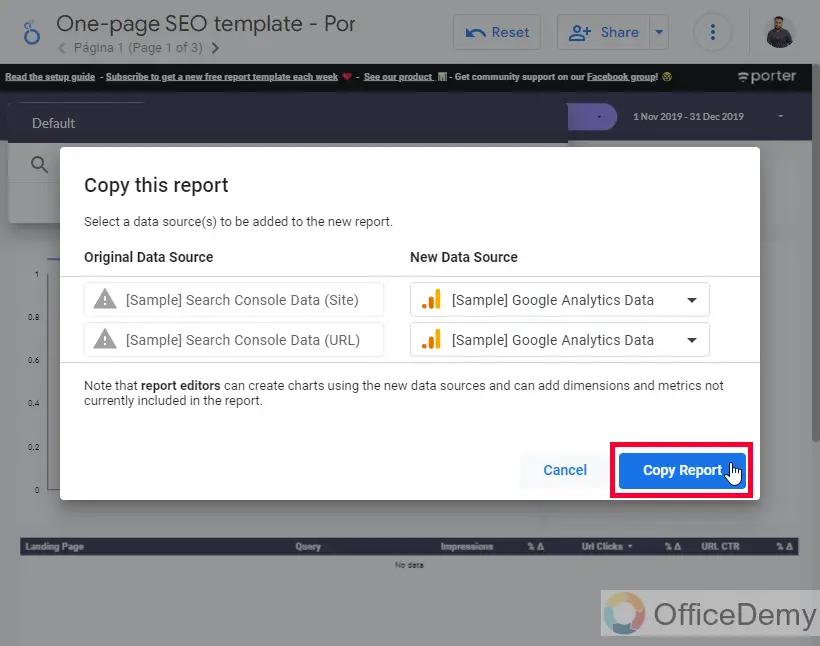
After you’re done with all the settings, now you simply need to Click on Copy Report button
Step 6
The report will open in a new tab, you can rename the file and now it’s all yours, you can still change the data sources, the colors, the customization, charts, controls and filters, and everything you can see on the report.
Now in the next section, we will customize the report and make it a fully new report from scratch.
Google Data Studio Template for Search Console – Personalize the report
In this section, we will learn to set up Google Data Studio Template for the Search console and to personalize the report in our account. So firstly, the reports look like this as you copied them from the porter source.
Now it’s totally up to the user what personalization they want to do with this report.
So, I will show some general customization that can be done mostly after we import some kind of template in Google Data Studio.
Now as we are started with the template, the first important thing is to set up the data types
Step 1
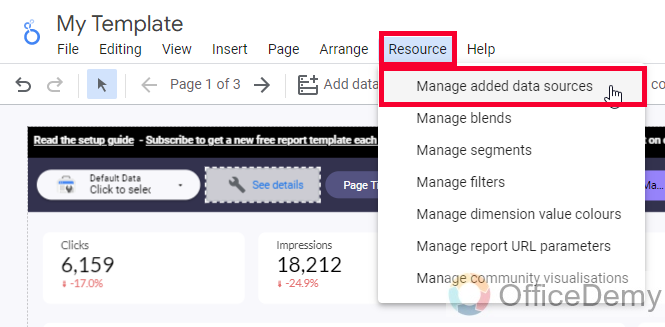
Go to Resources > Managed added data sources
Go to Edit and change the data types where needed.
Note: Step 1 only works if you have genuine website data on your report, if you are using sample data for Google AdWords, YouTube, or Google Analytics then you can skip this step.
Now, we first need to change the colors of the overall report
Step 2
Changing the colors of the report as per our brand colors
Let’s say my brand colors are orange, sky blue, and black.
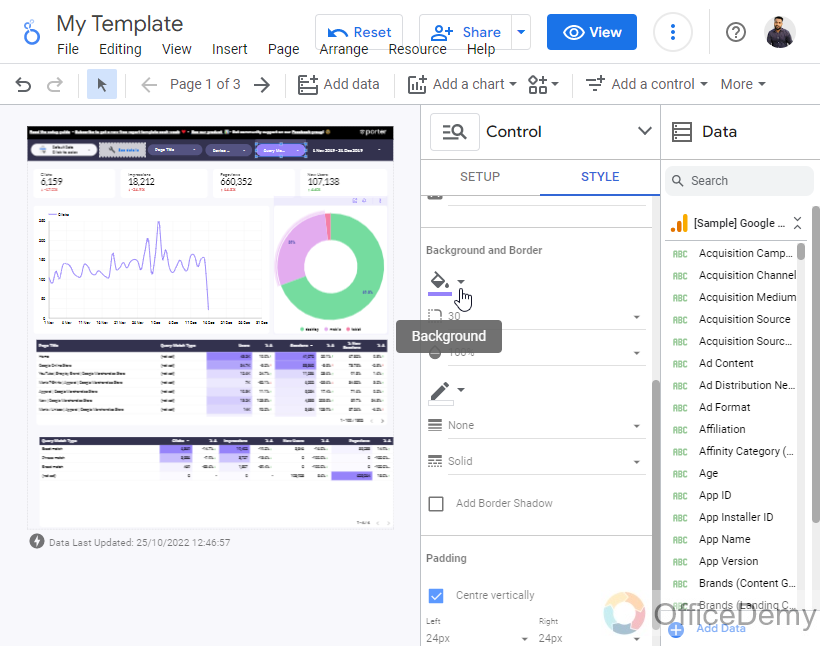
To do this. Select the element, and then go to the Style tab inside the Control Sidebar
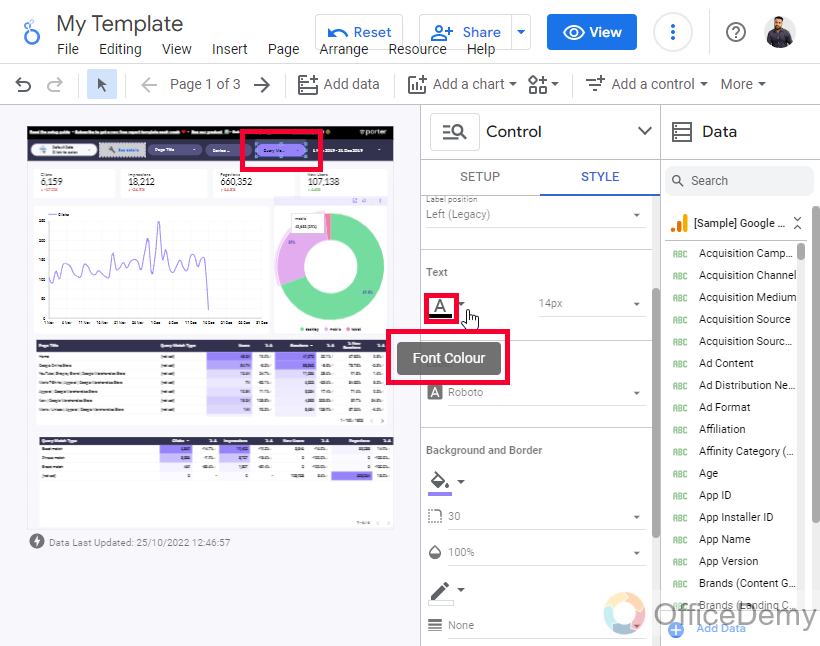
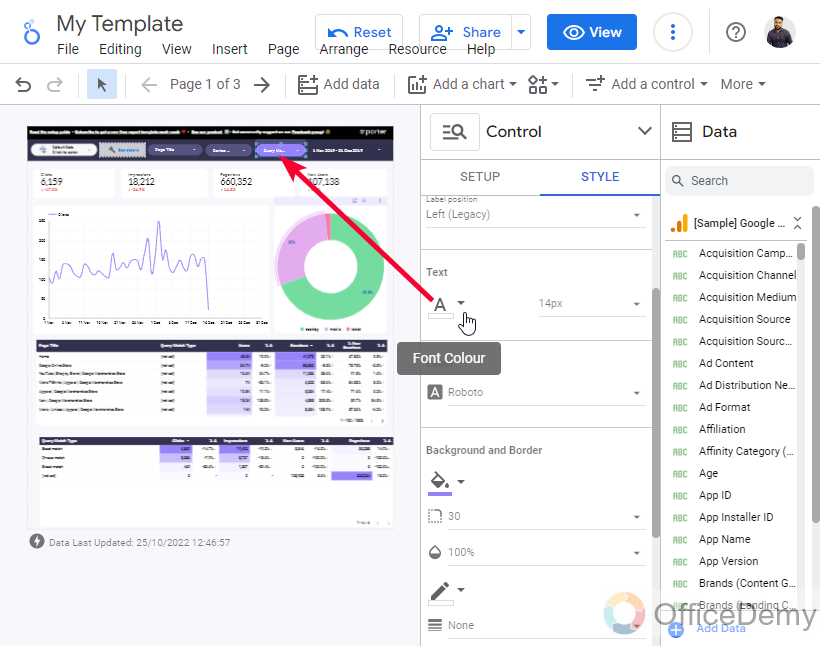
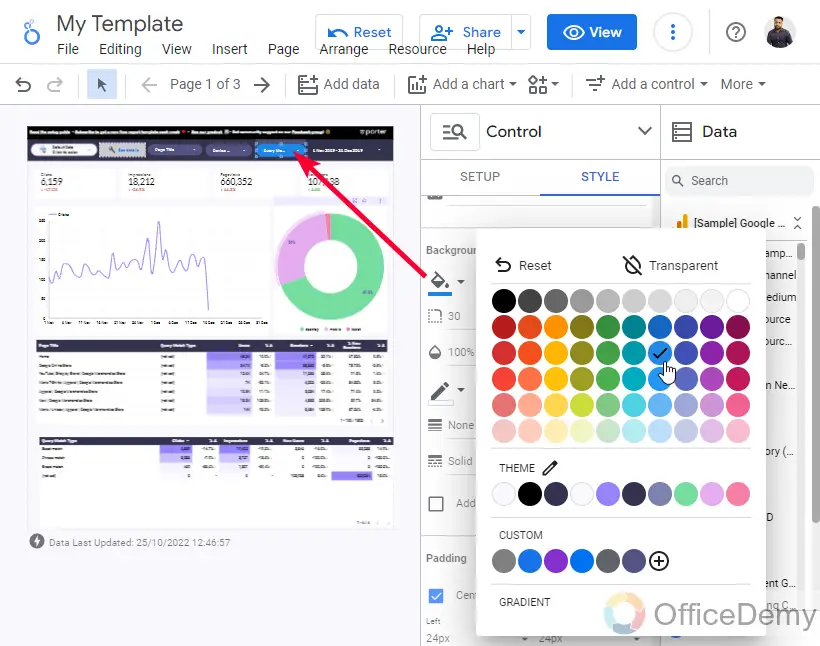
Pick a text color from the Font color dropdown, then scroll down and pick a fill color, or background color from the background drop-down.
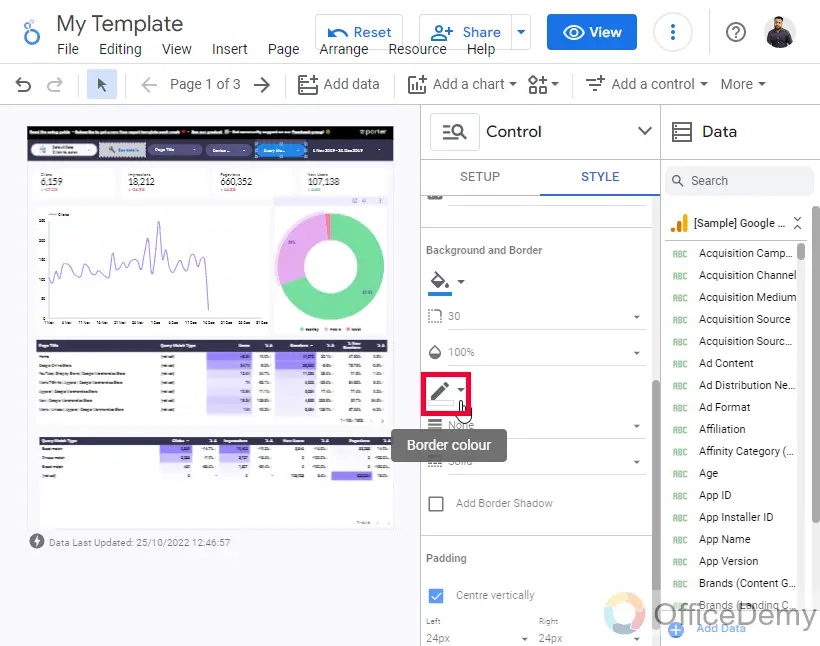
Then below, you have a border color drop-down from where you can select a color for the border.
Step 3
More properties of borders
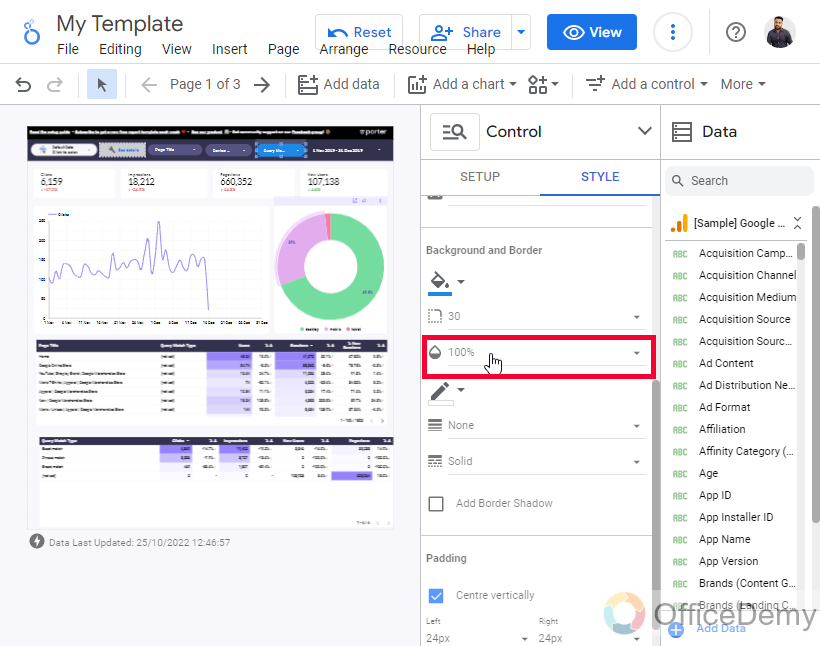
Just below the background color drop-down, you have a border-radius drop-down, here you can set the rounded or sharp corners for your border in pixels.

Then just below it, you have another drop-down for the border fill opacity, you set the opacity level from 0% to 100%
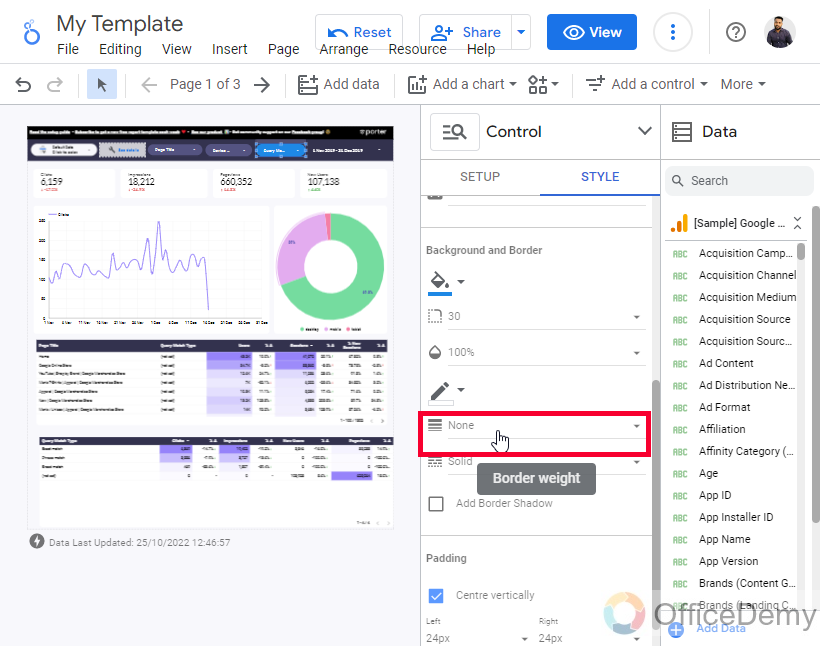
Below you have a drop-down for border weight, you can set the thickness of the border here
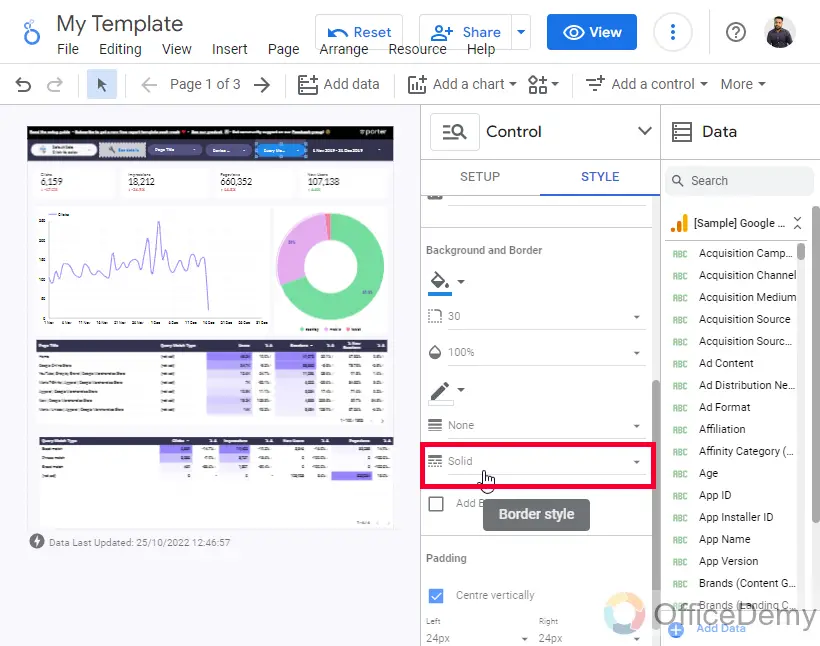
Then, another drop-down for the border style, here you can select Solid, dashed, dotted, or double style for your border.
Step 4
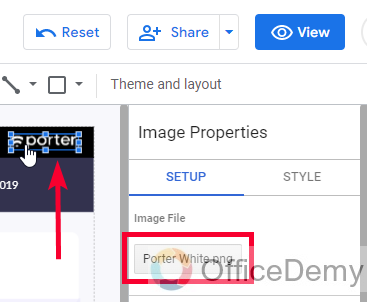
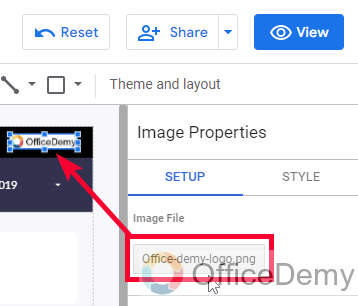
Changing the brand logo image
To change it, select the already added logo on the report, then in the Image properties sidebar, you can click on the Image file button and choose a new image to add as your brand logo
Step 5
Removing unnecessary elements. To remove any element, simply select the element and press the Delete key from the keyboard

Step 6
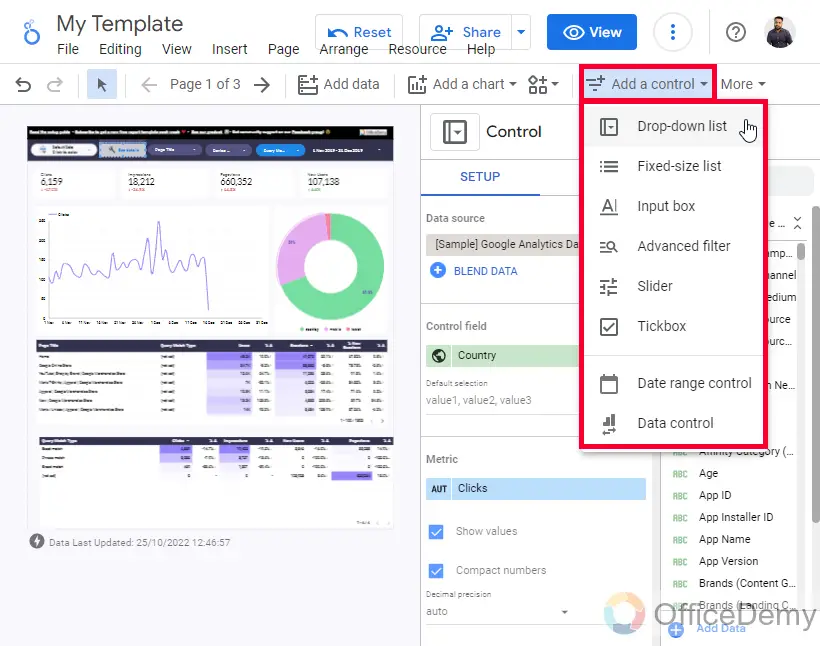
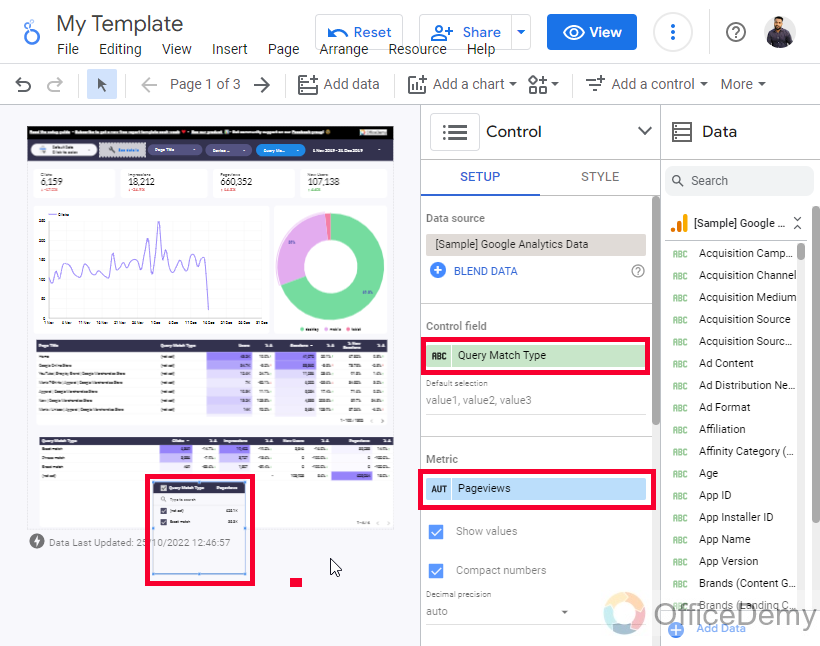
Adding new filters and controls as per your need. Go to Add a Control button > Select the type of Control you want to add > click on it to add to your report.
Then you need to set it up by adding a dimension and a metric to it
Step 7
Removing unnecessary or invalid metrics and dimensions. If you see any element with an error, (it shows a setting icon and a “Show details” text), remove it by selecting and pressing the delete key or if you want to keep them you can change the dimension or metric to remove the error.

Step 8
Create new charts, and remove the unwanted charts
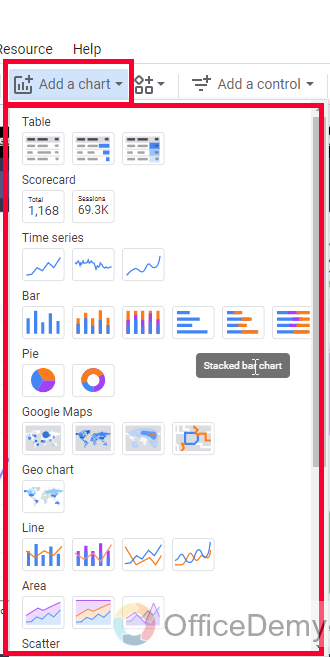
To create new charts, click on the Add a chart button, and then select any chart from the list to add to your report.
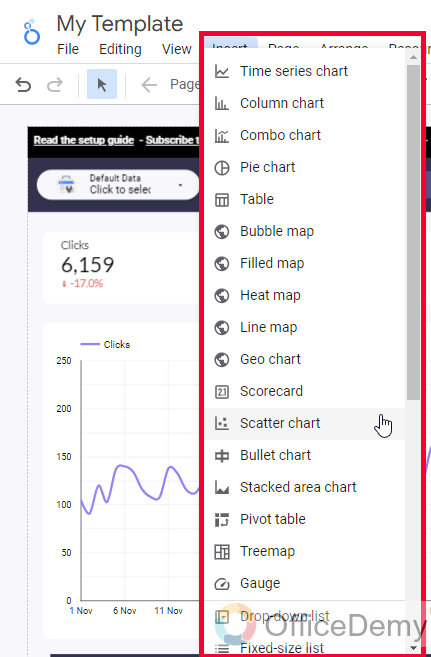
You can also go to Insert > then select the chart from the list
Step 9
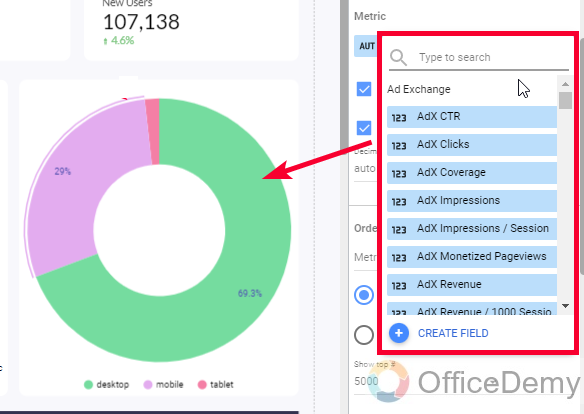
Set up your new metrics and dimensions on already created charts. To change the metric, select the chart and go to Dimension in the Setup tab, click on it and pick a new dimension from the list.
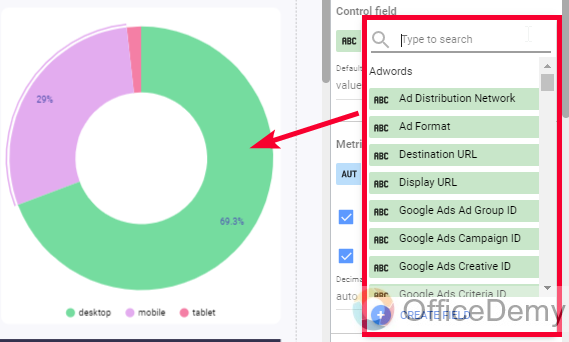
Below it, you have the metric section, do the same to change the metric.
Important Notes
- You need to have a website to use the search console template.
- When you don’t have a website, you can practice this template over a sample data source
- When authorizing Google Search Console to install it to Google Data Studio, select the appropriate google account on which your website is created.
Frequently Asked Questions
Can I use Google Analytics Data on Search console template?
Yes, you can use any data on any template, but the thing is very simple, the template is designed for the Search Console so the Search console data will work accurately on this template, but not having a website and using a sample data source on this template will also work fine. It’s valid and legit to use any data source on it including Google Analytics data.
Conclusion
So this was the first template in our Google Data Studio series. We learned to set up Google Data Studio Template for Search console. I also emphasized the customization and personalizing options after importing the template on your account. This was a complete guide, and I hope you like it. If you find it useful, please like and share your query below in the comments. Thanks for reading. Keep learning with Office Demy.


