
To Add From Field in Outlook
- Open the Outlook Web.
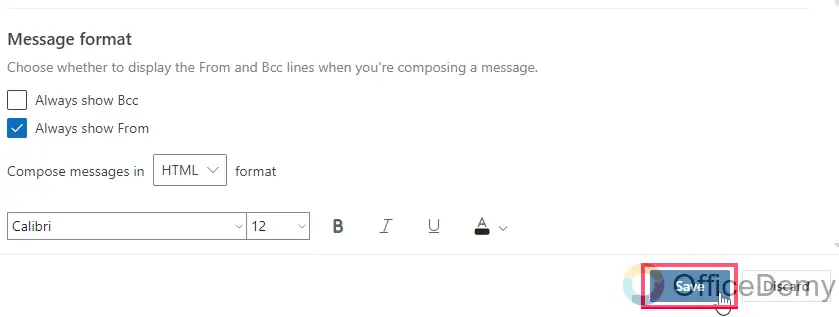
- Click on “Settings” > “Mail” > “Compose and Reply” scroll down to the “Message Format” section, and check the “Always show From” checkbox”.
Hi, in this guide, we will learn how to add From field in Outlook. The “From” field indicates from which of your email this message is going to be sent. So, this From field can be a quick addition to your Email details and let you switch between emails from there only on the App version but not on the Web interface.
The “From” field is an essential component of your email composition, enabling you to send messages from multiple email accounts effortlessly. Whether you’re using Outlook for personal or professional purposes, understanding how to incorporate the “From” field will enhance your productivity and streamline your email correspondence.
In this guide, we will walk you through the step-by-step process of adding the “From” field in Outlook, empowering you to manage your email accounts efficiently and effectively.
Why we Add From Field in Outlook?
Learning how to add the “From” field in Outlook is crucial for several reasons.
Firstly, it allows you to send emails from different accounts without the need to switch between them, saving you time and effort. This feature is particularly beneficial if you manage multiple email addresses for various purposes, such as personal, work, or business-related communications.
Secondly, the “From” field helps maintain professionalism and clarity in your email communications by ensuring recipients know the specific account you are using to contact them. It eliminates any confusion or misunderstandings that may arise when sending emails from different addresses.
Finally, mastering the process of adding the “From” field enhances your overall productivity by providing a streamlined and organized approach to managing your email accounts within the Outlook application.
How to Add From Field in Outlook?
We can easily enable/disable From field in the Outlook web interface. So, we will see how to add from field in Outlook 365 web interface, let’s get started.
Add From Field in Outlook – Web Interface
In this section, we will learn how to add From field in Outlook web interface. Let’s see the following required steps for this.
Step 1
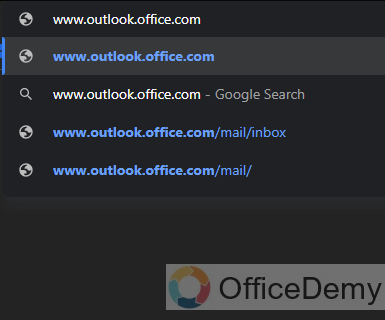
Open the Outlook web interface www.outlook.office.com
Step 2
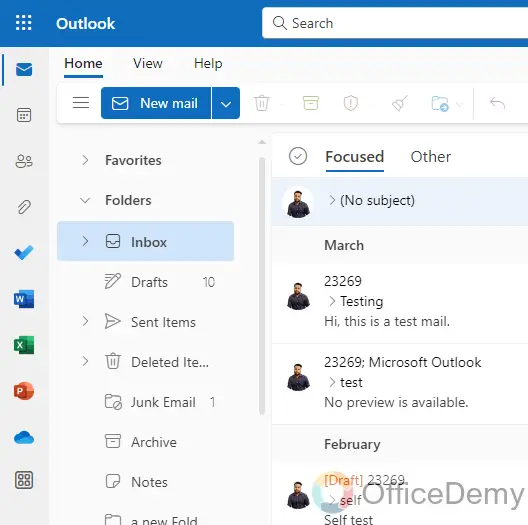
This will be your home screen interface after you choose and open the Outlook App.
Step 3
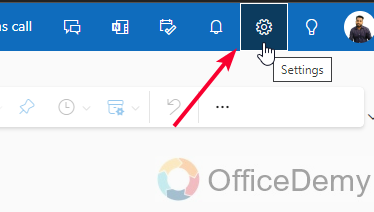
Now, on the top-right corner, you can see a gear icon, click on this settings button
Step 4
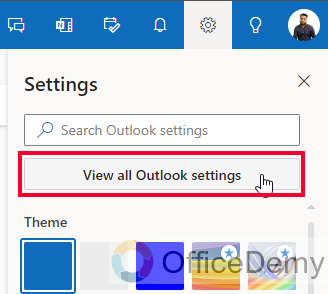
Click on “View all Outlook settings” to open more settings
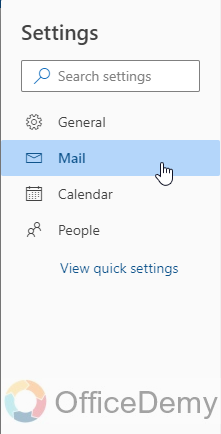
Step 5
Now, you have a new window for settings, select “Mail” from the main sidebar
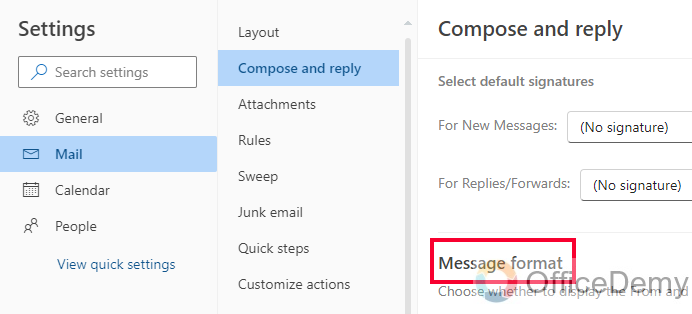
Step 6
After that, select “Compose and Reply” from the sub-sidebar.

Step 7
Scroll down on the right-most window and look for the “Message Format” section
Step 8
Here you have two checkboxes, check the second “Always show from”

Step 9
Now click on the Save button below to save the changes.
Step 10
Close the settings window, and get back to Outlook home, compose a new email message and you will see the From Field in your mail.
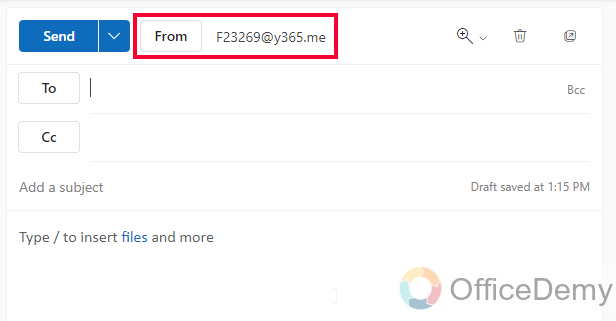
This is how to add “From” field in Outlook Web 365.
Notes
- Adding the “From” field in Outlook allows you to send emails from multiple accounts without switching between them.
- It helps maintain professionalism and clarity in your email communications by clearly indicating the account you are using to contact recipients.
- Managing multiple email addresses becomes easier and more efficient with the “From” field feature in Outlook.
- Remember to set up and configure your additional email accounts before adding them to the “From” field.
- Take advantage of the streamlined process to improve your email management and boost productivity in Outlook.
Frequently Asked Questions
Q: How can I send emails from different accounts in Outlook?
With the “From” field in Outlook, sending emails from different accounts is easy. Once you have added the “From” field, you can simply click on it and choose the desired email account from the drop-down list. This enables you to send emails from multiple accounts without the need to switch between them.
Q: Can I add a custom email address to the “From” field in Outlook?
Yes, you can add a custom email address to the “From” field in Outlook, if you have the necessary credentials and permissions. You will need to set up the custom email account within Outlook before it can be added to the “From” field. Once added, you can select the custom email address from the drop-down list in the “From” field to send emails from that account.
Q: Is it possible to remove the “From” field in Outlook?
Yes, if you no longer wish to display the “From” field in Outlook, you can easily remove it. While composing a new email, go to the “Options” tab in the toolbar and click on “From” to uncheck it. The “From” field will no longer be visible in your email composition window.
Conclusion
That’s all from this short guide on how to add From field in Outlook. We learned how to add from field in Outlook Web 365, and I hope you enjoyed it, and found this guide helpful. Thanks, and keep learning with Office Demy.


