
To Change the Retention Policy in Outlook
- Go to “File” > “Options” > Select “Advanced“.
- Scroll down and click on “Auto-Archive Settings“.
- Select “Action” & “Duration” and then Click “OK“.
OR
- Go to Settings.
- Click “View all Outlook Settings” > “Mail” > “Retention Policies” > “Add New“.
In this article, we will explore the step-by-step process of modifying the retention policy in Outlook, empowering you to optimize your email management and streamline your inbox clutter.
Let’s delve into the world of retention policies and unlock the potential for better email organization in Outlook.
What is Retention Policy?
Retention policy is a feature in Outlook that allows you to set how long you want to keep your emails, it can be any duration from 1 week to 5 years. We all worry about managing the ever-increasing influx of emails, it is a challenge that many individuals and organizations face. Outlook, a widely used email client, provides a solution by offering a retention policy feature that allows users to control the lifespan of their emails.
By understanding how to change the retention policy in Outlook, you gain the power to customize how long your emails are retained, ensuring efficient storage management and compliance with data retention regulations.
Benefits of Changing Retention Policy in Outlook
Changing the retention policy in Outlook offers numerous benefits, including efficient storage management, compliance with data retention regulations, enhanced privacy and security, streamlined email management, simplified archiving, time and resource savings, and flexibility for customization.
By mastering this skill, you gain greater control over your email environment, ensuring optimal organization, compliance, and productivity in your day-to-day communication. To remain ahead, and stay upfront, we need to learn how to change retention policy in Outlook.
How to Change Retention Policy in Outlook?
We have two very simple methods to change the retention policy in Outlook, in the first method, we will learn how to change retention policy in Outlook desktop app, and in the second method, we will learn to do it in Outlook Web interface.
Change Retention Policy in Outlook – Desktop App
In this section, we will learn how to change retention policy in Outlook Desktop app version. In the desktop App version, this feature comes with another name, you will not directly find the feature “retention policy” but you will find “Auto Archive” instead. But dont worry, the meaning and purpose we want to achieve are absolutely the same. So, let’s get started with the Outlook desktop App version.
Step 1
Launch the Outlook desktop app on your computer and sign into your account.
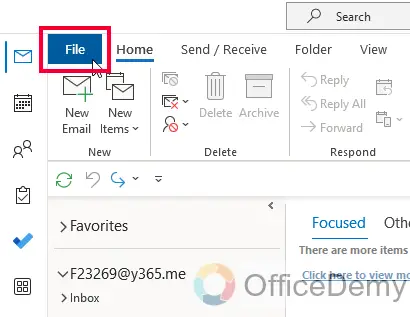
Click on the “File” tab located at the top left corner of the Outlook window.
Step 2
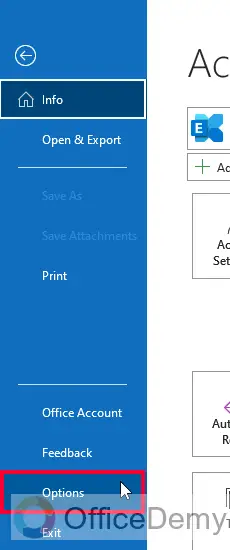
In the File menu, select “Options” from the left sidebar.
Step 3
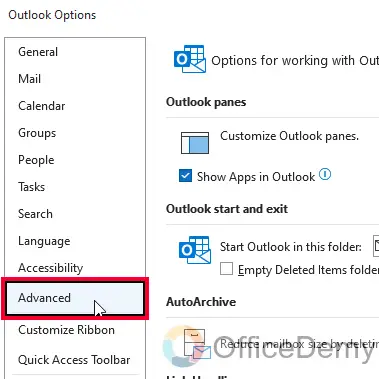
In the Outlook Options window, click on the “Advanced” tab.
Step 4
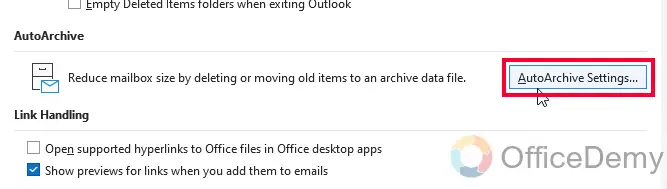
Scroll down to the “AutoArchive” section and click on the “AutoArchive Settings” button.
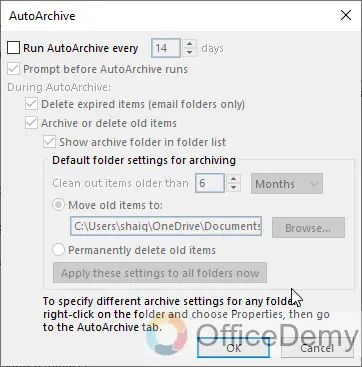
Step 5
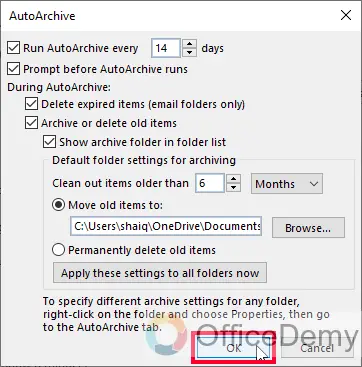
The AutoArchive window will appear. Here, you can see the retention policy settings for your email folders.
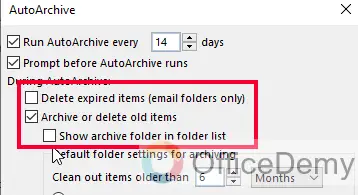
Step 6
To change the retention policy for a specific folder, select the folder from the list in the AutoArchive window.
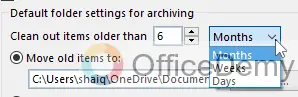
Step 7
Click on the “Months” button to adjust the retention policy time for the selected folder.
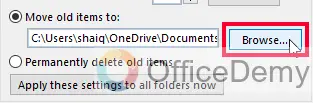
Step 8
You can also set the folder in your local computer to save the email messages after they are auto-archived according to the retention policy.
Step 9
Once you have configured the retention policy settings, click on the “OK” button to save the changes.
Tip: Repeat steps 6-9 for any other folders you wish to modify the retention policy for.
After you have adjusted the retention policies for your desired folders, click on the “OK” button again in the AutoArchive window to close it.
Finally, click on the “OK” button in the Outlook Options window to save and apply the changes to the retention policy.
This is how easily you can change the retention policy in the Outlook desktop app, don’t get confused with the Auto archive, the term is the same to change the retention policy.
Change Retention Policy in Outlook – Web App
In this section, I will show you how to change the retention policy in Outlook Web interface. In the App, the name was different, but in the web interface the retention policy feature comes with its name “Retention Policy” so, we will not have any confusion about it. Let’s get started with the Web interface.
Step 1
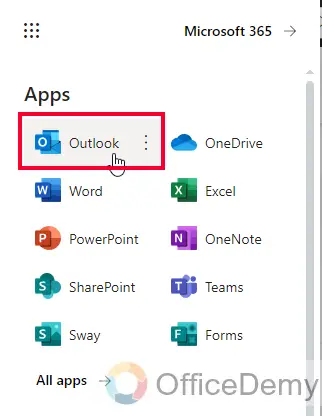
Open your web browser and navigate to the Outlook website (outlook.office.com) or access Outlook through your organization’s webmail portal.
Step 2
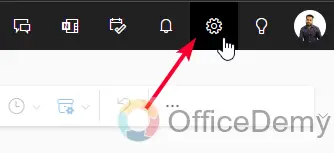
Click on the gear icon located at the top-right corner of the page. This will open the Settings menu.
Step 3
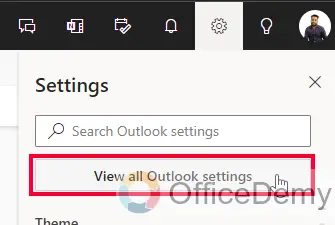
From the Settings menu, scroll down and click on “View all Outlook settings“. This will open the full settings page.
Step 4
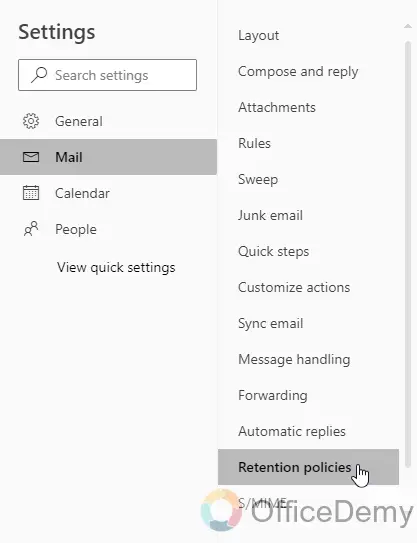
In the left-hand pane of the settings page, click on “Mail” to expand the mail settings options.
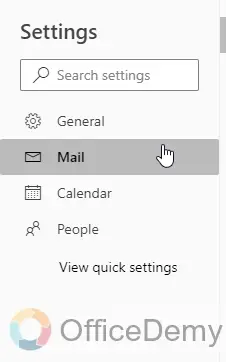
Step 5
Under the “Mail” section, click on “Retention policies“, and it will open the retention policy settings.
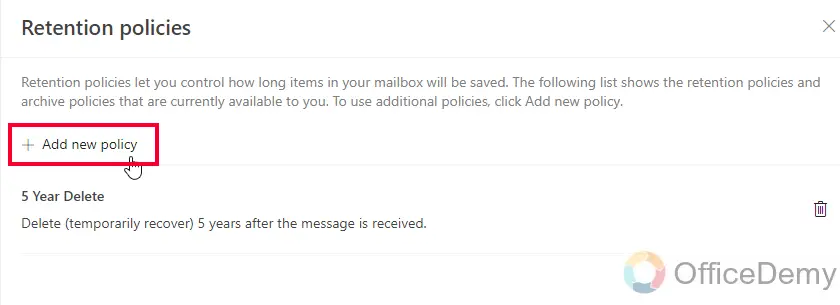
Step 6
On the retention policy settings page, click on the “Add new Policy” button.
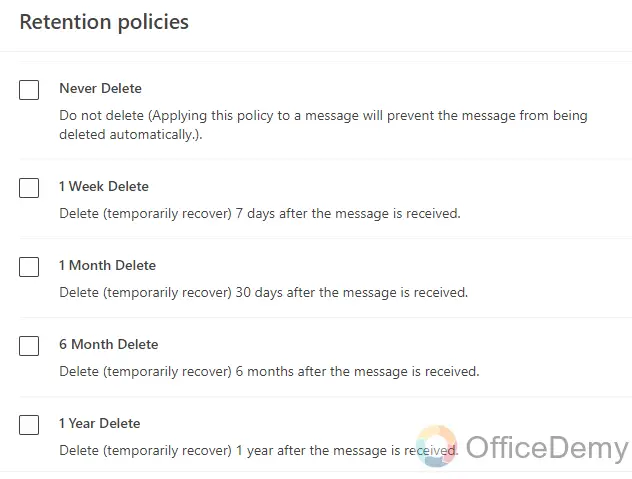
Step 7
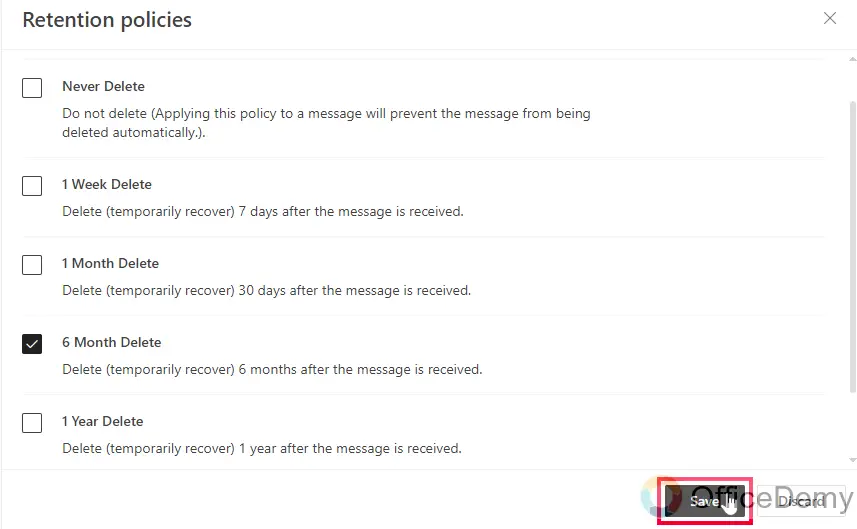
You will see different options for managing email retention. These options may include “Never Delete”, “1 Week Delete”, “1 Month Delete” etc.
Step 8
Choose the desired option that aligns with your retention preferences for your emails and click on the “Save” button.
Step 9
Once you have selected the desired retention policy, it will be added to your retention policy section.
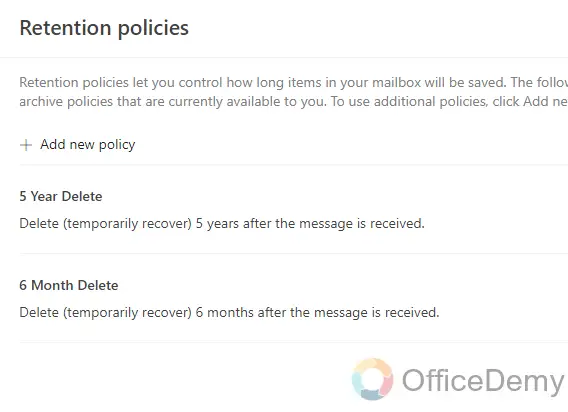
After saving the changes, the new retention policy will be added to the list, and it will be applied to your Outlook account. Emails that meet the specified criteria will be retained or deleted based on your selected policy
So, this was how to change the retention policy in the Outlook web interface very easily.
Things To Remember
- Access the retention policy settings through the “View all Outlook settings” option in the Settings menu.
- Choose the desired retention policy option that aligns with your preferences.
- Save your changes after selecting the desired retention policy.
- Remember that retention policy settings may vary depending on your version of Outlook and your organization’s configuration.
- Double-check your chosen retention policy to ensure it aligns with data retention requirements and privacy considerations.
- Be aware that changing the retention policy will affect how long emails are stored and may impact email archiving.
- Familiarize yourself with any additional features or options available in the retention policy settings to optimize your email management experience.
Frequently Asked Questions
Can Changing the Retention Policy in Outlook Affect the Theme?
Changing the retention policy in Outlook does not directly affect the theme. The retention policy focuses on managing email storage and archiving, while themes are related to the visual appearance and layout of the Outlook interface. Therefore, altering the retention policy should not have any impact on changing themes in outlook.
Q: How to change the retention policy for specific folders in Outlook Web?
Unfortunately, Outlook Web does not offer the option to customize retention policies for specific folders. The retention policy applies to the entire mailbox.
Q: How to revert to the default retention policy in Outlook Web?
To revert to the default retention policy in Outlook Web, go to the retention policy settings and choose the option that aligns with the default policy or select the “Do not archive items” option.
Q: How to check the current retention policy settings in Outlook Web?
To check the current retention policy settings in Outlook Web, navigate to the retention policy settings and review the selected option. It will indicate the current retention policy applied to your mailbox.
Q: How to create a custom retention policy in Outlook Web?
Outlook Web does not provide the capability to create custom retention policies. You can choose from the available options provided in the retention policy settings.
Q: How to ensure compliance with data retention regulations in Outlook Web?
By selecting the appropriate retention policy option in Outlook Web, you can ensure compliance with data retention regulations. Choose a retention period that aligns with the requirements of your industry or organization.
Q: How to permanently delete emails using the retention policy in Outlook Web?
To permanently delete emails using the retention policy in Outlook Web, select the option that moves items to the “Deleted Items” folder. Once the retention period elapses, the items in the folder will be automatically deleted.
Conclusion
That’s all about how to change retention policy in Outlook Desktop app, and Web interface. Thanks for reading and keep learning Microsoft 365 and Google Workspace with Office Demy.


