
To Create an Invoice Template in Google Sheets
- Make a title.
- Add personal information.
- Make a portion for invoice info.
- Create a place for Clients and receiver information.
- Make headings for Items and services.
- Format cells > Add other sub-headings.
- Add Formulas for auto calculations.
- Conclude the template by adding a footer.
An invoice is a type of bill or document that is given to the buyer from the seller to collect the payment. This bill includes all the subscriptions, services, and items listed with its amount. It includes all the information that is rendered to the buyer. An invoice also includes the total amount of the bill by calculating the subtotal amount, tax, and discount if any. If you want to make an invoice template for yourself then Google Sheets has enough tools to make an effective invoice for your business. In this guide on how to create an invoice template in Google Sheets, we will give you an idea of creating an invoice template through which you can also track an invoice for yourself. So read the following step-by-step guide on how to create an invoice template in Google Sheets.
Advantages of an Invoice Template in Google Sheets
Most businessmen need an invoice for public dealing and to render the cost of services or items to buyers. Creating a bill individually for every buyer is not a professional way instead of creating an invoice template for yourself that can be used later for every purchase. If you hire someone to make an invoice template for yourself, it can be costly for you. Besides that, you can create an effective invoice template in Google Sheets for free. Google Sheets has enough functions and features that not only automate your invoice but can also give you an awesome preference. Let me show you practically in the next section how to create an invoice template in Google Sheets.
Step-by-step Procedure – How to Create an Invoice Template in Google Sheets
The procedure of creating an invoice template in Google Sheets depends on you. What are you including in it? In the following tutorial for creating an invoice template in Google Sheets, we will add all the essential things that will be useful to you. So, let’s start creating our invoice template in Google Sheets.
Step 1
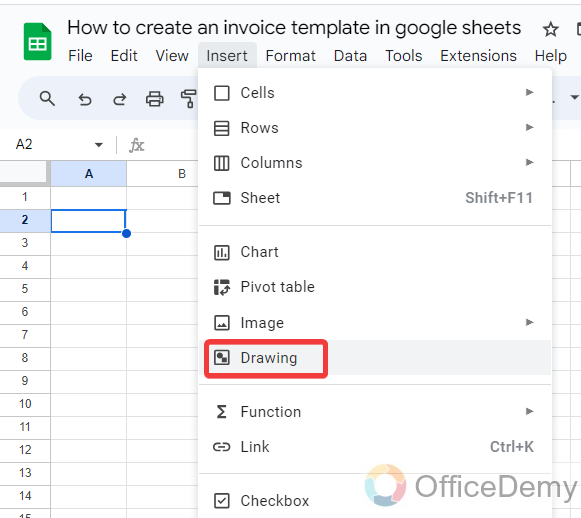
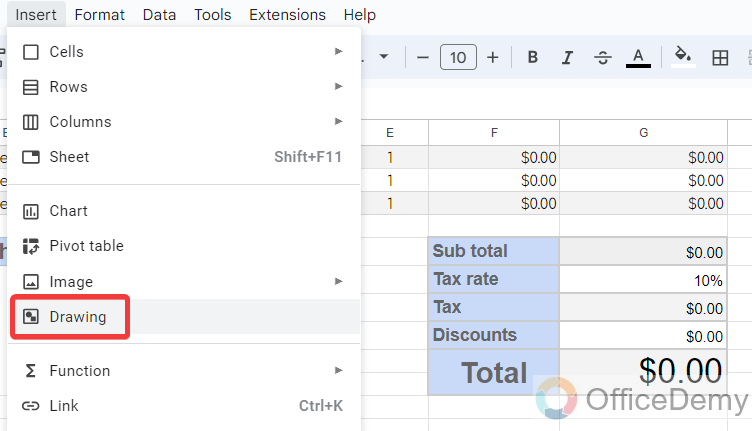
First, we will use the drawing tool of Google Sheets to make an invoice title. To access the drawing tool of Google Sheets, go into the “Insert” tab of the menu bar where you will see the “Drawing” tool of Google Sheets as highlighted below.
Step 2
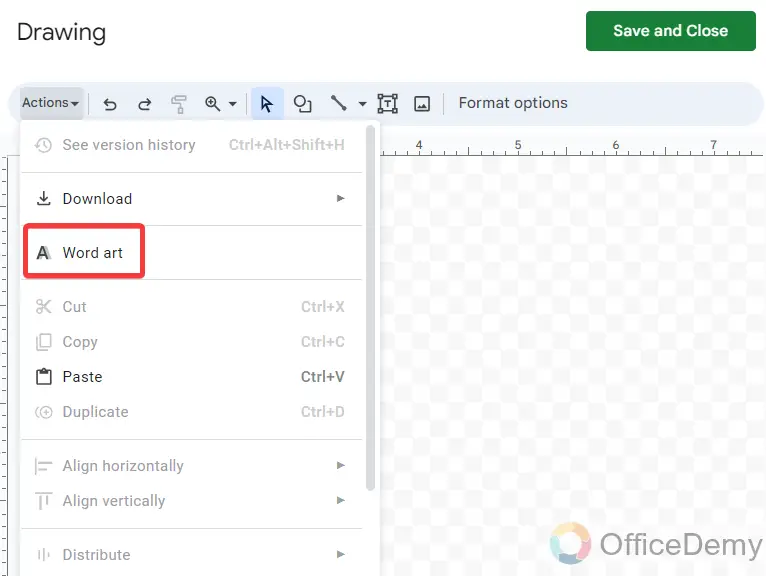
When you click on the “Drawing” tool, a new separate window will open in front of you, click on the “Actions” button at the left top corner and take a “Word art” to make an invoice title.
Step 3
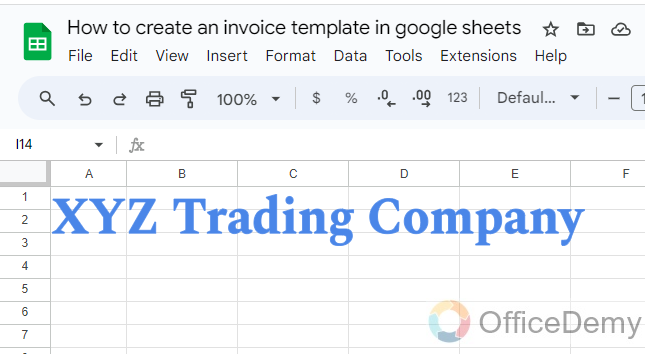
Once you have created your word art, clicking on the “Save & Close” button will insert your word art into your sheets as can be seen in the following picture. You can also set the font color, outline, and style in Google Sheets.
Step 4
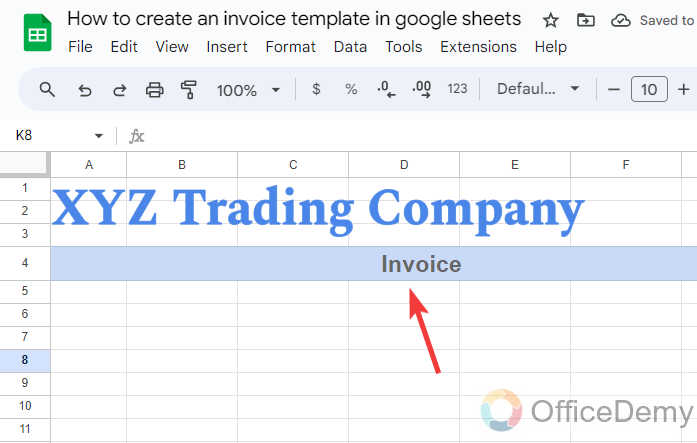
After inserting the invoice title, I will add the Invoice heading in the center of the template that I have just merged and centered several cells and labeled it with the “Invoice” heading.
Step 5
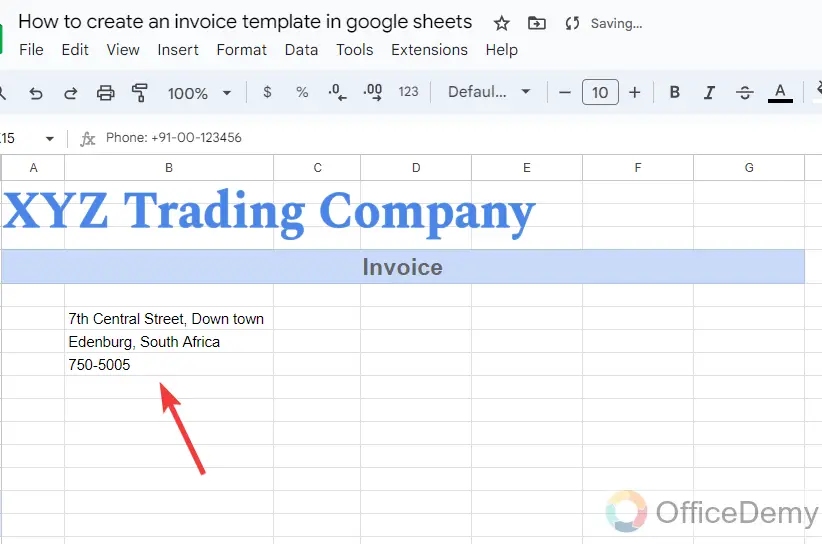
In the invoice template, the first thing I will add is the address of the company as I have inserted in the following example.
Step 6
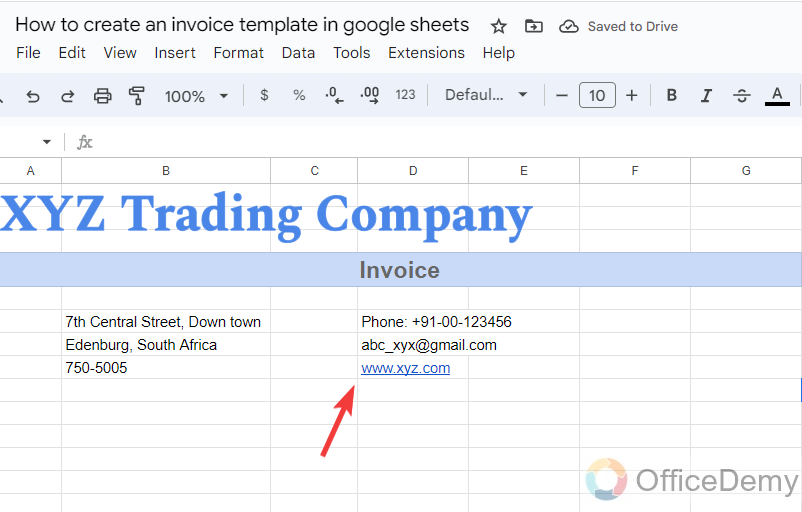
Along with the address information, I will also add the contact information, website, and email address as directed below.
Step 7
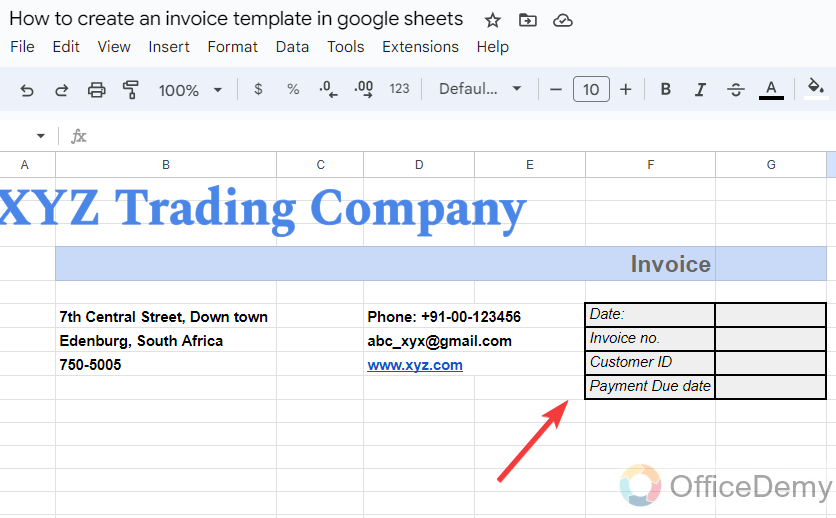
After adding contact information, just to the right side of the template I have created a small box for basic information regarding invoices in which I have included a date, invoice no, customer ID, payment date, etc.
Step 8
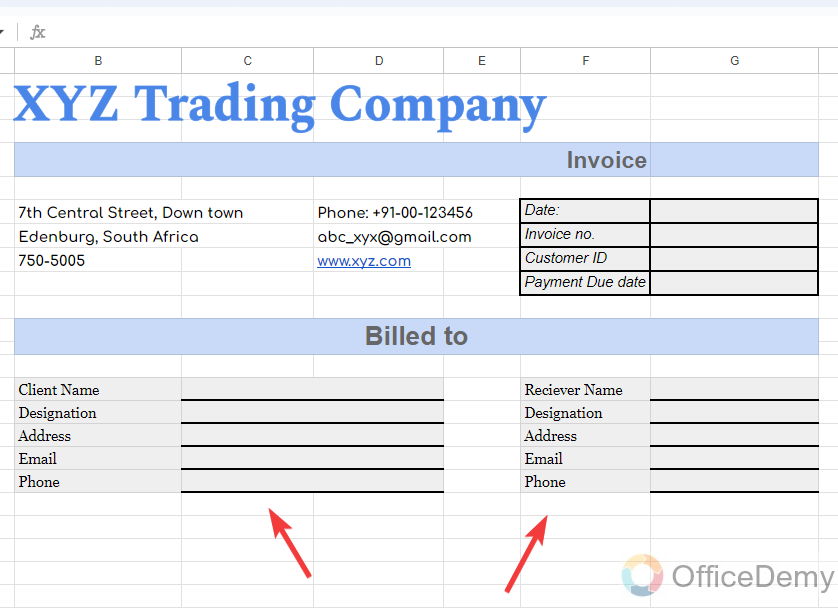
In the next part of the invoice template, I have added a section for the information regarding the client and receiver that includes his name, address, designation email, and phone as can be seen below.
Step 9
We have completed the personal information in the invoice template. Now I am going to start the section for item details. I have created four different columns first for item description (Name and service), quantity, unit price, and net amount as highlighted in the following picture.

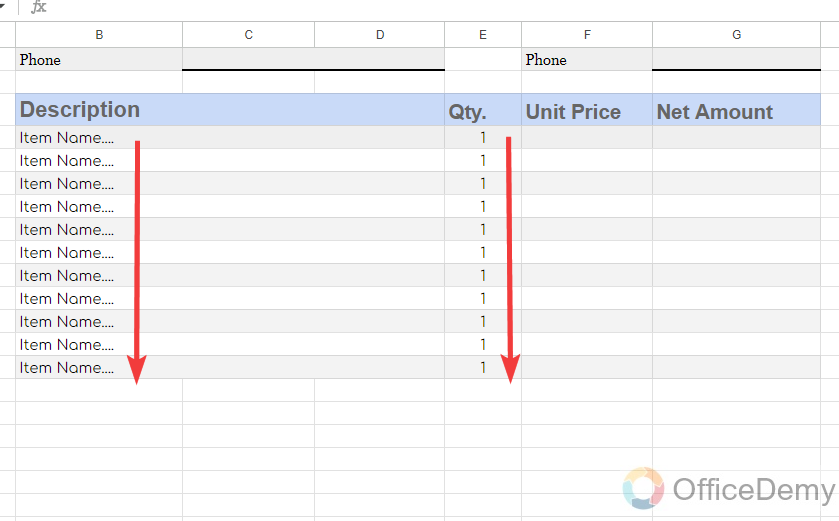
Step 10
In this section, I will leave some space to place items into the invoice. I am using an alternating color feature of Google Sheets for this portion of the invoice template.
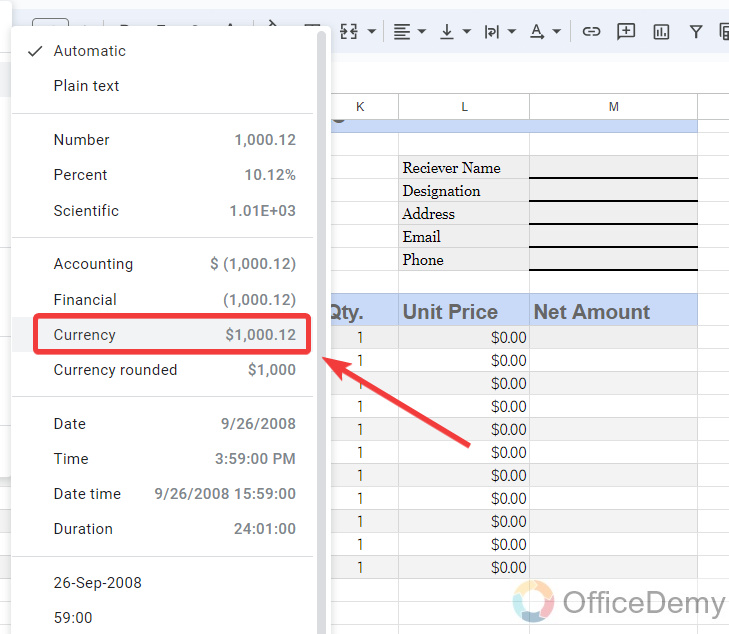
Step 11
As we know in the columns of “Unit price” and “Net Amount“, we will add the currency only, so I have changed the format of these cells to “Currency” from the format tab of the Google Sheets.
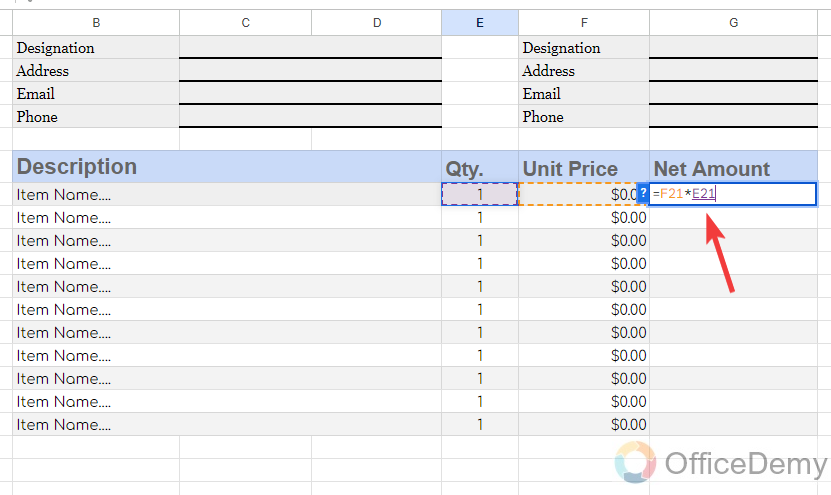
Step 12
The net amount will be the product of the Unit price by quantity so, here I am adding a formula of multiplying for unit price by quantity as written in the following cell.
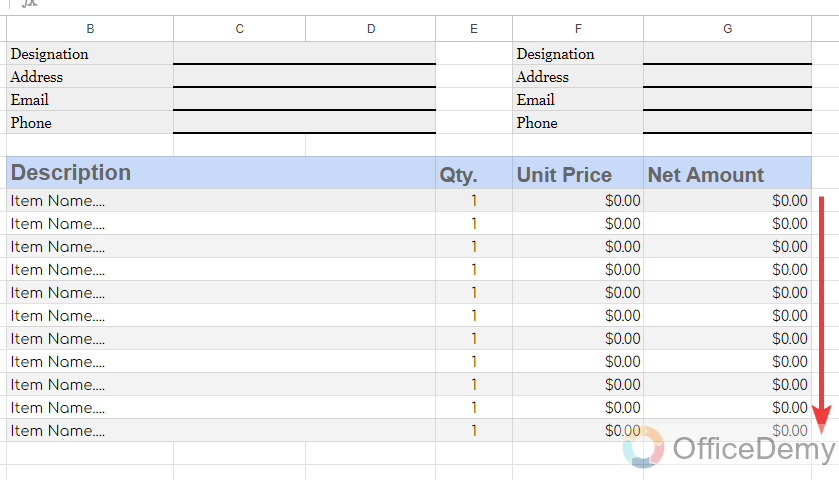
Step 13
Once you have applied the formula in the first cell of the Net amount drag the formula over the other cells to apply the formula to all the cells.
Step 14
Here, I have completed the section for the item description and its amount. After that, I am going to add a small comment box to add additional information if any in our invoice template.

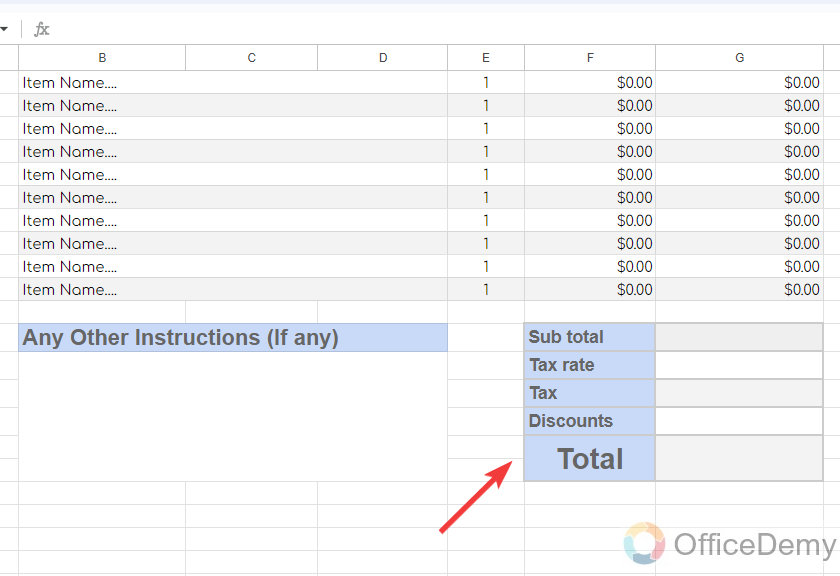
Step 15
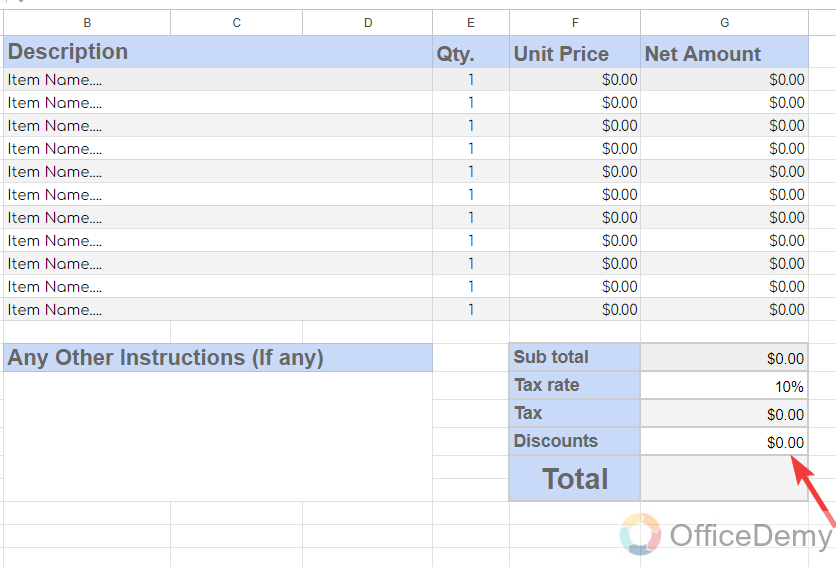
Just next to the comment section, I have drawn the section for the total of all amounts. In this section, I am adding the headings of tax rate, tax, discount, and total as can be seen in the following picture.
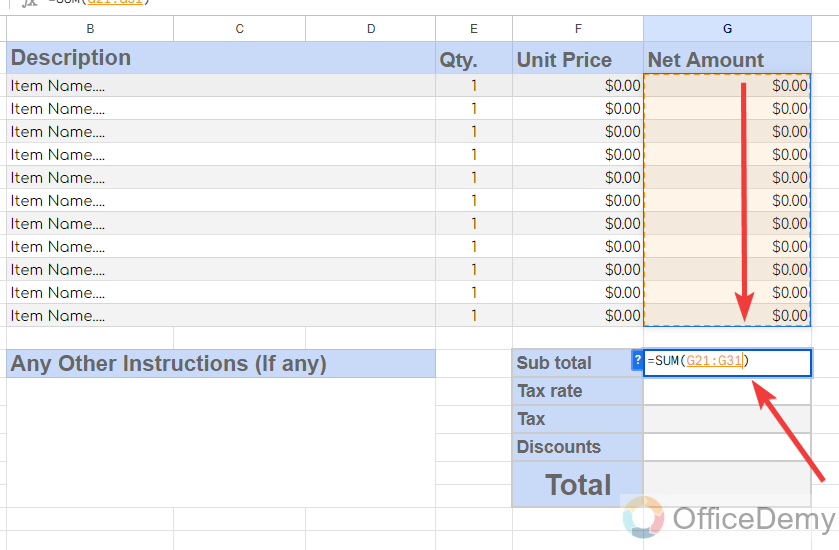
Step 16
Let’s apply the formulas for automatic calculations in the specified cell. Here we have the heading of sub-total at first where we will simply apply the formula of submission of all the net amount as I have applied below.
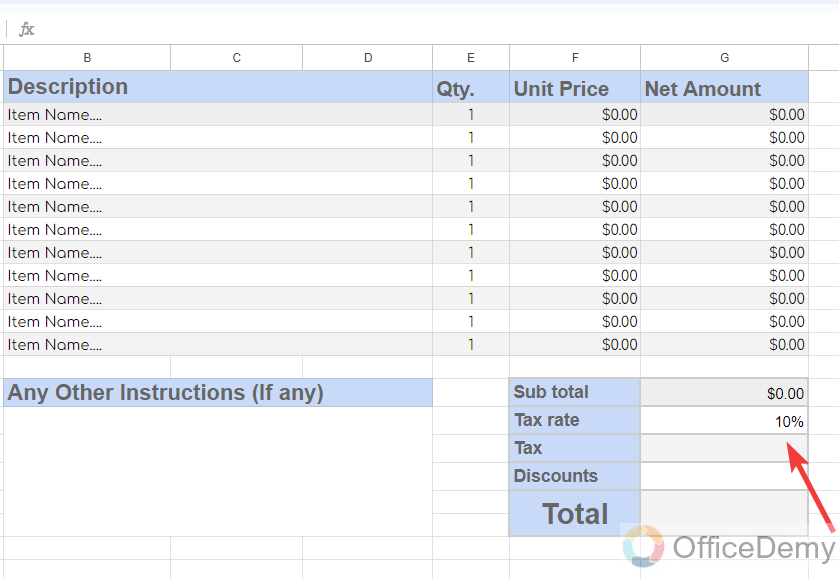
Step 17
In the cell of the tax rate, you can write your desired tax rate that you want to set according to your policy as I have added the 10% tax rate in the following example.
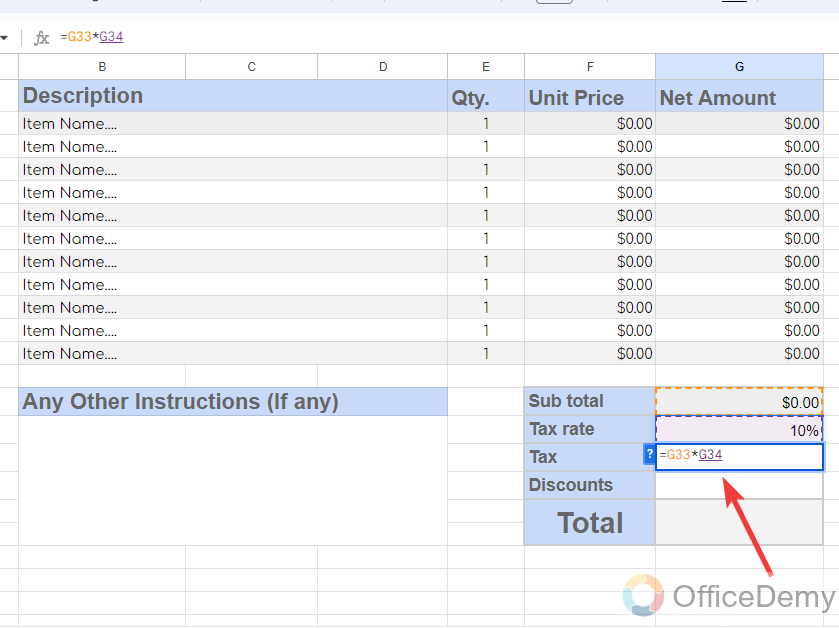
Step 18
To calculate the tax amount, we just need to multiply the tax rate by the subtotal amount for that I am writing the product formula for the subtotal and the tax rate as directed in the following picture.
Step 19
Discount will be optional, if you have any discount or previous balance, you can less amount from the following highlighted cell.
Step 20
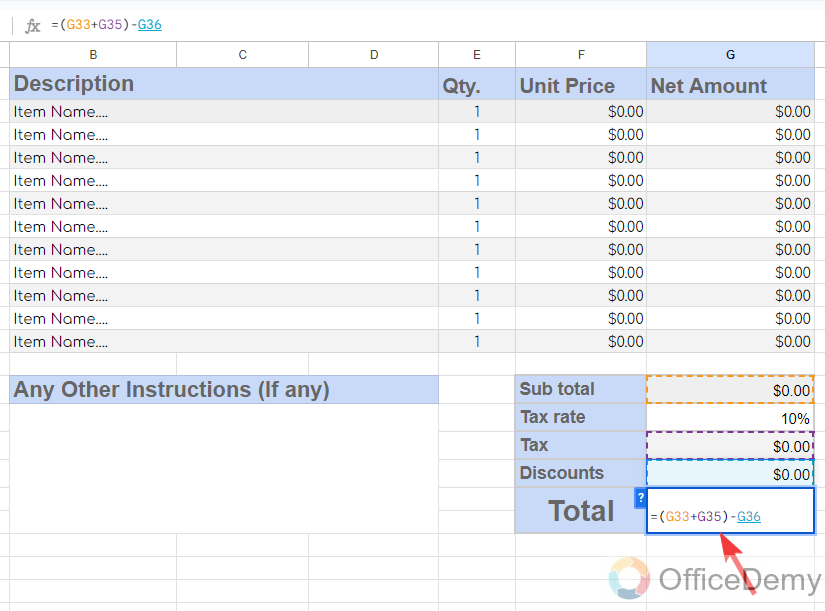
Now, it’s time to calculate the total cost of the invoice. To calculate the total of the invoice, I will apply a simple addition subtraction formula as you can see below, firstly I have added the subtotal and the tax amount then subtracted the resultant value from the discount. In this way, you will get your total invoice amount.
Step 21
After setting up the total, I will again use the drawing tool of Google Sheets to make conclusions about invoice templates.
Step 22
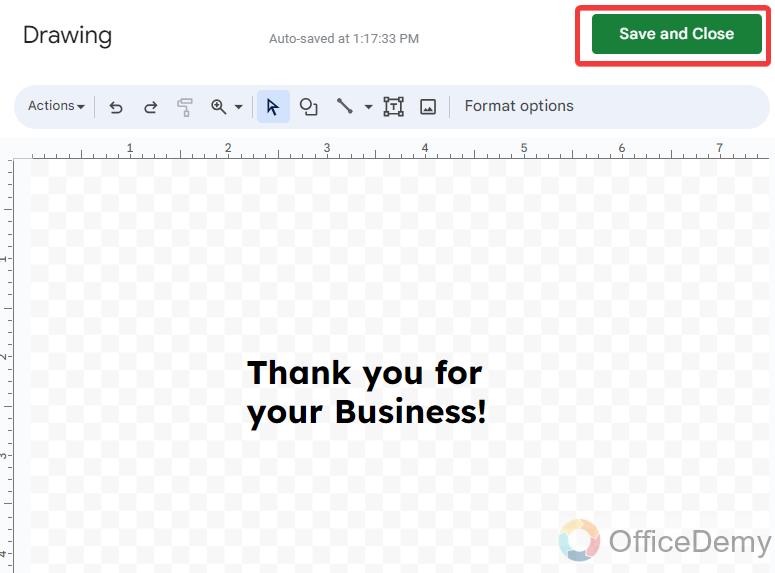
Here, I have made an ending caption to add to the end of the invoice template. Let’s click on the “Save & Close” button to insert it into the sheets.
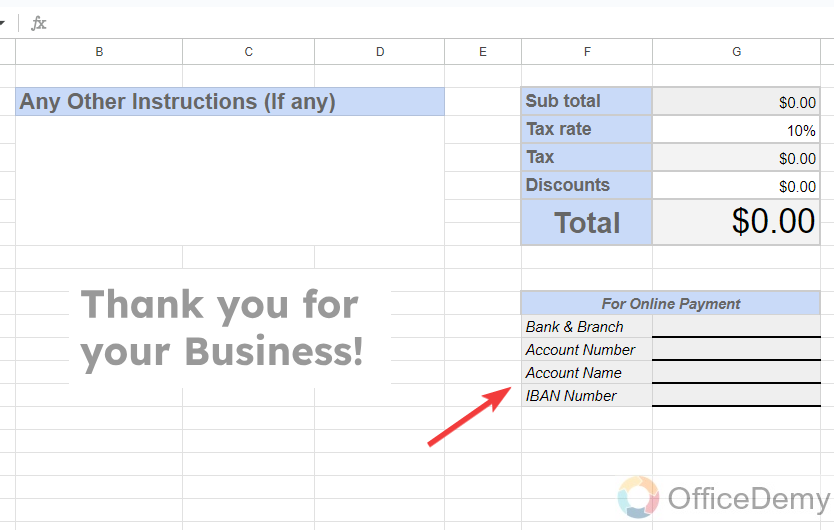
Step 23
Along with the Thank You caption; I will also add a small section for bank details to provide the facility of online payments for clients. In this section, I am adding the headings of bank and branch, account number, account title or name IBAN, etc.
Step 24
In the footer of the invoice template, you can again add the information regarding your company or about any quote as I have added in the following picture. This is all done from my side, our invoice template is ready to use.

Step 25
In the following GIF image, you can see the automation of the invoice template, and how it is making calculations automatically as inputting the values.
Get the Free Template Used in this Article
Get a Free “View only” Template here, Go to File > Make a Copy, and use it as per your needs.
Free Invoice Template – Office Demy
Conclusion
Hopefully, you understand now how to create an invoice template in Google Sheets for yourself. It will not only affect your costs but also will give you smooth and errorless functioning in your business. For more related topics keep visiting Office Demy.
![Free Google Sheets Ledger Template – [Free Template]](https://www.officedemy.com/wp-content/themes/rehub-theme/images/default/noimage_336_220.png)
