
To Export OneNote
- Open the OneNote Desktop App.
- Go to the “File” tab > Click on “Export” and select the export options.
- Choose the file format.
- Click “Export” and specify the destination to save the file.
- Add a file name.
- Click “Save” and your OneNote file is exported successfully.
OR
- Open any web browser and access the OneNote Web interface.
- Log in.
- Click on the “Notebook” where your content is.
- Go to the “File” tab.
- Click on the “Printer” icon and select “Print” for more options.
- Choose the export format under “See more“.
- Click “Save“.
Hello everyone. We always have different interesting topics for your learning of Microsoft Teams and Google Workspace. Today, we are going to learn a new topic of OneNote. It is, how to export OneNote. To export OneNote, fundamentally, we need to go under Notebooks, right-click (PC) or control-click (Mac) on the name of the notebook that we want to export, and then click Export Notebook, on the screen that opens, and click export. Follow your browser’s prompts to export the file to the location you choose.
Benefits of Exporting OneNote
We should know some benefits of exporting OneNote why do you need to export OneNote? If you know the advantages regarding this topic then you can easily learn with full concentration, if you export a OneNote file, it means you can never lose your OneNote file from your PC because you can export safely anywhere in your system wherever you want, if you will export OneNote file then you also can open it on common text editors like MS Word, MS Excel or others applications.
Step-by-Step Procedure to Learn – How to Export OneNote
We have two simple and quick ways to export OneNote. You need just follow all the steps one by one about this topic to get a solution to your matter.
How to Export OneNote – Desktop Application
In this section, we will learn all the steps for the topic of how to export OneNote using the OneNote Desktop application, the method is very simple, and one more important thing that you need to keep in mind, in this procedure we are using the OneNote application 2013 version, so if you have another version then you might face some changes during your practice, but I believe you can easily handle those changes.
Step 1
In your Computer, use the Start menu search feature to find the OneNote Desktop App.
Step 2
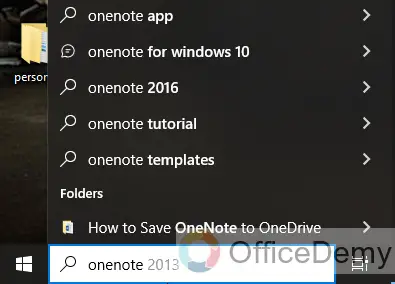
Type “OneNote” in the search box and press Enter key.
Step 3
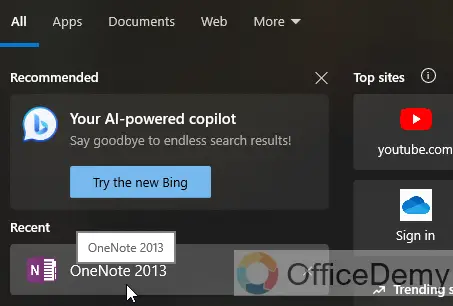
Now click on “OneNote” to open the application to open it.
Step 4
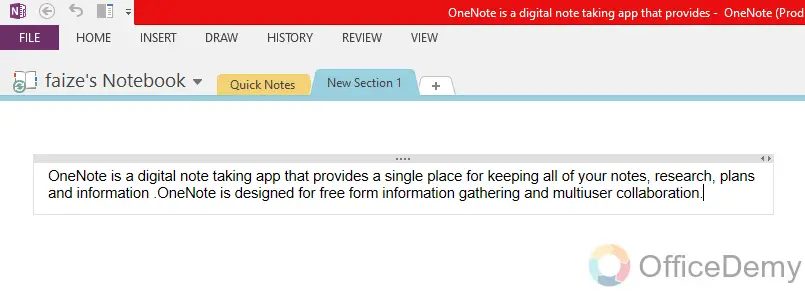
You can look at your OneNote application, the front page has opened.
Step 5
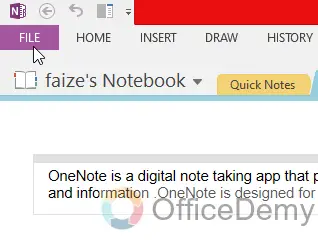
Click on the “File” tab in the main menu for further options.
Step 6
When you click on the file button, you will see the “Export” button just click on it.

Step 7
Now click on the “Export” button to save or export your OneNote file.
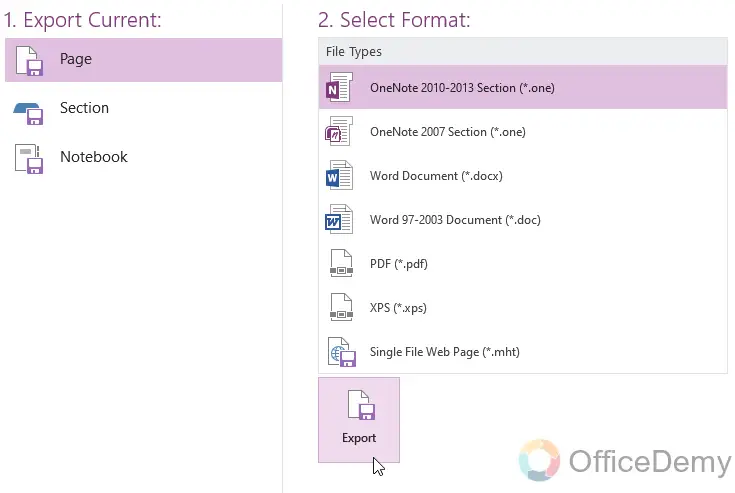
Choose the Export section, select “Page“, “Section“, and “Notebook“.
Choose the file Format, and select “OneNote 2010-2013“, you can also choose other file formats if you want.
Then, finally, click on the “Export“.
Step 8
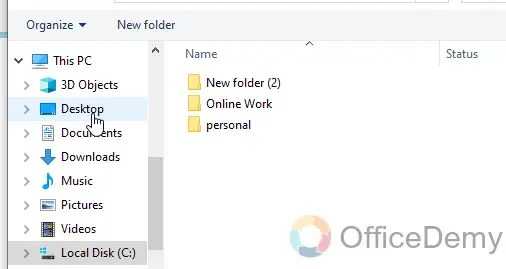
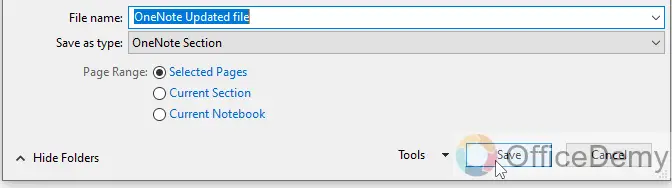
Select a file destination, a place where you want to save or export your OneNote file.
Step 9
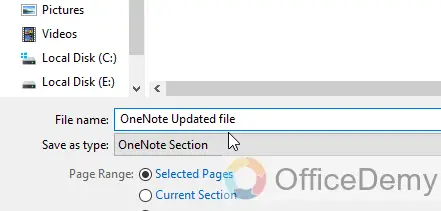
Add any name of your OneNote file whatever you want.
Step 10
Click on the “Save” button.
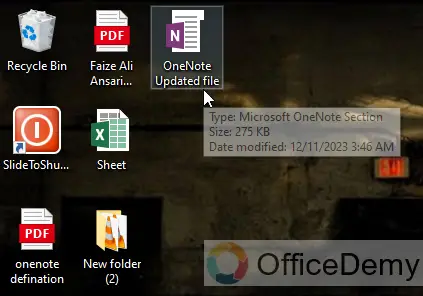
Step 11
Finally, your OneNote file has been exported.
How to Export OneNote – Web Application
So, now we have one more method of how to export OneNote, this method is for users who prefer to use the Web application of OneNote instead of the downloaded Windows Desktop App. The steps may be similar, let’s get into it and learn all the steps in a jiffy.
Step 1
Open your preferred web browser.
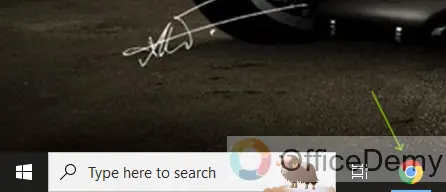
Step 2
Navigate to the search feature of your browser.

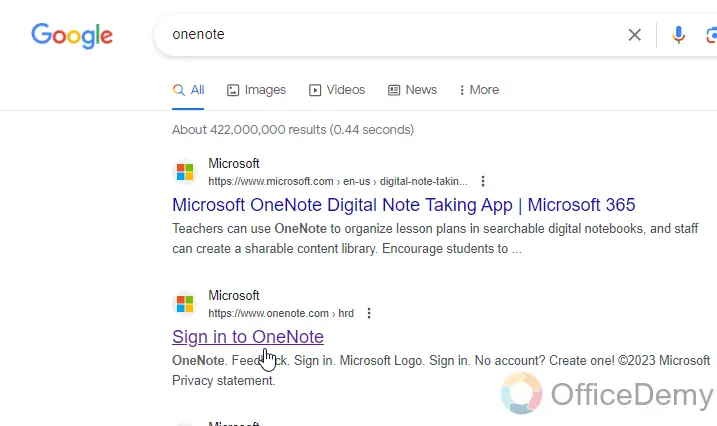
Step 3
Type “OneNote” and make a Google search to find the OneNote web app login access.

Step 4
Click on the “Sign in to OneNote” link to get ahead to the OneNote Web interface.
Step 5
Login with your Email ID, and password to Enter.
Step 6
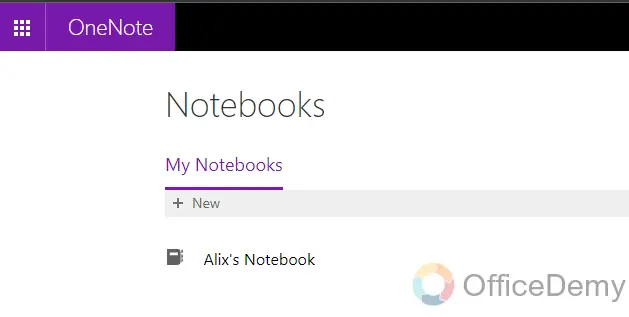
Your OneNote web application home page has opened.
Step 7
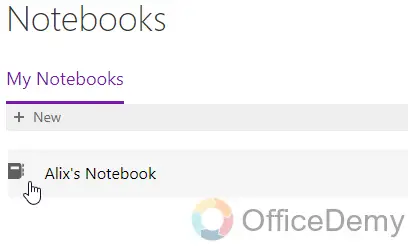
Click on the “Notebook” to make a note or whatever you want to write.
Step 8
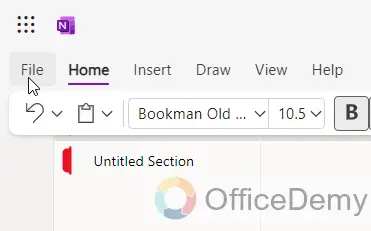
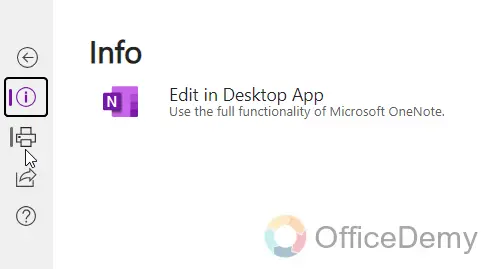
When you are ready to export your OneNote. Click on the “File” tab in the main menu.

Step 9
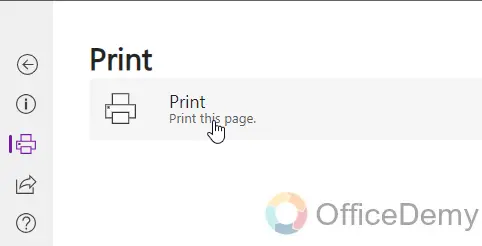
Now click on the “Printer” icon for further options.
Step 10
Click on the “Print” button to open more settings.
Step 11
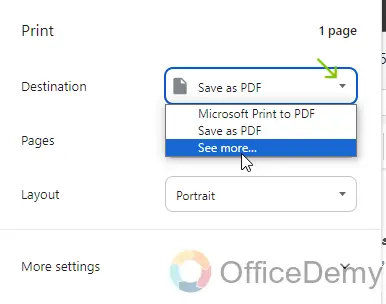
Click on the dropdown icon, then click on “See more”.
Step 12
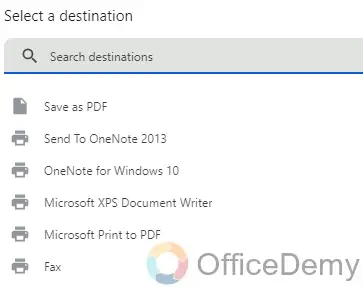
Select any option in which you want to export your OneNote.
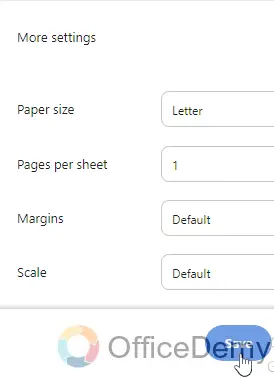
Step 13
Just one more click on the “Save” button to Export your OneNote.
Finally, both methods have been completed with all detailed steps regarding the topic of how to export OneNote, now you just need to read or practice to master this simple topic.
FAQs on How to Export OneNote
Q1: How can you export OneNote to another user?
A1: You can export OneNote to another user following the below steps, first open the notebook that you want to export and transfer to a new user in your OneNote application. Once in the OneNote application, click file then click export, under “Export current”, click notebook, under “Select a format”, then click “OneNote package”, by these steps we can export OneNote to another user.
Q2: How does the OneNote application save files?
A2: OneNote automatically saves all our notes while we make them, but we always should back up our notebooks, just like the rest of our computer’s files and data.
Q3: Does OneNote export to Word?
A3: Yes of course. OneNote can be exported as a Word file, select pages first, then select “Microsoft Word” under the “Select a Format” section, then finally click on the “Export” button.
Conclusion
That’s all about how to Export OneNote. I hope your all confusion is now clear, and I am also hoping that you find this guide very helpful. Thanks and keep learning with Office Demy.

