
To Insert Table in Outlook
- Go to “New Email“.
- Click the “Insert” tab > “Choose” table size.
OR
- Go to “New Email“.
- Click the “Insert” tab > “Choose” table > Enter Ros and columns to define table size.
Hi, today we will learn how to insert table in Outlook. Are you looking for inserting a table in Outlook email? and unable to do that? Well, this is because most of the users are unable to find the “Insert” tab in Outlook. The Insert tab appears when you take a New Email in Outlook.
Leave it all, let’s move to the following post on how to insert table in Outlook.
Importance of Inserting Table in Outlook
Creating a table in an Excel sheet and then converting it to a plain document then attaching it with an email document is very frustrating and if you have ever tried to make your data line up in an Outlook email message, most of the time data in tabular form without a table misaligns the format.
So why don’t you learn how to insert a table in Outlook?
How to Insert Table in Outlook?
Inserting a table in Outlook becomes very easy because Outlook has a built-in option for inserting a table in the “Insert” tab. You are inserting a table in which version of Outlook, doesn’t matter because, in the following tutorial, we are going to learn both scenarios.
- Insert table in Outlook Desktop
- Insert table in Outlook Online
Insert Table in Outlook – Desktop Application
As we know, Outlook’s desktop version has most of the features in it that other Outlook versions have, so is it possible that Outlook desktop wouldn’t have a Table feature in it? Follow the following instructions, this guide will lead you to insert a table in Outlook desktop.
Step 1
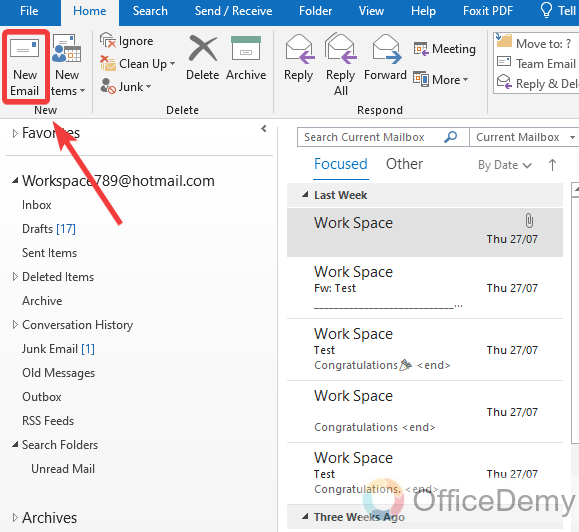
As we need to insert a table in an Outlook email, here first we will take a new email. To take a new email, click on the “New Email” window as highlighted in the following picture.
Step 2
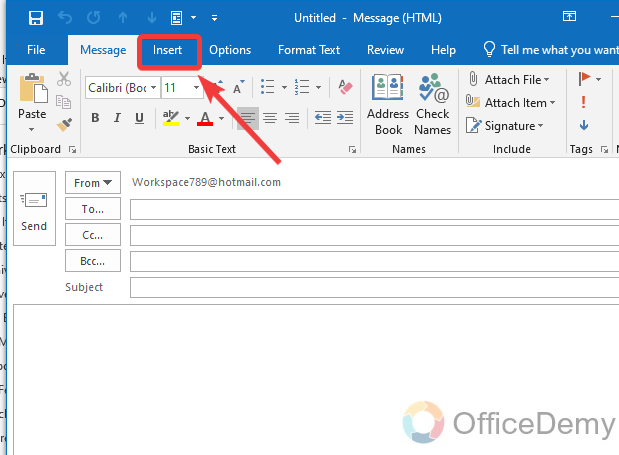
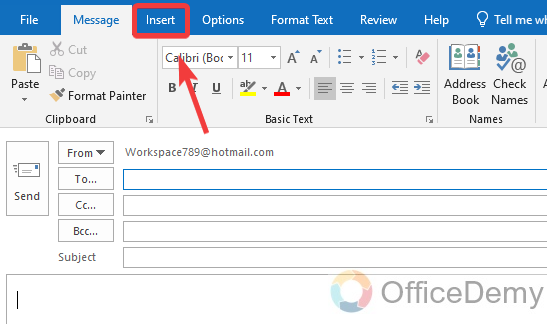
When you click on the “New Email” button, a new separate window will open to compose an email in Outlook. On this window go into the “Insert” tab of the menu bar to insert a table in Outlook email.
Step 3
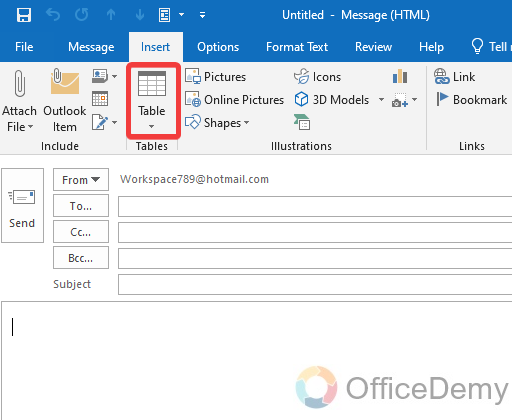
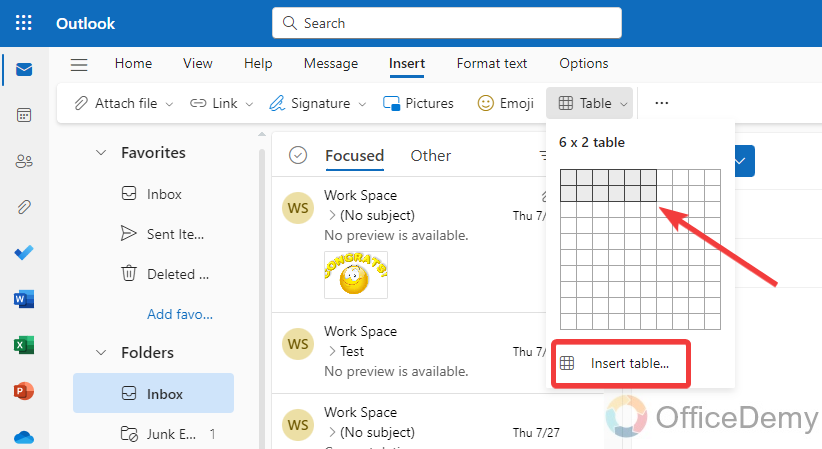
When the “Insert” tab will open, you will see a “Table” option in the ribbon as highlighted in the following picture through which you can easily insert a table in an Outlook email.
Step 4
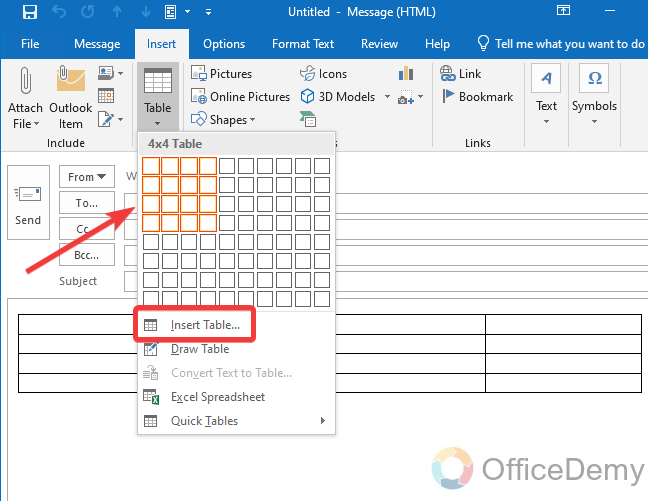
When you click on this “Table” option, a drop box will open where you can Insert a Table in an Outlook email by two different methods, you can also select cell boxes here as you need in the table and the second one is by the “Insert Table” option.
Step 5
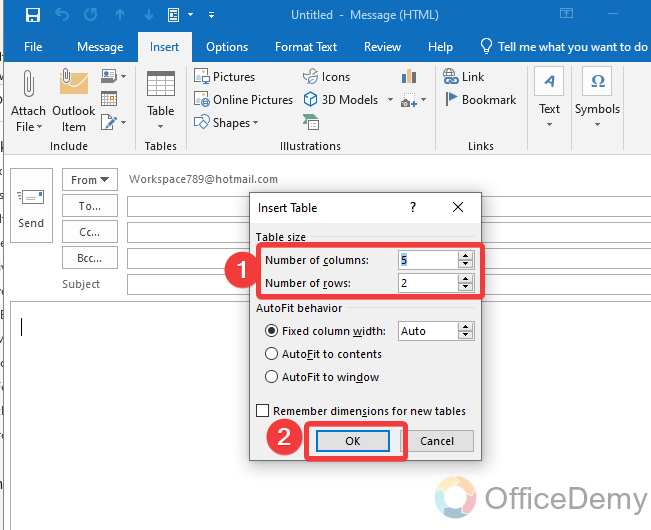
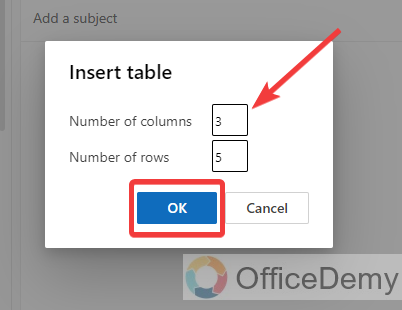
When you click on the “Insert table” option, a small dialogue box will open in front of you where you can quickly put the number of rows and columns you require in your table then simply click on the “OK” button to insert the table.
Step 6
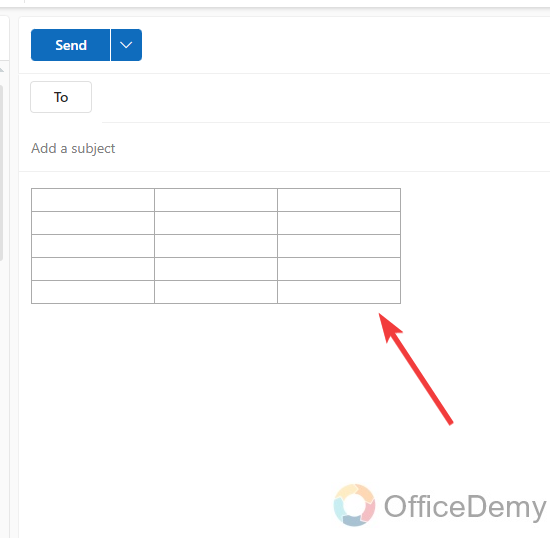
You are all done with inserting a table in an Outlook email as you can see the result in the following picture, a table has been inserted in your email.

Insert Table in Outlook – Web Online
As day Passive, now Outlook.com has also become more powerful with lots of accessibility. Similarly, now inserting a table in Outlook online is not a difficult task. Just take a new email, go into the Insert tab, and simply insert a table with just one click. Let me show you practically in the following tutorial.
Step 1
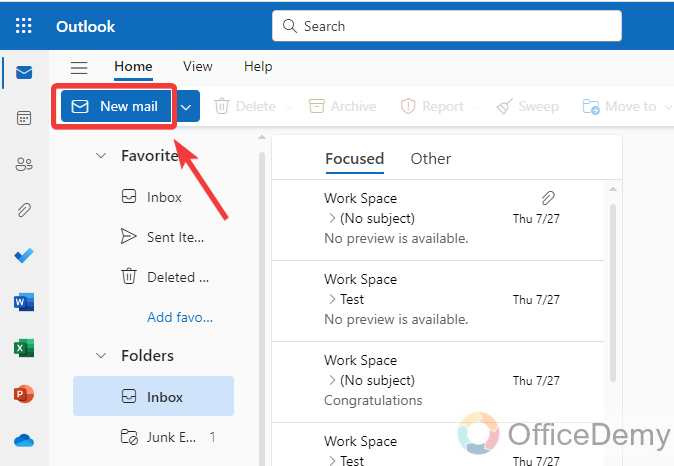
Once you have opened the Outlook web page then click on the “New Email” button as directed in the following picture to create a new email where you may insert a table.
Step 2
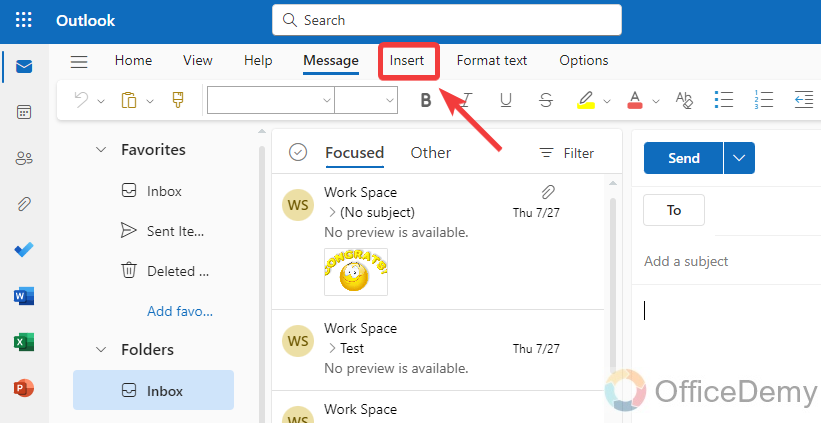
When you click on the “New Email” button, an Email composing section will appear at the right side of the window, then go into the “Insert” tab of the menu bar to insert a table in Outlook.
Step 3
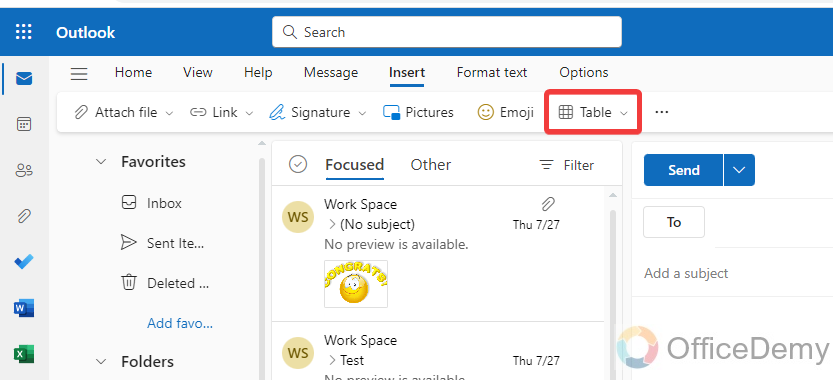
When you click on the “Insert” tab from the menu bar, you will have several options in the toolbar of Outlook regarding the Insert tab. Find the “Table” option and click on it to insert a table in Outlook email.
Step 4
Same as the desktop version of Outlook, when you click on the “Table” option, a drop-down menu will open from where you can select boxes according to the number of rows and columns you need, or you can go for the “Insert” table option as highlighted in the following screenshot.
Step 5
If you click on the “Insert table” option, a small pop-up will open where you will have to enter the number of columns and rows that you required then simply click on the “OK” button, and your table will be inserted.
Step 6
As you can see the result in the following picture, the table has been inserted and is ready to insert data in it. In this simple way, you can easily make any data chart in an Outlook email.
Frequently Asked Questions
Q: Can we insert a table in Outlook via Excel?
A: Yes, you can also insert a table in Outlook via Excel Spreadsheet, to add a spreadsheet to your email. It’s like a mini version of Excel in your email that you can use to add formulas and perform calculations by adding a table. you can also resize the table by dragging the bottom and right edges of the speed sheet. After creating an Excel table, you can hit the tab key to close the spreadsheet and the result will be in front of you, you can also double-click the table for more editing.
Step 1
First take a new email in Outlook, once you have opened a New Email window then go into the “Insert” tab of the menu bar for inserting table via Microsoft Excel.
Step 2
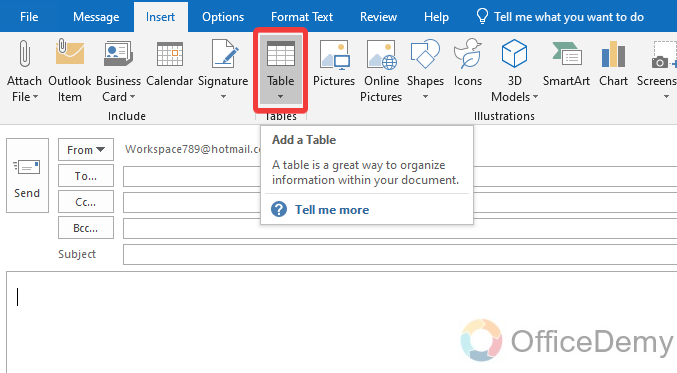
When you click on the “Insert” tab of the menu bar, you will see a “Table” option in the Outlook ribbon as can be seen in the following picture. Click on it to insert a table in Outlook email.
Step 3
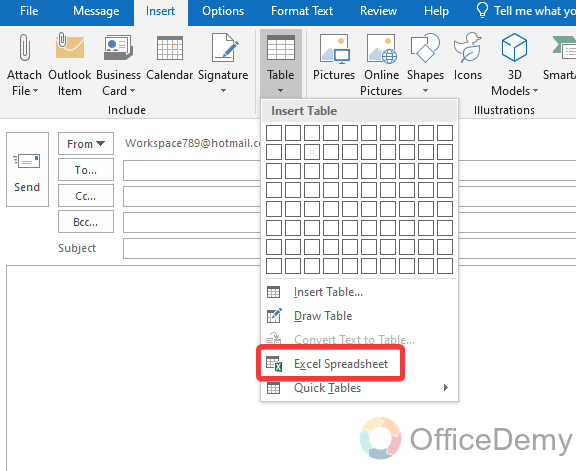
When you click on this “Table” option from the ribbon, a drop-down menu will open where you will find different ways of inserting a table in Outlook. As we need to insert a table via Excel in Outlook, so we will select the “Excel Spreadsheet” option.
Step 4
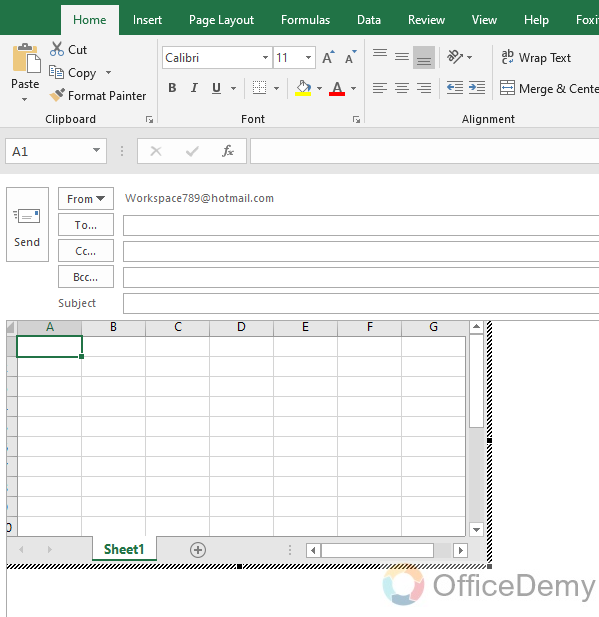
As you click on the “Excel Spreadsheet” option from the drop-down menu, you will automatically be redirected to the Excel window in Outlook email as you can see in the following example, an Excel sheet has been opened.
Step 5
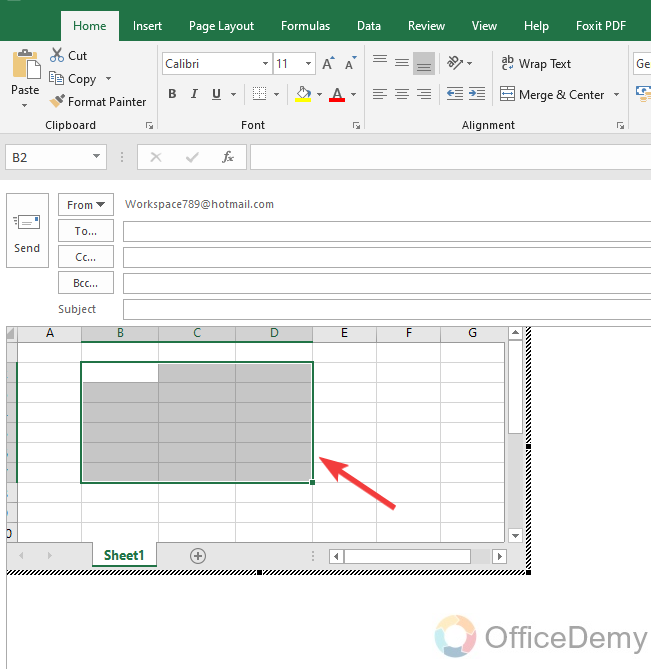
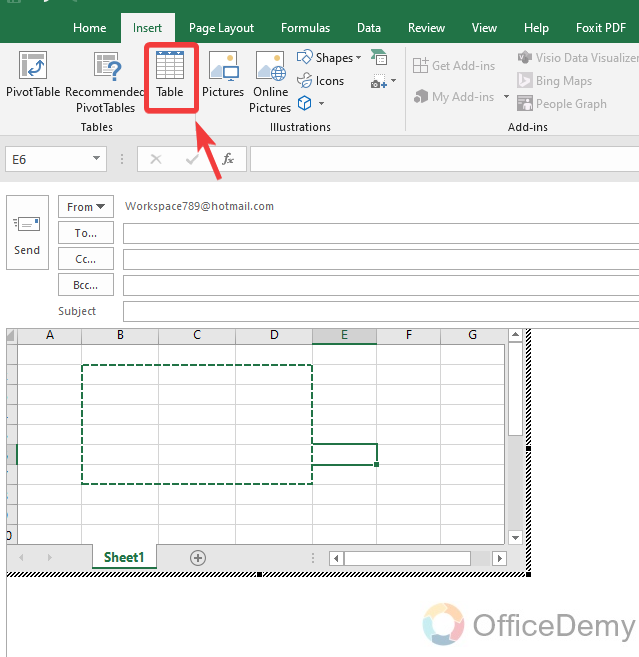
Let’s start inserting tables in this Excel Spreadsheet, first, we will select where we need a Table as I have made in the following example.
Step 6
After making a selection, go into the “Insert” tab from the menu bar of the Excel sheet to insert a Table in it.
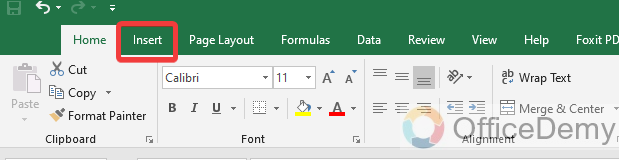
Step 7
When you click on the “Insert” tab, you will instantly see a “Table” option in front of you, just click on it to insert the table into your Excel sheet.
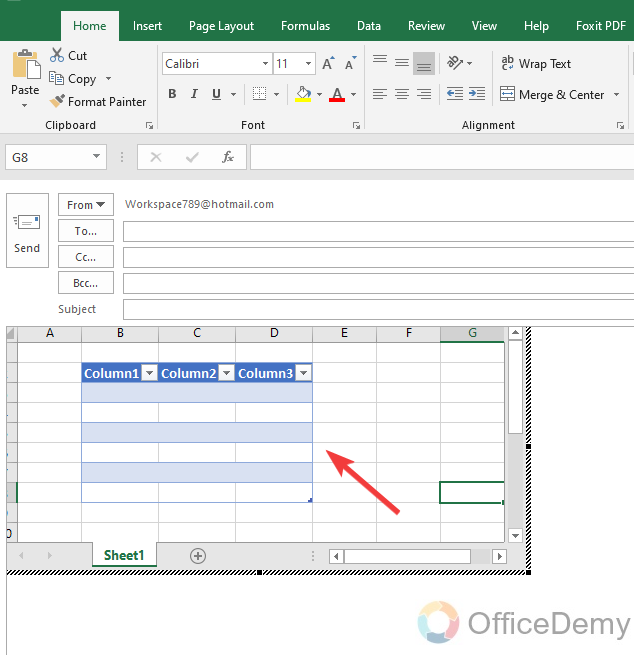
Step 8
The table will be created in a jiffy, as you click on the “Table” option from the Insert tab, as can also be seen in the following picture, table has been created.
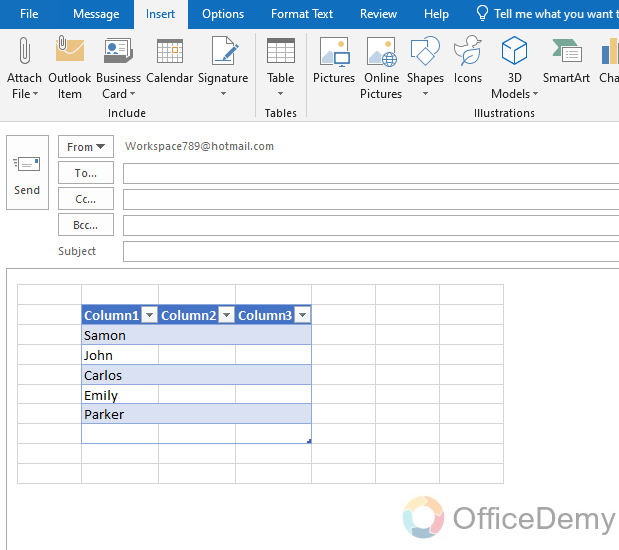
Step 9
Now, just click anywhere outside the Excel sheet, it will automatically close and shift you to the Outlook email window. You can also add data to this table and can format it in your manner and can send it.
Q: How to format a Table in Outlook?
A: If you need to clarify the data and enhance the appearance of the information in your table, you may need to make more formation in your table. It is so then there is nothing to worry about because Outlook offers enough tools to format your table as you can imagine with the help of the following examples.
Step 1
Once you have inserted a table in Outlook email, select it to make changes.
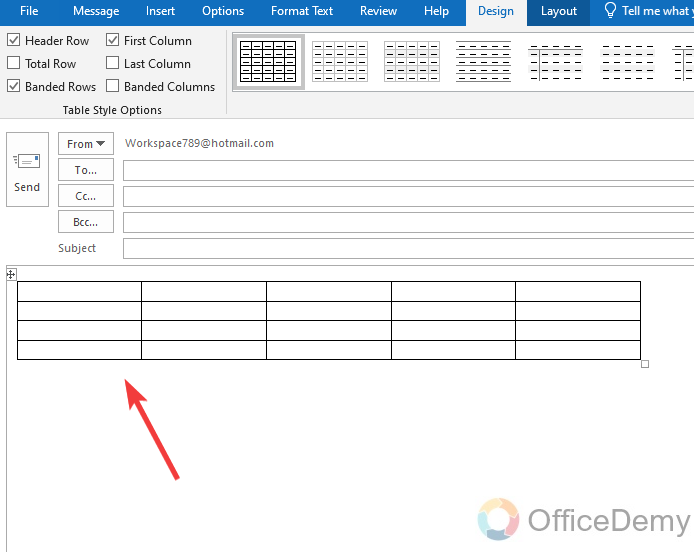
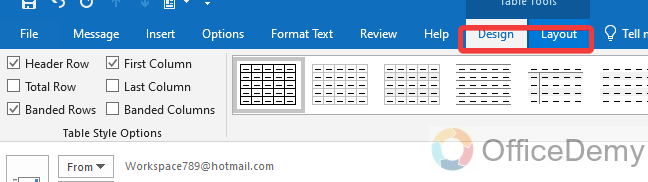
Step 2
When you click on your table to select it, you will see a couple of tabs in your menu bar as highlighted in the following picture, “Design” and “Layout“. You can format your Outlook table from the following tabs.
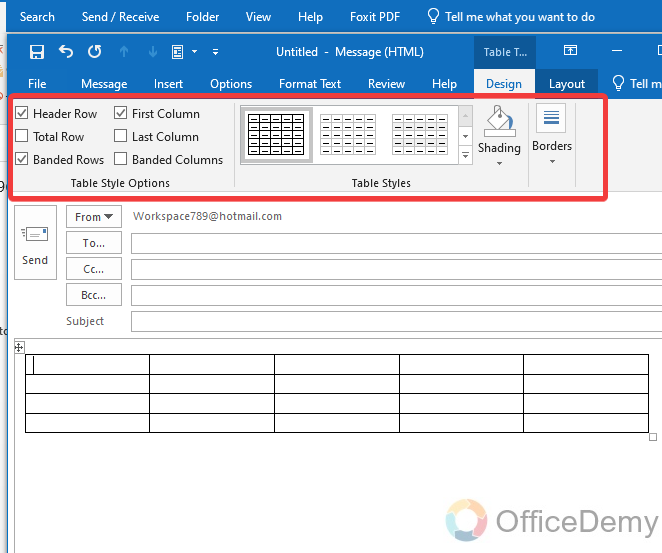
Step 3
If you open the “Design” tab of the menu bar, you can format the design of the table with the help of the following highlighted tools.
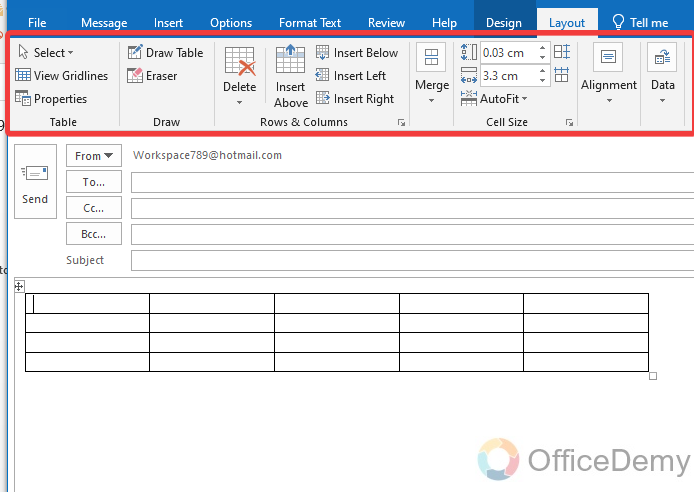
Step 4
If you open the “Layout” tab, then you can easily format the Layout of your table with the following options in an Outlook email.
Conclusion
That’s all about how to insert table in Outlook. After reading the above article on how to insert table in Outlook, inserting a table in Outlook doesn’t have to be a headache. Hope you had found it easy with the Office Demy solution guide.


