
To Make a Calendar in Microsoft Word
Using Template:
- Open Microsoft Word.
- Click “File” > Select “New“.
- Type “Calendar” > Choose a template.
- Click “Create” > Customize the template.
- Add text and images.
- Adjust fonts and colors.
- Save or print your calendar.
From Scratch:
- Create a new document.
- Click “Insert” and select “Table“.
- Choose the number of rows and columns.
- The table appears.
- Label the days of the week.
- Repeat for each day > Fill in dates.
- Add borders and styles.
- Customize with images and text.
- Save or print your calendar.
Hello guys. Today, we will learn how to make a calendar in Microsoft Word. As all know that keeping track of important dates and events can be a daunting task, especially when you have a lot going on in your life. That’s where a calendar comes in handy. With Microsoft Word, creating a personalized calendar is quick and easy.
In this article, we’ll guide you through the step-by-step process of making a calendar in Microsoft Word, so you can keep track of your schedule with ease. Whether you need a calendar for personal or professional use, we’ve got you covered. Let’s get started!
Why do you need to Learn – How to Make a Calendar in Microsoft Word?
Firstly, having a calendar is an essential tool for managing your time effectively. Whether it’s for personal or professional use, a calendar can help you keep track of important dates, deadlines, and appointments. By creating your calendar in Microsoft Word, you have the flexibility to customize it to your specific needs, making it easier to stay organized and productive.
Secondly, learning how to make a calendar in Microsoft Word is also a valuable skill to have in today’s digital age. With so many people relying on technology to stay organized, being able to create a calendar using Microsoft Word can give you an advantage in the workplace. It shows that you are proficient in using digital tools and can work efficiently and effectively, which can be an asset in any job.
Additionally, knowing how to create a calendar in Microsoft Word can also be a useful skill for personal projects or side hustle, such as creating calendars to sell on Etsy or as a fundraiser for a local charity.
How to Make a Calendar in Microsoft Word?
We essentially have two methods to learn how to make a calendar in Microsoft Word. The first method is to create a calendar in Word from scratch using the table as the layout, and then many other elements to complete the calendar design, and the second method is to use a pre-built template available in Microsoft Word. So, let’s start with the first template method first.
Make a Calendar in Microsoft Word – using Pre-Built Template
In this section, I will show you how to make a calendar in Microsoft Word using the free templates that are available directly in your MS Word library. This method is mostly easy for everyone and does not take much time and effort. So, let’s see what steps we need to follow for this.
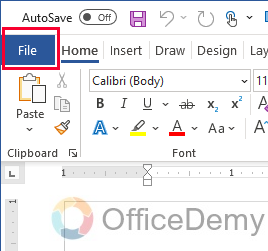
Step 1
Open Microsoft Word and click on “File” at the top left corner of the screen.
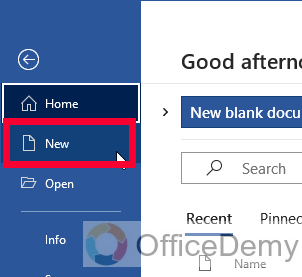
Step 2
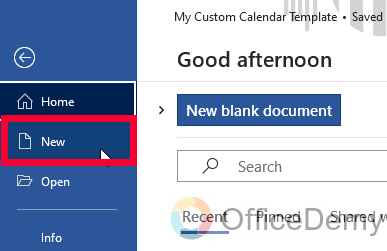
Click “New” to open the “New Document” window.
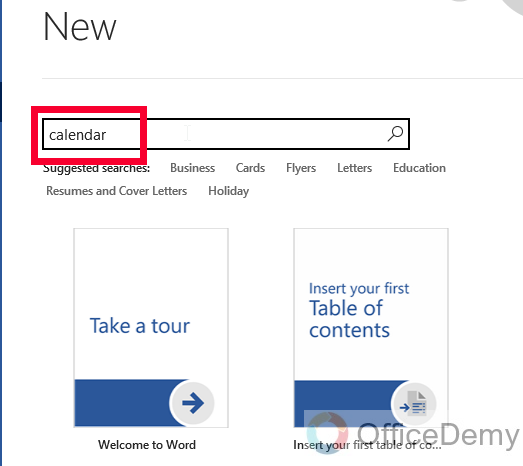
Step 3
In the search bar, type “Calendar” and hit Enter.
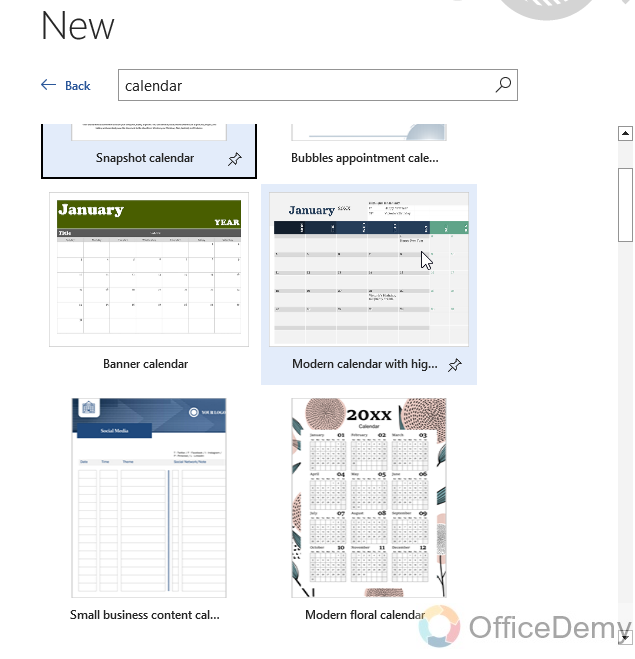
Step 4
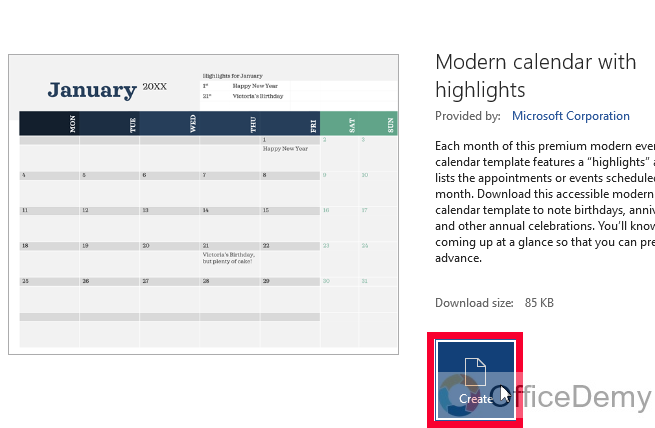
You will see a variety of calendar templates to choose from. Select the one that best fits your needs by clicking on it.
Step 5
In the detailed view, click on the Create button to open this template in a new file.
Step 6
Once you select a template, and create it, it will open in a new document.

Step 7
To customize the template, you can click on each element and modify it according to your preferences.
Step 8
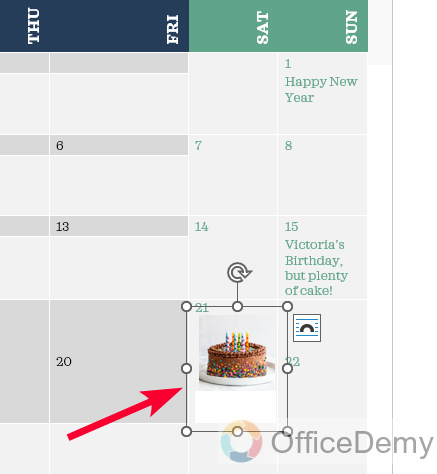
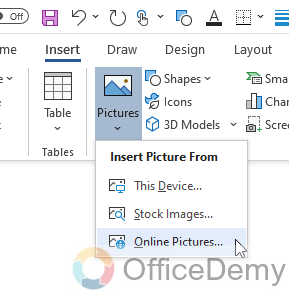
You can add your text, images, or clip art to personalize your calendar.
Step 9
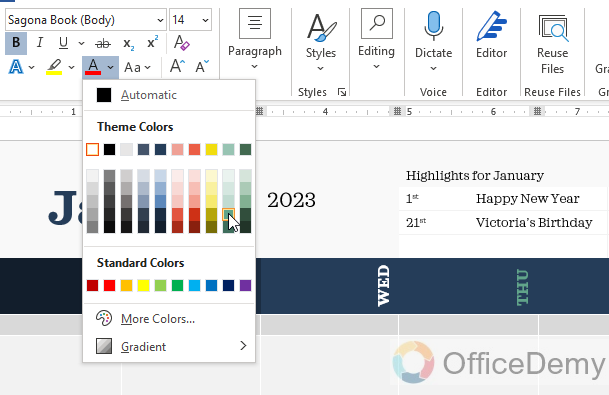
If you want to change the font or color scheme, you can do so using the “Design” and “Layout” tabs at the top of the screen.
Step 10
Once you have made all the desired changes, save your calendar by clicking on “File” and then “Save As.”

Step 11
Name your calendar and choose a location on your computer to save it.

Step 12
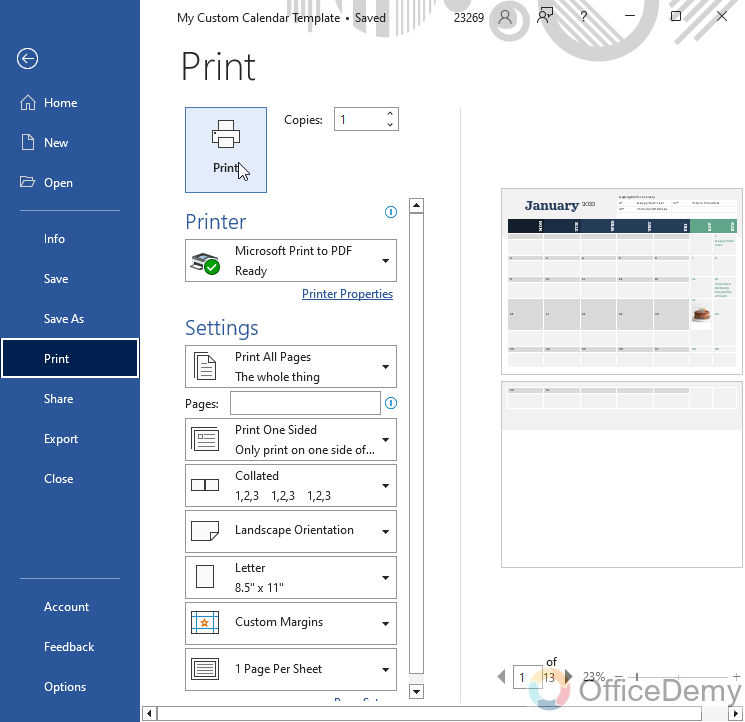
Finally, you can print out your calendar or save it as a PDF to share with others.
Make a Calendar in Microsoft Word – Create from Scratch
In this section, we will learn how to make a calendar in Microsoft Word using the fully custom method. This method starts from a blank page and ends up with a stunning calendar with your styles, and branding. So, let’s see the steps we need to follow to make a fully-fledged calendar from scratch.
Step 1
Open Microsoft Word and create a new document.
Step 2
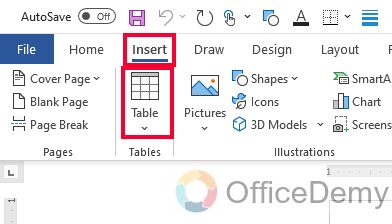
Click on the “Insert” tab at the top of the screen and select “Table“.
Step 3
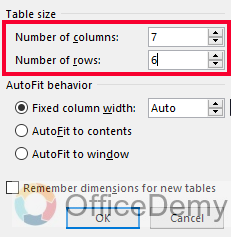
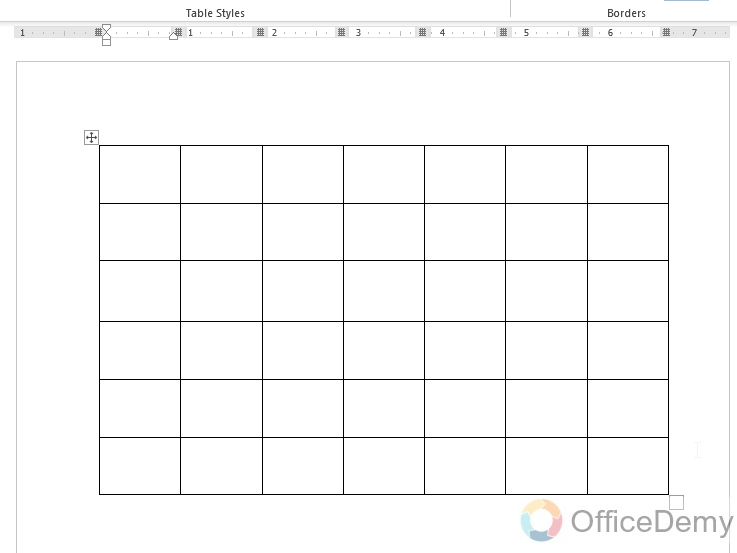
Choose the number of rows and columns you want for your calendar. For a standard monthly calendar, you will need 7 columns for the days of the week and 6 rows for the dates (or 5 rows for February in non-leap years).
Step 4
Once you have selected the number of rows and columns, the table will appear in your document.
Step 5
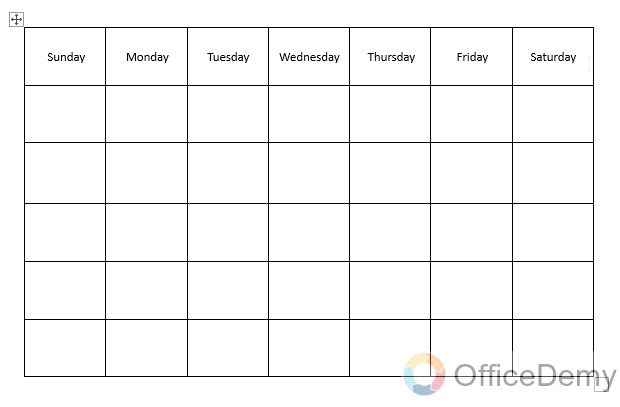
Click on the first cell of the first row, which will be the cell for the first day of the week (usually Sunday). Type the name of the day in this cell.

Step 6
Repeat this process for each cell in the top row until you have labeled each day of the week.
Step 7
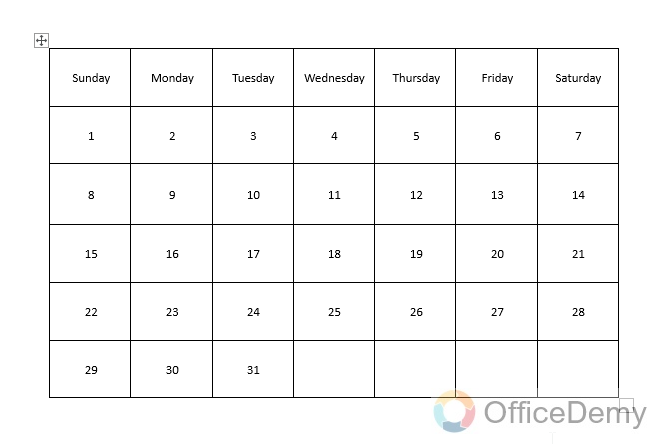
Now, fill in the dates for each day of the month in the remaining cells.
Step 8
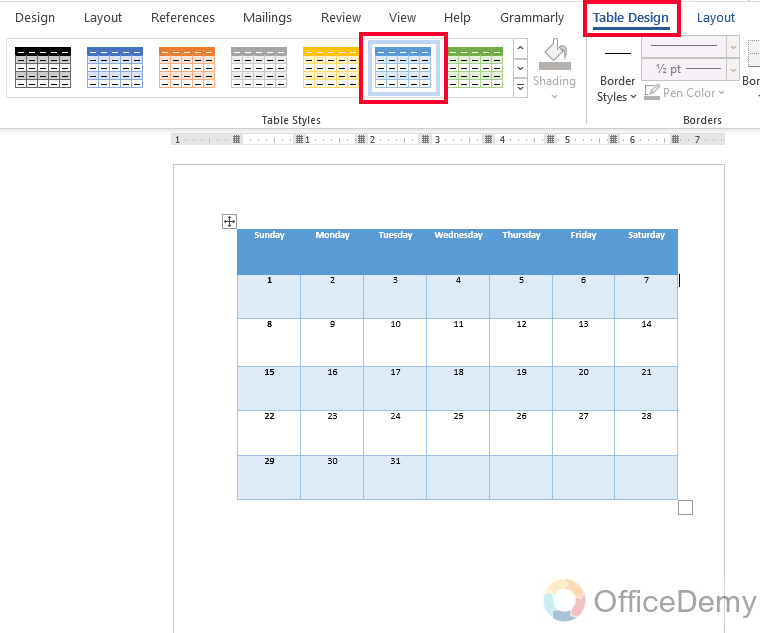
To add a border to your table, select the table and then click on the “Design” tab at the top of the screen. From there, you can choose from a variety of table styles and border options.
Step 9
To customize your calendar further, you can add images, clip art, or other design elements.
Step 10
Once you have finished designing your calendar, save the document to your computer or print it out to hang up in your workspace.
Useful Notes
- Microsoft Word offers a variety of calendar templates to choose from, making it easy to create a customized calendar for personal or professional use.
- Using tables is a great way to organize your calendar in Microsoft Word, allowing you to easily add appointments and events to specific dates.
- Customizing your calendar with images, clip art, and personalized text can make it more visually appealing and functional.
- Don’t forget to save your calendar as you work on it and keep it up to date with new events and appointments.
- Printing or sharing your calendar with others can help you stay on track and organized.
- Microsoft Word’s calendar templates provide a convenient starting point for creating a customized calendar that suits your needs.
- Adding important dates, such as birthdays or deadlines, to your calendar can help you stay on top of your schedule and avoid missing important events.
- Using a consistent color scheme or font throughout your calendar can make it easier to read and understand.
Frequently Asked Questions
How to change the font or color of my calendar in Microsoft Word?
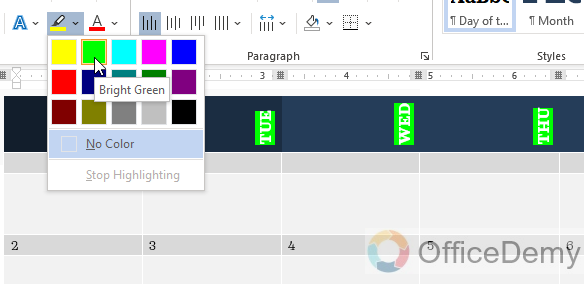
To change the font or color of your calendar, select the text or element you want to modify and use the “Font” or “Font color” dropdown menus in the “Home” tab to make your changes.
How to add holidays or other important dates to my calendar in Microsoft Word?
You can add holidays, birthdays, deadlines, or other important dates to your calendar by simply selecting the date and adding the event or appointment.
How to print my calendar directly from Microsoft Word?
You can print your calendar directly from Microsoft Word by selecting “File” and then “Print.” You can also save your calendar as a PDF and print it from there.
Conclusion
So that’s all from how to make a Calendar in Microsoft Word. I hope you find this guide helpful, and you have learned something new from it. Thanks for reading. Keep learning with Office Demy


