
To Make a Pamphlet on Microsoft Word
- Open Microsoft Word.
- Select the Flyers tab from the template gallery.
- Select any template.
- Click on the Create button.
- Customize the template according to your desire.
Welcome back, guys. Today, I will teach you how to make a pamphlet on Microsoft Word. A pamphlet is a piece of paper that provides information and focuses on a single subject, especially educational subjects. Pamphlets are always the best source of publicity for an organization, If you want to make a Pamphlet for your organization then you don’t need to go to any forum, you can create your pamphlet yourself on your computer using Microsoft Word.
Our today’s guide is totally on how to make a pamphlet on Microsoft Word through which you can learn as well how to make a pamphlet on Microsoft Word.
Benefits of Making a Pamphlet on Microsoft Word
As we have discussed above, pamphlets are used for publicity of any product, institute, or organization. However, it may be costly to hire someone to make a pamphlet for you.
Therefore, I have written the following tutorial through which you can make a pamphlet in Microsoft Word for yourself free of cost. Moreover, MS Word has plenty of tools and features through which you can create an attractive professional pamphlet on Microsoft Word.
How to Make a Pamphlet on Microsoft Word
In this tutorial, we will tell you two different methods of making a pamphlet in Microsoft Word, one is by simply selecting a template or you make it from scratch manually according to your desire.
- Make a pamphlet in Microsoft Word from scratch
- Make a pamphlet in Microsoft Word from the template
1. Make a pamphlet on Microsoft Word from scratch
The procedure of making a pamphlet on Microsoft Word depends on your creativity, there is no technical method to make a pamphlet on Microsoft Word. There are enough tools like Shapes, figures, charts, text boxes, word art, and table designs with plenty of customization through which you can make an effective pamphlet on Microsoft Word. In this tutorial, we will show you how we can make an attractive pamphlet with the help of using these shapes, figures, and texts.
Step 1
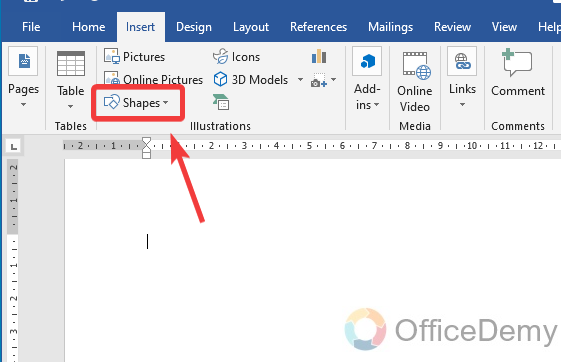
To insert a shape in Microsoft Word, go into the “Insert” tab from the menu bar where you will see a “Shapes” option as highlighted in the following picture through which you can insert any shape in Microsoft Word.
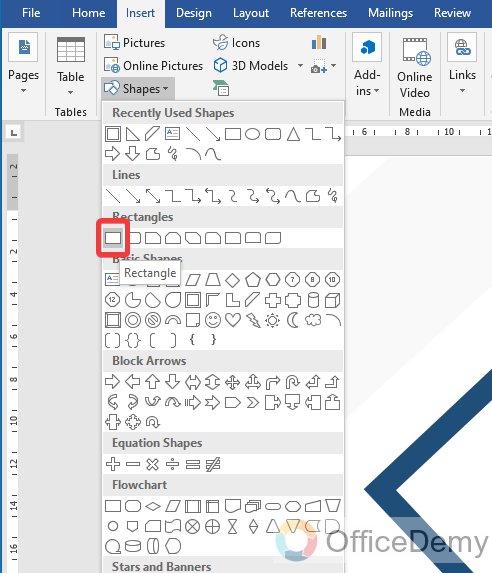
Step 2
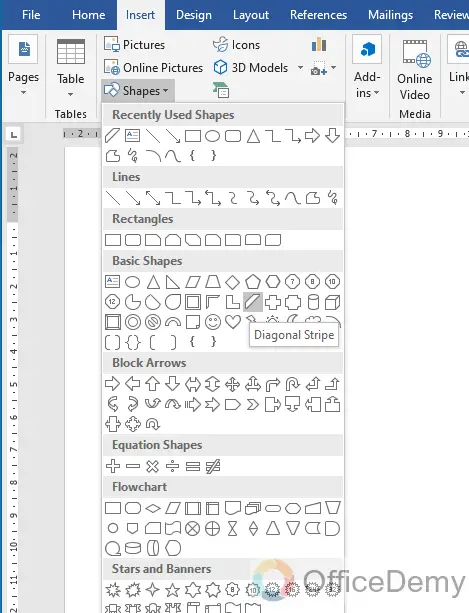
As you click on the “Shapes” option, a drop box will open containing plenty of shapes as can be seen in the following picture. Just click on the shape that you want to create.
Step 3
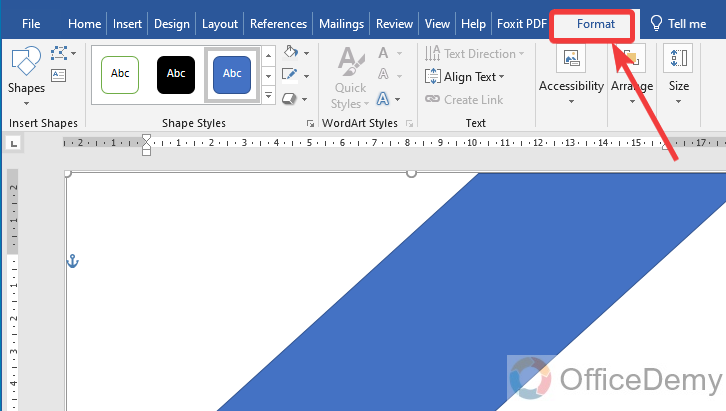
Here I have made a parallelogram in a diagonal shape. To format this shape, go into the “Format” tab from the menu bar of MS Word.
Step 4
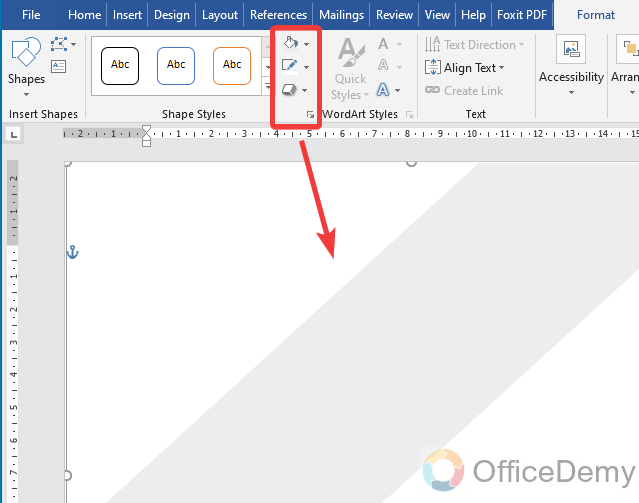
These icons that you are looking at are highlighted in the following screenshot, with these icons you can change the fill color, shape outline, and shape effects.
Step 5
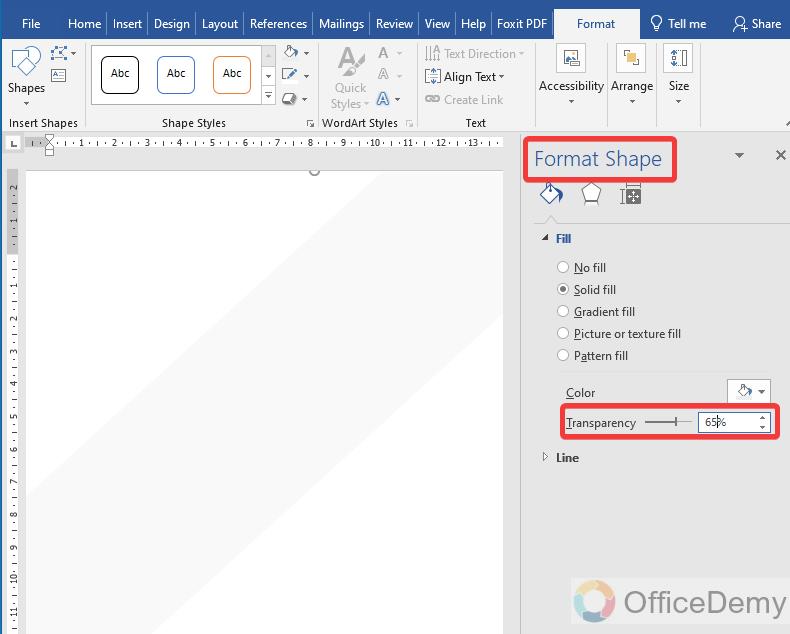
You can also open the format shape pane menu to make advance edits to your shape as you can see below, I am increasing the “Transparency” of the shape.
Step 6
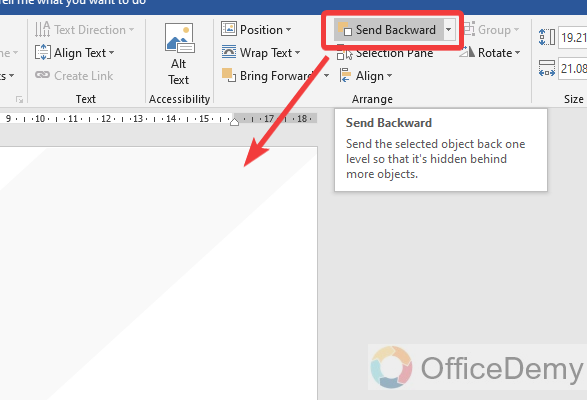
I am using this shape as a watermark in the pamphlet so I will apply “Send Backward” on this shape to overwrite the text and more shapes.
Step 7
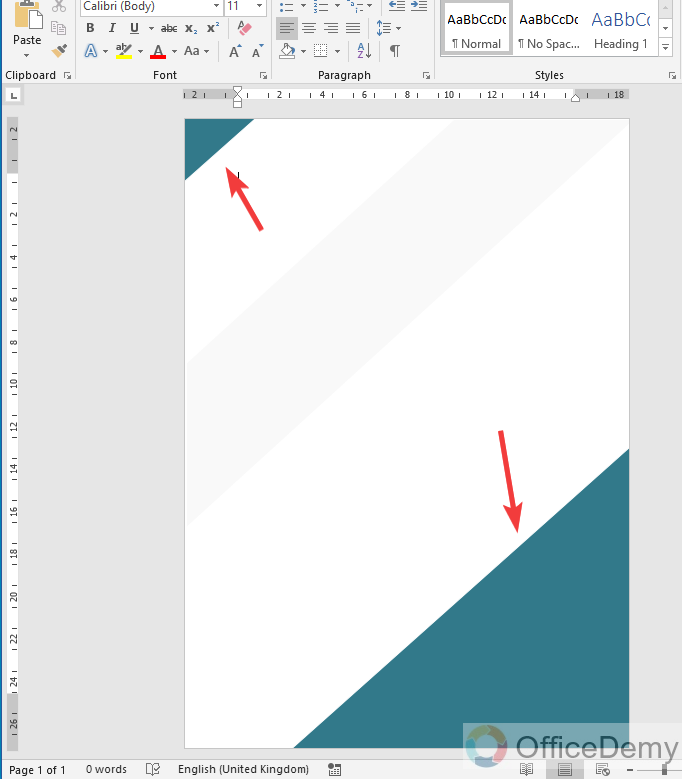
In this step, I added two different sizes of triangular shapes in the corners of the pamphlet to give a stylish design and filled it with the desired color.
Step 8
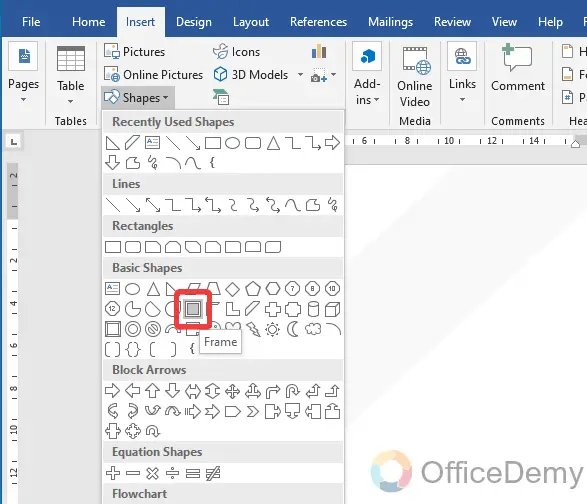
Now I am going to take a “Frame” shape from the shapes option as highlighted in the following picture.
Step 9
The result is in front of you, I have drawn this frame at the bottom of the page and put it a little outside the page from one side to give a stylish look.
Step 10
In the next step, again I am going to take a “Rectangular” shape from the same shapes option as highlighted below.
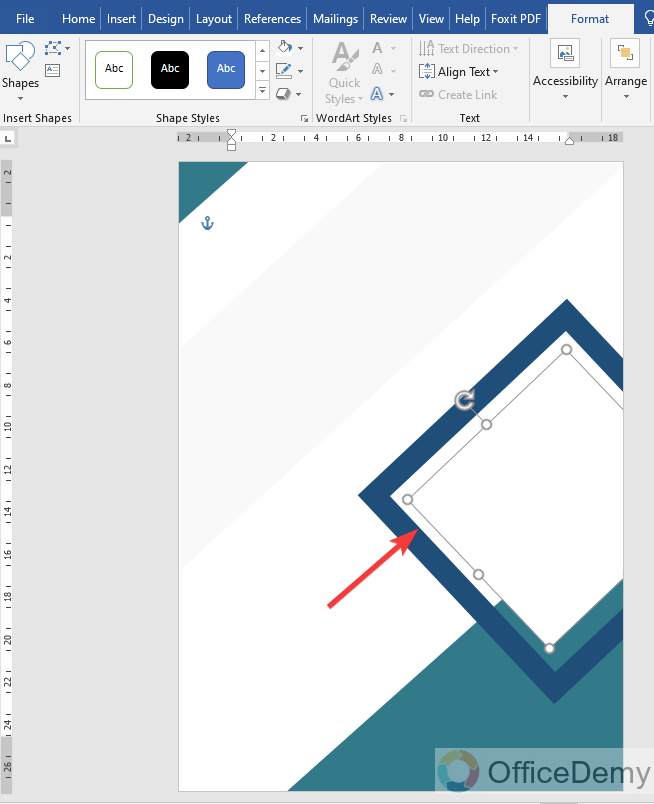
Step 11
I drew this rectangular shape into the frame shape and then rotated it at an angle of 45° to fit the shape into the frame.
Step 12
Let’s hold on inserting the shapes and go towards the “WordArt” from the insert tab to add some text to the pamphlet.
Step 13
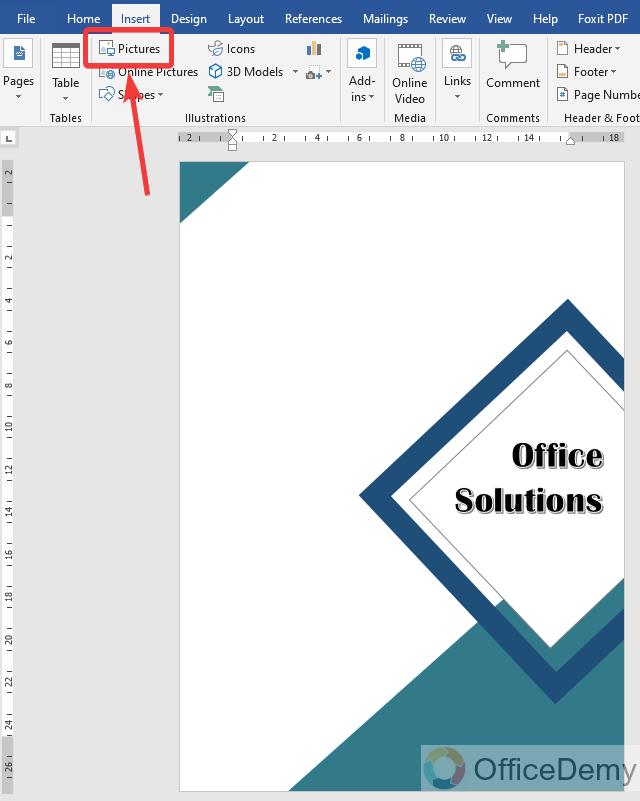
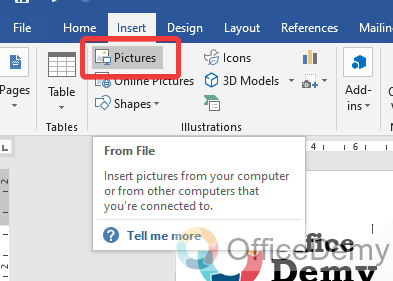
As you can see in the following screenshot, I have written the text over the shape with the help of WordArt. Now, let’s add some images to make our pamphlet more creative from the “Pictures” option located in the Insert tab.
Step 14
As you click on the “Pictures” option, a small new window will open in front of you to select the picture from your device. Select the picture and press the “Insert” button.
Step 15
As you click on the “Insert” button, a picture will be inserted in your document. You can resize the image with navigation points along the picture and can also place it anywhere on the document.

Step 16
To write the simple text in my pamphlet, here I am using the “Text Box” feature of Microsoft Word which can also be found in the Insert tab.
Step 17
Simply draw the Text Box where you want to write the text in your pamphlet as I have written below. You can also format your text according to your needs. To format text you will find all the tools at your front in the home tab.

Step 18
Here, once again I am inserting a picture in my pamphlet from the Pictures* option as highlighted below.
Step 19
I downloaded the following picture from the web related to the topic used in the following pamphlet. You can also fetch the images from the web according to your data to make your pamphlet more colorful.
Step 20
After adding the picture, I will again take a “Text Box” to write some key points for my pamphlet regarding the topic on MS Word.

Step 21
To add key points in your pamphlet on MS Word, you can also use bullets to highlight the points. This bullet option can be found in the home tab.
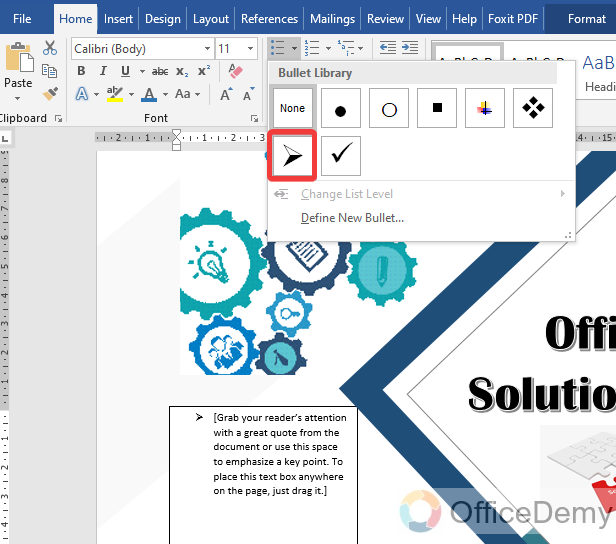
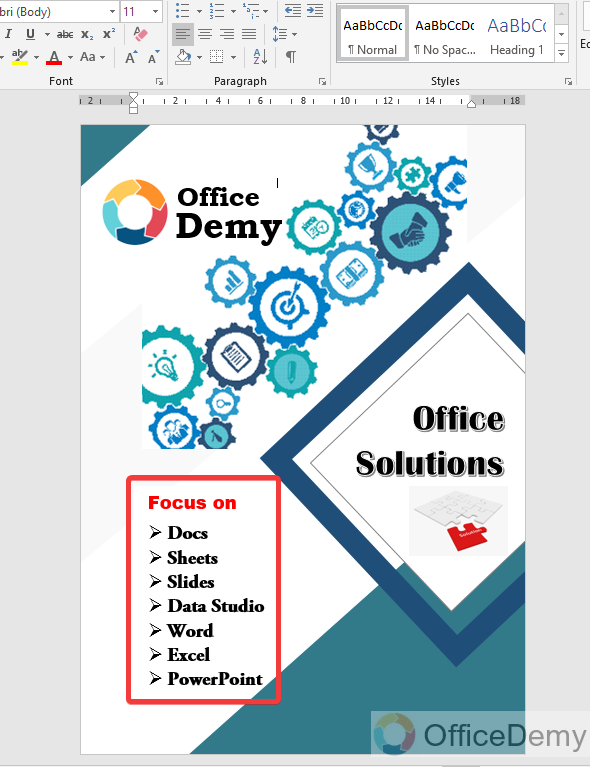
Step 22
In this way, you can highlight the key points that you want to mention in your pamphlet as highlighted below.
Step 23
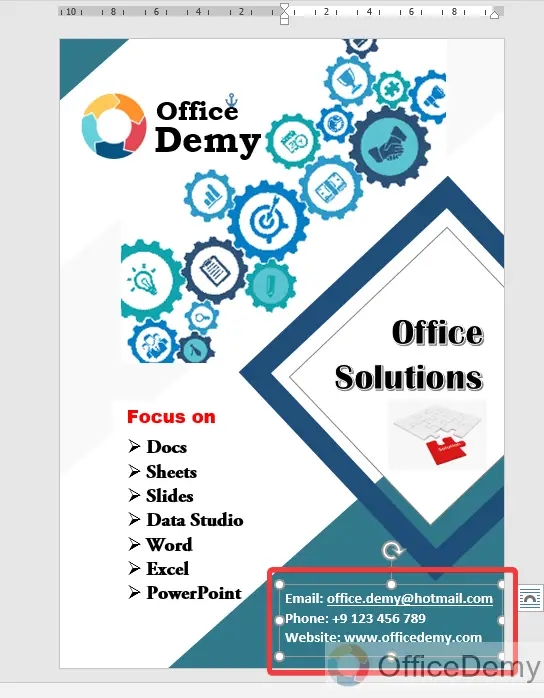
The most important part of a pamphlet is to provide the contact information for which I will again use a text box on Microsoft Word to write contact information and to give references as highlighted in the following picture.
Step 24
The result is in front of you, just with the use of some graphical shapes, colorful images, and informative text, we have easily created an effective and attractive pamphlet on Microsoft Word.
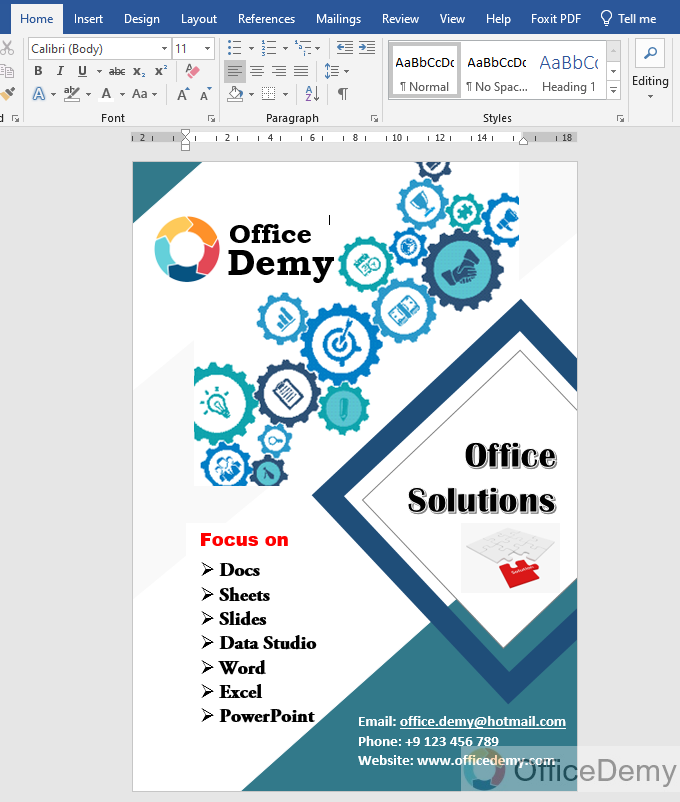
It was my opinion, my thoughts, my creativity, and my choice. You can make a pamphlet on Microsoft Word according to your desire, choice, and thoughts with the help of using these above factors that we have used.
2. Make a pamphlet on Microsoft Word from a template
There are hundreds of built-in pre-made templates on Microsoft Word for different purposes. Similarly, to make a pamphlet you may also select a template and then customize it according to your data. Below are the steps to make a pamphlet on Microsoft Word from a template.
Step 1
When you open Microsoft Word, first you see the following page before opening a document that asks you to open whether a blank file or a template. As we need to open a pamphlet template, we will click on “Flyers” from the template gallery as highlighted below.

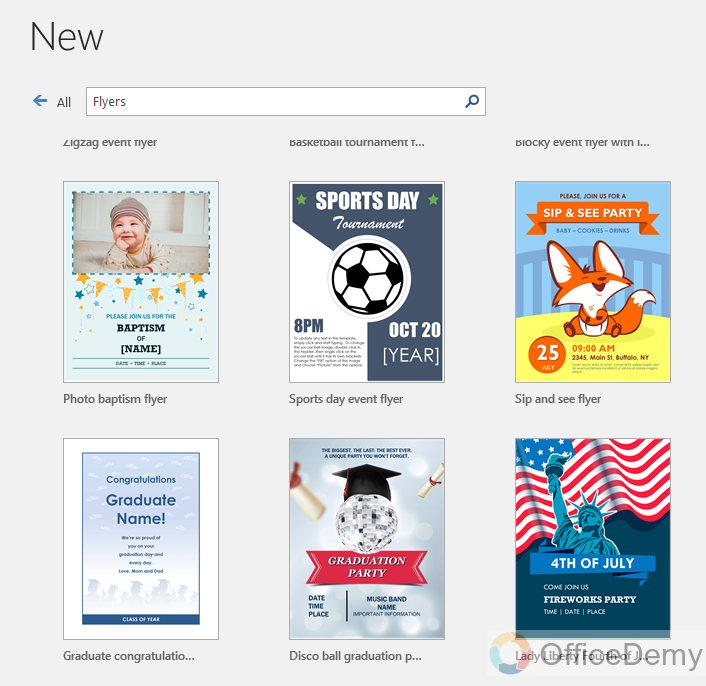
Step 2
Clicking on the “Flyers” tab will give you different kinds of pamphlet templates as can be seen in the following screenshot. Select any of them to create.
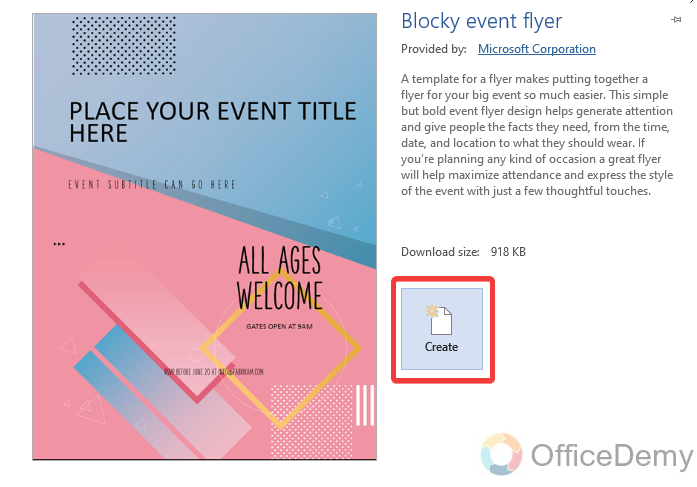
Step 3
When you select a template from the list, then MS Word will ask you to create it. Click on the “Create” button to open this template.
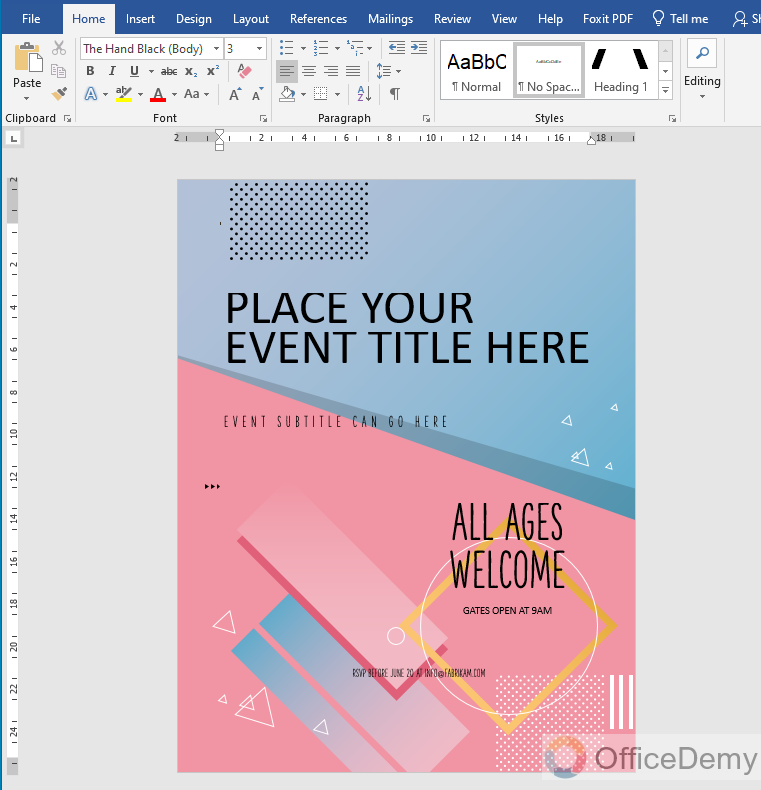
Step 4
Here you go now, the selected template is in front of you and ready to customize according to your data.
Frequently Asked Questions
Are the Steps to Make a Word Cloud in Microsoft Word Similar to Making a Pamphlet?
When it comes to creating word clouds, the steps in Microsoft Word differ from making a pamphlet. In Word, you can use the Word Clouds feature to generate a visual representation of text data, while making a pamphlet involves designing and organizing content for print materials. The processes are distinct, catering to different purposes.
Conclusion
Hope the above article on how to make a pamphlet on Microsoft Word will provide you with enough information so that you may make a pamphlet on Microsoft Word for yourself as well. Good luck!


