
- In Outlook Email: Go to “Settings”
- Go to “Mail” > “Compose and Reply”
- Check mark on “Joyful Animations” > “Save“.
Hello, today we will learn how to make congratulations confetti in Outlook Email. Are you celebrating any joyful event for someone and wishing them well? Then confetti or any joyful animation can delight them with joy. Outlook has the Power of sense to detect these joyful words like “Congratulations” and “Happy Birthday” and automatically creates a shower of glitter or confetti. You just need to enable Joyful animations in your Outlook we will learn in this topic of how to make congratulations confetti in Outlook.
While wishing someone one and sending greetings, adding a touch of creativity of color and full animation can amaze the recipient.
Similarly, if you are congratulating someone then a shower of confetti can double their happiness, therefore we have brought for you how to make congratulations confetti in Outlook email. So, let’s get started and have fun with some creativity with your emails.
How to Make Congratulations Confetti in Outlook Email
There is nothing to do to make a congratulations confetti in Outlook, simply create a greeting email mentioning “Congratulations“, and Outlook will automatically detect it and create a Confetti. Just one thing is important while making a Congratulations confetti you have to enable the “Joyful animations” option otherwise you won’t be able to watch any confetti or animations in your email. If you are not aware of the option, I am talking then follow the following instructions in which we will also learn how to enable Joyful animations in Outlook and how to make a congratulations confetti in Outlook email.
Step 1
Firstly, go onto the Outlook web page and log in to your account, after logging in to your Outlook web page go into the Outlook settings. Look at the right top of the window, you will see a “Gear” icon as highlighted below. Click on it to open Outlook settings.

Step 2
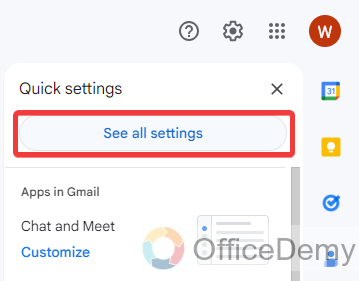
When you click on this “Gear” icon, a pane menu will drop down where you will see fewer settings for Outlook. To see all settings for Outlook, click on the “See all settings” button located at the top of the pane menu as highlighted in the following picture.
Step 3
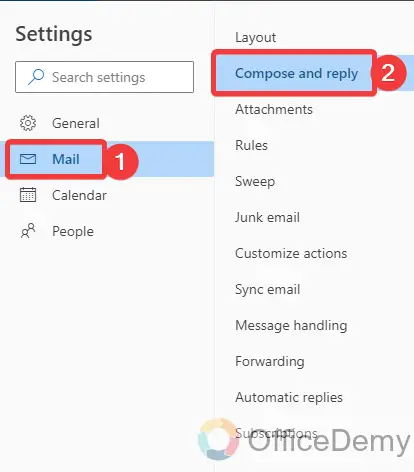
When you click on the “See all settings” button, a new window will appear in front of you. On this window go to the “Mail” menu from the main menu and then click on “Compose and reply” from the sub-menus as directed below.
Step 4
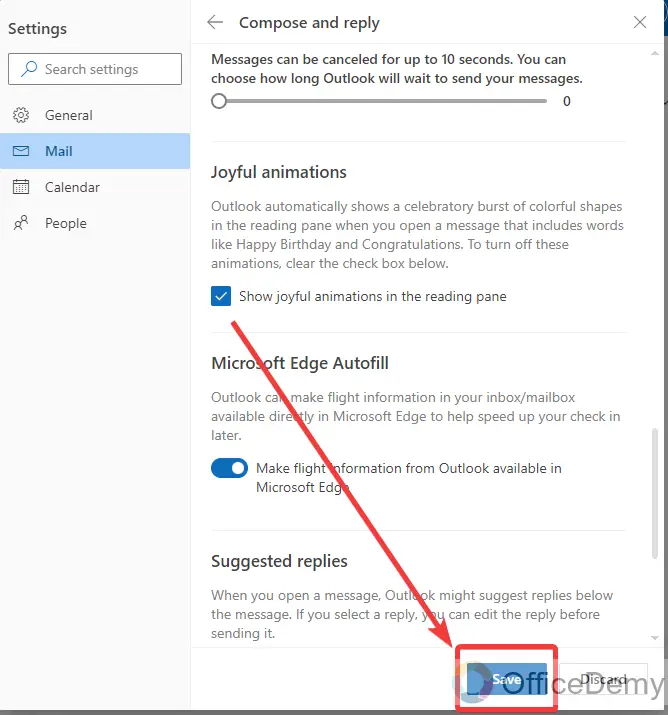
Once you have opened the “Compose and reply” option, then go into the options and scroll down the section and find the option “Joyful animations“. If this option is unchecked, then apply a mark on this option to show joyful animation in the reading pane as described below so you shall be able to watch congratulation confetti in an Outlook email.

Step 5
As you can see in the following example, I have enabled the joyful animations option, once you have enabled it too then simply click on the “Save” button to save these changes as directed in the following screenshot.
Once you have enabled the joyful animations option, now you can create a congratulations confetti in an Outlook email. Let’s see does it works or not.
Step 6
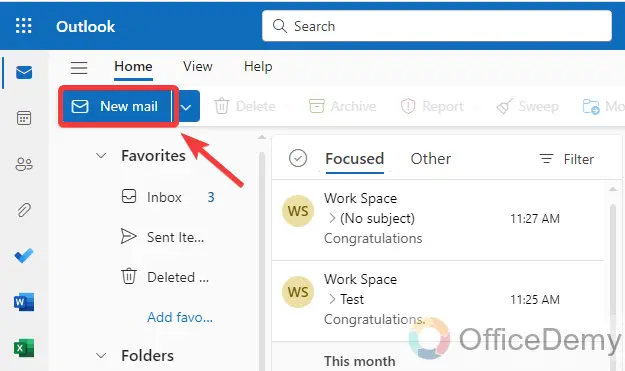
To create a congratulations confetti, we will just take a new email to send congratulations greetings. To create a new email, click on the “New Email” button located just below the menu bar as highlighted below.
Step 7
First, complete all required fields of email like the To field by mentioning the email address of the person with whom you are sharing greetings and the subject of the email in the subject line. After completing these fields, move to the next and last description section where you will describe whatever you want to declare.
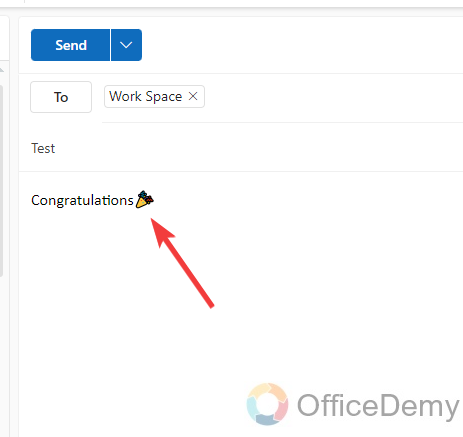
As I am making a Congratulations confetti, so I am writing “Congratulations” in my email.
Note: As we discussed above Outlook automatically detects the wording that you are using in your email, if you are writing the word “Congratulations” in your email, Outlook will automatically detect it and make itself a Congratulations confetti in your Outlook email.
Step 8
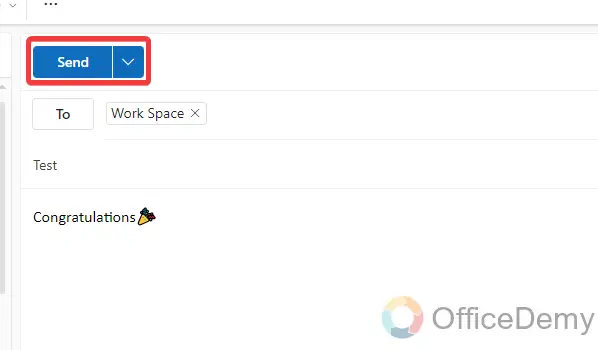
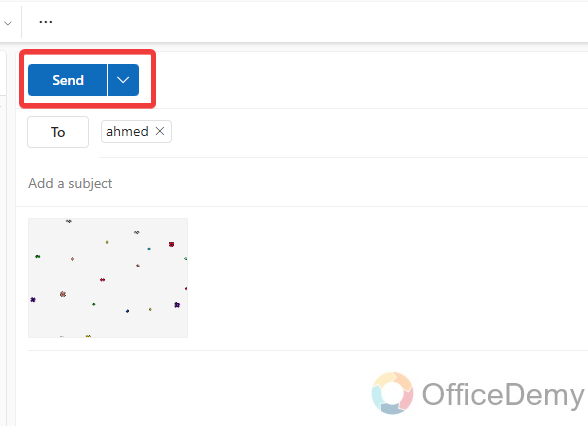
If you want to add any other sticker or emoji, you can also add them. After writing the email, click on the “Send” button to send the email.
Step 9
As you click on the “Send” button, your email will be sent within seconds then you can check your congratulations confetti in the sent items by opening the email as can be seen in the following example.
Frequently Asked Questions
How to insert the emojis in an Outlook email?
Emojis enrich plain text with nuances in meaning and tone that help us identify the true intent behind messages. Plus, they can be a lot of fun. Emojis are also used as visual representations of our emotions. If you want to express your emotions in your Outlook emails by inserting emojis then follow the following steps.
Step 1
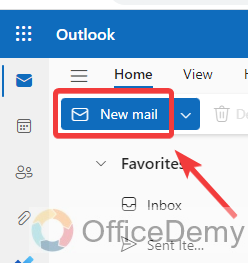
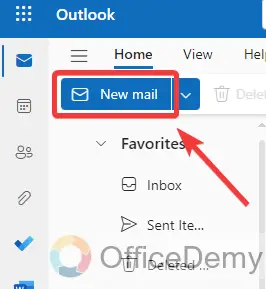
Once you have opened the Outlook Web page and logged in to your account and want to insert emojis in your Outlook email. First, compose a new email by clicking on the “New mail” button at the left top corner of the email window.
Step 2
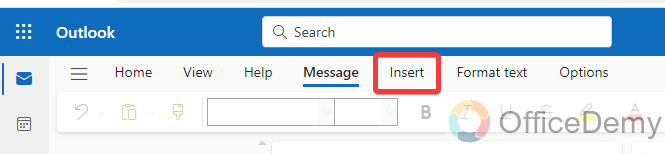
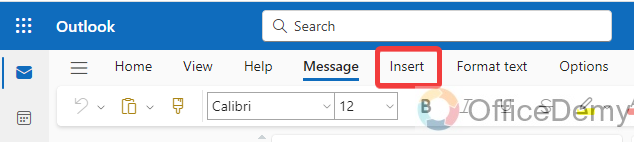
When you click on the “New mail” button, you will be redirected to the creating email section to compose the email. While composing an email, first place your cursor where you want to insert emojis then click on the “Insert” tab from the menu as highlighted in the following picture.
Step 3
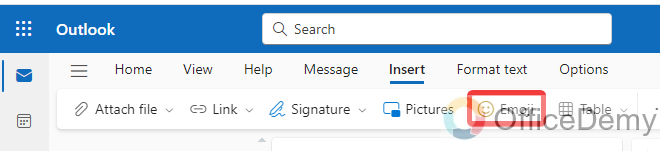
When you click on the “Insert” tab from the menu bar, several options will appear in front of you. In these options, you will see an “Emoji” option through which you can easily insert Emojis into your Outlook emails.
Step 4
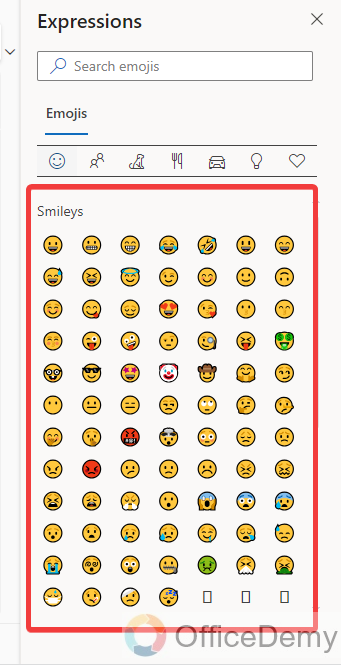
As you click on the “Emojis” button, on the right side of the Outlook web page, you will see a pane menu having so many Emojis in it. You can simply insert these emojis by just clicking on them.
Step 5
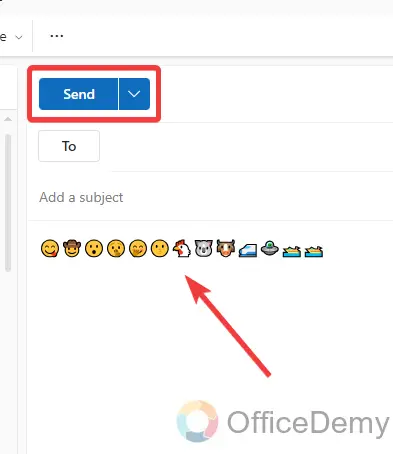
As you can see in the following picture as I have inserted some Emojis in my email, now just click on the “Send” button to send the email with these Emojis.
How to send a GIF to an Outlook email?
A: GIF is a great way to express any joy or animations. Most users want to add GIFs to their emails, but they don’t find any option to insert a GIF into their emails in Outlook. Unfortunately, Outlook has not featured any option to add a GIF to an email yet. But there is nothing to worry Office Demy has the solution for your problem, there are many ways to add a GIF to an email, and there are also some tools or Add-ins through which you can add GIF to an email but the finest way to add a GIF to email
Step 1
To send a GIF via email in Outlook, first, create a new email. To create a new email click on the “New mail” button that is highlighted in the following picture.
Step 2
When you click on the “New mail” button, a new message window will open to compose an email. To insert a GIF, go into the “Insert” tab of the menu bar as highlighted below.
Step 3
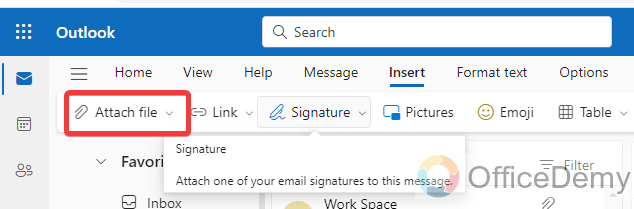
Clicking on the “Insert” button will give you several options just below the menu bar, click on the “Attach File” option from the following. As we need to attach a GIF file.
Step 4
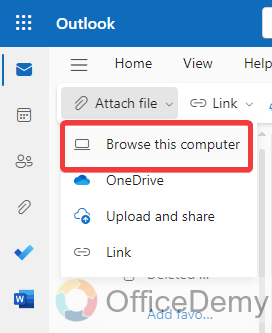
When you click on the “Attach File” option, a drop-down menu will drag down where you will find some different options like browse this computer, OneDrive, Upload, and share and link. Select any of them according to the source of the GIF file. In the following example, I am browsing my computer to attach a GIF file.
Step 5
Once your GIF file has been attached, then click on the “Send” button to send this email.
Step 6
As you can see the result in the following picture, GIF has been sent to the user. In this way, you can send any GIF to the recipient.
Conclusion
That’s all about how to make congratulations confetti in Outlook. Now! You know how to make congratulation confetti in Outlook email then go through the above article and make people amazed with joyful animations of Outlook.


