![How to Add a New Notebook in OneNote [Complete Guide]](https://www.officedemy.com/wp-content/themes/rehub-theme/images/default/noimage_450_350.png)
To Add a New Notebook in OneNote
- Open OneNote.
- Right-click, select “New Notebook” or go to “File” > “New” > Choose a storage location.
- Enter a name for the Notebook.
- Click “Create Notebook“.
OR
- Go to Microsoft 365 or the OneNote web app.
- Click on the existing Notebook.
- Click “Add Notebook“.
- Enter the Notebook name.
- Click “Create”.
OR
- Download/Install the OneNote app.
- Open the app, and sign in.
- Tap “Notebook” > Tap “+ Notebook”.
- Enter name, and select email.
- Click “Create“.
Hello and welcome back to Office Demy. Today we will learn how to add a new Notebook in OneNote. The OneNote app is just another generic note-taking app. It’s a complete package and has tremendous features that can change your note-taking experience forever. In OneNote, we have some elements, from which the main element is a NoteBook. A notebook is a parent container of notes, we can create so many smaller objects inside a notebook. It’s easy compared to diaries, you may have many diaries for different topics you want to keep notes about, similarly a notebook works like a subjective collection of notes, tags, and other content for a specific subject, topic, or project. Today, we will learn to add a new Notebook in OneNote.
Importance of a New Notebook in OneNote
Well, creating a new notebook in OneNote is the first step and of course, it has significant importance as it provides a structured and organized approach to information management. Each notebook acts as a dedicated space, allowing users to categorize and compartmentalize their notes.
This focused content management system enhances productivity by enabling users to switch seamlessly between different notebooks, preventing the need to sift through unrelated information. Whether for personal or professional use, the adaptability of OneNote’s notebook feature caters to diverse needs, offering a customizable platform that aligns with various contexts and requirements. There are many more benefits of the Notebook within OneNote. Now let’s move ahead on our topic of how to add a new Notebook in OneNote.
Step-by-Step Procedure to Learn – How to Add a New Notebook in OneNote
It is very easy to add a new notebook in OneNote. Because it’s a very primary step you need to take when you are going to work on OneNote. Let’s learn it practically in the below methods.
How to Add a New Notebook in OneNote – Desktop App
In this first section, we will learn how to add a new notebook to Onenote Desktop App. Let’s get started.
Step 1
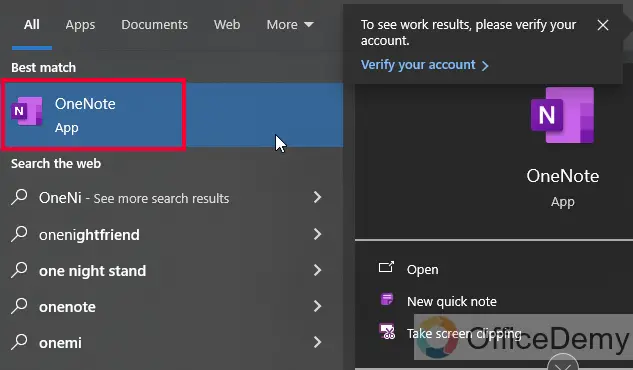
Open the Microsoft OneNote App on your Computer. You can search the App in the Start menu (if already installed).
Step 2
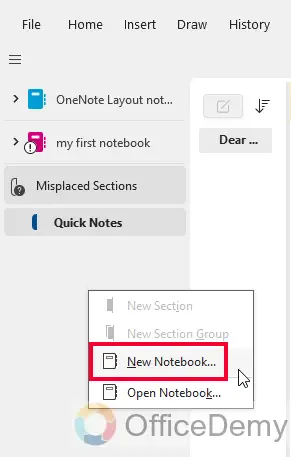
On the left sidebar, right-click anywhere, and then select “New Notebook” from the context menu to start with a new Notebook.
OR
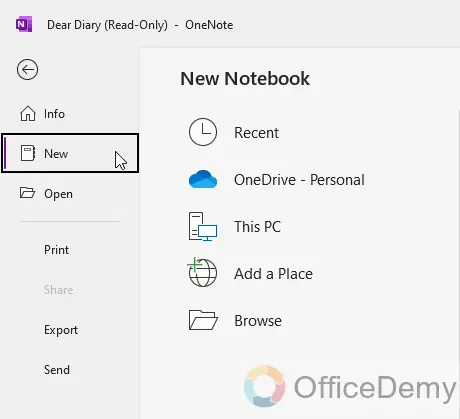
Go to “File” in the main menu, then select “New”.
Step 3
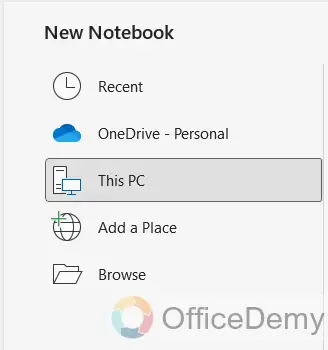
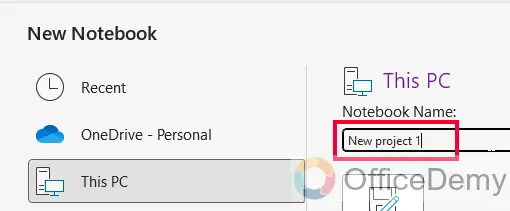
Now you need to specify a location to save this new Notebook in your Device or cloud (OneDrive).
Step 4
In the next step, you need to Enter your Notebook’s name and give a meaningful name.
Step 5
Finally, click the “Create Notebook” button to create it in the above-specified location.

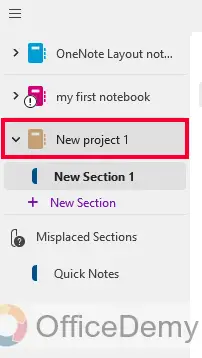
Step 6
Your Notebook is successfully created, and it’s here in your sidebar.
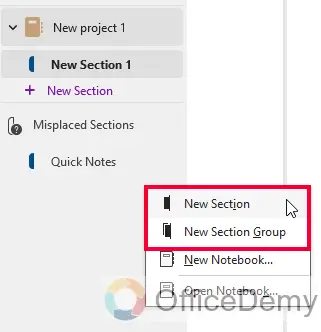
Step 7
Now you can further create sections, and section groups inside it, to make a new section, or section group, right-click anywhere and select “New Section”, or “Section Group” from the context menu.
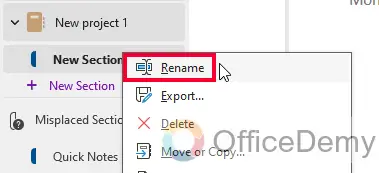
Step 8
The section is successfully added to your Notebook.
So this is how easily we can create a Notebook in OneNote in the Desktop App.
How to Add a New Notebook in OneNote – Web Application
In the previous section, we just learned how to add a new Notebook in the OneNote desktop app, now let’s learn how to do it on the Web application online. The process is going to be similar but certain features and locations can vary.
Step 1
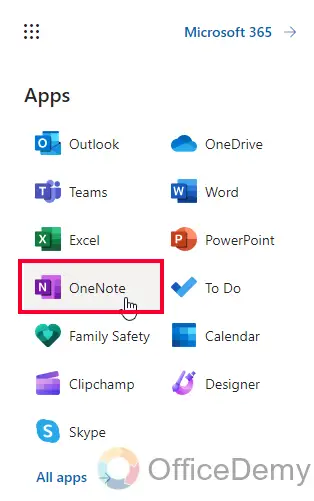
Go to Microsoft 365 to access OneNote.
OR
Go to Onenote online and sign in with your Microsoft or Personal Account.

Step 2
You can see a similar interface as we saw in the desktop app, the process is also going to be similar.
Step 3
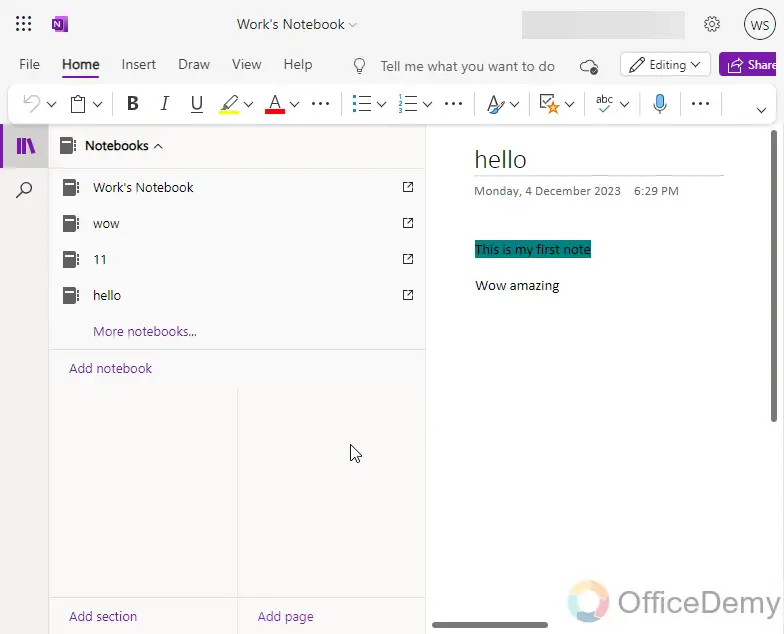
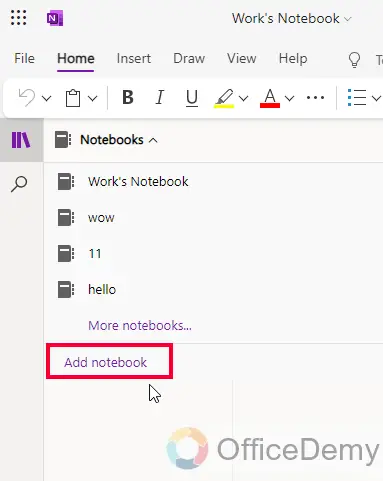
Now, on the left sidebar, you have your existing Notebooks, Click on the Notebook name to expand it.
Step 4
Now after your notebooks, you have an option in purple color “Add Notebook”, click on it.
Step 5
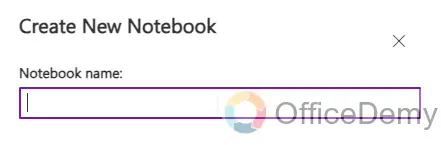
As you click on it, you will get a new dialog box that appears in front of you asking for the file name for your Notebook.
Step 6
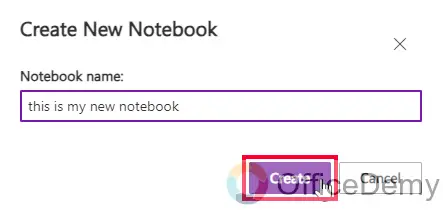
Add a meaningful name for your Notebook and click on the below “Create” button.
Step 7
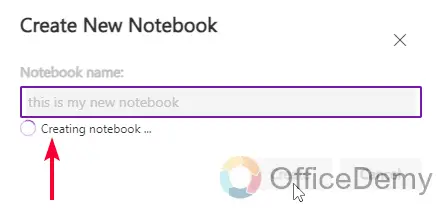
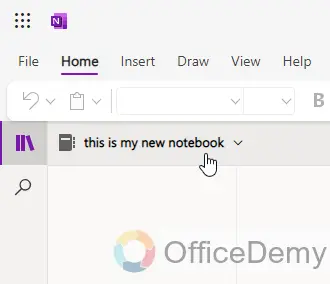
It will take a moment, and then your OneNote app will be reloaded, and it will take you to the OneDrive, and show you the folder where your new Notebook is being created.
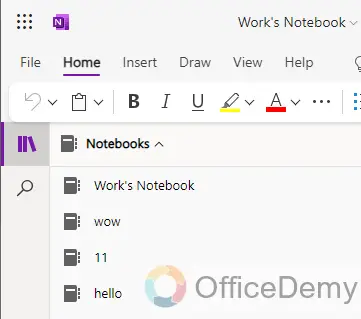
Step 8
Click on the back button in your browser’s tab, and get back to OneNote, here is your new Notebook added to your Sidebar.
You saw there is a simple difference in web and app versions of the OneNote when it comes to adding a new Notebook in OneNote. I hope you find the above methods helpful.
How to Add a New Notebook in OneNote – Mobile App
Now, in this final part, we will see how to add a new Notebook to the OneNote mobile app. Let’s learn this method as well, so stay connected.
Step 1
Download / Install the OneNote app for your Android or iOS device available on the Play Store or Apple Store respectively.

Step 2
Open the App, and it will ask to to sign in. Sign in using your Account, and then click on the “Get Started” button to continue to the app.


Step 3
On the first window, you will see all your Notes in a grid pattern, on the top you have two options, “Home”, and “Notebooks”, tap to select “Notebook”.


Step 4
Now you can see the list of all your Notebooks in the below section.

Step 5
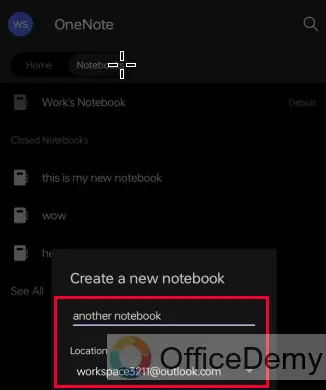
On the bottom left side, you can see a button “+ Notebook”. Tap on it.

Step 6
It will show a new pop-up box asking you the name of the Notebook, and the location. (Location is specified by the email ID, it will save the Notebook in the corresponding OneDrive of your chosen email). Add a file name, and select an email.
Step 7
Click on the “Create” button, it will take some time to perform the task.


Step 8
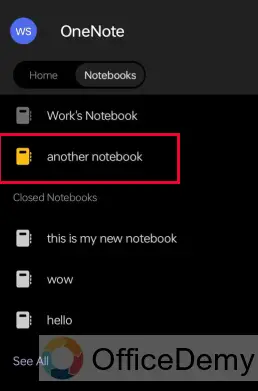
Within a few seconds, your new Notebook is created and added to the Notebook’s list, as you can see in your main section.
So this is how you can add a new Notebook in OneNote using Andriod or an iOS app, it shows you the process using an Android device, and the method in the iOS device is also going to be the same.
FAQs
Q1: How to create a new notebook in OneNote?
To create a new notebook, open OneNote, go to the File tab, select “New,” and then choose “Notebook.” Enter a name for your new notebook, select a storage location, and click “Create“. Your Notebook will be immediately added to your Notebook list.
Q2: Can I customize the appearance of my new notebook in OneNote?
Yes, you can customize individual notebooks as well. Once your new notebook is created, right-click on its name, select “Properties,” and you can customize aspects such as color and icon.
Q3: Is there a limit to the number of notebooks I can create in OneNote?
No strict limit exists, but it’s recommended to manage a reasonable number of notebooks for optimal performance. OneNote can handle a significant number of notebooks without issues.
Q4: Can I share a newly created notebook with others in OneNote?
Absolutely. Right-click on the notebook, choose “Share,” and follow the prompts to invite collaborators. This makes it easy to work on projects collectively.
Q5: Why is my new Notebook showing in Yellow color on my phone?
It’s not an issue, maybe it’s showing in yellow because you changed its color for better identification, or maybe it’s currently in the sync process thats why it’s highlighted in yellow.
Conclusion
This is all from my side for how to add a new notebook in OneNote. I hope you found the above article helpful. Thanks and keep learning with Office Demy.


