
To Connect Data Sources in Google Data Studio
- Visit Google Data Studio.
- Click “Blank report“.
- In the “Add data to report” section, go to “My data sources“.
- Choose a sample dataset (e.g., Google Analytics).
- Click “Add” to add the sample data to your report.
OR
- Connect a Google Sheets file with your data.
- Access “Resources” and select “Manage added data sources“.
- Click “Edit” next to your data source.
- In the “Edit connection” tab, adjust data types for dimensions (columns).
- Set the appropriate data types (e.g., text, number, currency).
- Confirm type changes by clicking “Continue“.
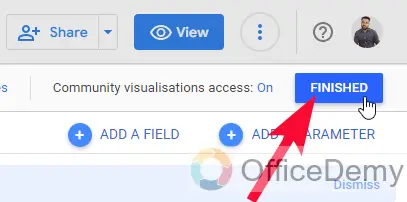
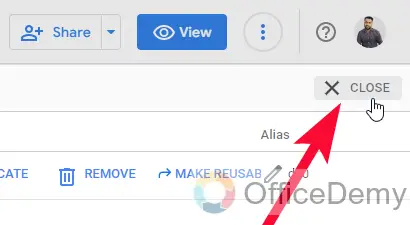
- After accurately setting all data types, click “FINISHED” and then “CLOSE” to return to your Data Studio canvas.
Hello all. In this article, we will learn how to connect a data sources in Google Data Studio. This article is only for connecting and editing a data source. A data source can be any of the data that needs to be visualized. It can even be a CVS file or a Google sheets file. In the previous article, we have briefly learned how to get started with Google Data Studio, but we have some more complex things that need to be understood when connecting a data source in Google Data Studio for the first time.
We normally connect Google Sheets with Google Data Studio for visualizing the data, but here you have so many Google-provided connectors that can be used even though you don’t have real data set or real accounts for those Google Products you still got the opportunity to practice with sample data sets for each connector which is already given in the Google Data Studio.
For example, Google Analytics, now most of the beginners like you don’t have a Google Analytics account, even if you have, then probably you don’t own a website, still, Google Data Studio has a sample Google Analytics data for you to practice with. So today we will learn how to connect it properly, and how do we make sure it is connected properly? Well, we will see it.
Importance of Connecting Data Sources in Google Data Studio
The first and the most important thing when using Google Data Studio is to connect the data source, You can not use Google Data Studio without a source data being connected, a source data can be of any type there are tons of Google-provided connectors, and many of the third party connectors available for you, some free and some paid. We will see some free one to get started and for learning how to connect a data source in Google Data Studio.
After connecting our data we will edit it and verify that we have connected our data source accurately and Google Data Studio has got it with the perfection, there should not be any error of Data type, we will make sure of data types, data headers, and everything. So let’s learn how to connect a data source in Google Data Studio.
How to Connect Data Sources in Google Data Studio?
Firstly we will connect a sample data using any of the available connectors with its sample file, then we try to create some visualization using the sample data, next we will connect a custom Google sheets file since it is a custom file so we know the headers, data types and all that, we will go to edit data. And we will specify the data type for each of our data column to Google Data Studio, doing this will help us overcome the errors that may occur while visualizing our data.
Connect a Data Source in Google Data Studio – Connecting Sample Data Source
Google Data Studio provides sample files for all the connectors and we can use them to learn and then work with the original data, the most common is Google Analytics, so we will learn using a sample file of the Google Analytics connector for free.
Step 1
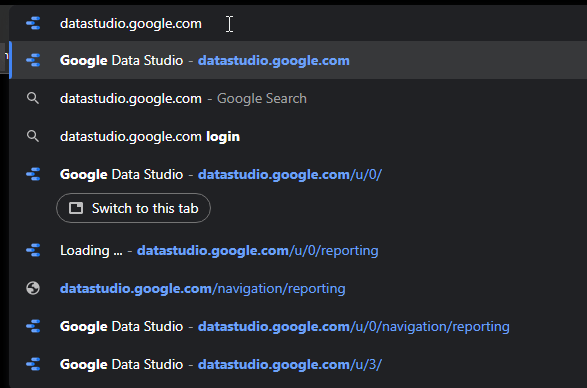
Go to Google Data Studio https://datastudio.Google.com/
Step 2
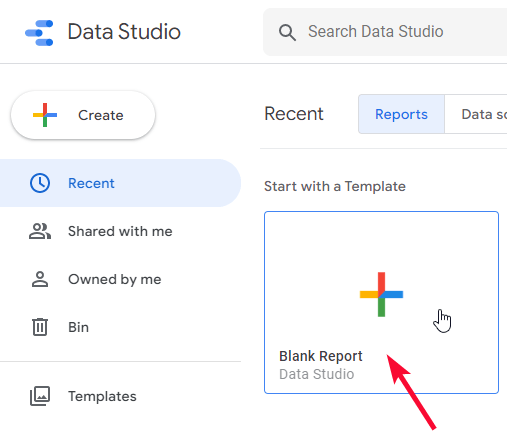
Click on a Blank report
Step 3
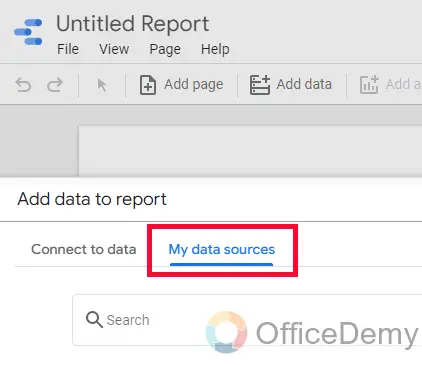
The “Add data to report” section will appear, here you have all the available data connectors
Step 4
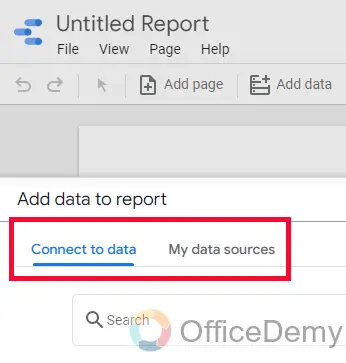
On the top, there are two tabs, one is “Connect to data” which is the default tab, and the other is “My data sources”, go to My data sources.
Step 5
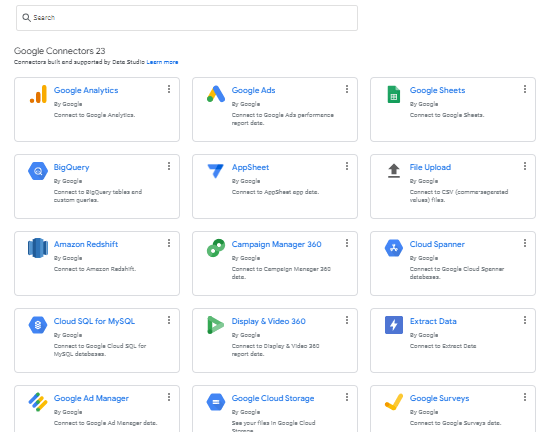
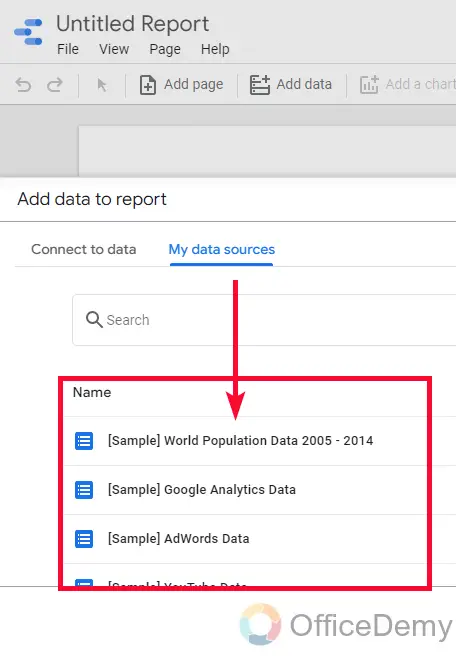
Here you have sample datasets for all of the connectors such as Google Analytics, Google Ads, Youtube data, Search Console data, and so on.
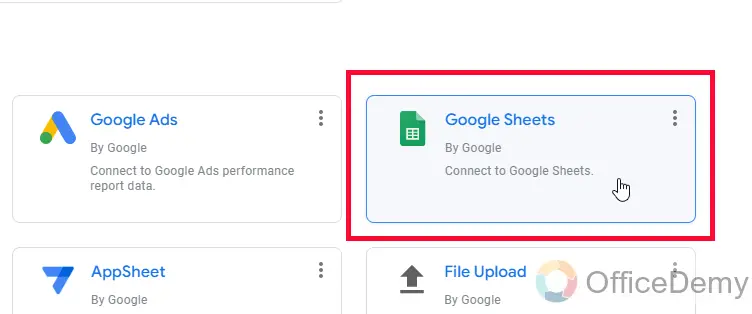
Step 6
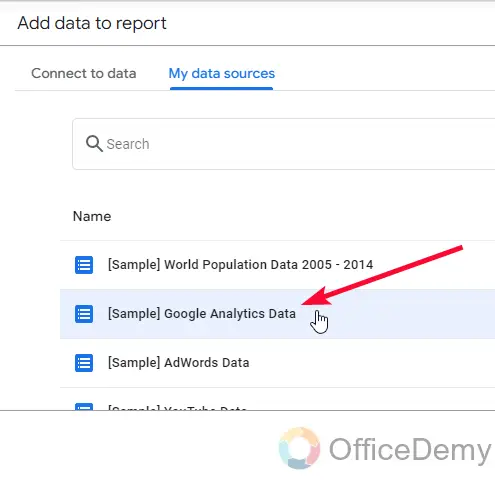
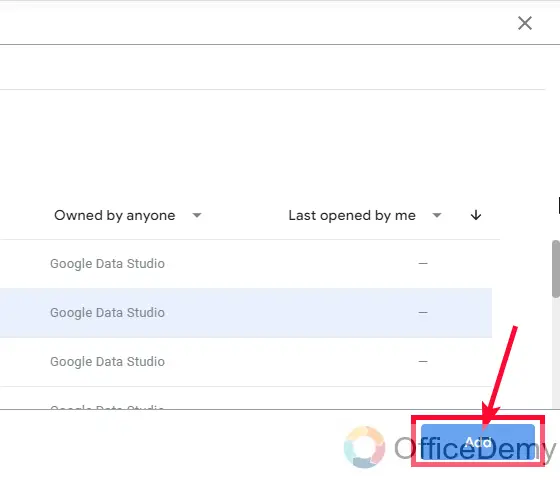
We are going to work with Google Analytics, so click on the “Google Analytics” sample file, and Click on the Add button at the bottom right side of the page
Step 7
Your data has been added to the black canvas of your Google Data Studio file
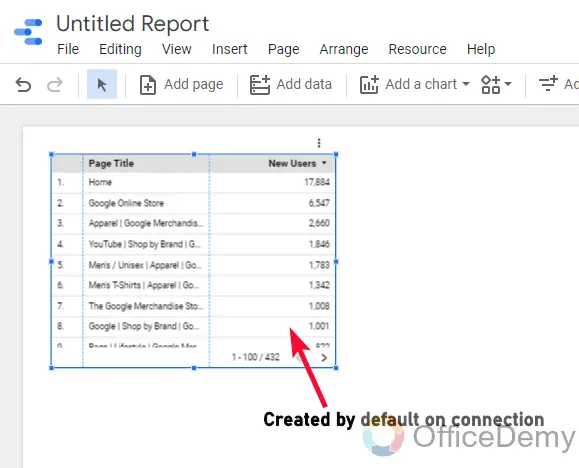
The sample Google Analytics data has been connected but how do we know that it’s connected accurately? Well, this is a Google-generated sample file specifically designed for Google Data Studio. The differences in data types can occur when we connect custom data or data in Google Sheets file, so have full control over the data and we can edit the data after connecting so that there are no differences between what we intended and what Google Data Studio perceived.
Now, let’s connect a Google Sheets file that is our file, and then we will edit the file and make sure that all the data types are accurately understood by Google Data Studio.
Connect Data Sources in Google Data Studio – Custom Data Editing After Connection
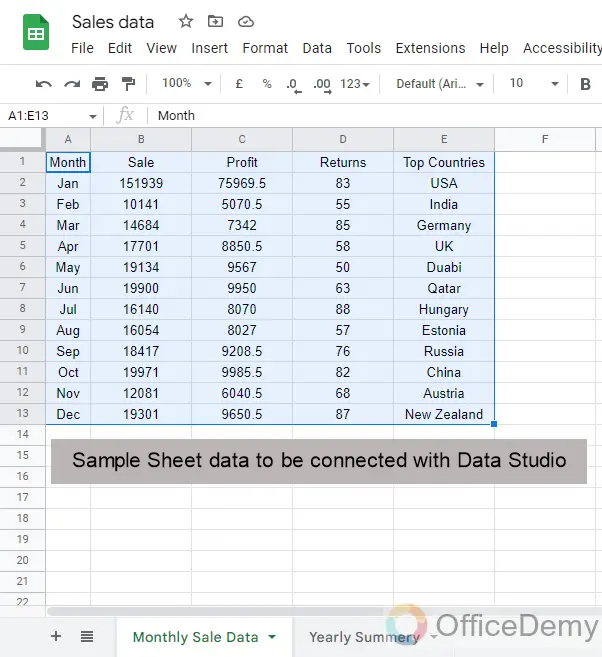
In this section, we will learn how to connect a data source in Google Data Studio and then edit the data after the connection. So, here we need to use a data set that we own, or at least we know, the best data we can know is custom Google sheets data. So, for this section, I have a sample dataset in Google sheets that represents the sales data of an imaginary company.
Step 1
Sample Sheets Data
Step 2
Connect this Sheets file to Google Data Studio (same steps we saw above)
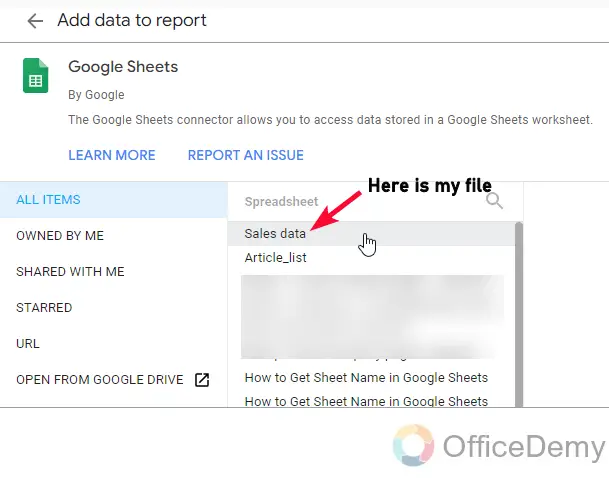
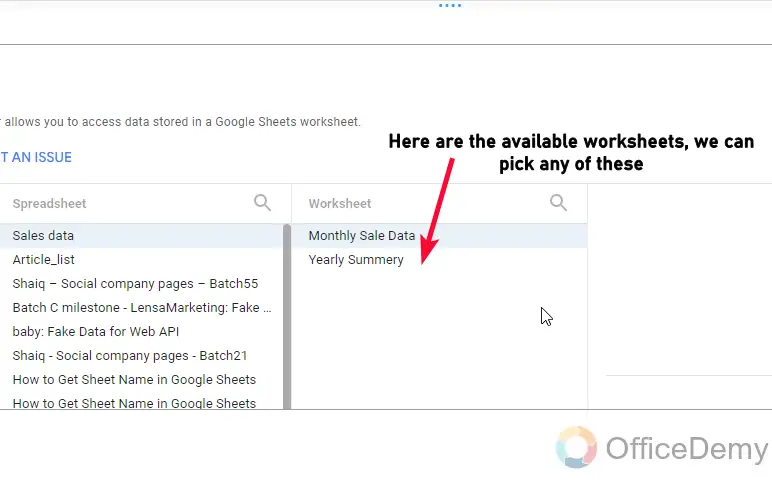
Step 3
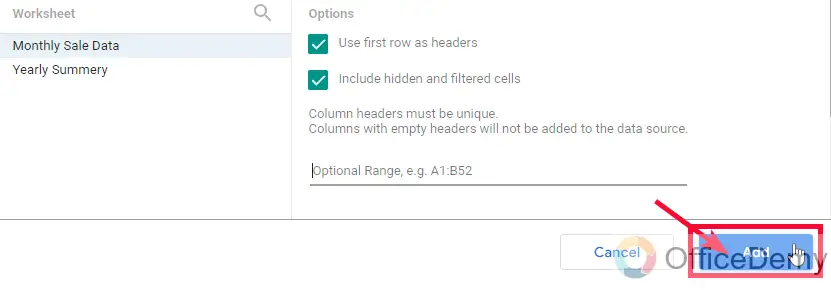
It will ask about the sheets to connect, if you have only 1 sheet in the Google sheets file, then this step can be skipped, but I have kept more sheets to make you understand how to select specific sheets.
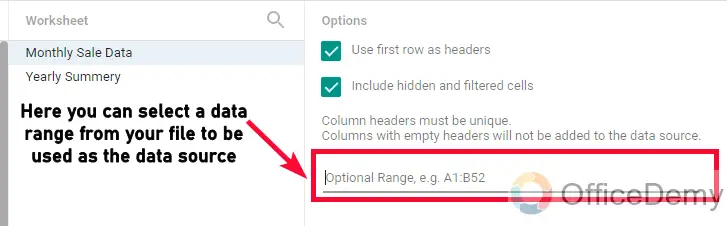
Tip: Note that you can also select a specific range from a sheets file, such as A2: D24
Step 4
After selecting files, and sheets, now Click on the Add button and your data will be added to Data Studio
Step 5
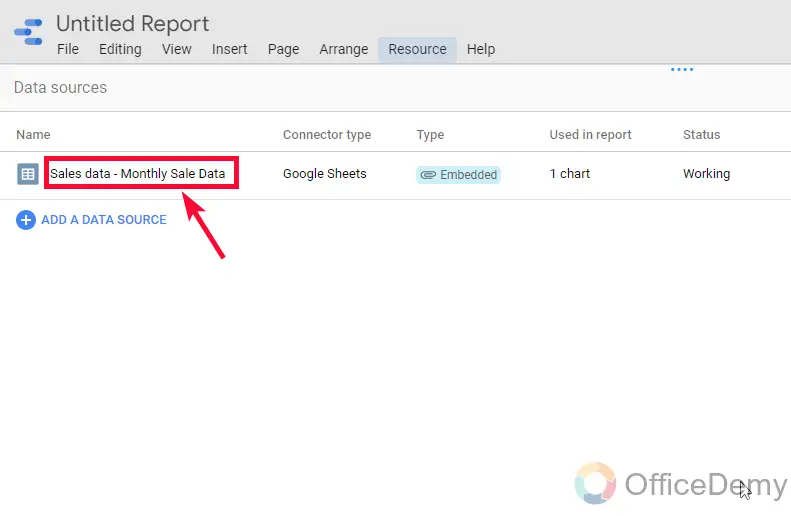
In the main menu, go to Resources > manage added data sources

Step 6
You will have all your currently connected data sources here, we have only 1 file which is the Google sheets file we have just connected
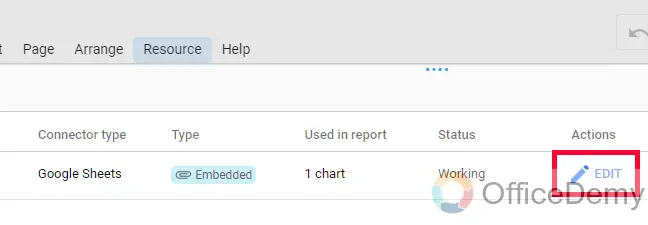
Step 7
Here, you can see an “Edit” button with your data source, Click on it
Step 8
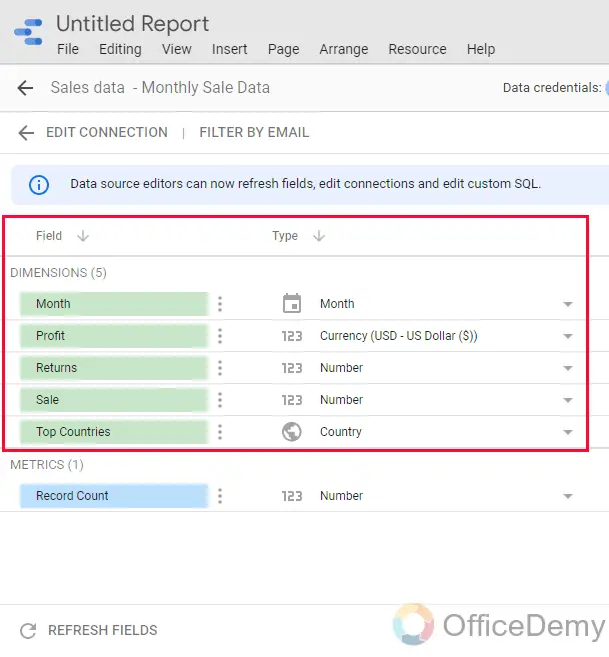
You will have a new tab “Edit connection” here you can edit the data types
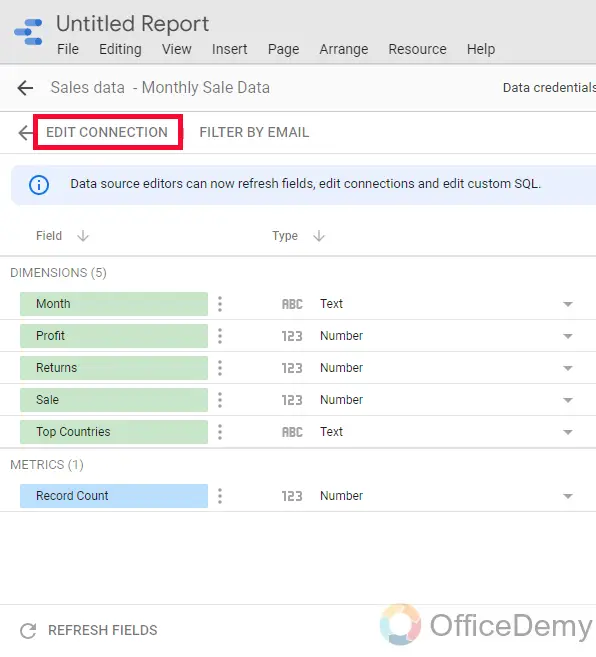
Step 9
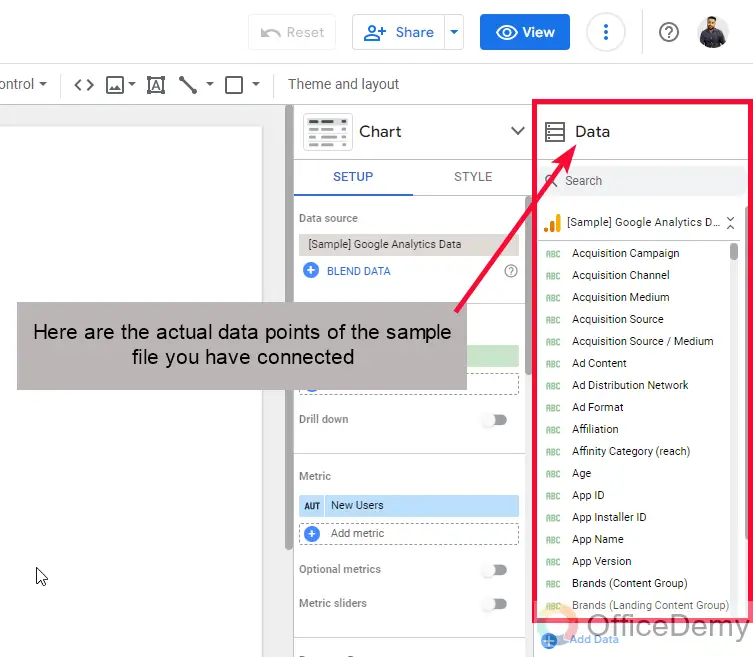
On the left side, inside the Field category, you have Dimensions, these are nothing but your column names
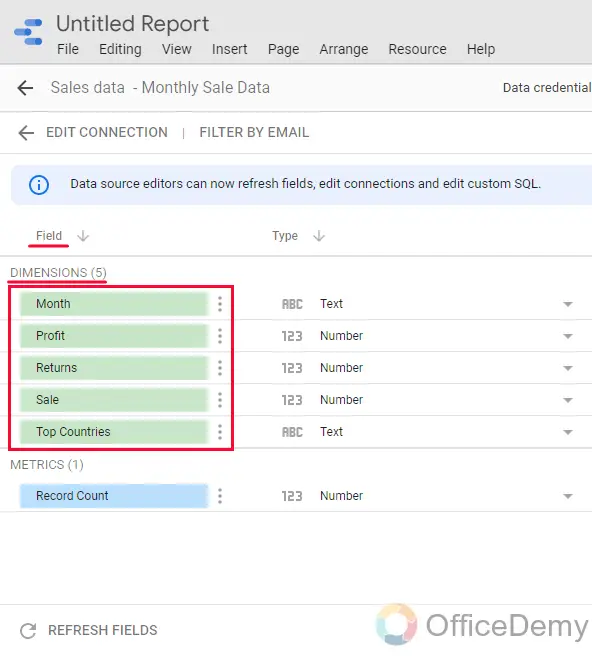
Step 10
Next, you have the Type category, in which you have the type of data for each Dimension.
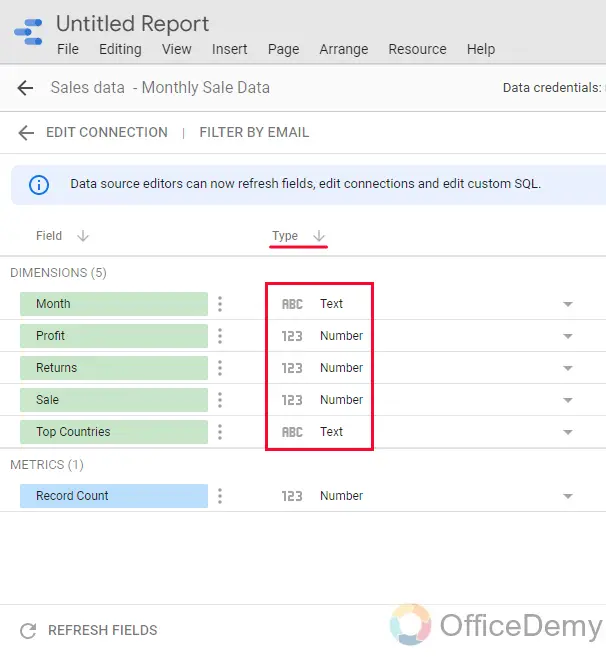
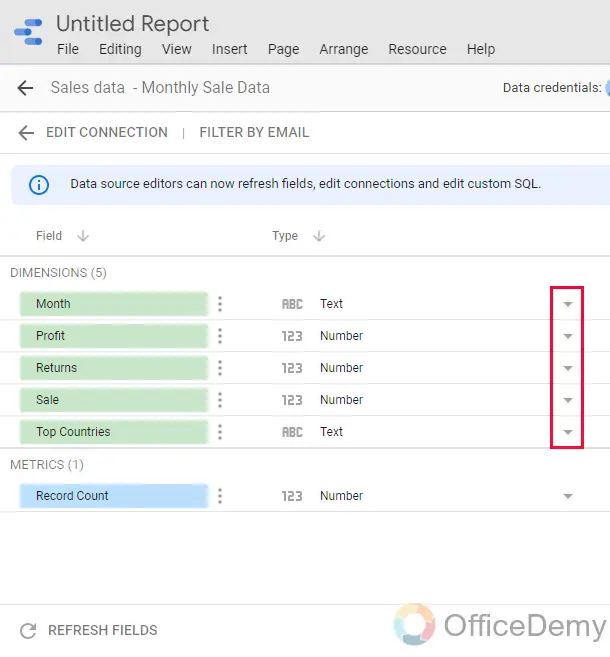
Step 11
You can see the dropdowns with each Type, now let’s set the type for each of our data columns
Step 12
First Dimension is a Month and the default Type of it is text, but it is not very accurate, we can change it to a month to keep it perfect, click on the dropdown and pick Data and Time > Month
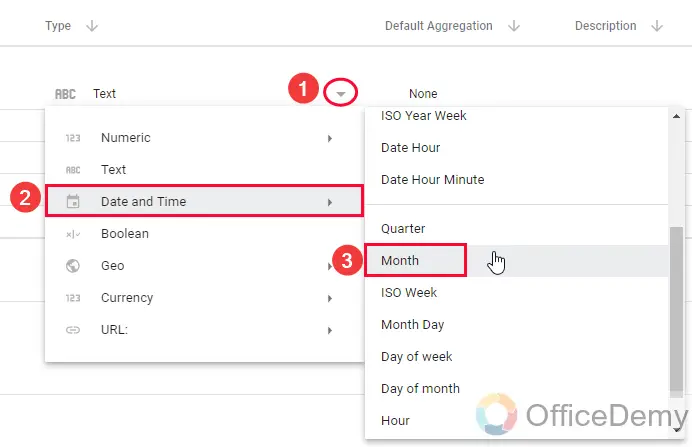
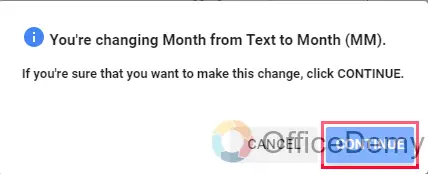
Click on the Continue to confirm type change.
Step 13
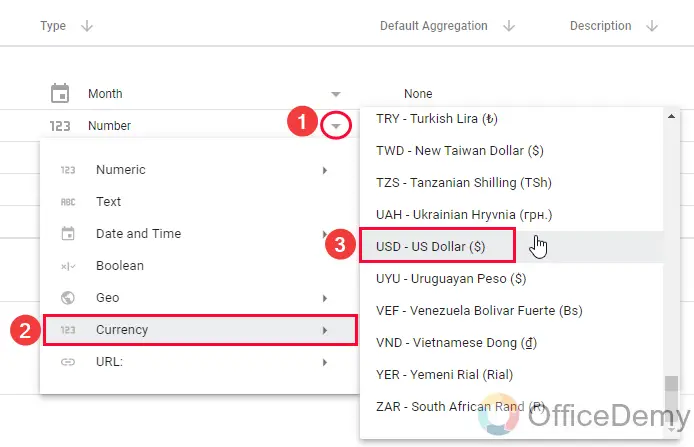
The next dimension is Profit, and the default type is number, yeah sounds good, but we can make it to perfection, let’s select currency and specify which currency you want in your reports.
Step 14
The next dimension is Return, and the default type is number, now this one is perfect, we are measuring returns quantity in Each. So, we don’t need to change its type.
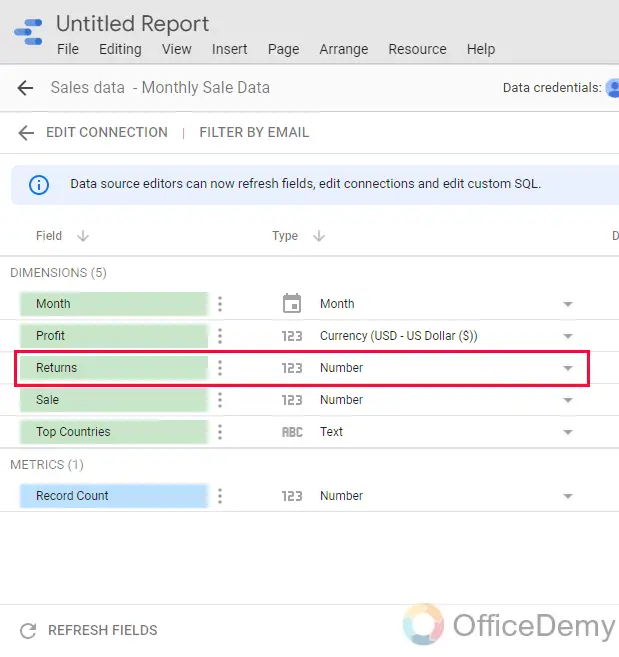
Now next dimension is a sale, so you can understand it is going to be the currency.
Step 15
Finally, the last dimension is Top Countries, and the default type is a text which is again not perfect, so we will change it to Geo > Country
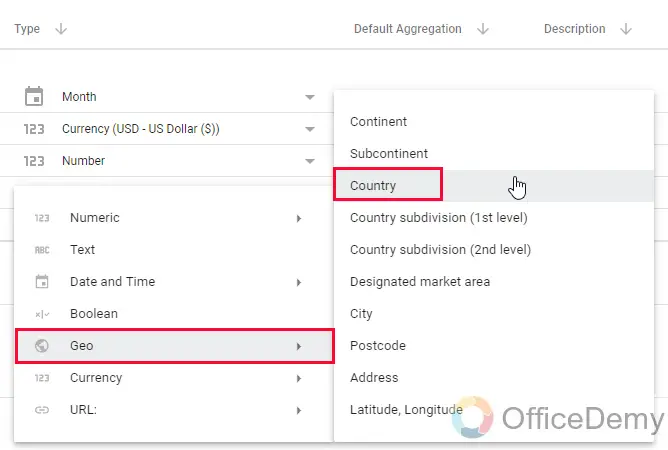
Tip: Here we can also select a city or any geographical segmentation, so many options are already available in Data Studio.
Now, all the data types have been edited accurately.
Step 16
Click on the FINISHED button on the top right side, and then click on CLOSE to back to your Fata Studio Canvas.
Here are some more options in this Edit Connection tab, but all are beyond the context of this tutorial. We will learn these complex concepts later in this series of tutorials.
We have learned how to connect a data source in Google sheets, and also how to edit it to make data types sync to perfection.
Important Notes
- There are some sample files for Google Applications like Google AdWords, Analytics, Search Console, etc.
- We can also add calculated fields to our data
- There are so many templates available on the home page of Data Studio, you can use templates if you are already familiar with the basics.
- You can select specific sheets from a file to connect, and also a specific range to add as a data source (this is only when you are connecting a Google Sheets file)
Frequently Asked Questions
Where can I find sample data sources for Google Analytics Connector?
When you create a blank file, you have two tabs while connecting a data source, you need to go to the “My data sources” tab which is not the default tab, here you have a search box, and a list of all sample data sources available, you click on any data source, and then the Add button to get started with the sample data source.
What are Common Errors and Solutions When Connecting Data Sources in Google Data Studio?
When using Google Data Studio, it’s important to be aware of common errors that may arise while connecting data sources. These google data studio errors can include issues with authentication, incompatible data types, or missing permissions. Fortunately, there are solutions available, such as double-checking credentials, ensuring data formats align, and granting proper access to data sources. Taking these measures can help avoid data connectivity issues and optimize the use of Google Data Studio for effective data analysis and reporting.
Can I edit the data types for the built-in sample data sources?
No. You cannot edit the sample data source available in Google Data Studio, let’s say a Google analytics sample file, when you go to the edit section, the button is disabled, and not working. And it cannot be edited because if anyone edits it incorrectly, the file will be broken and may become vulnerable to other users. It’s just like you share a Google sheets file with an editor’s access to anyone having a public link, now if a user who is not familiar with Google sheets may break the formulas or anything in the file, and now the file will become vulnerable for all the other users. I hope you find this answer helpful
Conclusion
I hope you have got some idea about data sources in Google Data Studio. We have learned how to connect data sources in Google Data Studio, and we have seen two data sources that can be used mainly to visualize data one is a Google product sample file, that we connected with Studio as a sample file, and then a custom Google sheets file that we first created, then connected and then edited accurately to match data types.
I hope you find this tutorial helpful. I will see you soon with more interesting topics in this Google Data Studio series. Keep learning with Office Demy.


