
To get Hanging Indent on Google Slides
- Click “View” and select “Show Ruler“.
- Select the paragraph.
- Adjust the “Left Indent” and “First Line Indent” markers for the hanging indent.
OR
- Select the paragraph.
- Go to “Format” > “Format Options“.
- Under Text Fitting, choose “Hanging“.
- Use “Increase Indent” or “Decrease Indent” to adjust the indent.
OR
- Place your cursor at the line’s start.
- Press “Shift + Enter” for a hanging indent.
In this article we will learn about how to do hanging indent on google slides using three different methods.
Within Google Workspace, there are a variety of functionalities to make documents more attractive and interesting. Certain features of Google Slides or Microsoft PowerPoint are usually used to aid different creative projects and to make professional presentations. However, if the content of your Google Slides presentation has a lot more text than graphics, you can take advantages by using hanging indent in Google Slides to communicate systematically.
Hanging indents are commonly used in Google Slides to ensure applicable bibliographic citations are legible, and it’s also a great method for making text aesthetically appealing. This article explains two different approaches of using them.
If you are interested to learn about how we can add a audio and video in google slides, please follow the link below.
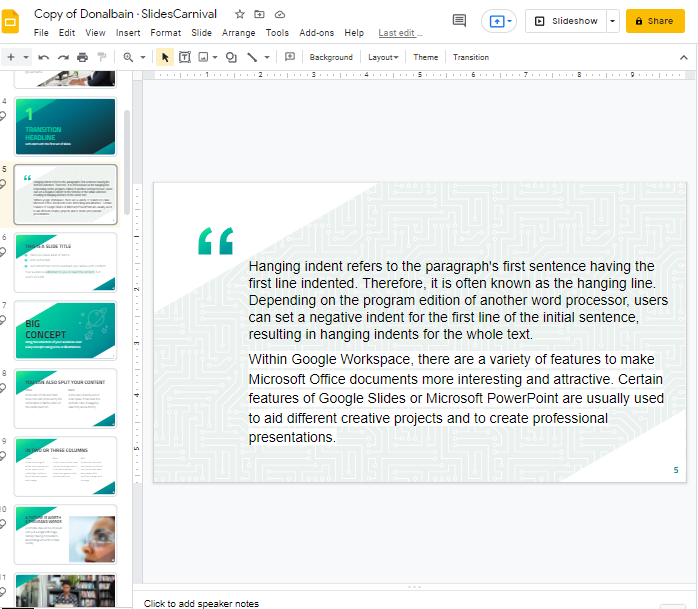
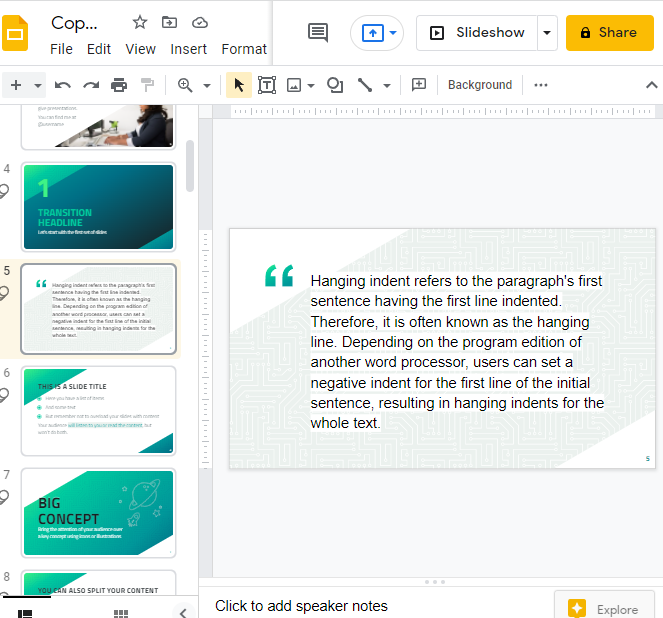
What is hanging indents?
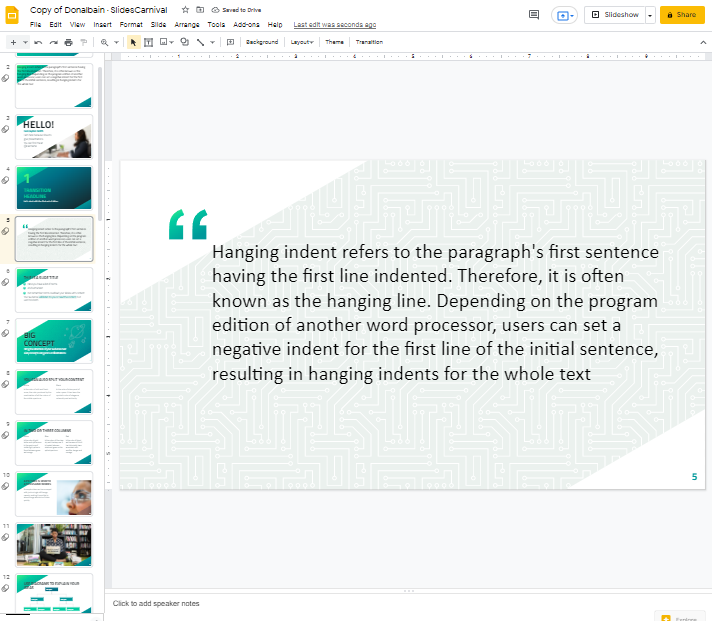
Hanging indent refers to the paragraph’s first sentence having the first line indented. Therefore, it is often known as the hanging line. Depending on the program edition of another word processor, users can set a negative indent for the first line of the initial sentence, resulting in hanging indents for the whole text.
When can we use the hanging indents?
You may also find hanging indents on indexes, page numbers, and headings. It’s incorporated in list items with another strikeout preceding it to reconstitute line breaks and form a list, which is common academic writing.
In presentations, you may want to provide specific details and data for reference. This information should be cited in the presentation itself and properly credited to its source. In this lesson we will explore how to manage indents in Google Slides documents.
How to Do Hanging Indent on Google Slides
Presentations should always be formatted with a hanging indent. If a writer needs to add proof/evidence to his or her claims and statements via sources, then he or she should have no trouble using the single paragraph indent in Google Slides presentations. In the following article, we’ll look at how this process works.
Add a Hanging Indent in Google Slides using Ruler Option
Being new to a process of indenting text, you might feel it’s a complex procedure, but that’s entirely not the case. Basically, the task can be executed in a handful of simple steps.
Single paragraph indentation
Step 1: The first thing you’ll want to do in order to make a hanging indent is to create a Google Slides presentation. You can either create a new one or reuse one you’ve already created. All you need to do is ensure you’re logged in to an active Google account.
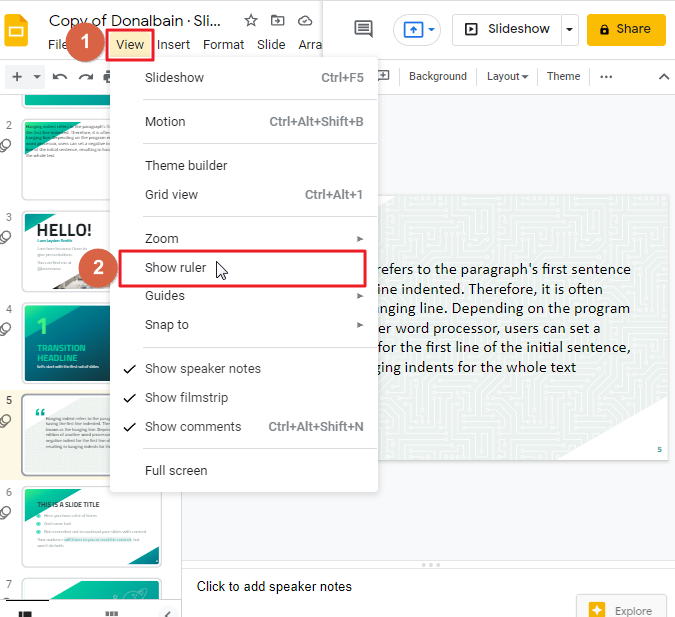
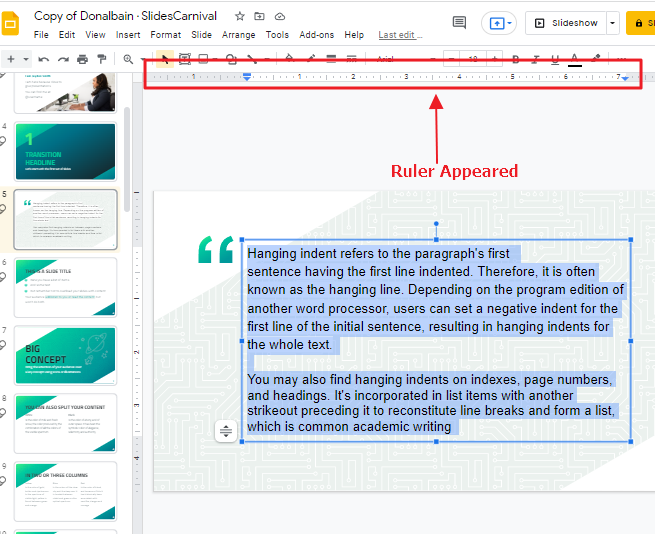
Step 2: Google Slides features a ruler that you can use to measure various elements, including the indentations in your text. To turn the ruler on, click on View which is located at the top of your screen in the menu bar so that a drop-down menu will appear. Then select Show Ruler.
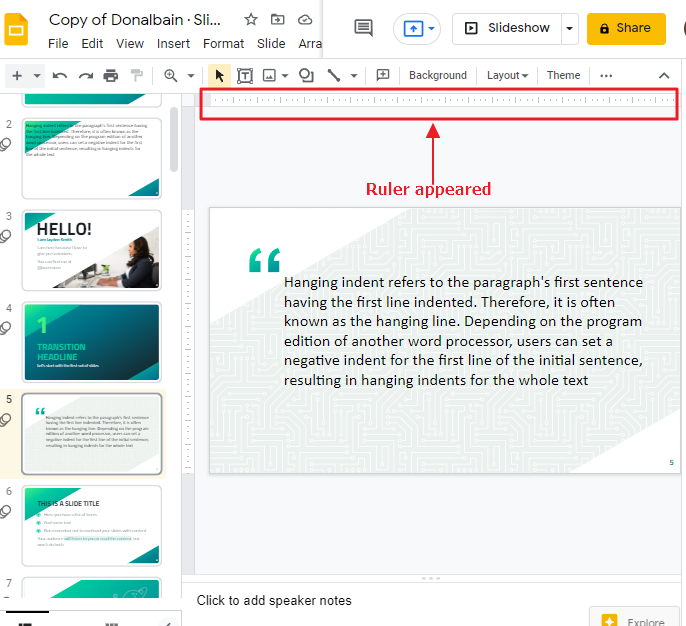
As soon as you click on the show ruler, the ruler will appear on your slide.
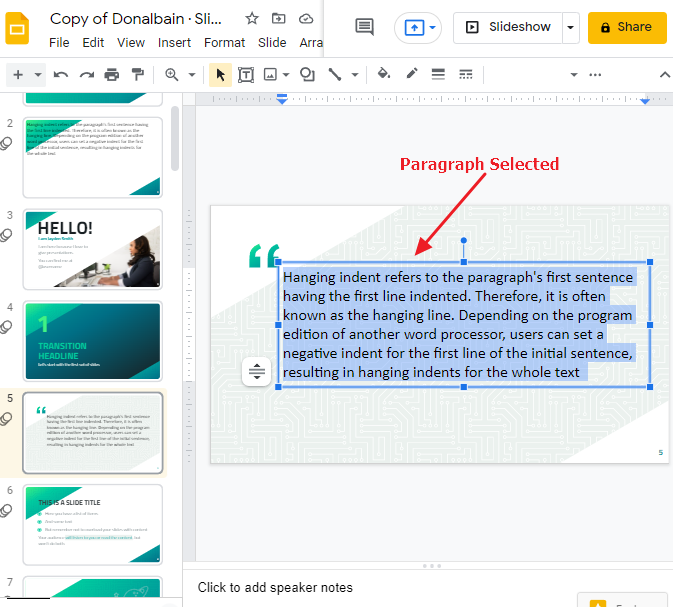
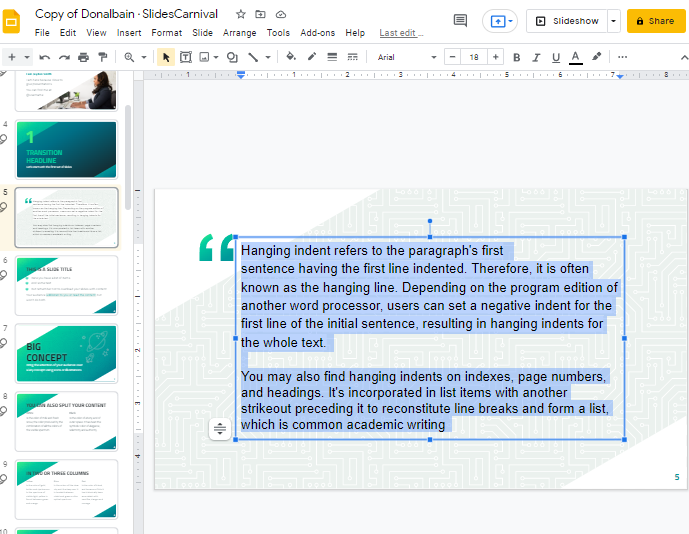
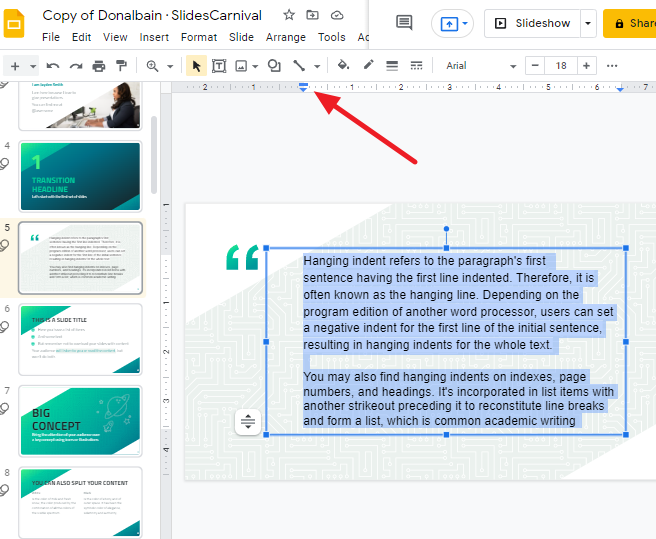
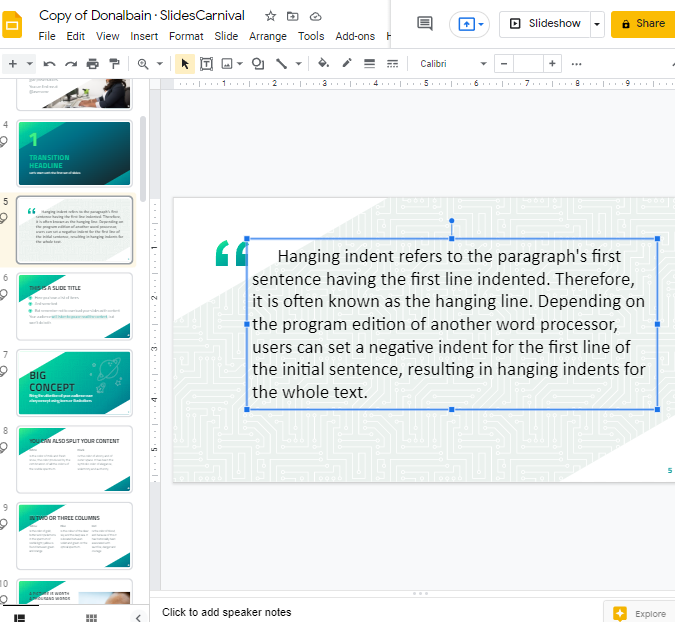
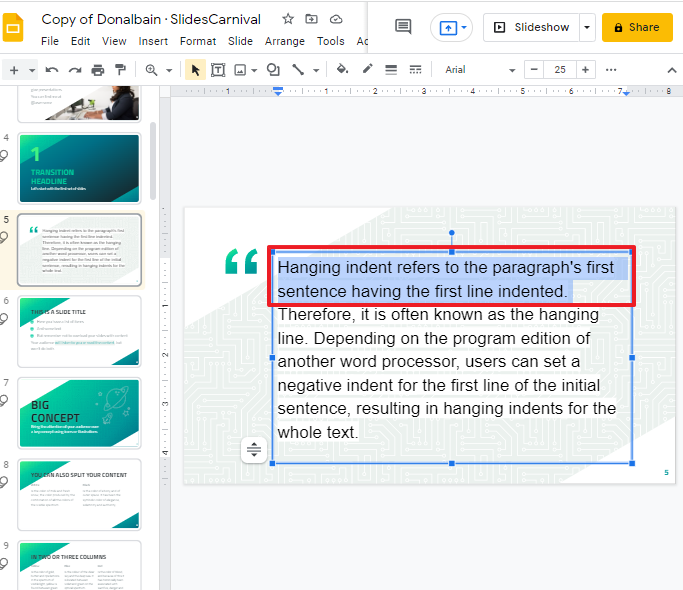
Step 3: To add a hanging indent, select the paragraph you want to indent. You can find it by clicking and dragging your cursor over it. The paragraph will turn blue when you have selected it.
When you select text, two indent tools appear in the ruler:
The First Line Indent tool controls the placement of the first line; the Left Indent tool sets the left side of a paragraph.
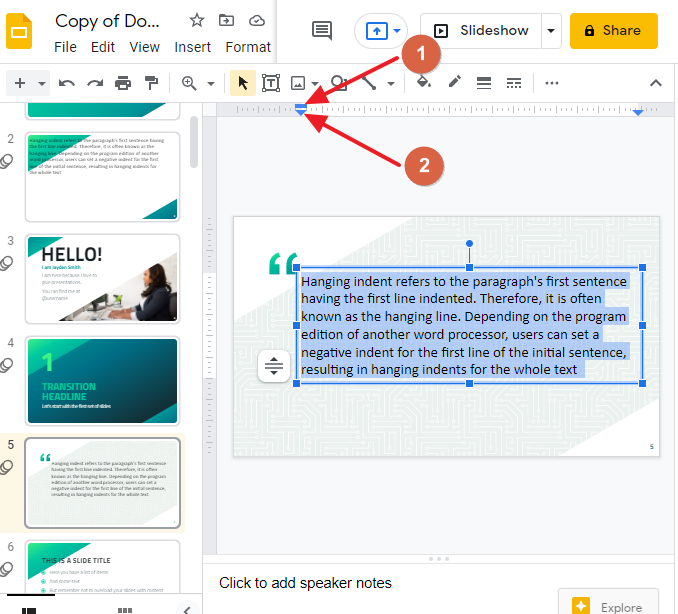
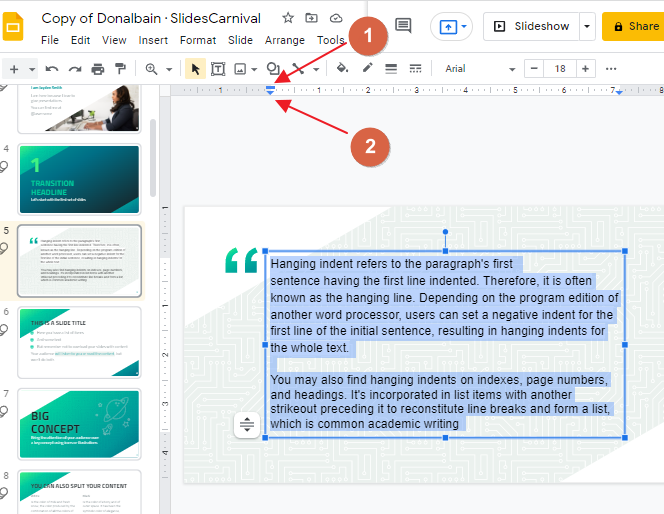
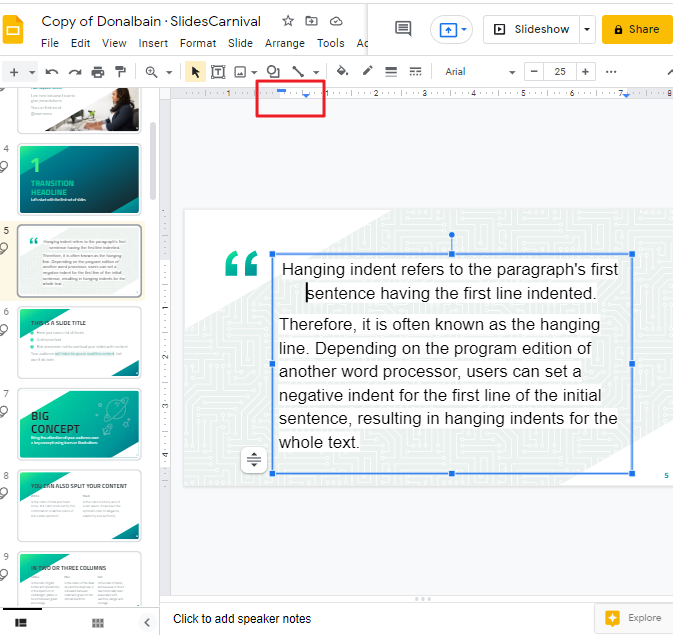
Step 4: To indent a paragraph, first click and drag the Left Indent icon to the position you want it.
Once you do that, the entire paragraph will shift. Next, move over to the First Line Indent icon and slide it over to where you want the first line to begin.
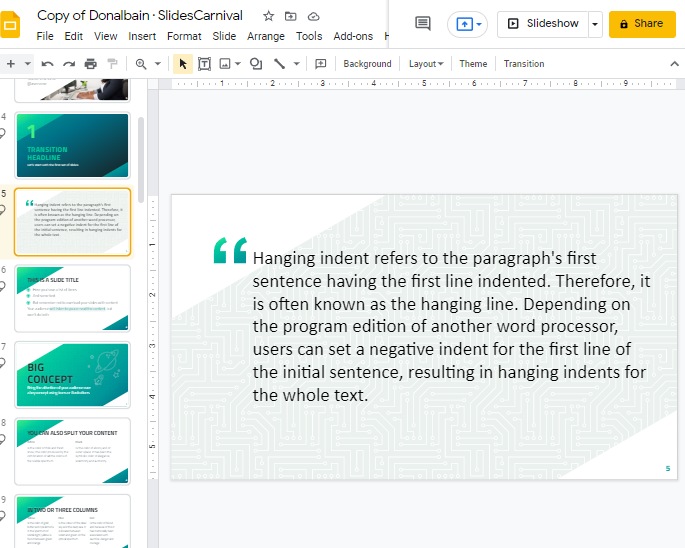
You have now set your hanging indent.
Multiple paragraph indentation
Google slides lets you indent paragraphs, if you have multiple paragraphs to indent, don’t worry. Google Slides offers this feature too. Follow these steps to indent multiple paragraphs in Google slides.
Step 1: open your google slide presentation on which you want to fix the indent.
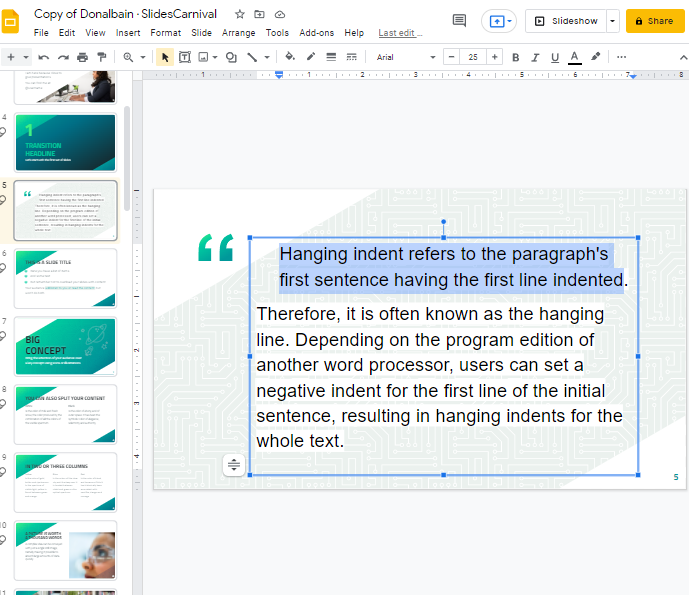
Step 2: Select the entire paragraphs in your slide.
Step 3: Click on View > Click on Show Ruler.

As soon as you click on the show ruler, the ruler will appear on your slide.
Step 4: As you have selected the text already select, two indent tools has appeared in the ruler:
The First Line Indent tool controls the placement of the first line; the Left Indent tool sets the left side of a paragraph.
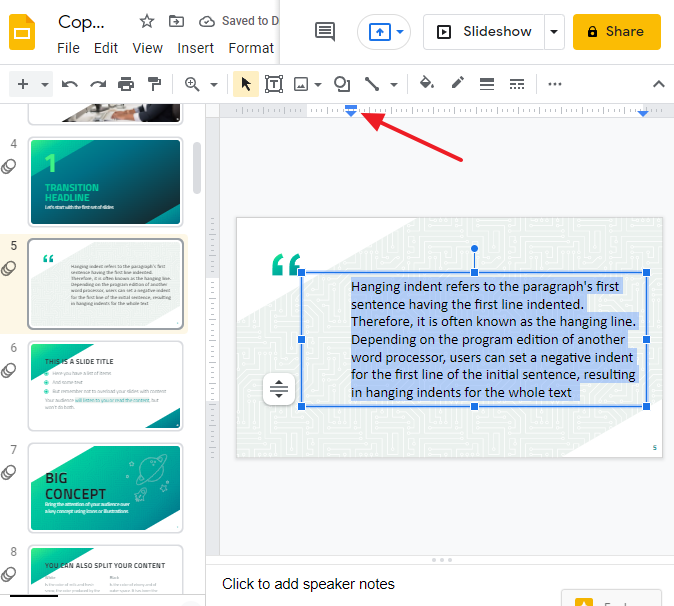
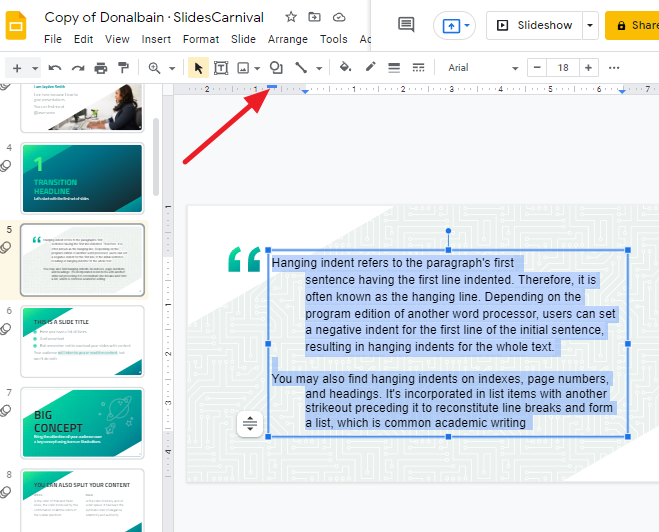
Step 5: To indent multiple paragraphs, first click and drag the Left Indent icon to the position you want it.
Once you do that, the entire paragraph will shift. Next, move over to the First Line Indent icon and slide it over to where you want the first line to begin.
That’s it. You are done.
Add a Hanging Indent in Google Slides using Format Option
If you discover the earlier method intricate, you may add a hanging indent utilizing the Format tab. Follow these steps to add a hanging indent in your google slides using the Format tab.
Step 1: Open your google slide presentation on which you would like to add an indent using the Format tab.
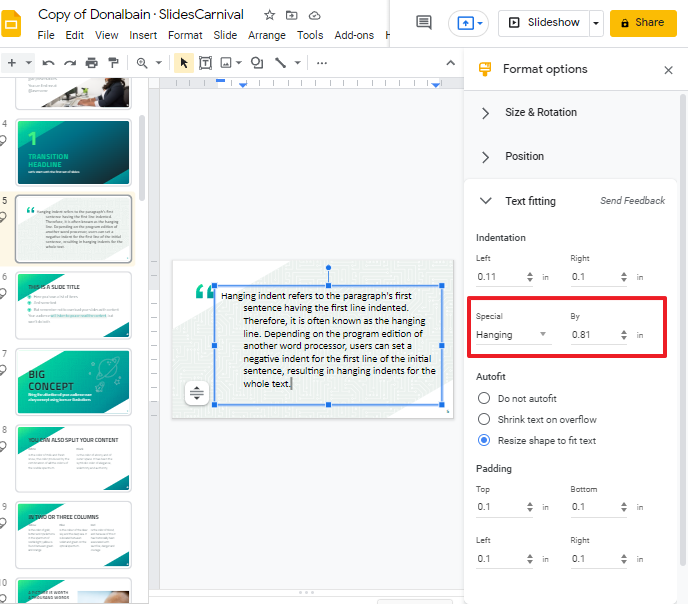
Step 2: To change the indentation effect, navigate to a particular paragraph and choose Format from the menu. Then, select Format Options from the drop-down menu.
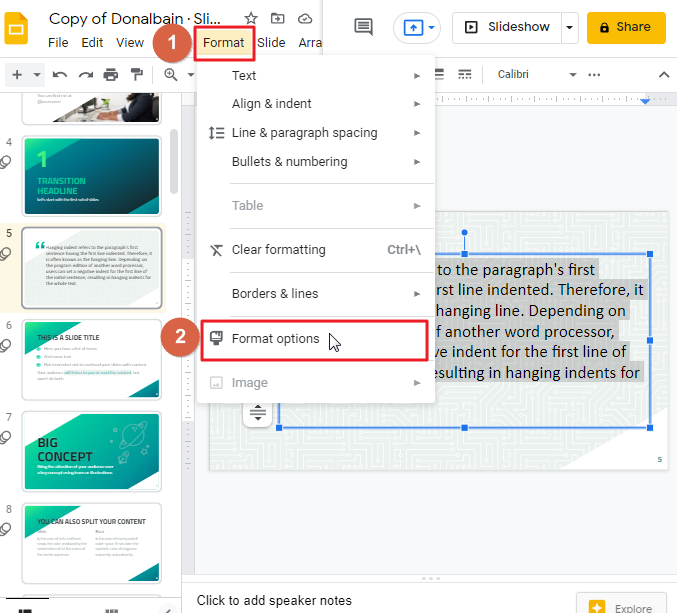
As soon as you click on the Format options, the format option sidebar will appear on the left side of your screen.
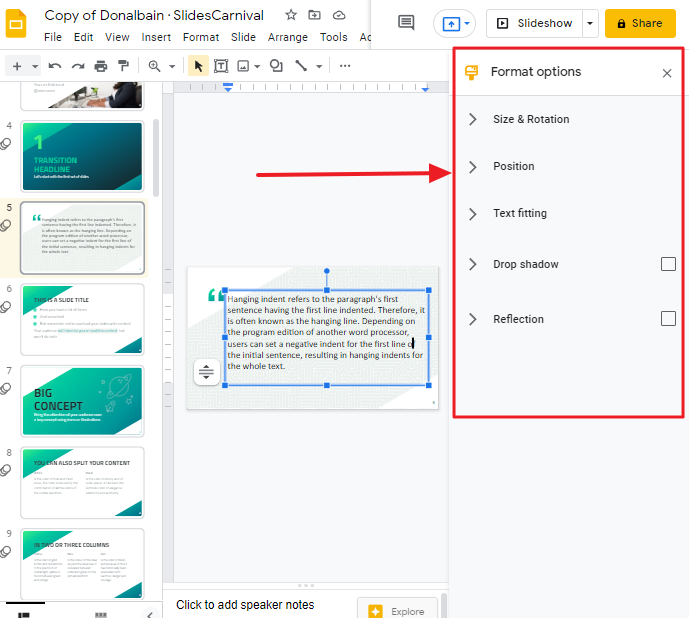
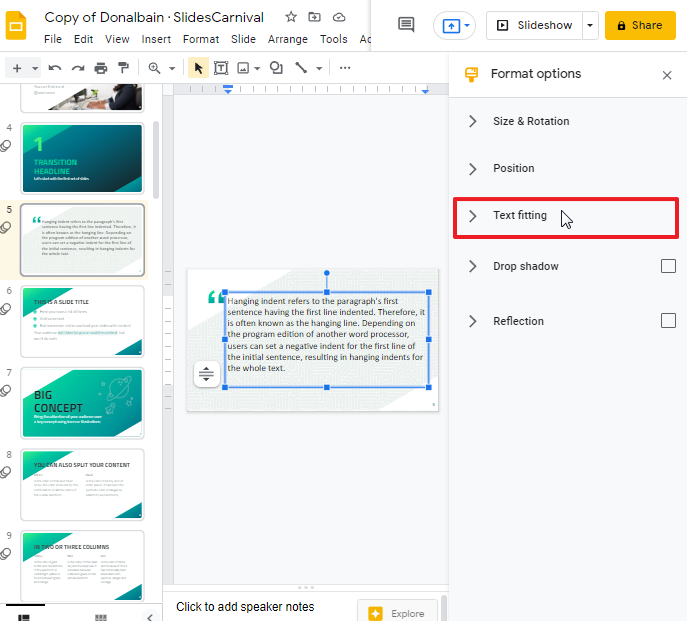
Step 3: To format your text as hanging, select the Text Fitting section from the drop-down menu in the Formatting pane on the right.
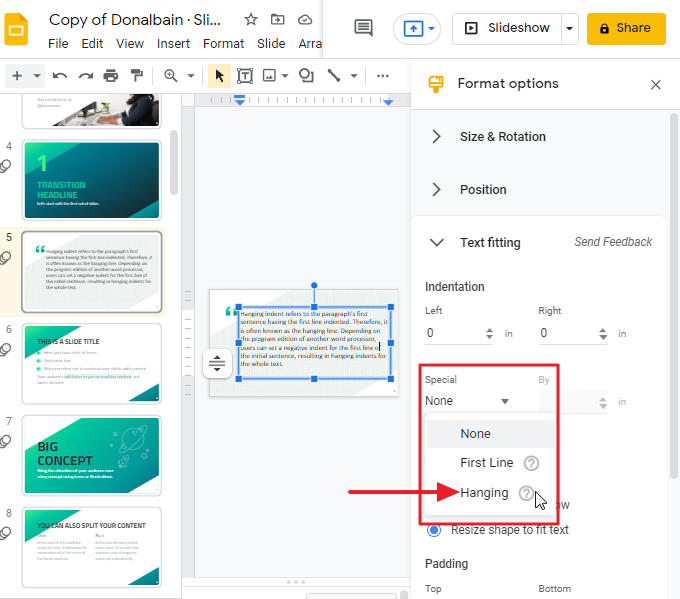
Choose Hanging in the Special Indent section.
Step 4: To increase the indentation of selected text, click the Increase Indent button. Each time you click, the left margin rises by one tab stop. To reduce the indentation of selected text, click the Decrease Indent button. Each time you click, the left margin returns to its original position.
That’s it. You are done. You are able to change the way indentation appears in Google Slides with the Format menu.
Add a Hanging Indent in Google Slides using Keyboard Shortcut
We have reviewed the fundamental steps involved with editing the hanging indent for multi-line paragraphs, but if you want to change the default indent without having to wait a while longer, you can do so using an input device.
Step 1: Open your google slide presentation on which you would like to add an indent using the keyboard shortcut.
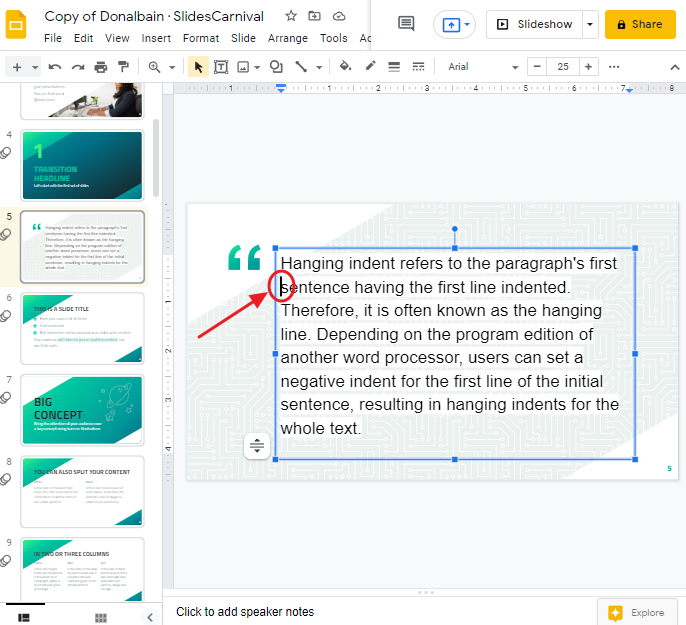
Step 2: Place your cursor in the opening of the line that you’d like to indent.
Then hit the Enter (Return) and the Shift keys. To indent text, hit the Tab key.
You can observe that the indent is separated from the line. This hanging indent can be used for paragraphs.
Indenting each line one by one
Go to the page containing the desired content in your Google Slides presentation and open the slide you want to indent.
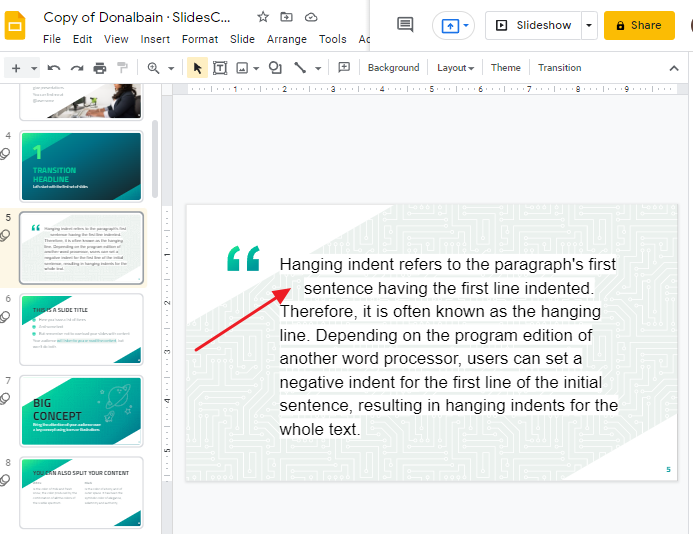
Click the start point of the part you want to indent. In this case, we wish to use a hanging indent for a citation, so we’d wish to click the line under the first line of the citation.
If you have a desktop PC, place your cursor at the beginning of any line and then press Shift + Enter on your keyboard. If you are using a Mac, simply press the Shift key and then the Return key.
Use Shift + Enter to place the text on its own line, then press the Tab key on your keyboard. This will give you the effect you want.
First Line Indent method
Open your Google Slides presentation and select the site that contains the content you wish to indent.
Choose the block of text for which you wish to perform a hanging indent.
Now, the ruler guidelines you see at the top left side of your screen will help you organize your presentation.
If you cannot see these, you can click on the view in the menu bar and then click Show Ruler.
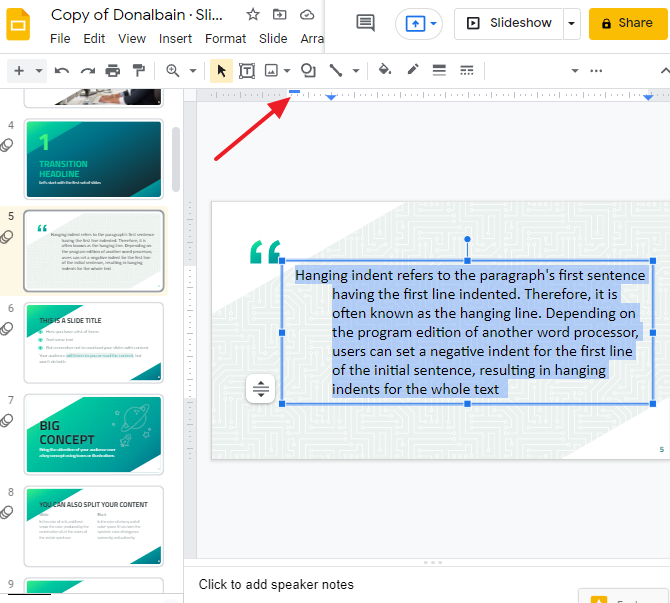
To indent your text, place your cursor over the blue arrow in the ruler located at the top of the screen and drag to the right. The indent will then appear in all parts of your highlighted text.
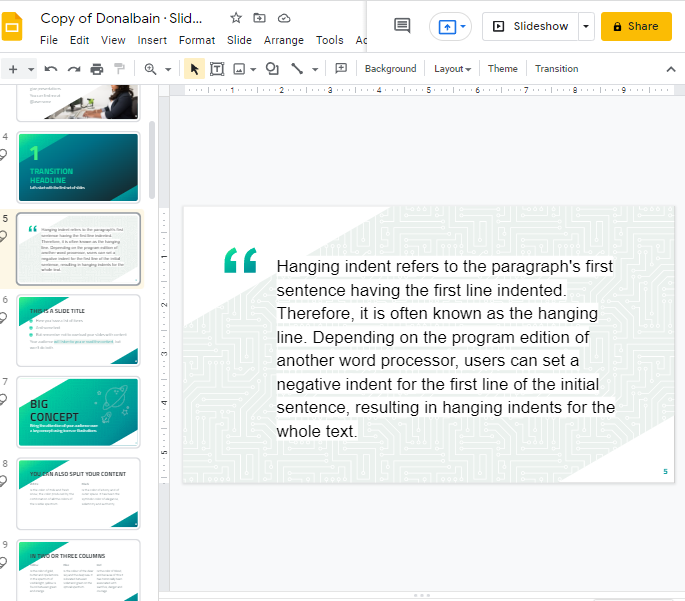
Create a hanging indent at the start of each paragraph by dragging the First Line Indent back to where text begins.
How to do a hanging indent on a mobile device
Unfortunately, you cannot create hanging indentations in presentations on the mobile application Slides. However, when creating your presentation on a computer, you can use hanging indentations as you see fit.
Video Tutorial: How to do hanging indent in Google Slides
Frequently Asked Questions
How do I make a hanging indent in Google Docs?
Indents are a great way to emphasize text and highlight important ideas. You can enable the ruler by clicking on View and selecting Show Ruler. To add an indent, select the text and drag the Indent control bar.
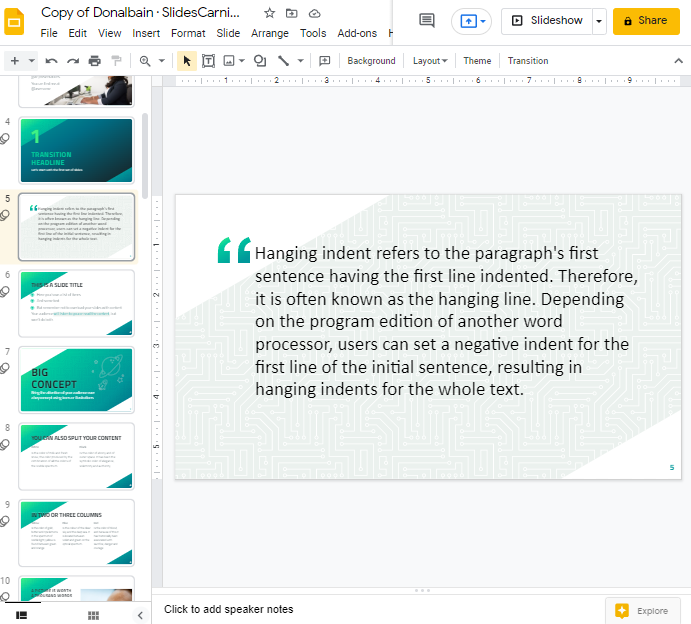
How does a hanging indent look?
A hanging indent is a line of text where the first line is flush left, but subsequent lines drop to the right of the previous line and leave a small space on the left side.
What is the indentation’s length?
You have to hold the spacebar five times for one indent in every line in a paragraph.
How to make a custom indent in Google Slides.
Type the text you want to into two columns, then press Shift and then click return.
How can you properly format a citation on Google Slides?
Indenting citations on Google Slides is easy. Just click the title of your presentation in the left-hand menu, then find Citations and expand them.
Conclusion
Hanging indent is an amazing formatting tool that can help you organize your presentation more efficiently. When used in a presentation, they can give it a sophisticated look and leave a lasting impression on your audience. They are also very simple to create, so you don’t have to learn any new skills. Whether you are creating a new presentation or editing an existing one, adding these indents will allow you to add visual interest by making your text stand out.
In short, it is easy to make a hanging indent in Google slides. It can improve the formatting of your document, making it look more professional and easier to read. It is an important skill to know if you want to impress an audience with your writing. Just keep in mind that the keyboard shortcut only works on a PC and does not work on Slides apps.


