
To Add a Line in Microsoft Word
Using Line Command from Borders:
- Click where you want to add the line.
- Go to the “Home” tab.
- Click the “Borders” icon.
- Select “Horizontal Line” from the dropdown.
Using AutoFormat Feature:
- Place your cursor where you want the line.
- Type three hyphens (—) on a new line.
- Press “Enter” to transform them into a line.
Using Lines from Shapes:
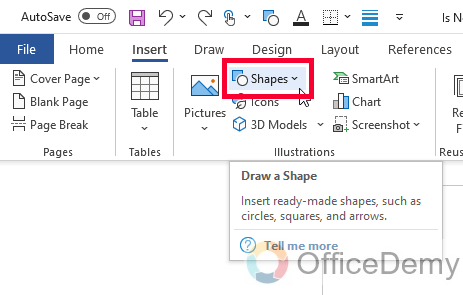
- Go to the “Insert” tab.
- Select “Shapes” and choose a line shape.
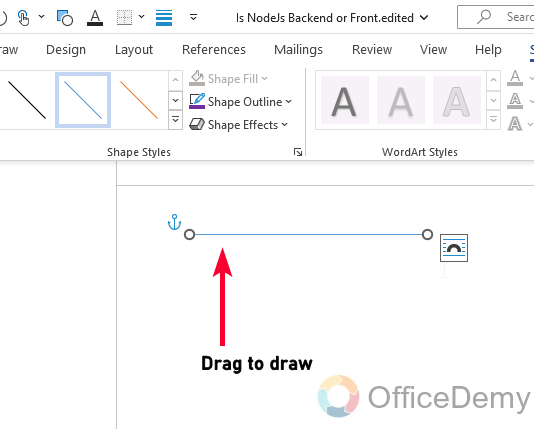
- Click and drag to draw the line.
- Customize line style, color, and effects in Shape Format.
Setting up Borders and Shading:
- Click where you want to add the line.
- Go to the “Home” tab.
- Click the “Borders” dropdown.
- Choose “Borders and Shading“.
- Customize line style, color, and width in the dialog box.
Hello and welcome back to Office Demy. Today we will learn how to add a line in Microsoft word. Microsoft Word is a commonly used word-processing software that offers various features to make document creation easier and more efficient. When working with documents we need the ability to add lines to them, that can help to separate sections, highlight important information, or improve the overall visual appeal of your document.
However, if you are new to Microsoft Word, you may be unsure of how to add a line to your document. In this article, I will teach you different methods to add a line in Microsoft Word, including using the Horizontal Line tool, drawing a line using the Shapes tool, and using Borders and Shading. By the end of this article, you will have a better understanding of how to add a line in Microsoft Word and can start using this feature to enhance your documents.
Importance of Adding Lines in Microsoft Word
Learning how to add a line in Microsoft Word is a valuable skill for anyone who regularly works with documents, whether for personal or professional purposes. By adding lines to separate sections of text or to emphasize important points, you can make your documents more visually appealing and easier to read.
Additionally, using lines can help to create a more professional and polished look for your documents, which can be especially important when creating resumes, reports, or other important documents. We all need some lines horizontal and vertical within our documents to draw sections, make separators, and give our document an overall good look. So, these are some reasons we need to learn how to add a line in Microsoft Word.
How to Add a Line in Microsoft Word?
There are many ways we can add a line to Microsoft word, it depends on our requirements, and type of line we need and what type of purpose need to achieve. Typically, we have shapes to add a line to our document, but still, there are many more ways to do it. I will show you four methods today, and you will be able to do it by yourself if you see the steps carefully. So, let’s get started with the first method.
Add a Line in Microsoft Word – Using Line Command from Borders
In this first section, we will learn how to add a line in Microsoft word easily using the line command from the border’s dropdown, this method is useful when you need to add many lines and you don’t want to waste time making a perfect straight line using shapes. The steps are below.
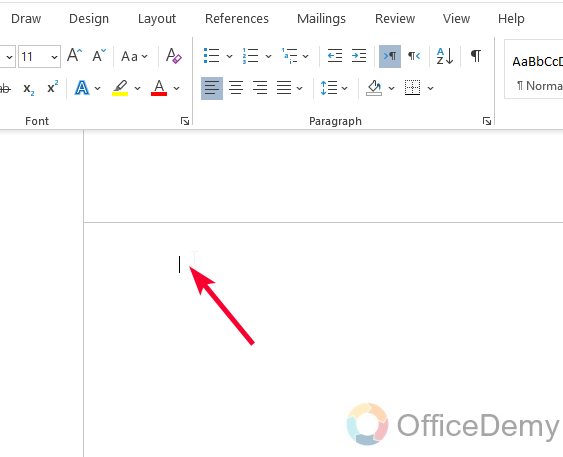
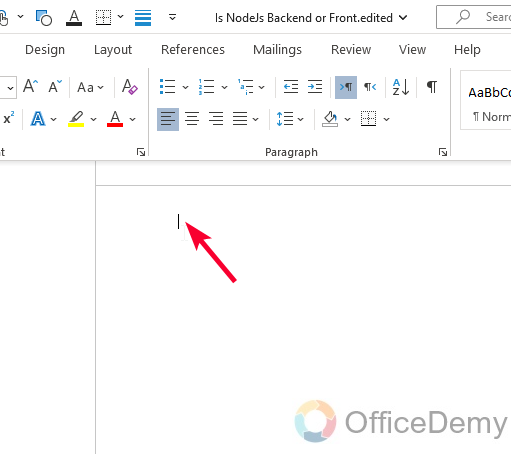
Step 1
Click on the location where you want to add the line
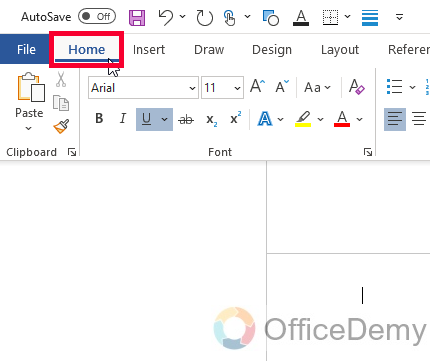
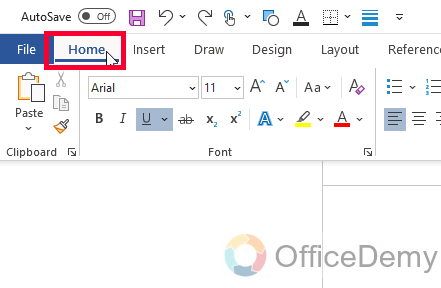
Step 2
Go to the “Home” tab on the top ribbon.
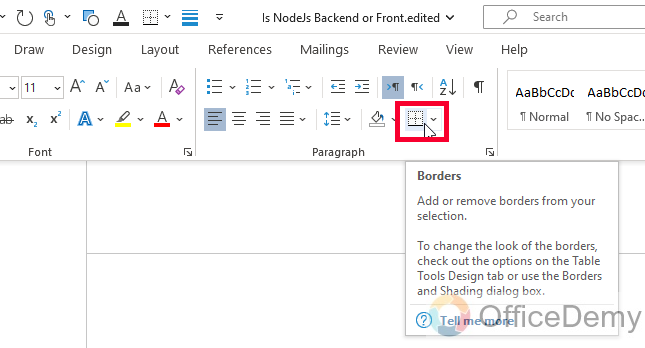
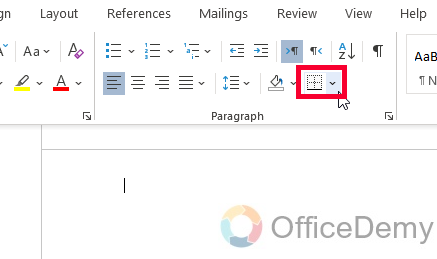
Step 3
Click on the “Borders” icon, which looks like a square with a diagonal line.
Step 4
Select “Horizontal Line” from the drop-down menu.
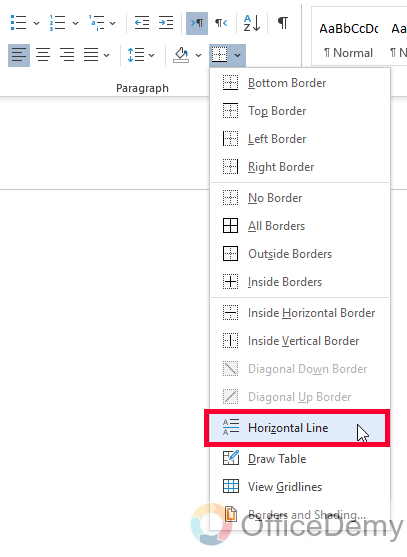
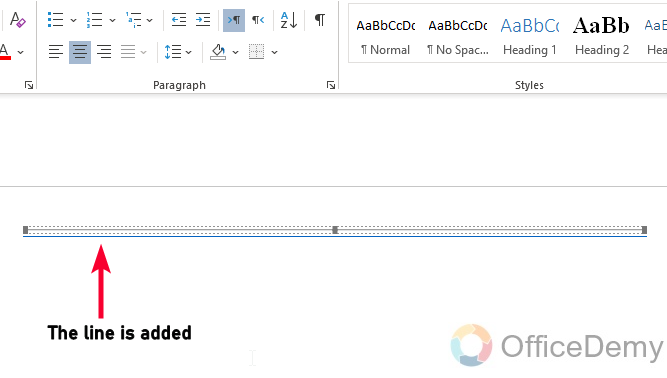
Step 5
A line will be inserted at the cursor location.
Add a Line in Microsoft Word – Using AutoFormat Feature
This is something I find very cool. In this section, we will learn how to add a line in Microsoft word as quickly as you can think. This method is like a keyboard shortcut, and you can shock your friends by showing this trick very easily. See the below steps and learn the stick before it gets common.
Step 1
Place your cursor where you want to add a line

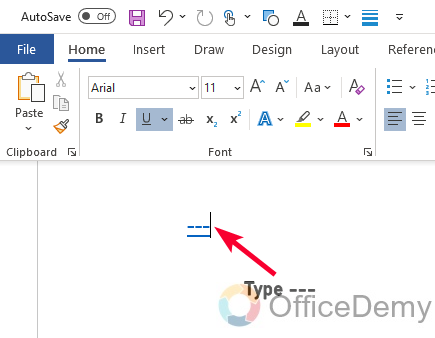
Step 2
Type three hyphens (—) on a new line without spacing, and round brackets.
Step 3
Press “Enter” on your keyboard
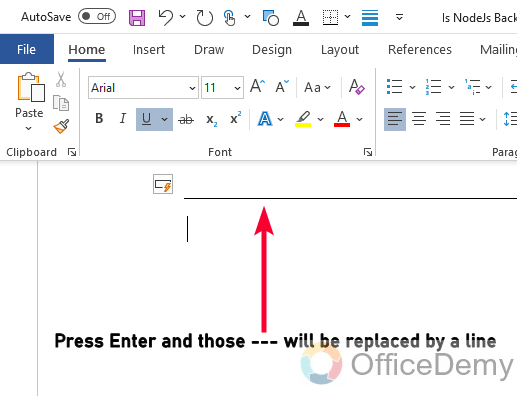
Step 4
Wow, you can see the hyphens are replaced by a line.
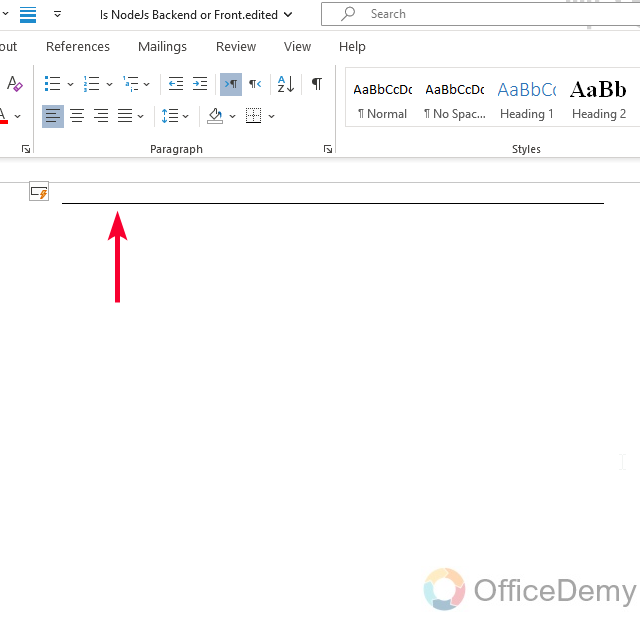
You can quickly add many more lines like this using this method. I hope you like this trick.
Add a Line in Microsoft Word – Using Lines from Shapes
In this section we will learn how to add a line in Microsoft word using the most common method which is using lines from the shapes available freely in Microsoft word. This method is the most controlled and most customizable, it allows us to customize our lines, make them colorful, shady, effective by different shades, borders, styles, and outline. We can also add some 2D and 3D effects and shadows on our lines using the Shape Format.
Step 1
Go to the “Insert” tab on the top ribbon

Step 2
Click on “Shapes” and select the line shape you want to use from the drop-down menu.
Step 3
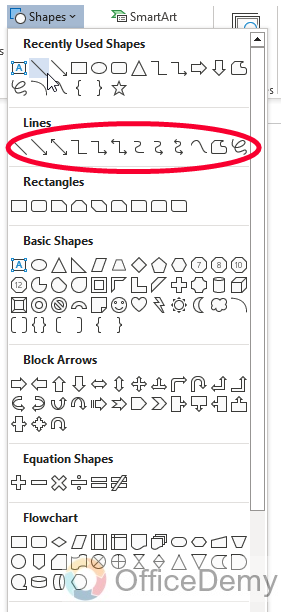
Select any kind of line from so many lines available inside shapes
Step 4
Click and drag your mouse to draw the line where you want it to appear.
Release the mouse button to insert the line
Step 5
Click on the Shape Format button in the main menu
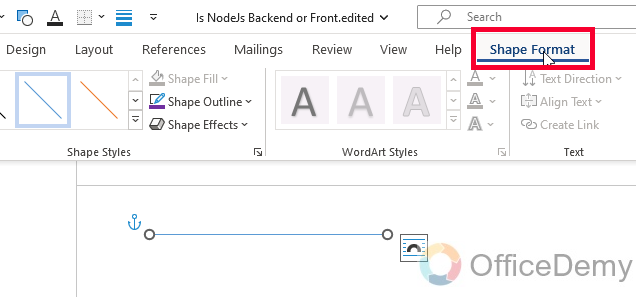
Step 6
Here you have plenty of customization options for your line, you can have so many effects, styles, and shadows on your lines with so many colors.

So this was another method to add a line in Microsoft word.
Let’s move forward to the last method of our tutorial.
Add a Line in Microsoft Word – Setting up Borders and Shading
This method is a little like the first method but has some differences in styles. So, in this section, we will learn how to add a line in Microsoft word using the borders and shading dialog box available from the borders button in the home tab. Let’s see the steps below to learn how to quickly add a line and change its style instantly.
Step 1
Click on the location where you want to add the line and place your cursor there.
Step 2
Go to the “Home” tab on the top ribbon / main menu
Step 3
Click on the “Borders” icon dropdown, which looks like a square with four quadrants
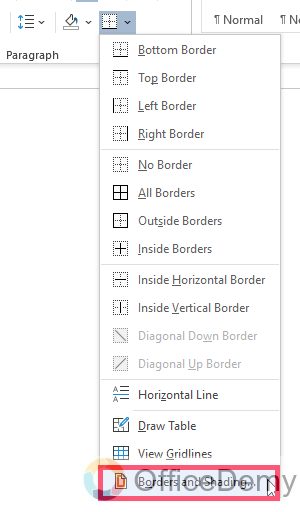
Step 4
Click on “Borders and Shading” from the dropdown menu
Step 5
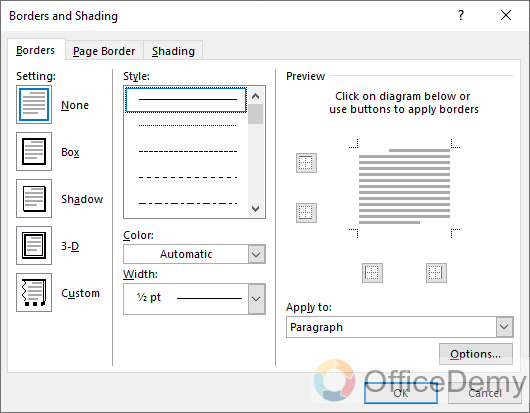
You will have a “Borders and Shading” dialog box appear in front of you
Step 6
At the top, in the Style box, select any border style from plenty of presets

Step 7
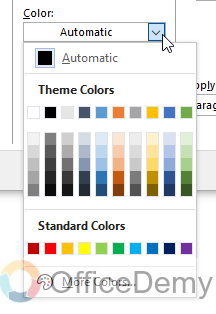
Then below it, Select the color from the Color dropdown
Step 8
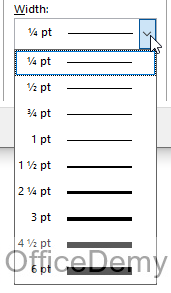
Finally, select the width for the border from the last dropdown
Step 9
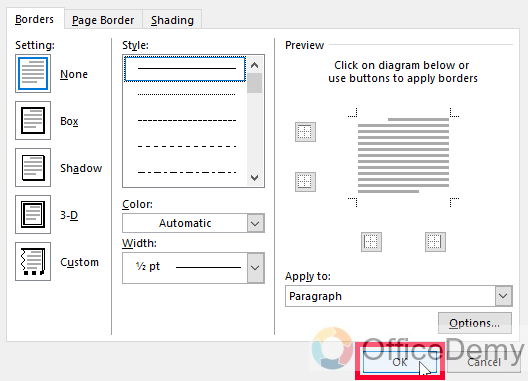
Click on the Ok button below to add a line
Frequently Asked Questions
Can I Use the Same Methods to Add a Diagonal Line in Google Sheets as in Microsoft Word?
When it comes to inserting diagonal lines in cells, the methods differ between Google Sheets and Microsoft Word. While Microsoft Word allows easy diagonal line insertion through a border tool, Google Sheets does not have built-in features for diagonal lines. Workarounds, such as utilizing a drawing tool or custom formatting, are required to achieve the same effect.
How to add a thick line in Microsoft Word?
Add a line using the line tool from the shapes, and after adding just click on the Shape format button in the main menu and pick a thick style for your line from so many available styles, this way you can have a think line.
How to add a colorful line in Microsoft word?
Just like the thickness, color is also an attribute of the line that can be easily changed in Microsoft Word, after drawing your line from the shape tool, just go to Shape Format and you will see an outline color dropdown, click on it and then select any color from so many pre-sets, or build your custom color there, and select it to add to your line.
Conclusion
This is all about today’s guide. We learned how to add a line in Microsoft Word. I tried to cover all the possible methods, and also a hyphen trick in Method 2. I hope you all will love it. I am hoping you will like and share this guide; I will see you soon again with another helpful tutorial till then take care and keep learning with Office Demy.


