
To Change Default Font in Microsoft Word
- In the “Home” tab, find the font section.
- Click the small arrow to open the font properties window.
- Select your desired font from the list.
- Before clicking “OK” click “Set as default.
- Choose to apply the default font to only the current document or all future documents.
- Confirm by clicking “OK“.
Hi, welcome back to our Microsoft Word series of tutorials. Today, we will learn how to change the default Font in Microsoft Word. Sometimes, we don’t like or our company or brand does not comply with the default settings of any software and systems like Microsoft Word, and we want to change it to some other settings, mostly this happens for the font. So, changing the default font helps us to avoid repeating the required steps to change the font again and again.
And it also leaves some probability for errors, means sometimes you changed the font and rest of the times you forgot it, or you did not have the time to do it. Now, forget all these problems, because you can do it one time by changing the default font.
Why do we need to Change Default Font in Microsoft Word?
Microsoft Word and other similar software are used by companies, organizations, and brands, this is why the developers of these tools always try to give them all the possibilities of customization according to brand voice and theme. Learning how to change default font in Microsoft Word is a matter of saving time and keeping consistency in your work.
How to Change Default Font in Microsoft Word?
You can change your default font in Microsoft Word from the font properties dialogue box which you can access from the font section of the home tab of the menu bar. Let me show you practically with the help of step-by-step examples.
Step 1
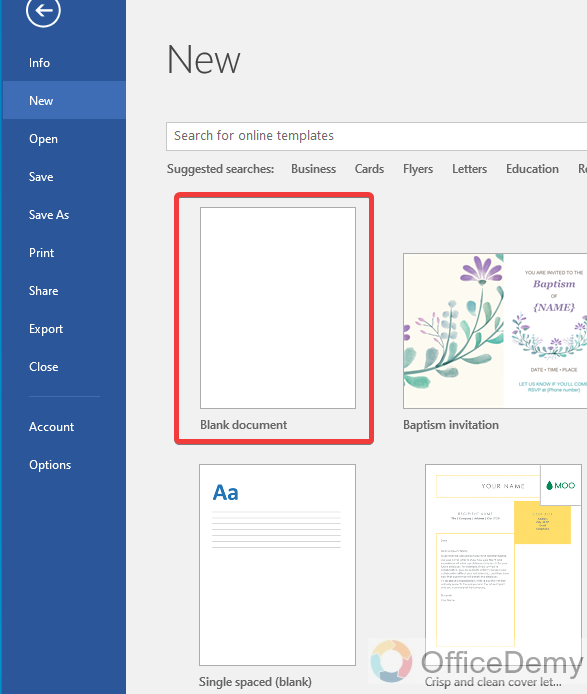
Open Microsoft Word and take a new blank file to change the default font of your document.
Step 2
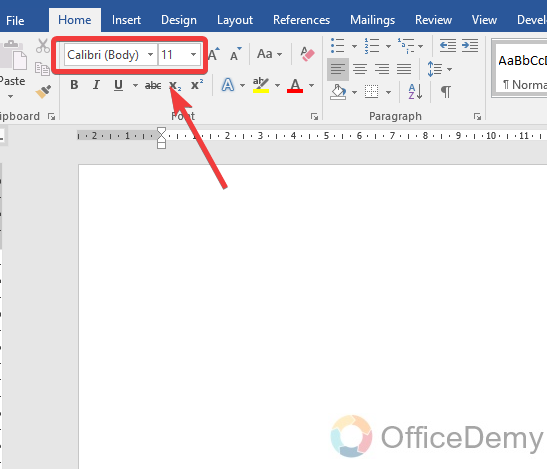
When you open Microsoft Word’s new document, you will see that your default font will be “Calibri (Body)“. If you want to change this default font, then follow the following steps.
Step 3
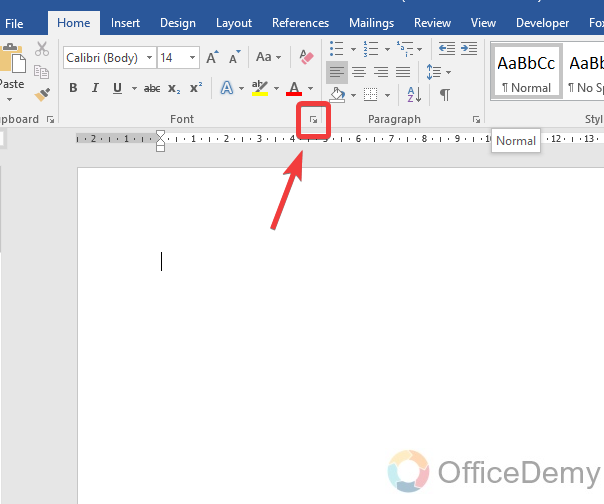
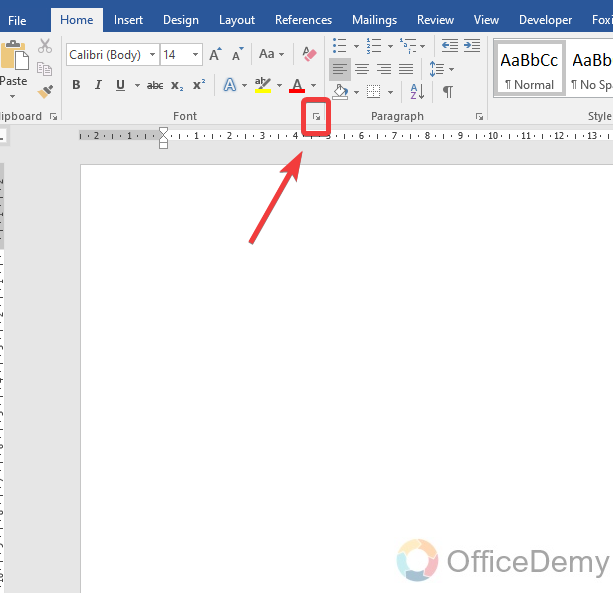
To change the default font of Microsoft Word, find a small arrow pin to the font section of the “Home” tab of the menu bar as shown below.
Step 4
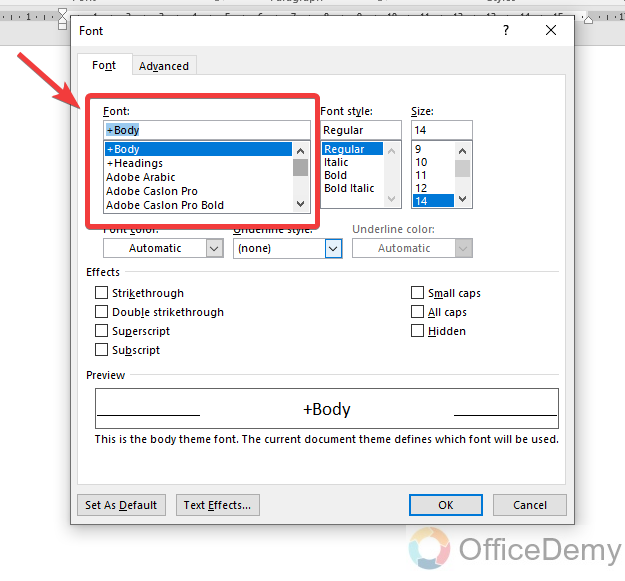
As you click on that arrow, a separate new window will open for several options in which at first you will find a drop-listed option containing different types of fonts in it.
Step 5
In this built-in font list, choose your desired font which you want to make default to your document in Microsoft Word.
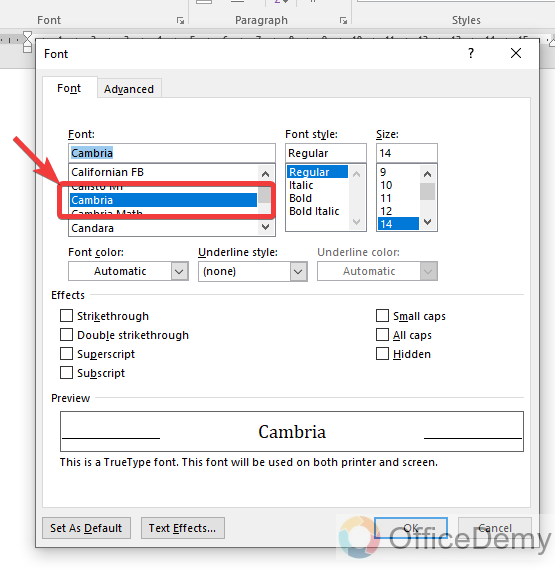
Step 6
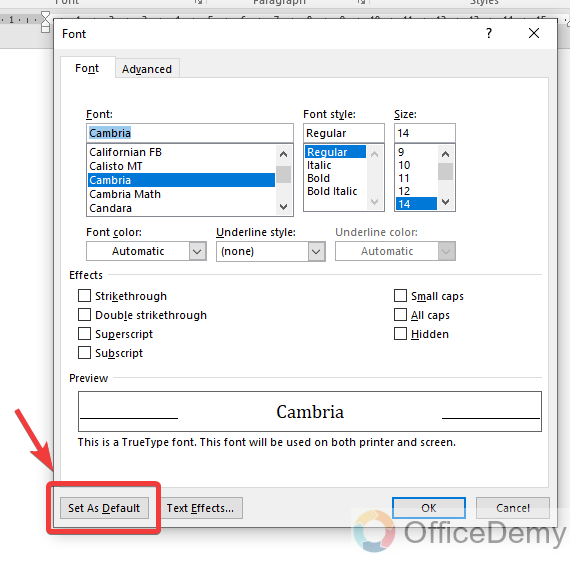
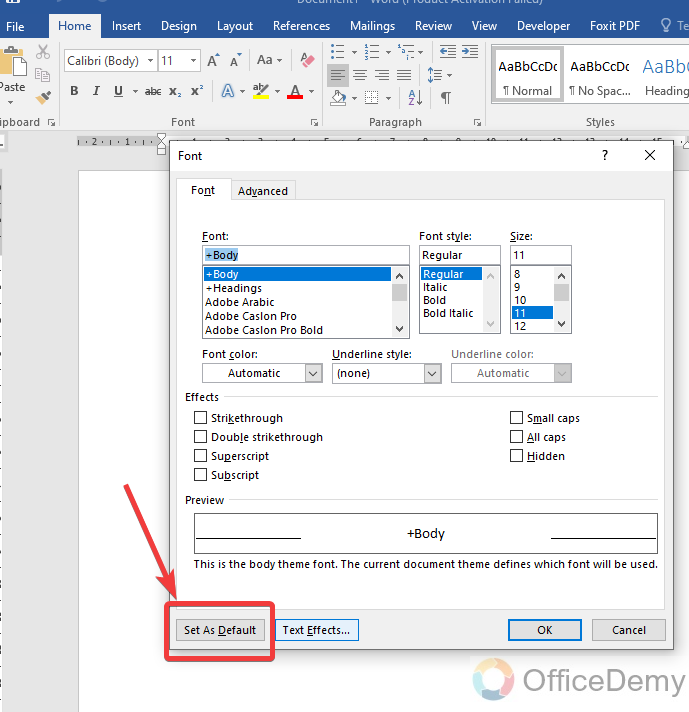
Once you have selected your desired font, then before pressing the “Ok” button, click on the “Set as default” button present in the left bottom side of the window.
Step 7
When you click the set as default button, a new pop-up window will prompt.
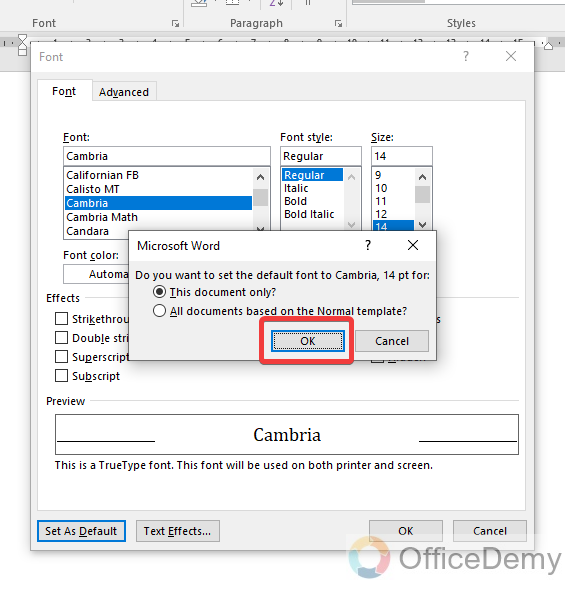
If you want to change the default font only for this document only then simply click on the “OK” button.
Frequently Asked Questions
Q: Can we change the default font size in Microsoft Word?
A: By default, Microsoft Word has not only a default font style or type but also a default size of 11 pt. In every document when open Microsoft Word. If you want to change this default font size, then you can also change the default font size in Microsoft Word. The procedure of changing the default font size is almost the same as the procedure of changing the default font above. If you are known for changing the default font in Microsoft Word then you can also change the default font size in Microsoft Word. If it is not so, then you can take the following steps.
Step 1
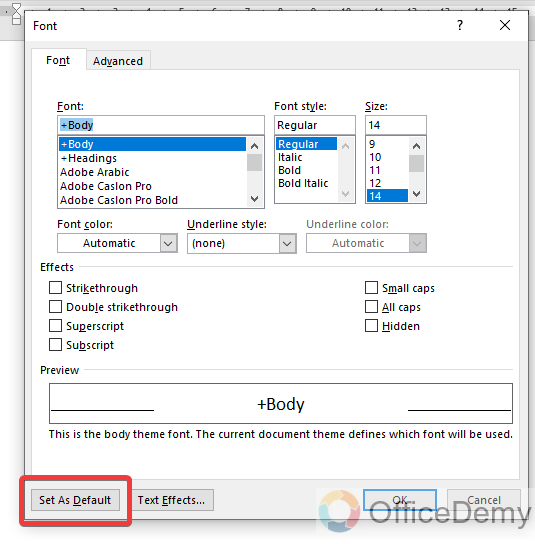
As per past practice, click on the small arrow located in the section of fonts in the Home tab of the menu bar to open a more customization window where you will also find the portion of “Font size“. Select the size which you want to keep always set as default.
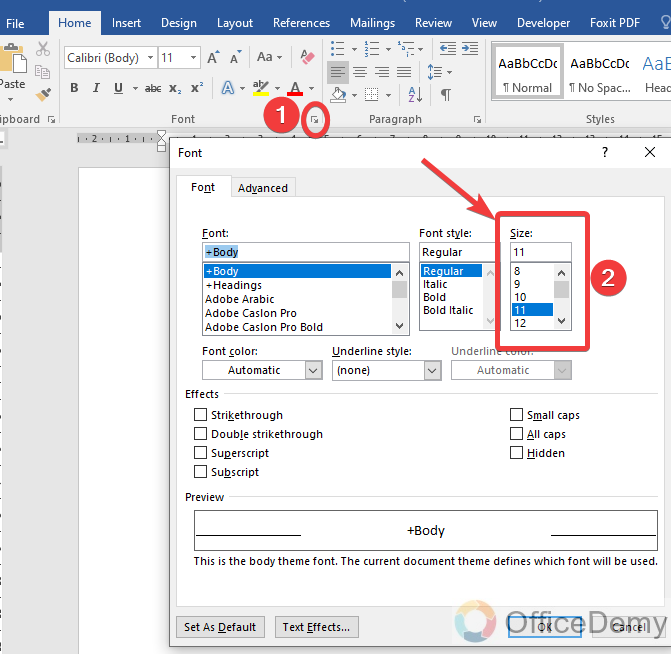
Step 2
Then simply click on the “set as default” button to make it the default font size. This set as the default button can be seen at the left bottom side of the window in the following picture.
In this way, you can also change the default font size in Microsoft Word.
Q: How to change the default font in Microsoft Word permanently?
A: Let’s suppose you have changed the default font in Microsoft Word, but when you open a new document file it turns into Microsoft Word’s default font. If you are having this difficulty here are the following steps to make your font default permanently.
Step 1
Similarly, again open the properties dialogue box from the drop arrow in the font section.
Step 2
A property dialogue box will open on clicking that arrow in which you will see different types of fonts, now it’s up to you and your desire which font you select to make it default.

Step 3
Once you have selected the font that you want to make the default font. Then click on the “Set as default” button located at the right side of the window as shown in the following picture.
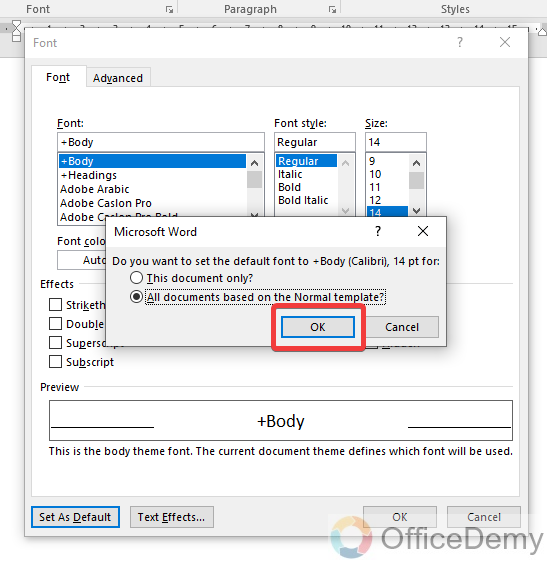
Step 4
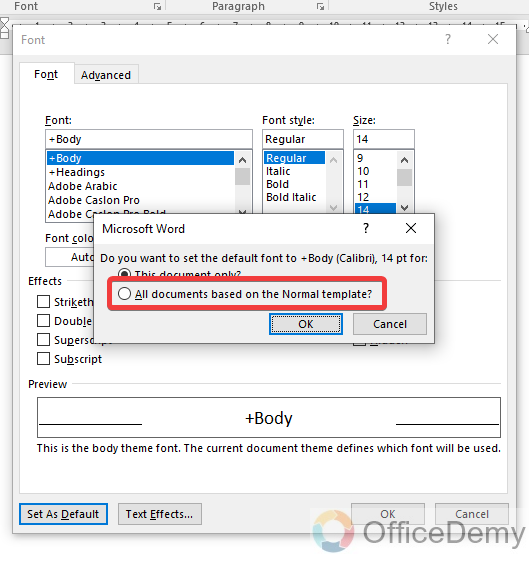
When you click on this set as default button, a new pop-up dialogue box will prompt in front of you in which Microsoft Word will ask you to make this font default to only this document or all documents based on the normal template. As we need to make this font default for all the documents, therefore, I have selected the following option as shown below.
Step 5
We are almost done now; we just need to press the “OK” button to make the desired font default font in Microsoft Word’s all documents.
Q: How to reset Microsoft Word to the default font?
A: Making changes according to our desires and making customization is suitable but what if, if you want to revert it? If you have ever made any changes to the default settings of Microsoft Word and don’t want to anymore then follow the following steps through which you will get your Microsoft Word in its original settings.
Step 1
Go into the start menu by clicking the windows button on your keyboard and find the “Run” window to launch. A small window which you are seeing in the following picture will open where give the command “regedit” and click the “Ok” button or press the “Enter” button.
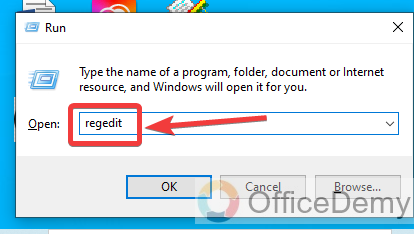
Note: You can also press the shortcut key “Windows + R” to open the Run window.
Step 2
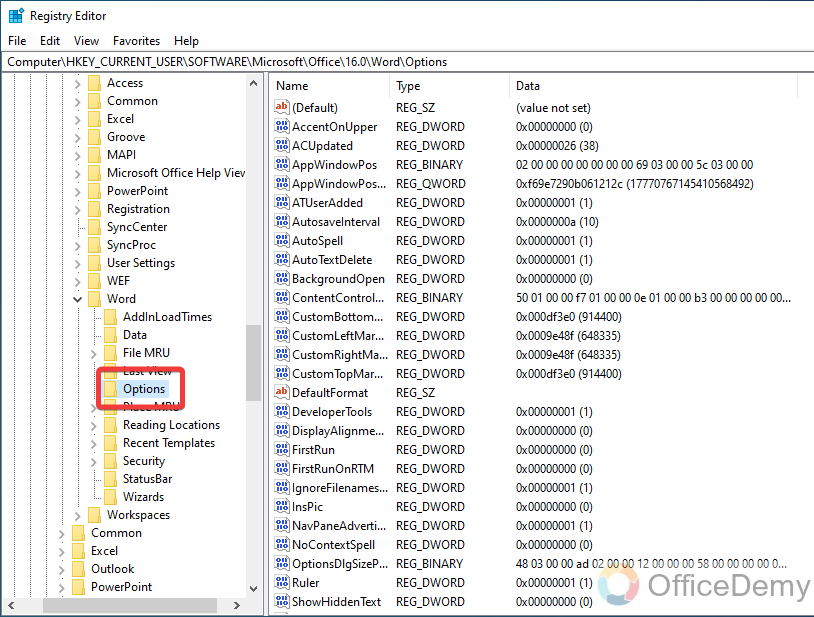
When you press Enter key after writing regedit in the Run window, a new window of Registry Editor will open, in which you will have to write “HKEY_CURRENT_USER\SOFTWARE\Microsoft\Office\16.0\Word” in the path section to open the Microsoft Word files. Once you have got the Microsoft Word files location then find the folder of “Options” in it as shown in the following picture.
Note: The above path key provided will surely work for Microsoft Word version 2016, but may or may not be applied to other versions.
Step 3
Press right-click the mouse on this option and click on the delete option to delete this folder or you can also directly press the delete button from your keyboard to delete this folder. While deleting the folder it will ask for confirmation, press the “Yes” button.
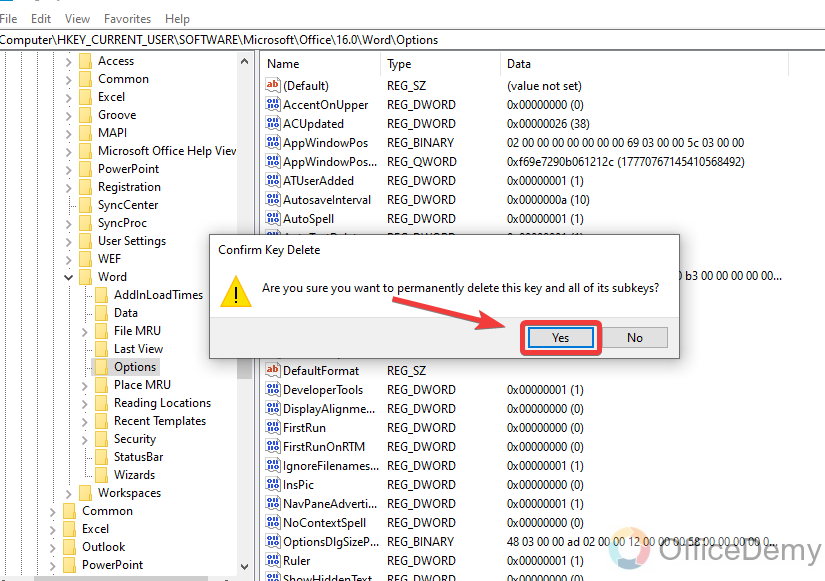
Step 4
Once the folder of “Options” from the Microsoft Word registry is deleted. Your Microsoft Word will be automatically reset to its default settings as it was at the time of installation.
Conclusion
This is all about how to change default font in Microsoft Word. Most users do not stay with the default font Calibri in Microsoft Word when they are creating Word documents. When there is a wide range of font styles in Microsoft Word then why do we always use Calibri and some more famous fonts? Find ways from the above article on how to change default font in Microsoft Word and make the default font that you regularly use.


