
To Change Opacity in Google Slides
- Click on the object you want to adjust the opacity for.
- Find “Transparency” in the Format options pane on the right.
- Slide the transparency slider to set the opacity level.
- Repeat for other objects as needed.
Hi, and welcome to another tutorial in our Google Slides series. In this article, we will learn how to change opacity in Google Slides. In Google Slides, we have so many objects, and our slide is filled with different elements that are unique in their properties like color, size, background, opacity, etc. So, in this tutorial, we will see some common and fundamental elements in Google Slides, and we will learn how to change opacity in Google Slides for those elements. They are text, shape, images, diagrams, audio elements, charts, and many more. So, let’s move ahead and learn how to do that.
Importance of Changing Opacity in Google Slides
As we know we need to use so many objects and elements on our Google Slides pages, we often need to have as many objects to create a scenic view that we don’t have enough space on the page, or sometimes it is the scene requirement to keep objects closely and make sure that it looks like a real situation so for this purpose, and also for the design purpose, we sometimes need to show a low transparency element on the screen. So, what we do is use the opacity feature of Google Slides to control the transparency of each element on our page. We can use 1% to 100% of the opacity level.
This feature also helps when we want to show two elements in the same position, we can keep low opacity for both and can play around with the transparency level to make both objects partially visible and looks like one object inside the other one. There is another feature that helps us do this, it is the order of the objects, we can send an object backward, back, and front to manage their position and level on the screen. So, therefore we need to learn how to change opacity in Google Slides.
How to Change Opacity in Google Slides?
So, we are going to learn the opacity feature of our important elements. The text, shape, image, diagram, etc. We will see all of them one by one and will try to learn the process complete with all the important steps. So, let’s start learning how to change opacity in Google Slides
How to Change Text Opacity in Google Slides
In this first section, we will learn how to change opacity in Google Slides, and we will specifically learn how to change the opacity of text. The text can be a heading or paragraph using WordArt, the method works identically for all types of text in Google Slides inside WordArt, and not for the text that is inserted using a textbox. To add text to your slide, you need to have a WordArt inside the Insert menu. So will start from a blank file. See the below steps to understand this method.
Step 1
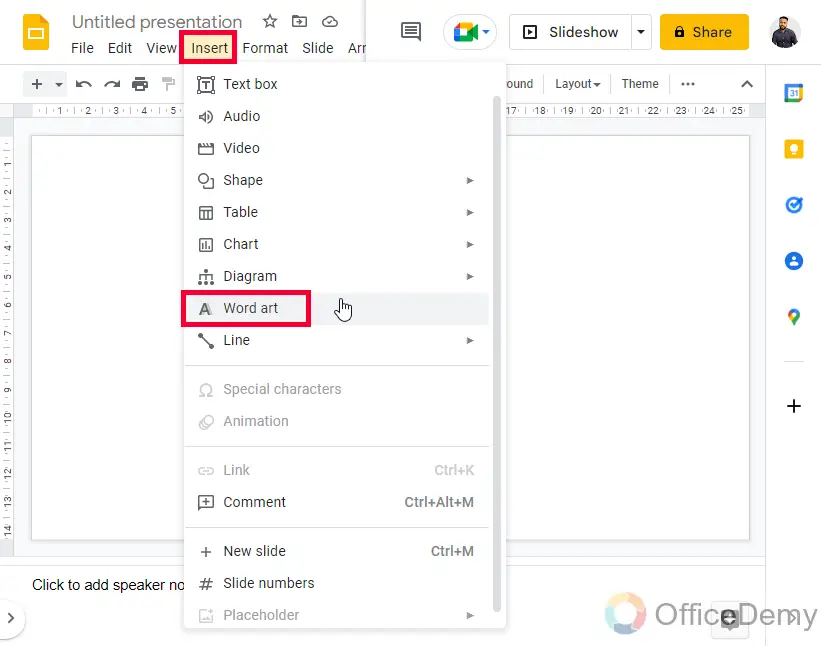
Add text on your slide using WordArt, Go to Insert > WordArt
Step 2
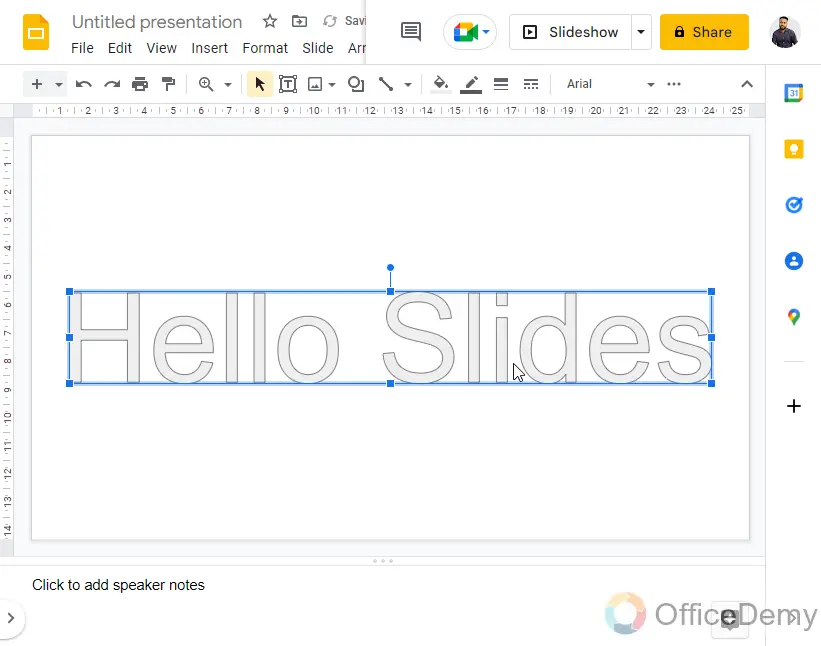
Now select the WordArt element
Step 3
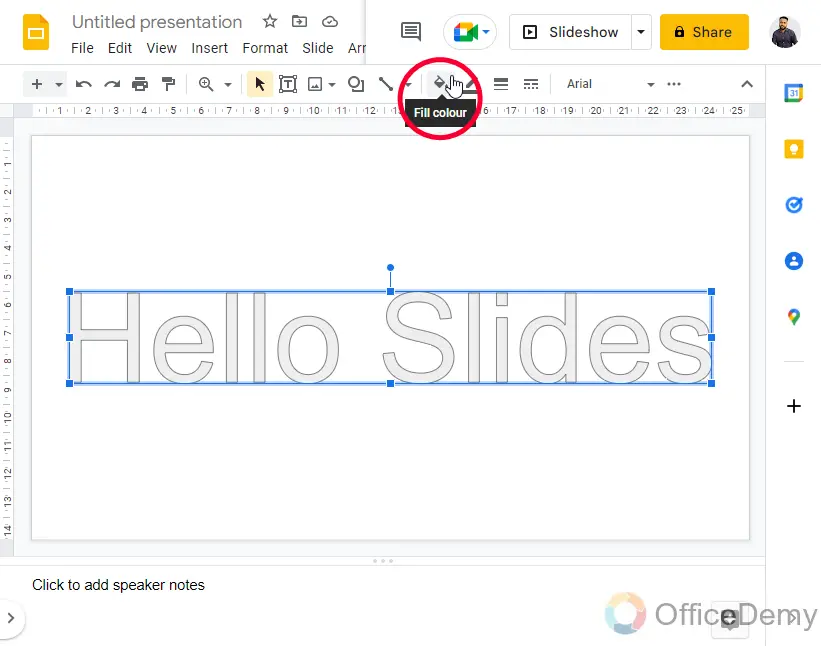
Click on the Fill color in the toolbar
Step 4
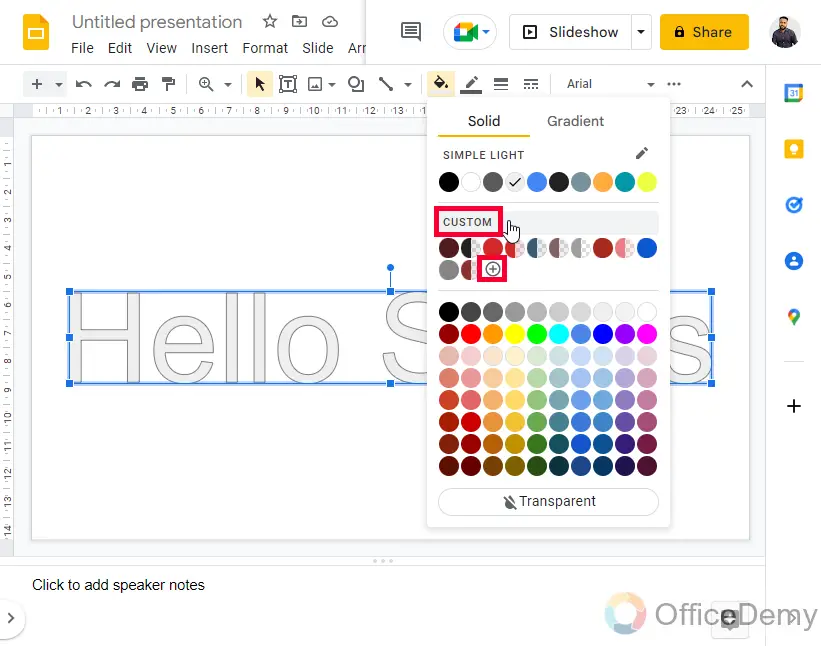
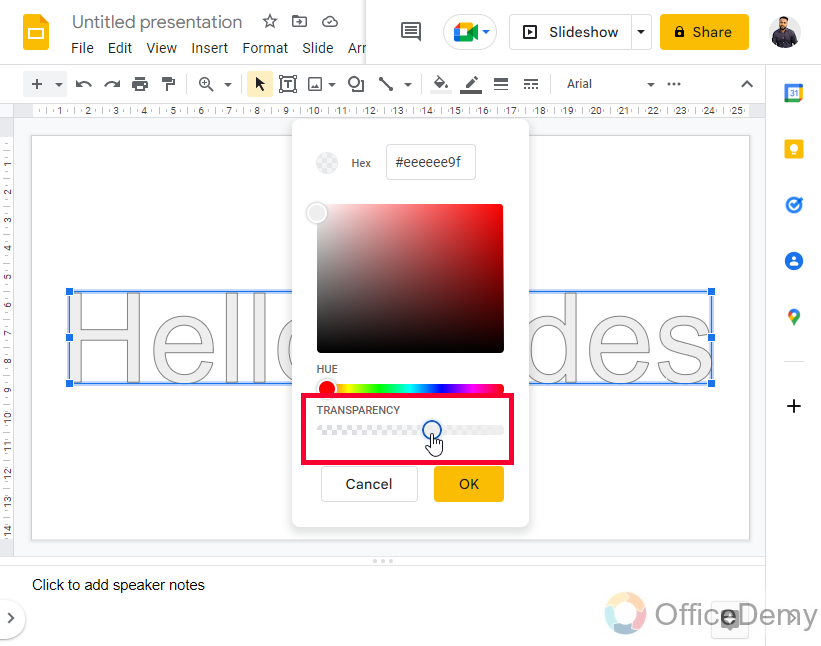
Inside the color box, click on the custom button, or plus icon below it.
Step 5
Now below you can see a color Transparency meter, you can adjust it low or high to adjust the opacity level
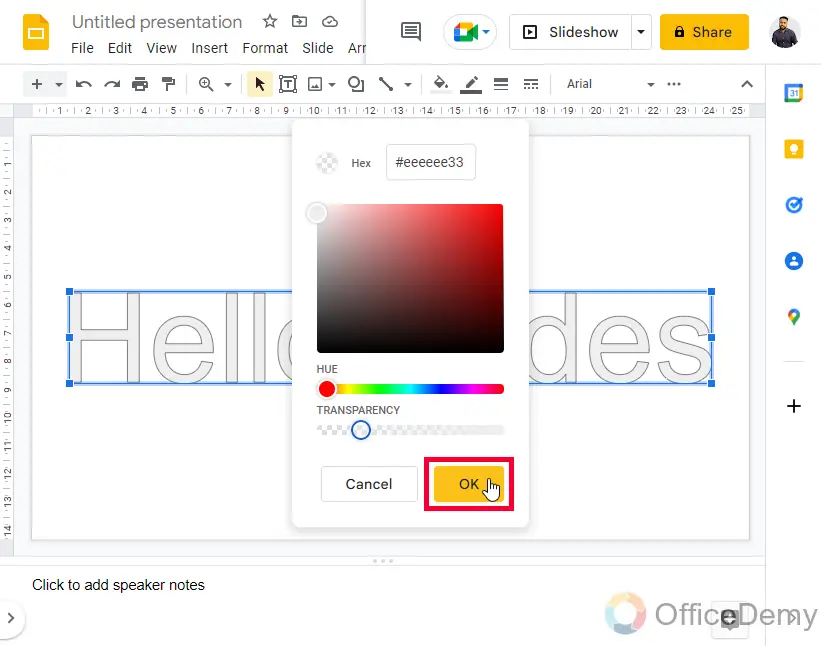
Step 6
Click on the button when you’re done.
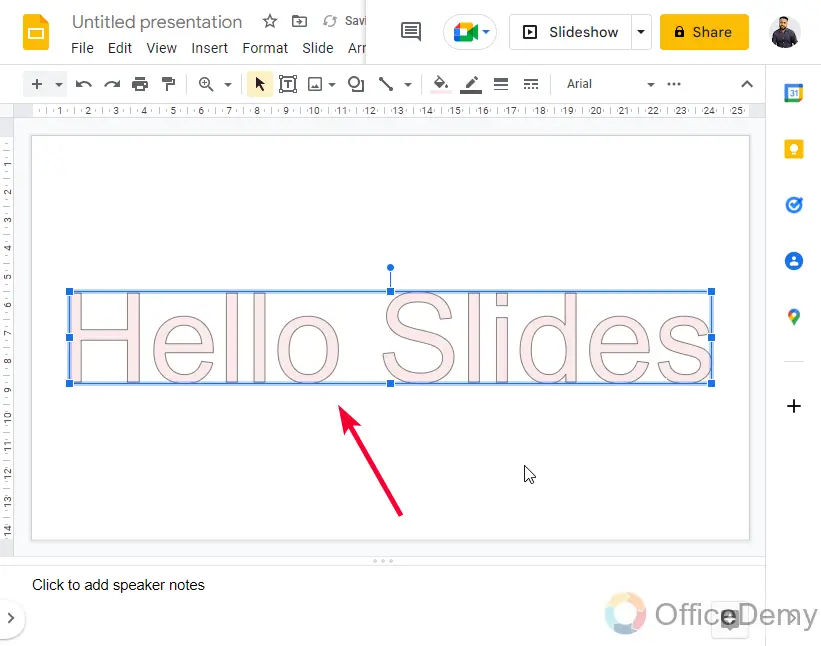
This is how you can change the opacity of your text in Google Slides.
Tip: This is also a hue meter for you to get all the shades of the color
How to Change Shape Opacity in Google Slides
We use so many shapes to make our presentation more designable. We have so many shape options to use, and along with shapes, we can use images and other elements inside shapes. So, what if we need to change the opacity of the shapes in Google Slides? Well, it’s very easy to do it. We have a simple method to control the opacity of shapes in Google Slides. Let’s see how we do that.
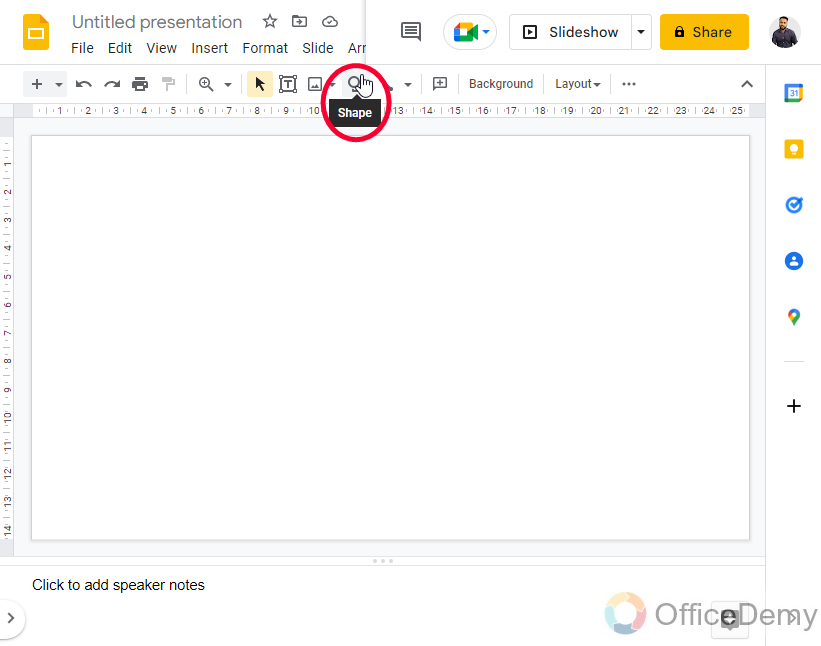
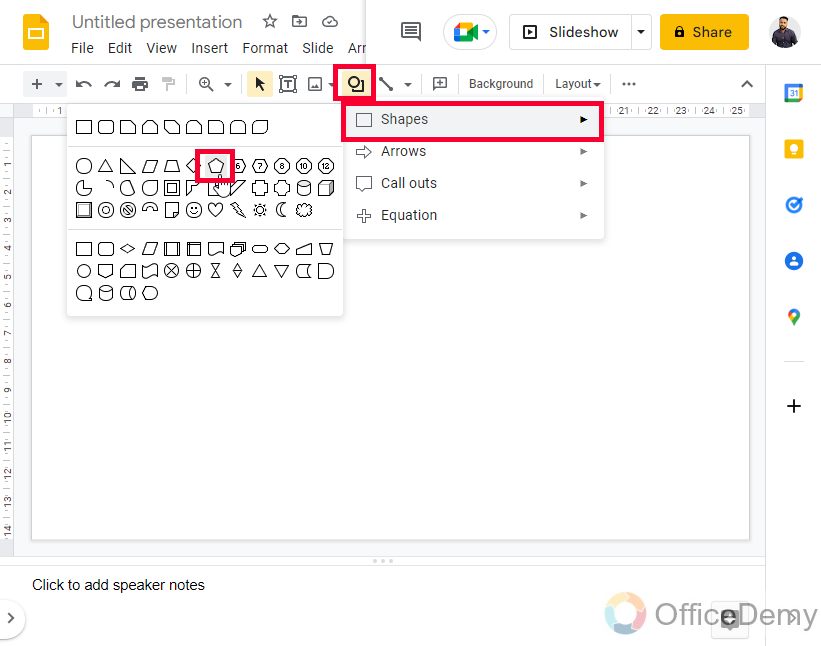
Step 1
Insert a shape into your slides, Click on Shape in the toolbar
Step 2
Select the Shape
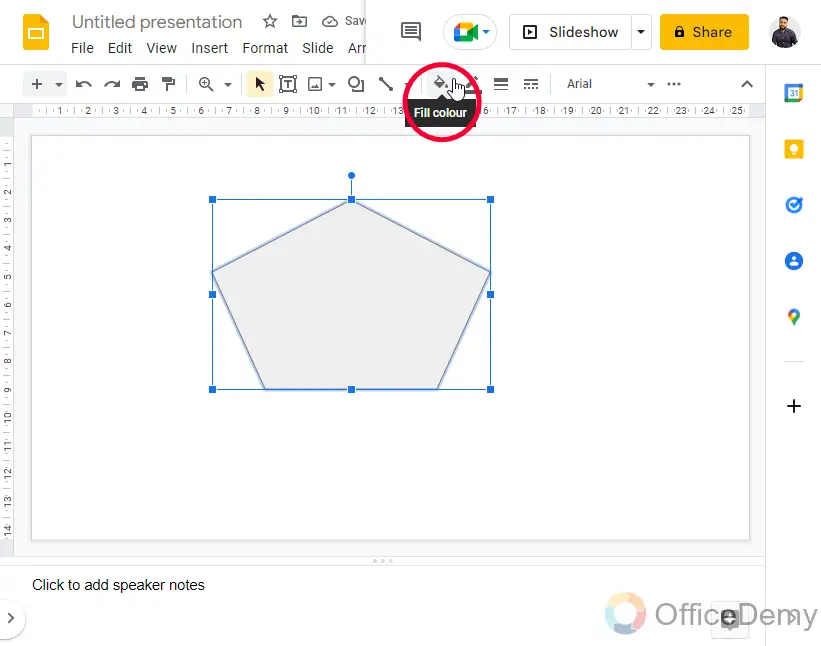
Step 3
Select the shape, and go to Fill color
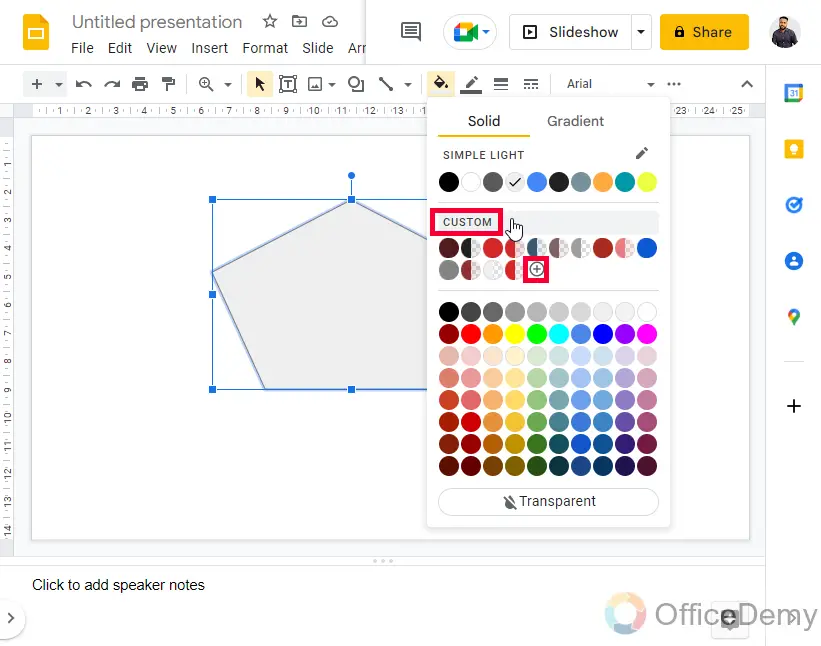
Step 4
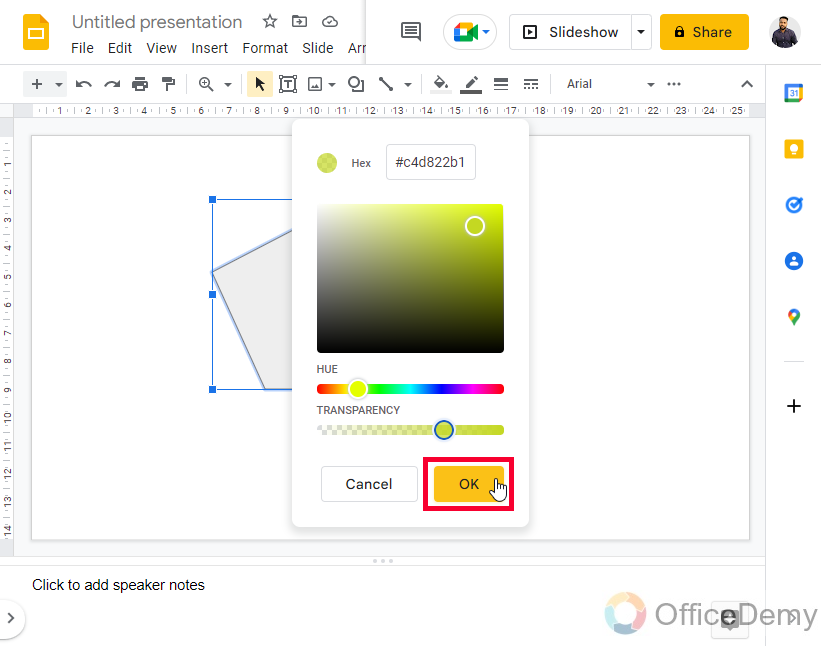
Similarly, you need to click on the custom button or the plus sign below it
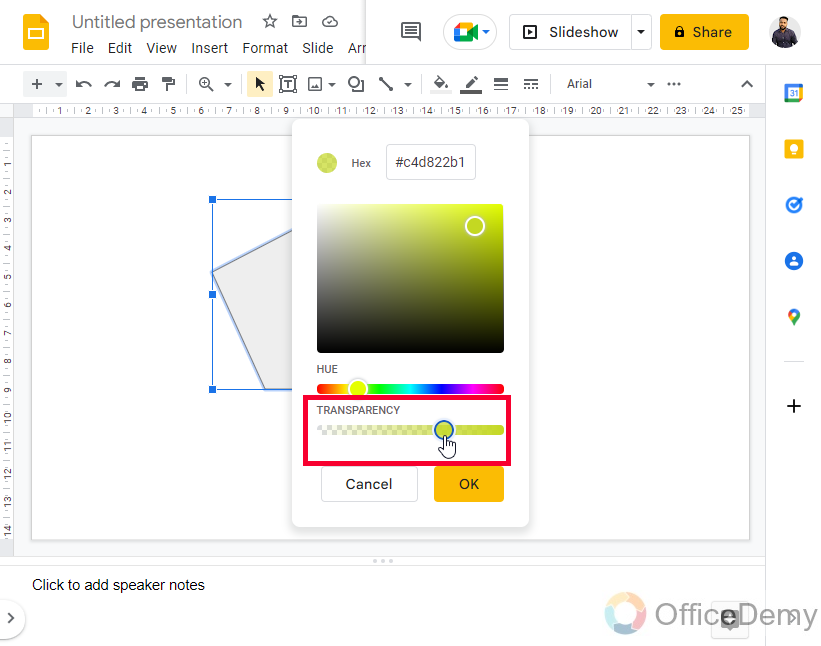
Step 5
Now use the transparency meter to adjust the level of opacity
Step 6
Click on the Ok button to
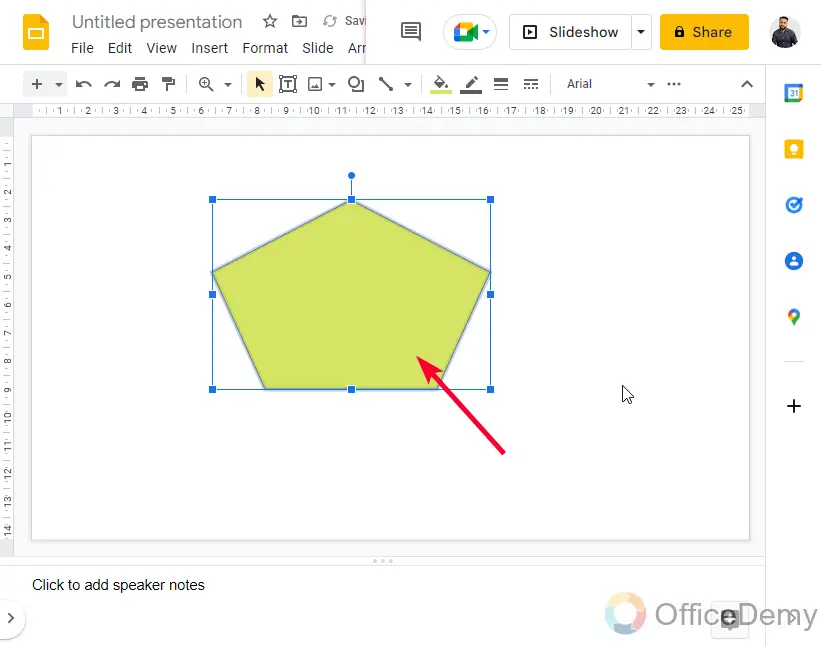
This is how easily you can change the opacity of the shape in Google Slides.
How to Change Image Opacity in Google Slides
In this section, we will learn how to change opacity in Google Slides for images. We add images in Google Slides and use them as a good useful element on our pages to communicate with our audience. We can image in any size over the slide and can resize the images as we need, sometimes, we use images in the background of our text. So, if we add images as a background then we cannot edit them, but if we add an image as an object then we can place them behind the text and can change the opacity to make the text look visible over the image. This is a very common thing we mostly do in Google Slides with images.
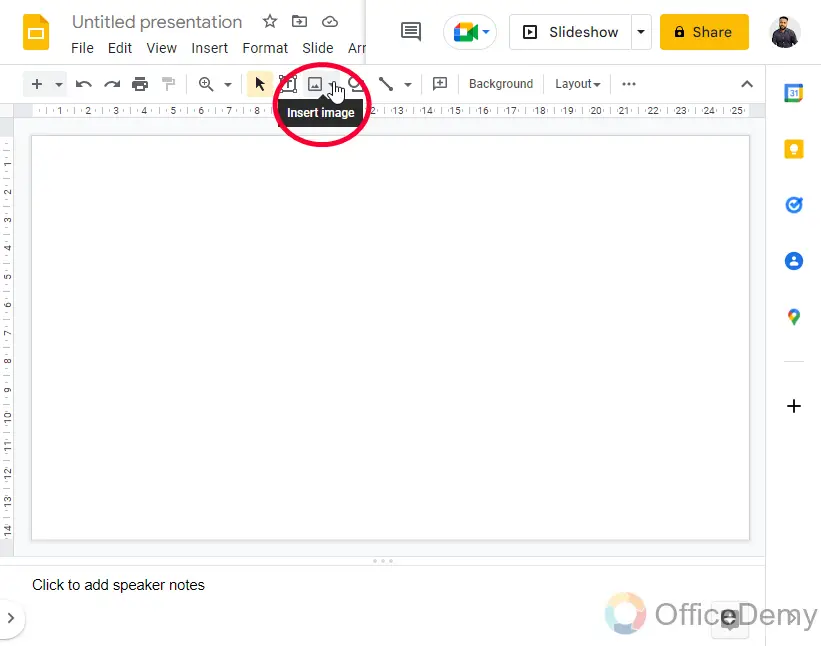
Step 1
Add the image, Click on the Insert image button on the toolbar
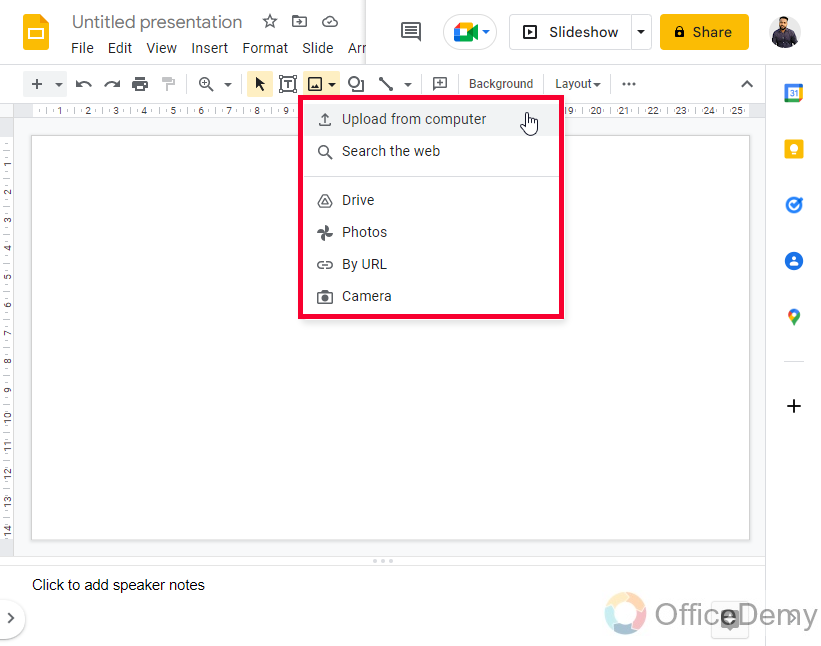
Step 2
Pick a source to import the image from
Step 3
Image is added, now select the image
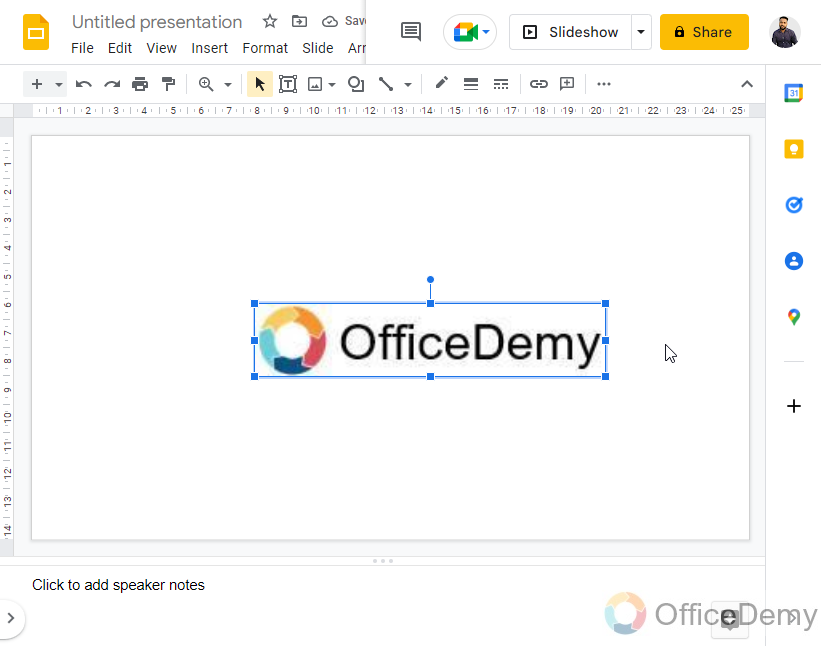
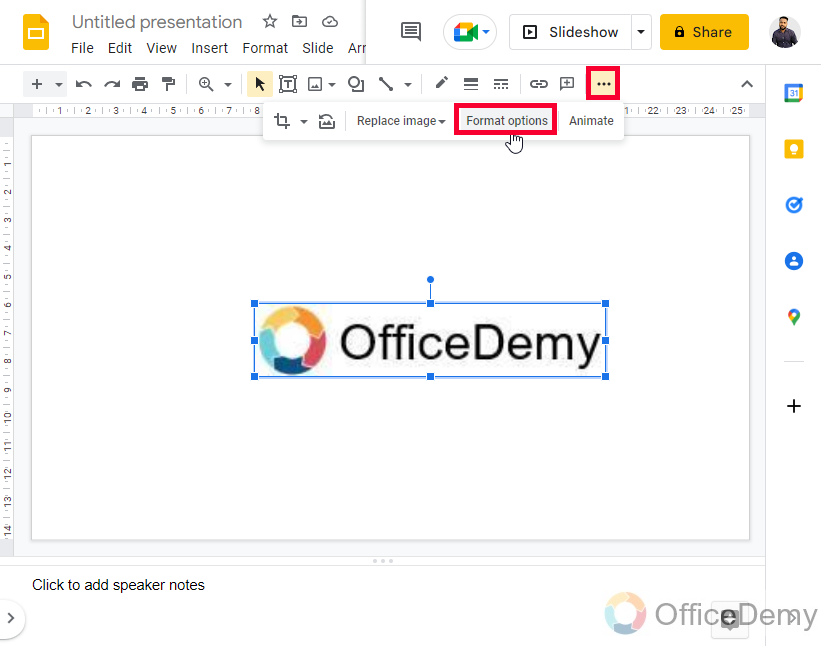
Step 4
Click on the Format options from the toolbar
Step 5
You have a Format options box on the right side of your screen.
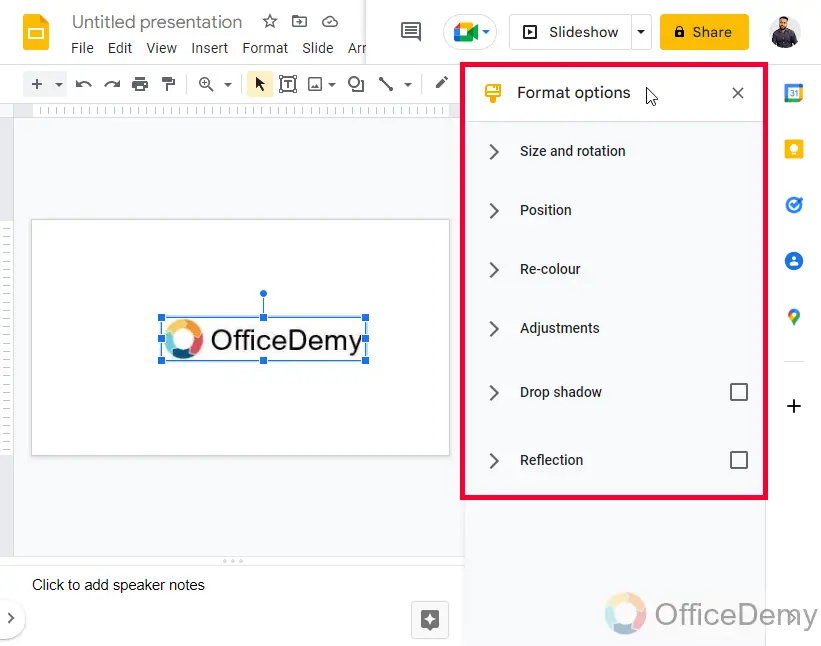
Step 6
Click on the Adjustments drop-down
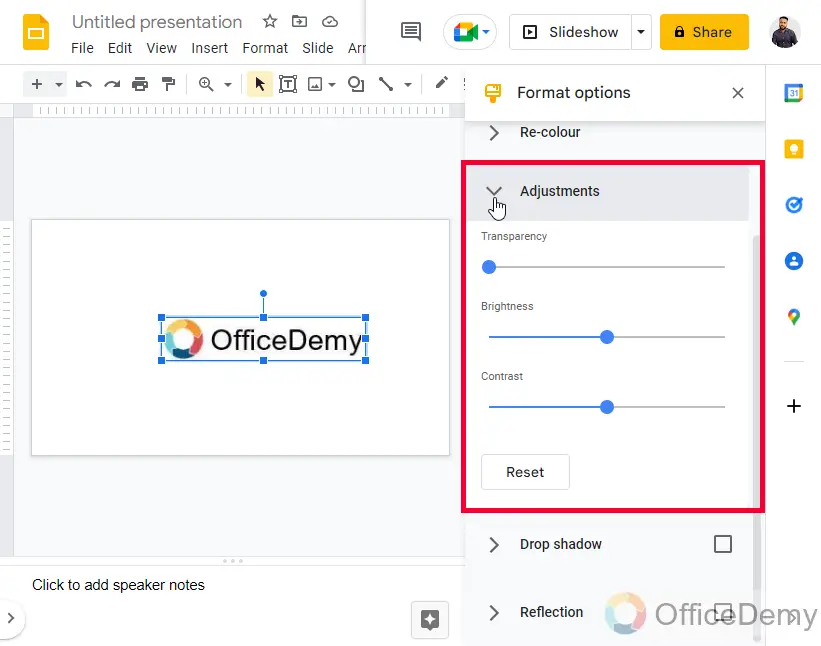
Step 7
You have a Transparency meter here you can move the meter left and right to set the opacity level of your image.

This is how you can change opacity in Google Slides for images.
I hope you find all the above methods useful and very easy to use.
How to Change Audio Elements Opacity in Google Slides
In this section, we will learn how to add the audio element, and how to change the opacity in Google Slides. We add audio files to make a voiceover, background music, or sound effect to our presentation slide. We add an element freely over the slide and can resize or move it anywhere on the page. Let’s how we add and change opacity for audio in Google Slides.
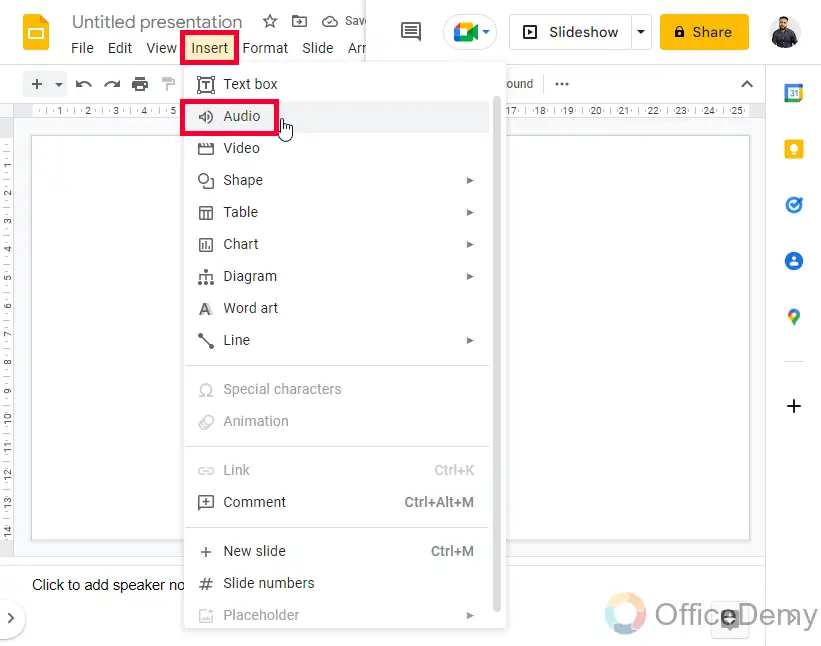
Step 1
Click on Insert and then audio
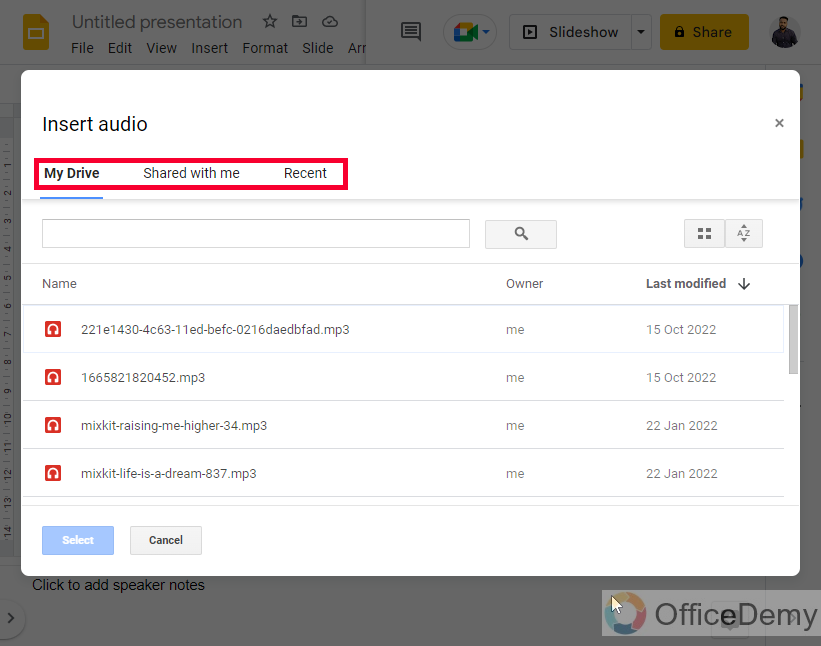
Step 2
Select an audio file from My Drive, Shared with me, or Recent
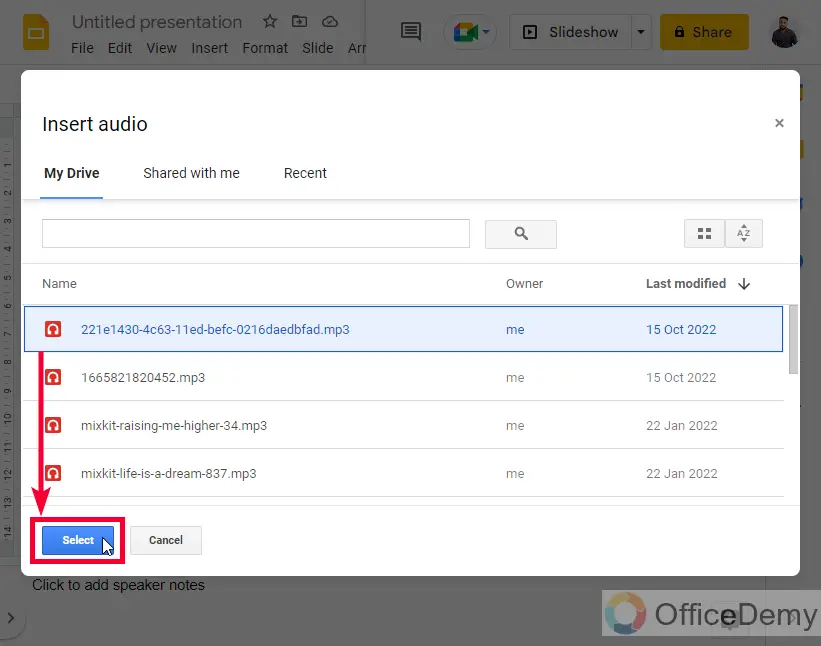
Step 3
Click on the Select button to add the audio
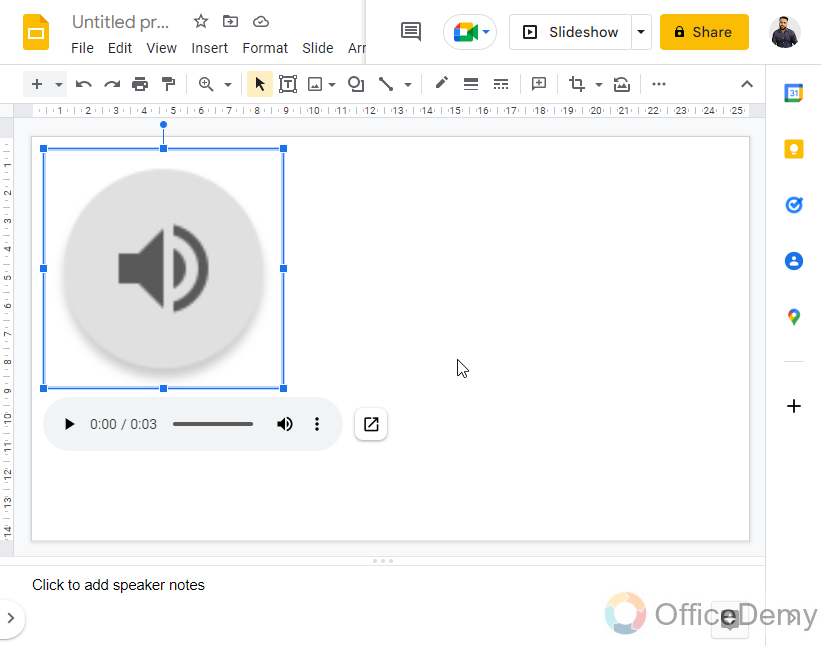
Step 4
Now your element is on the screen, select the audio element
Step 5
Go to Format options in the toolbar
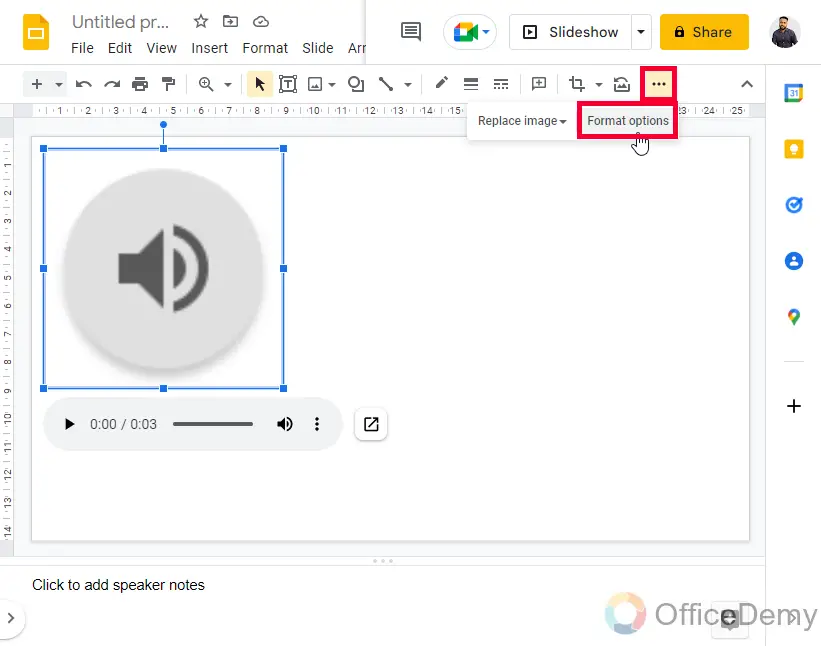
Step 6
Click on the Adjustments drop-down
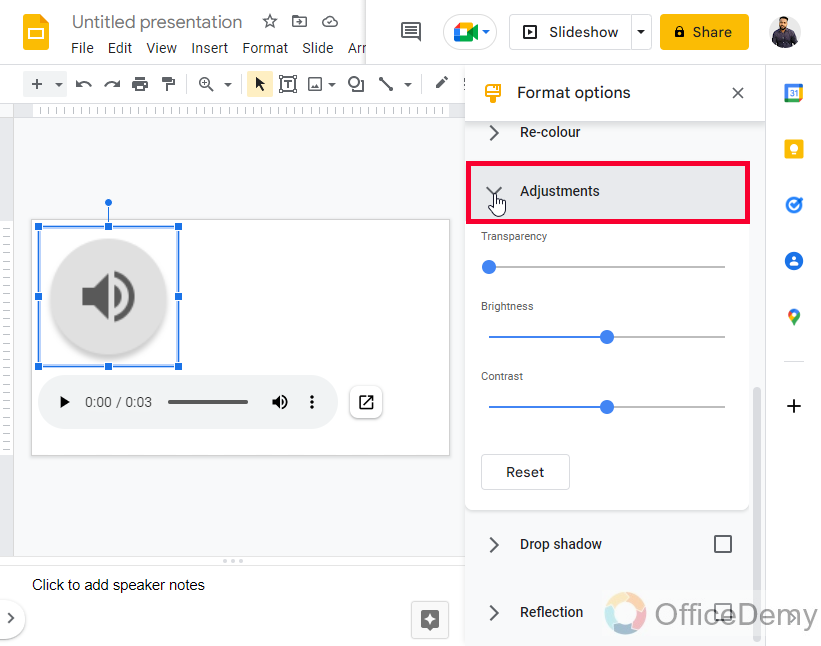
Step 7
Here is a Transparency meter to adjust the opacity level of the audio element.
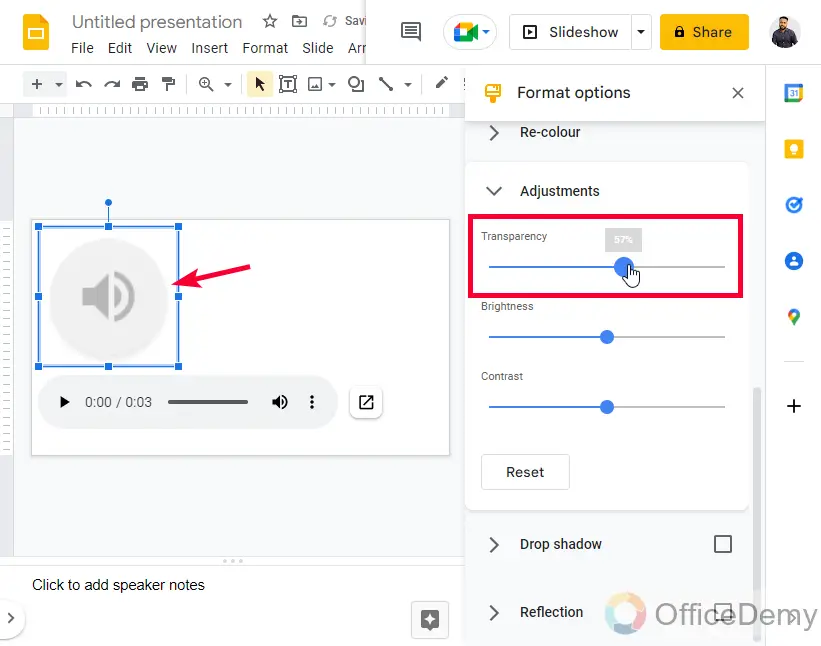
This is how you can change opacity in Google Slides for the audio element.
How to Change Chart Opacity in Google Slides
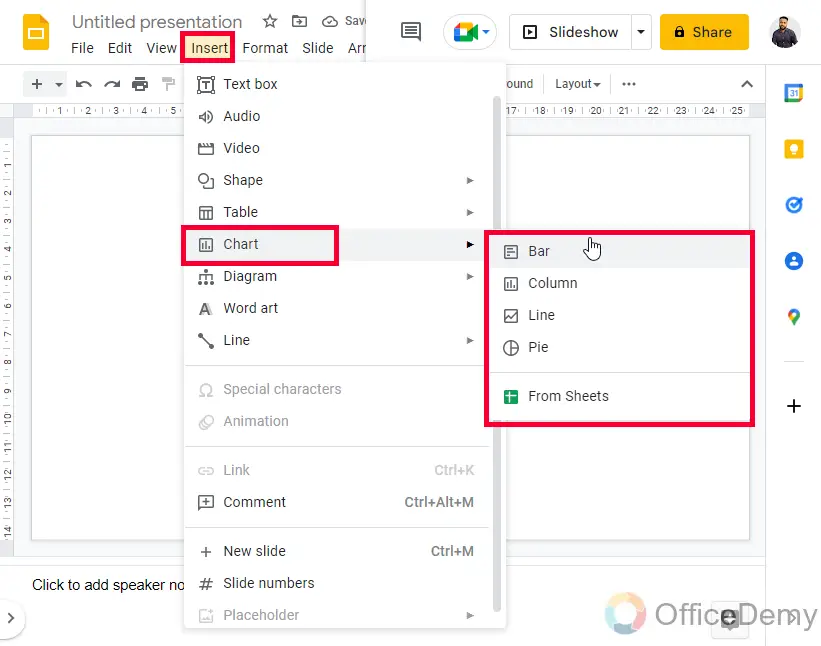
In this section, we will learn how to change opacity in Google Slides for charts. We have Bar, Column, Line, and Pie charts in Google Slides, and we can also take one from the Sheets. Adding Charts is simple just click on the chart and it will be added, and then we can change its opacity of it.
Step 1
Go to Insert > Chart > Click any type of Chart to add
Step 2
Now select the chart, and click on the Format options in the toolbar
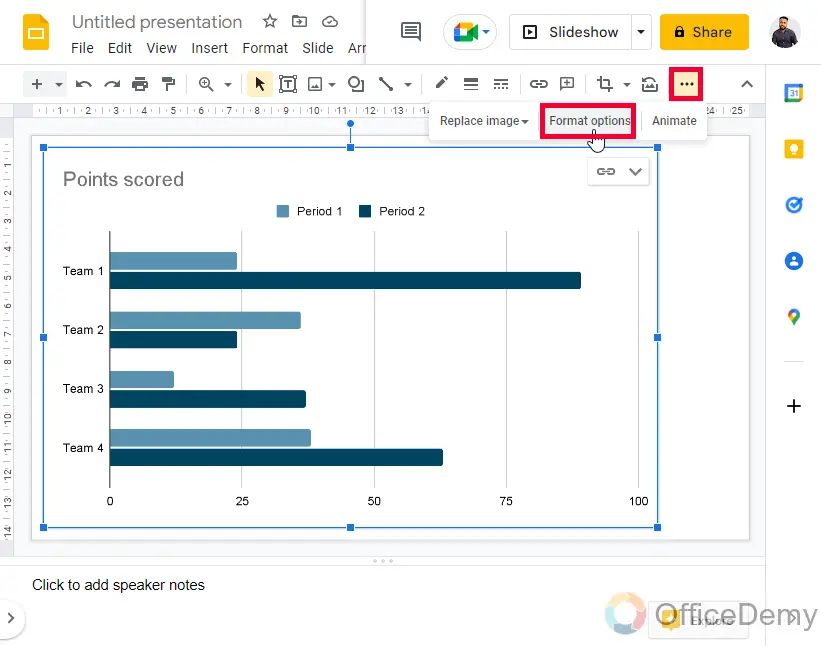
Step 3
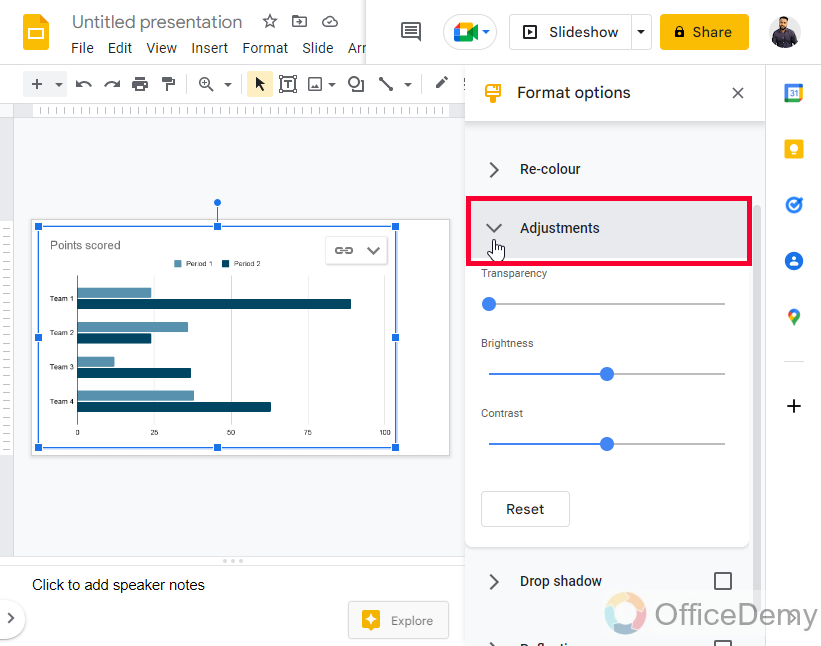
Click on the Adjustments drop-down
Step 4
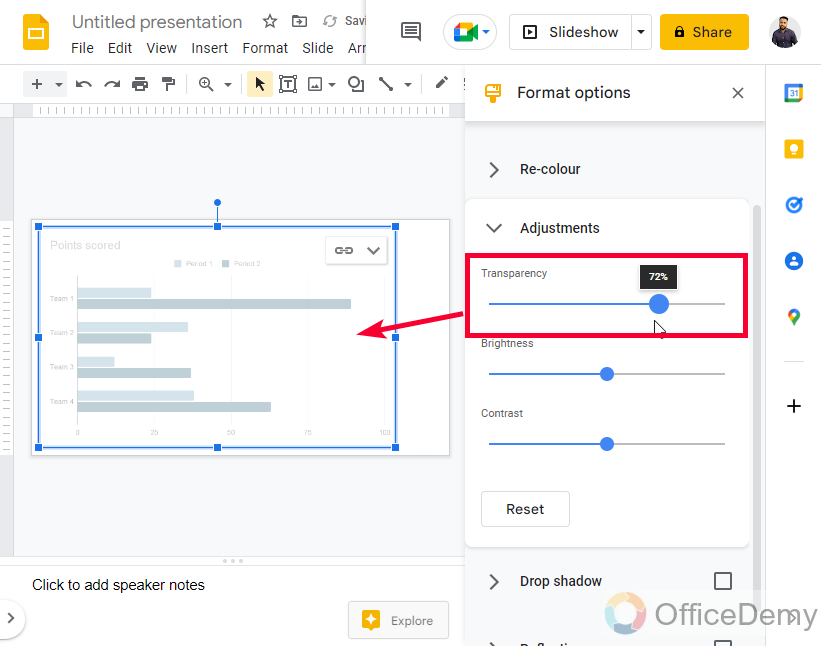
Now, you can use the Transparency meter to change the opacity for the entire chart body
How to Change Diagram Opacity in Google Slides
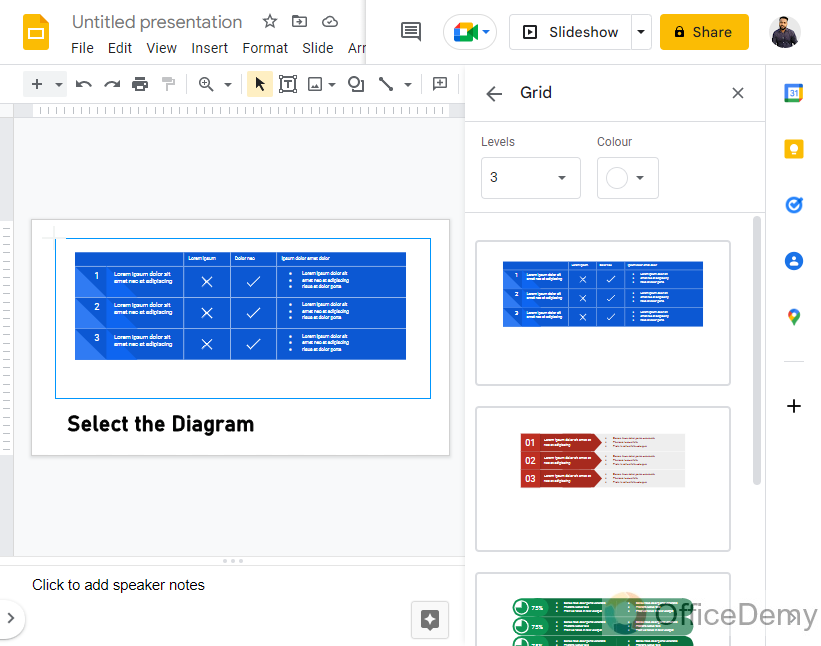
In this section, we will learn how to change opacity in Google Slides for Diagrams. We have so many diagram options to add in Google Slides such as Grid, Hierarchy, Timeline, Process, Relationship, or Cycle. We add use any diagram and then we can change the opacity of it.
Step 1
Go to Insert and then go to Diagram and pick any diagram to add to your Slides

Step 2
Diagram has been added, now to select the diagram completely add a selection using mouse drag, otherwise, you will end up selecting smaller components of the diagram
Step 3
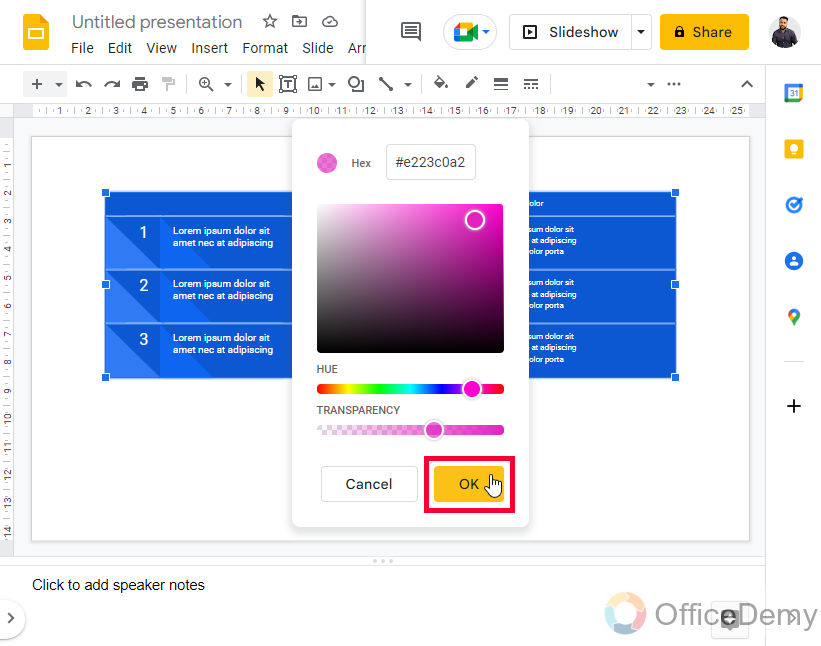
Now the diagram has been selected, click on the Fill color
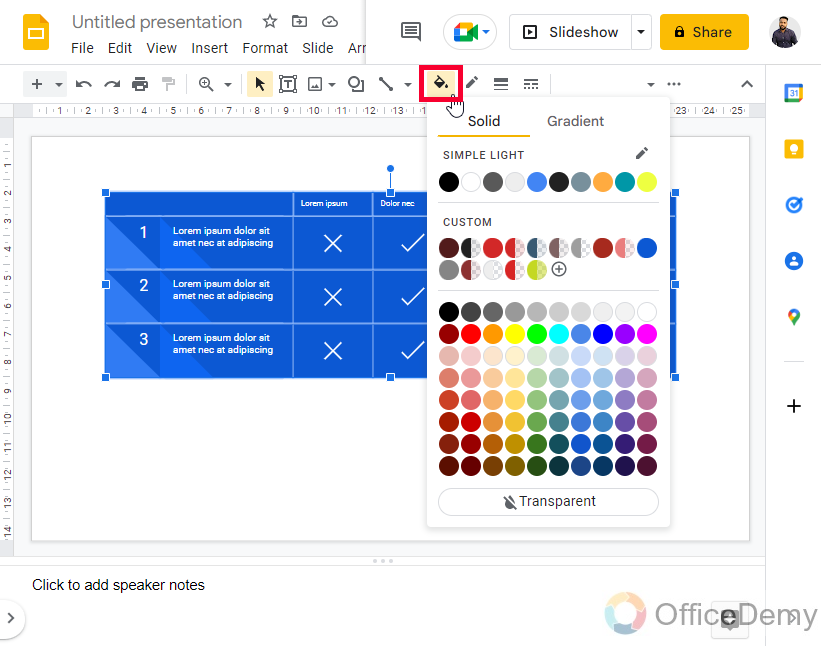
Step 4
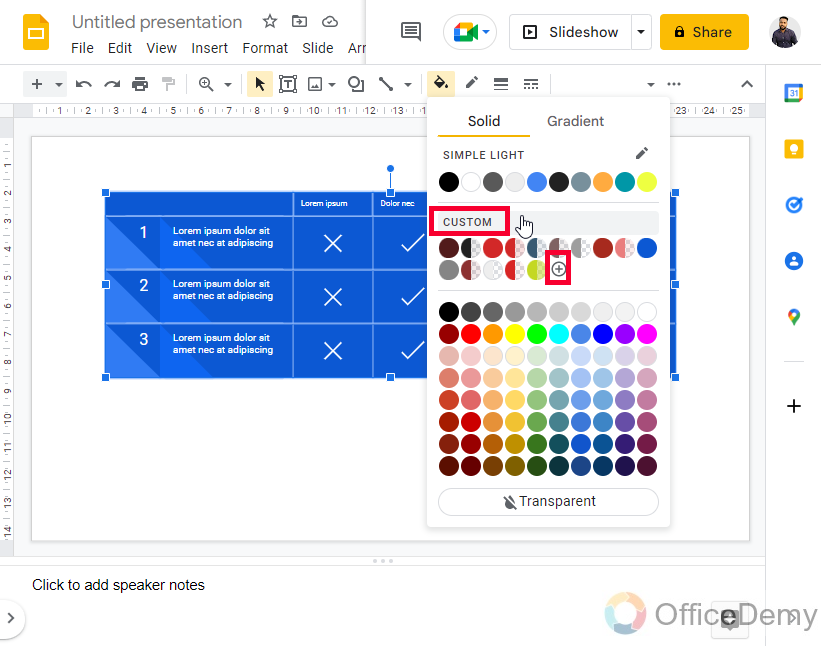
Go to Custom or click on the plus sign below it
Step 5
Select a color, and then low down the transparency level of the color to change the opacity of the element.
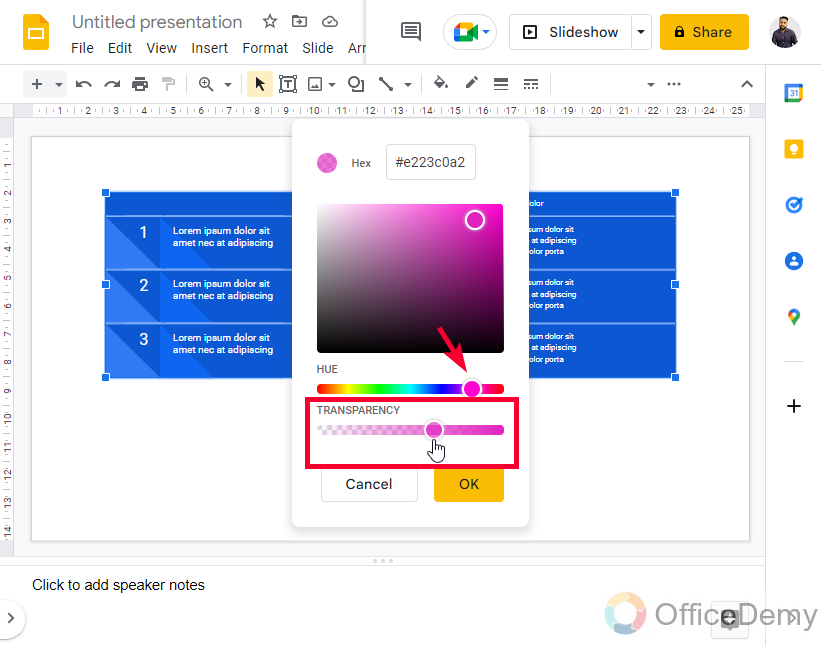
Step 6
Click on the Ok button, and you have successfully changed the opacity of your Diagram

This is how to change opacity in Google Slides for a diagram.
I hope you find all the above sections useful and now have properly learned how to change opacity in Google Slides.
Frequently Asked Questions
Can I Change the Opacity of an Image Placed Behind Text in Google Slides?
Yes, you can change the opacity of a google slides image overlay. First, add the image to your slide and place it behind the text. Then, select the image, go to the Format Options tab, and adjust the transparency using the Image Transparency slider. This allows you to control how visible or transparent the image appears in the background.
Is Changing Opacity the Same as Making an Image Transparent in Google Slides?
When adjusting the opacity of a google slide image, you are essentially manipulating its transparency. However, it is important to note that changing opacity does not always mean you are making the image completely transparent in Google Slides. So, be mindful while using the term google slide image transparency as it may not imply complete transparency.
Can we change the opacity of a video in Google Slides?
No, there is no option either from the fill color or from the format options to control or change the opacity of a video element. To use a low-opacity video in Google Slides the only way is to use external software, tool, or application to change the video opacity and then import it to Google Slides.
Conclusion
So, this is all about How to change opacity in Google Slides. We have learned to change the opacity of so many elements in Google Slides. We learned how to change opacity for text, shape, image, audio, chart, and diagrams. The steps are quite similar. You must have noticed that there are two ways to change the opacity of an element, one from the format options and the second is to use a fill color with a lower transparency level. I hope you find this guide helpful. Keep learning with Office Demy.


