
To Pin a Row in Google Sheets
Using Freeze Feature
- Go to the View menu and select Freeze.
- Choose from options like “No rows” “1 row” or “up to Row (N)” to pin rows.
OR
Use Comments Workaround
- Identify the row or cell you want to pin.
- Select the cell.
- Right-click and choose Comment (or use Ctrl + Alt + M).
- Add a comment.
- Click the blue comment button.
- Access the pinned cell by clicking the sheet tab with the comment count and choosing the cell address.
Hi, and welcome to another tutorial of our Google Sheets series. Today we will learn a handy workaround for how to pin a row in Google Sheets. Although this has been combined with the freeze feature, Freeze only works for top rows or consecutive rows. But today we will learn how to pin a row in Google Sheets. Google Sheets is a popular spreadsheet application used by millions of people around the world. It allows users to create and organize data, perform calculations, and collaborate with others in real time. One useful feature of Google Sheets is the ability to pin a row, which keeps it visible at the top of the sheet as you scroll down. But you can also do it for any row in your sheet by following a trick. So, we will learn both methods.
This can be particularly helpful when working with large data sets or complex spreadsheets. So, in this article, we will provide step-by-step instructions on how to pin a row in Google Sheets, so you can easily access important information without losing sight of it.
When do we need to Pin a Row in Google Sheets
Pinning a row in Google Sheets can be a valuable skill to learn for anyone who regularly works with spreadsheets. By pinning a row, you can keep important information visible at all times, even as you scroll through large data sets. This can save time and improve efficiency by allowing you to quickly reference key data points without having to search through the entire sheet.
In addition, pinning a row in Google Sheets can be particularly useful for teams that collaborate on spreadsheets. When multiple people are working on a document simultaneously, it can be easy to lose track of important information. By pinning a row, everyone can easily access and reference the same key data points, which can help to avoid errors and ensure that everyone is on the same page.
How to Pin a Row in Google Sheets
Mainly there are two ways to pin or freeze a row or column in Google Sheets. But this freeze feature is limited to only freezing your top rows or consecutive rows, so the downfall is you cannot pin a row number 77 only, you must freeze all 1 to 77 rows for it. So, that’s why I have included a workaround in this guide. So, let’s get started with the first freeze method, and then we will see the workaround.
Pin a Row in Google Sheets – Using Freeze Feature
In this section, we will learn how to pin a row in Google Sheets using the freeze feature. This is very common and available for a long time in Google Sheets and Microsoft Excel. So, let’s see how to access and use this feature to pin a row in Google Sheets.
Step 1
Open your Google Sheets file in which you want to pin a row
Step 2
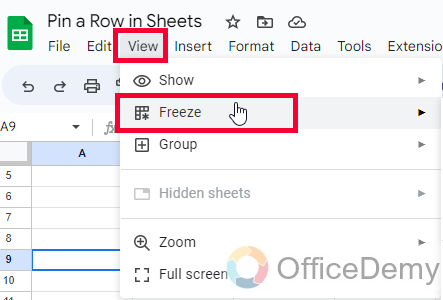
Go to the View menu, then select Freeze
Step 3
You can see there are 4 options for rows and 4 for columns, they work identically on both axes of your spreadsheet.

Step 4
You can select “No rows” for freezing no rows, it is used for resetting the freeze feature.

Step 5
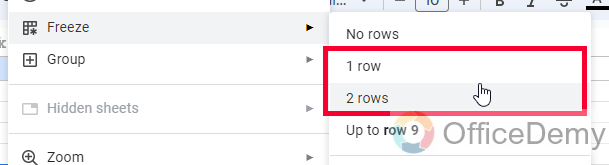
Then you can select “1 row”, or “2 rows”, it will freeze the top first or top two rows of your spreadsheet
Step 6
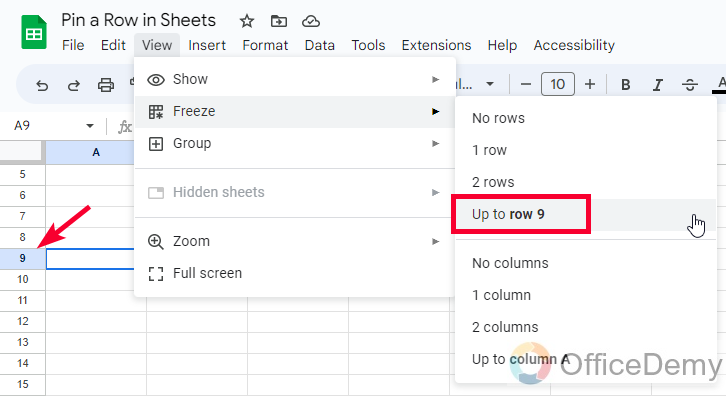
Now, you have the last option which is up to row(N), this N value determines your current selected row, if you are on row 23, then selecting this option “up to Row (23)” will freeze your first 23 rows of the spreadsheet.
So, this is how this traditional feature can help us to pin a row or multiple rows (but consecutive) in Google Sheets.
Pin a Row in Google Sheets – Using Comments
In this section, we will learn how to pin a row in Google Sheets using comments. Using comments? how is that possible, well this is an excellent trick or workaround you can say; to pin a row in Google Sheets. The comments (where added), hold the cell address, and they are collected in the tab of your active sheet, you can hover them to reach the specific cell addresses immediately. This is how it can help us to pin a row in Google Sheets. Confused? Let’s see the step-by-step guide below for this workaround.
Step 1
Identify the row or cell you want to pin (Suppose I need to pin cell number D11), select this cell
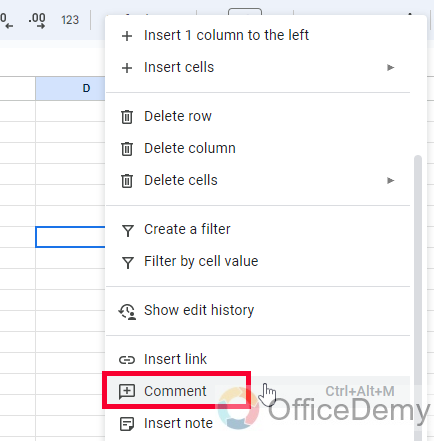
Step 2
Right-click on the selected cell, and then click on the Comment button (The keyboard shortcut is Ctrl + Alt + M)
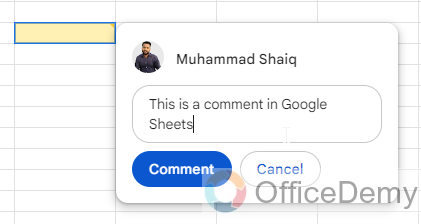
Step 3
You will get a small comment pop-up, now you can add a comment here, for the sake of demonstration I am writing a demo comment here.
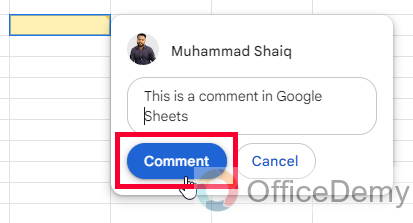
Step 4
Click on the blue comment button to add this comment
Step 5
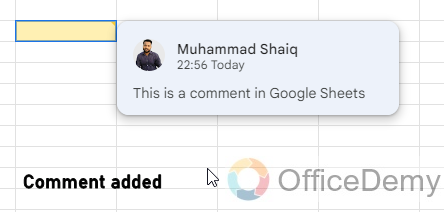
Your comment is added to the cell, and now your cell has a small yellow triangle on its top right corner that indicates that this cell is engaged with a comment.

Step 6
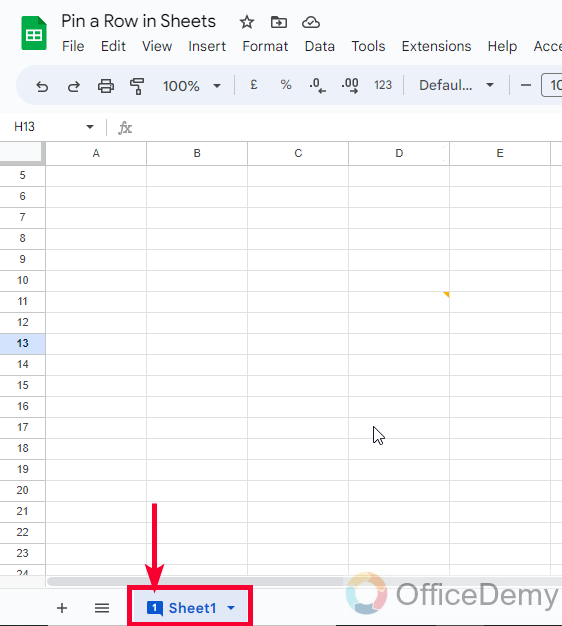
If you scroll down, or right and you forget the cell address, now here is the real thing. How can you access this cell quickly like a pinned cell anywhere from this sheet? Well, you can see in the sheets tab, “1” is written there in small script, this is indicating that this sheet has one comment added.
Step 7
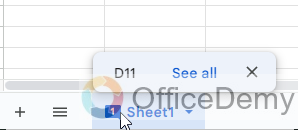
Go click on the “1” in the tab, or even if you only Hover it, it will immediately display the cell address button, and a “Show All” button
Step 8
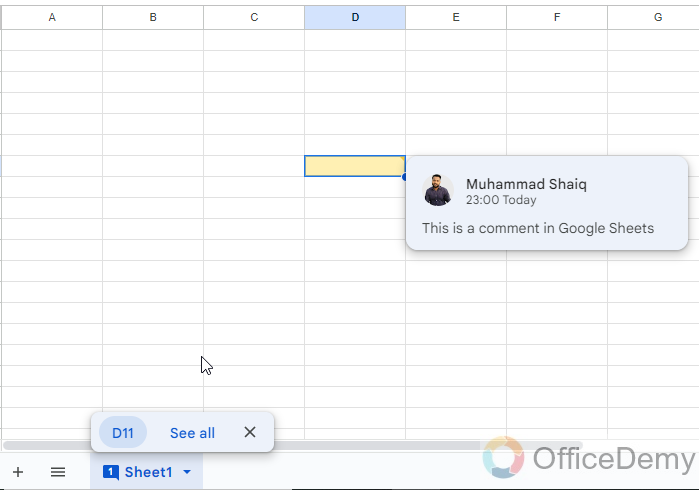
Click on the cell address, and it will quickly take you to the cell address that we pinned using this workaround.
Amazing, right? So, this is how to pin a row in Google Sheets using the comment workaround. Know that Google Sheets does not have all functions built-in, but having a little sense of exploring, and finding out ways, to experiment with workarounds can make you a pro Google Sheets user, and you can define your functions, and features into it.
Important Notes
- Pinning a row in Google Sheets keeps important information visible as you scroll.
- It can save time and improve efficiency by allowing quick reference to key data points.
- Pinning a row is useful for teams collaborating on a single document.
- You can freeze rows or columns in Google Sheets to make them stationary.
- You can also use comments in Google Sheets to pin your rows, columns, or cells.
Frequently Asked Questions
How many rows can I pin in Google Sheets?
You can only pin 2 unique rows at a time in Google Sheets, or any number of consecutive rows starting from row 1
Can I pin a column in Google Sheets?
Yes, you can also pin columns in Google Sheets by selecting “Freeze” and then “Up to current column“.
How do I unpin a row in Google Sheets?
To unpin a row, go to the “View” menu, select “Freeze“, and then choose “No rows” from the drop-down menu.
Will the pinned row appear in printouts or PDF exports?
Yes, the pinned row will appear at the top of the printed or exported document, just as it appears in the sheet.
Can I pin a row in the mobile version of Google Sheets?
Yes, you can pin a row in the mobile app by selecting the row, tapping the three-dot menu, and choosing “Freeze“.
Conclusion
This was all about how to pin a row in Google Sheets. I hope you find the above method and the workaround to pin a row in Google Sheets. Thanks, and keep learning with Office Demy.


