
To Change Outlook View to Normal
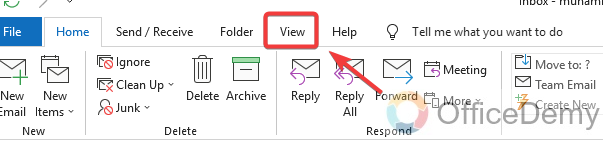
- Open Outlook, and click on the “View” tab.
- Click on “Change View” to select the “IMAP Messages (Normal View)“.
- Customize your Normal View by adjusting settings.
- To reset customized Outlook views to the default, you can either use a command in Run (for advanced users) or use the “Reset View” button in Outlook.
Hi. Today we will learn how to change Outlook view to Normal. Views offer you various ways to help you visualize items in different ways, by customizing your views, you can alter settings like font size, item organization, and more.
Microsoft Outlook is an easy-to-use email client used to send and receive emails by accessing Microsoft Exchange Server email. Outlook is a capable email management program that enables you to effectively organize your emails and other tasks. It has a variety of features and settings that you can personalize to suit your choice. You can alter how your emails and tasks are shown on the screen using the Outlook view setting, which is one of these settings. Don’t worry if you unintentionally switched your Outlook view from the default view to something else. This article will guide you through the process of how to change Outlook view to normal and how to customize the normal view.
Why Change Outlook View to Normal?
Anyone who uses Microsoft Outlook to manage their emails and tasks needs to learn how to change Outlook view to normal. Finding the information, you need can be confusing and challenging if you mistakenly change the Outlook view. It’s crucial to learn how to change Outlook view to normal for the below reasons:
- Maximize Productivity: Outlook’s default setting, known as the normal view, clearly and neatly arranges emails and tasks. Learning how to return your Outlook view to its default setting will allow you to maximize productivity and time savings by working with the most effective view.
- Decreases Irritability: The normal view can help you feel less frustrated and save time by preventing you from wasting time.
- Improves Effectiveness: Finding the data you need quickly may become challenging if you switch to a different Outlook view.
- Customization: Understanding how to customize a normal view enables you to further personalize it to your choices.
Anyone who uses Microsoft Outlook frequently must learn how to change Outlook view to normal.
How to Change Outlook View to Normal
We will learn the easy steps for how to change Outlook view to normal in this tutorial. Here is a simple way to learn how to change Outlook view to normal. So, let’s get started and learn in depth.
Change Outlook View to Normal – using Reset the View
In this section, we will learn how to change Outlook view to normal in easy steps.
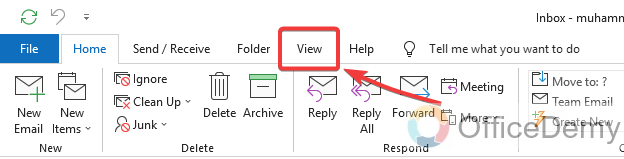
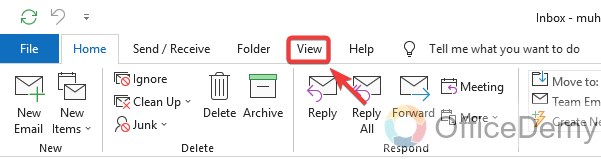
Step 1
Open Outlook, click on the View Tab
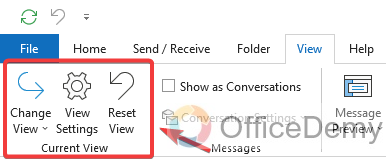
Step 2
Here you will see all view settings
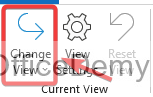
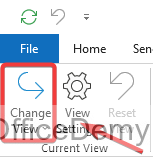
Step 3
Click on the Change View
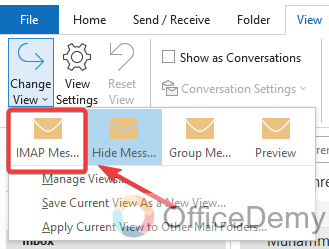
Step 4
Choose IMAP Messages (Normal View)
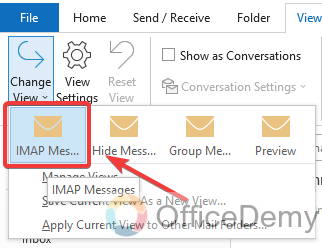
By following the above easy steps, you will get your normal view back.
How we can Customize the Normal View of Outlook
In this tutorial, we will learn the easy steps for how we can Customize the normal view. Here are simple ways to learn how to customize the normal view.
Step 1
Select ‘View’ in the Outlook main menu panel
Step 2
Make sure you are using “IMAP Messages (Normal View)” in the Change View
Step 3
Select IMAP Messages (Normal View)
Now you can customize your Normal View by below easy steps
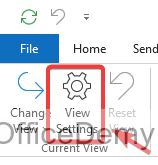
Step 1
Click on the View Settings in the View tab
Step 2
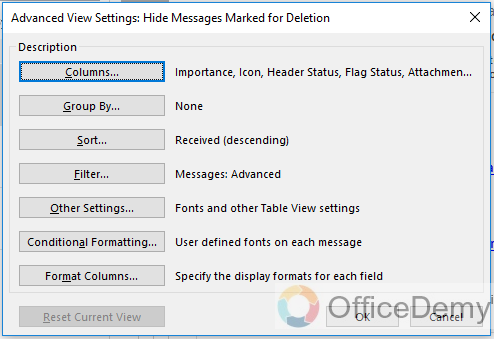
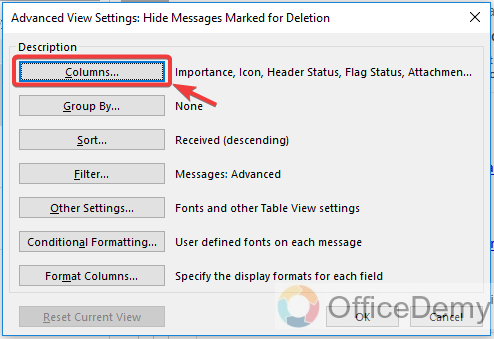
Here you find a Box where you can customize all your view settings
Step 3
By clicking columns, you change all our columns settings
Step 4
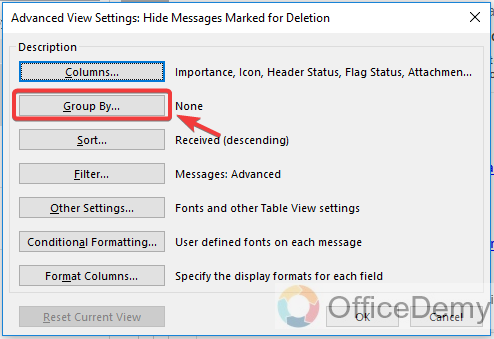
If you want to change the arrangement of the message, you can do by clicking Groups By
Step 5
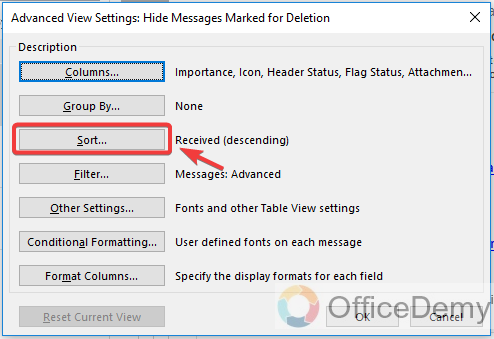
By clicking Sort you can sort your received emails
Step 6
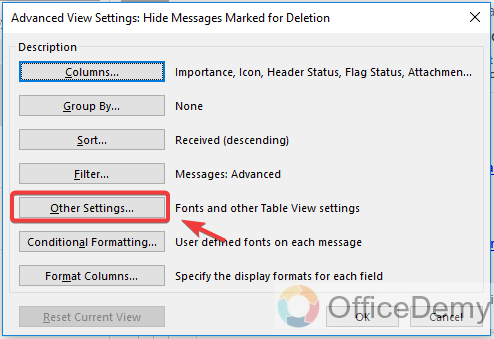
If you want to change fonts, font size, and font style or reading pane position you can do it by clicking Other Settings
How to reset customized Outlook view to default view
There are 2 easy methods to reset all your customized outlook views to the default view.
Method 1: Reset the customized Outlook view to the default view
In this method, we will see how to change all customized settings to default without using Outlook.
Firstly, make sure your Outlook is closed then follow the below-given steps.
Step 1
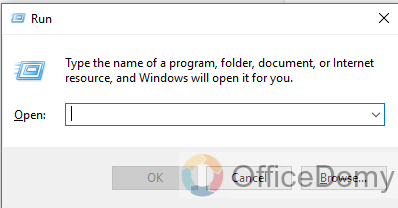
Open Run Command or use the short key for Run Command (Windows Key + R)
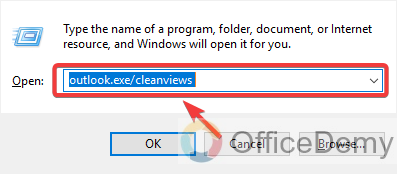
Step 2
Type “outlook.exe/cleanviews”
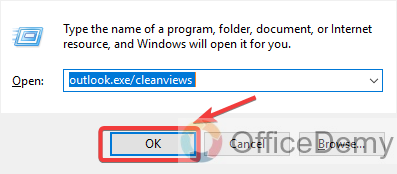
Step 3
Click OK
All your customized Outlook View Settings will be changed to Default.
Method 2: Reset the customized Outlook view to the default view
In this second method, we will see only 3 easy steps to how to change all customized settings to default using Outlook.
Step 1
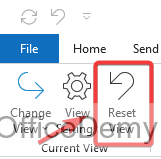
In Outlook, select the View tab from the main menu
Step 2
Click on the Reset View button
Step 3
Choose Yes to reset the normal view

After following the above simple steps, you will get back all your Outlook view settings to default.
Frequently Asked Questions
What does “Outlook view” mean?
In Microsoft Outlook, the term “view” refers to the way in which emails and other items are displayed on the screen.
What is the “normal” view in Outlook?
The “normal” view in Outlook typically displays the inbox, calendar, and other items in a standard format that is easy to read and navigate. It’s the default font that’s easily understandable for beginners
How do I change the view in Outlook?
To change the view in Outlook, you can use the View tab on the Ribbon menu. From there, you can select different view options or create a custom view.
Can I Turn Off the New Outlook View and Change it Back to Normal?
Yes, you can easily toggle back to the normal Outlook view. To do this, locate the new outlook view toggle option in your settings menu and simply turn it off. This will revert your Outlook to the familiar interface that you’re accustomed to.
Why did the view in my Outlook suddenly change?
An alteration in the Outlook inbox view may occur due to various reasons, such as unintentional modification of view settings, updating to a new Outlook version, adding, or removing a plugin, and transferring the mailbox to a different version.
What could be the reason for the dissimilarity in the appearance of my Outlook email?
Various versions of Outlook employ the Microsoft Word engine to display HTML emails. Nonetheless, email providers like Outlook can interrupt HTML code uniquely, causing discrepancies in the appearance of your email when viewed in Outlook compared to your email marketing platform.
What font is automatically set as the default in Outlook emails?
Calibri is automatically set as the default font in Outlook emails.
What is the default font size in Outlook?
Outlook’s default font for new email messages is black Calibri, sized at 11 points. However, it is possible to customize the default font size, font color, font style, and other attributes, such as bold or italic.
Conclusion
So, today we learned how to change Outlook view to normal and outlook view customizations. We hope you liked the above guide and learned how to change Outlook view to normal or outlook view customizations. It only takes a few clicks to return your normal Outlook view. carry on using Outlook as usual by following the instructions provided in this article and many more like this at Office Demy.
Any changes you make to your Outlook view should be saved so that they take effect the next time you launch Outlook. I am optimistic that you have acquired fresh insight from this article and that it was worth your time. Stay tuned with Office Demy for another beneficial guide, as I will be back soon. Thank you!


