
To Flip an Image in Microsoft Word
Using the Flip Image Option
- Insert your image via the “Insert” tab.
- Click “Pictures” > Select the image.
- Under the “Format” tab, find the flip options.
- Click “Flip Vertical” for a vertical flip.
- Click “Flip Horizontal” for a horizontal flip.
- Click your chosen flip option to apply.
Using the Navigation Tool
- Click the image to select it.
- Utilize the navigation arrow points along the image to rotate it.
- Drag the arrow for a 180° flip (vertical only).
Using the Rotation Tool
- Right-click on the image.
- Choose “Size and Position” from the menu.
- In the “Size and Position” dialog box: Set the rotation angle to 180°.
- Click “OK” to flip the image (vertical only).
Hi, welcome to another exciting tutorial on Microsoft Word. In this article, we will learn how to flip an image in Microsoft Word. Most people use Microsoft Word for simple text-based content only, but Microsoft Word can do many things. You can also create and format graphics in Microsoft Word. Microsoft Word also features many tools to format and edit any kind of picture as well. If you are wondering how to flip an image, then you are in the right place. Here you are with the tutorial on how to flip an image in Microsoft Word in which we will learn to flip an image without any additional tool.
Importance of Flipping an Image in Microsoft Word
You rarely find an all-rounder application to deal with the plain text and graphics as well. Usually, people use third-party apps and additional tools to crop images, edit images or flip images, etc. Then insert it in the word processing document. But the advantage of the following tutorial, you do not need any external tool, Microsoft Word deals with the formatting and editing of images as well.
So, let’s see how to flip an image in Microsoft Word step by step in the next section.
How to Flip an Image in Microsoft Word?
Microsoft Word has been a very effective and familiar application among users. This is why any operation to do in Microsoft Word is so easy. Most of the tools are almost visible on the front ribbon of Microsoft Word from where you can access them with just one click. Similarly, flipping images can also be done in the same manner. But in the following tutorial on how to flip an image in Microsoft Word, we will discuss some more methods to flip an image in Microsoft Word.
- Flip the image with the help of the flip image option
- Flip the image with the help of the navigation tool
- Flip the image with the help of the rotation tool
Flip an Image in Microsoft Word – using Flip image option
As Microsoft Word has plenty of tool options and features, fortunately, Microsoft Word has separate flip image tools as well through which you can easily flip images in Microsoft Word. This is the only official method of flipping images in Microsoft Word which can be done with the following steps.
Step 1
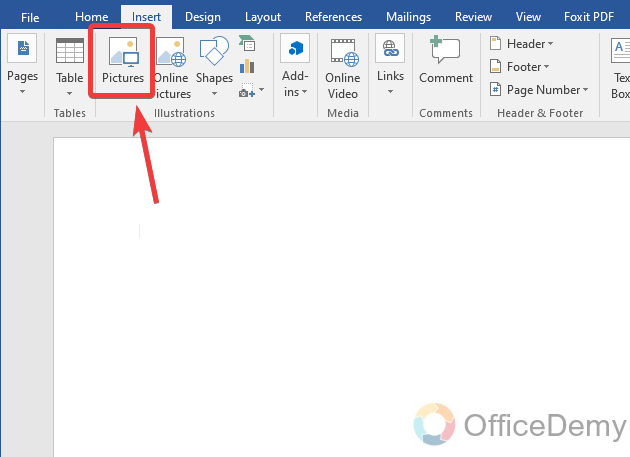
As we are going to learn how to flip an image in Microsoft Word, then we should have an image first in our document. To insert an image in Microsoft Word, go into the “Insert” tab of the menu bar where you will find a “Pictures” option through which you can insert an image to your document.
Step 2
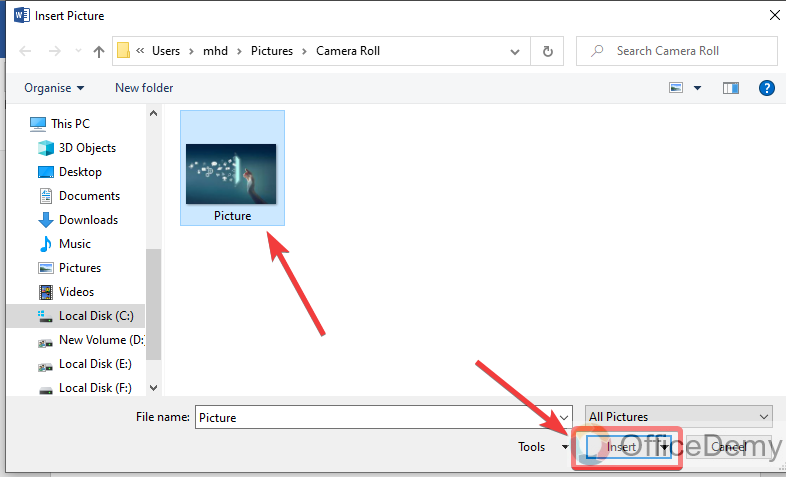
When you click on this option to insert an image, a new separate window will open to select the image which you have to insert in Microsoft Word. Select the image then click on the insert button.
Step 3
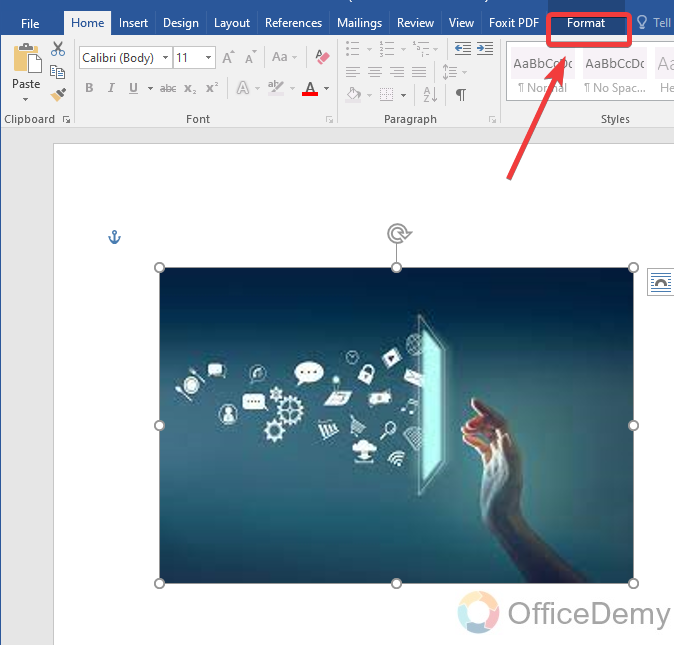
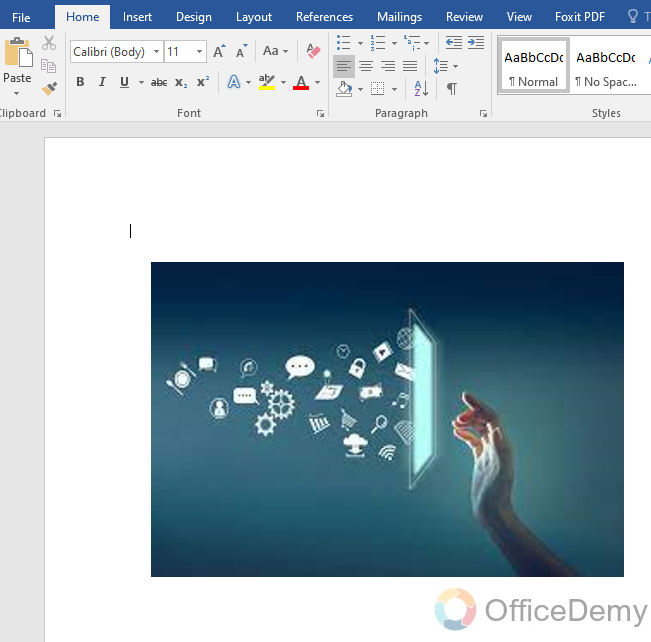
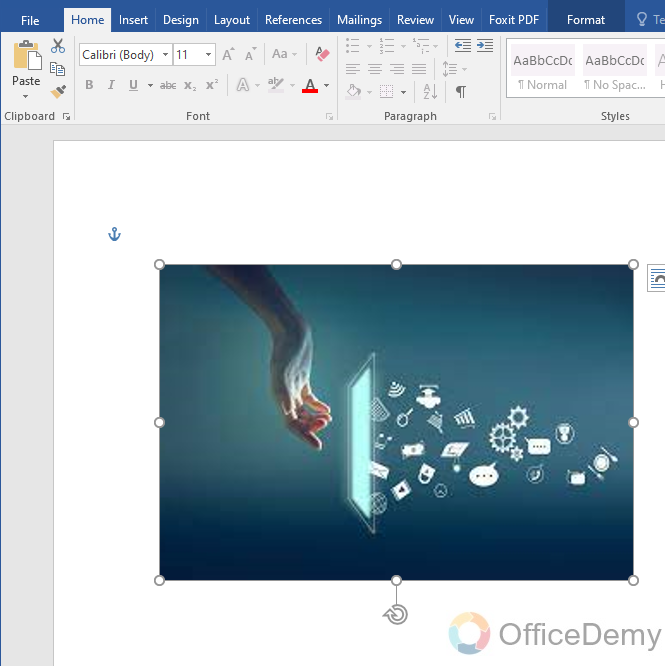
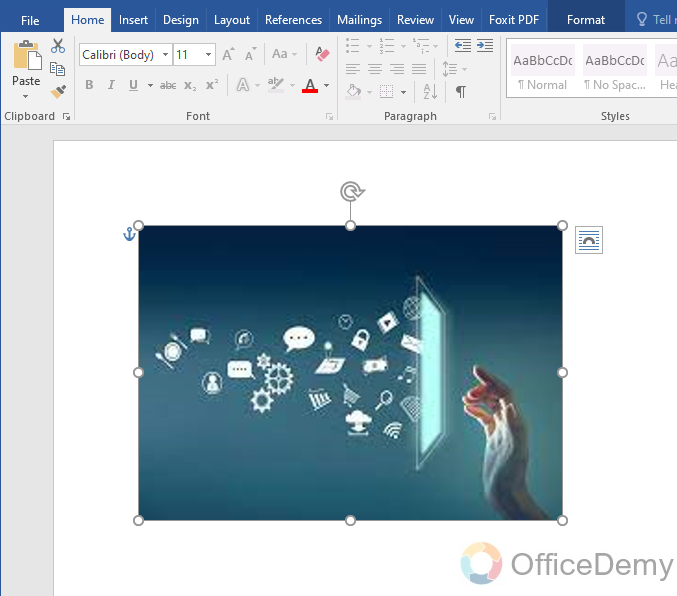
As you can see the result in the following picture, our image has been successfully added to our document, now let’s see how to flip it.
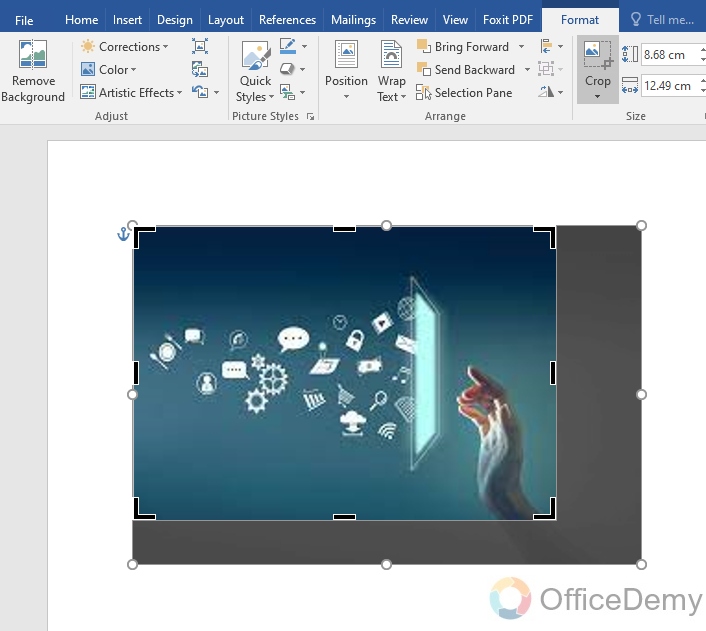
First, select the image by clicking on it then open the “Format” tab of the menu bar.
Step 4
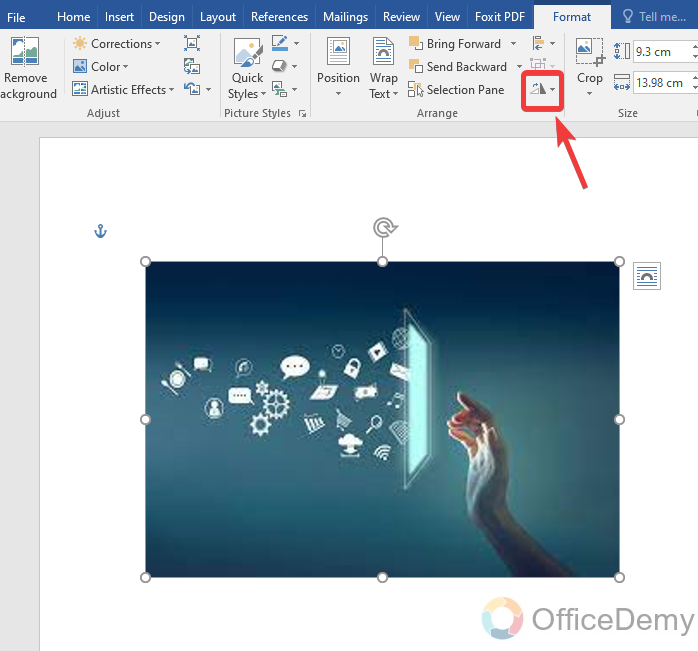
When you click on the format tab, you will see a small icon before the crop button as highlighted in the following picture. Click on it to expand more options to find the flip image option.
Step 5
In this option, you will find several image rotation options in which you will also see the option for flipping the image. There are two types of flip image options in Microsoft Word.
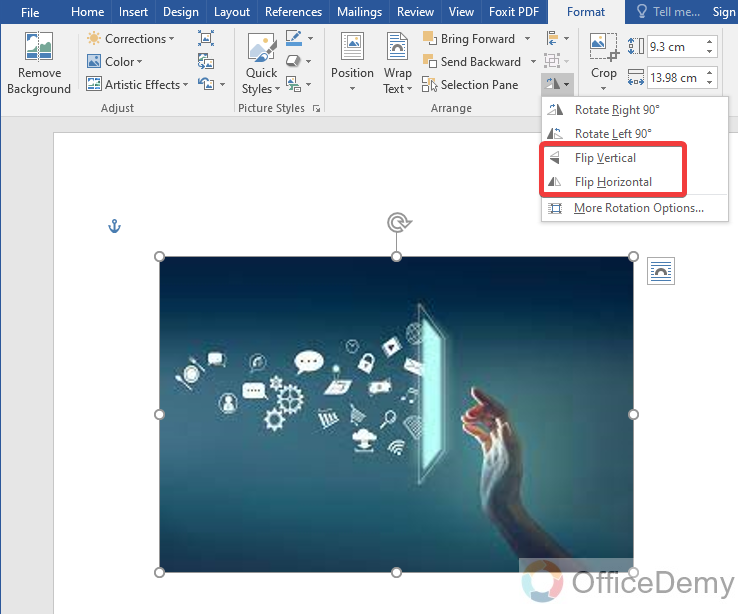
- Flip Vertical
- Flip horizontal
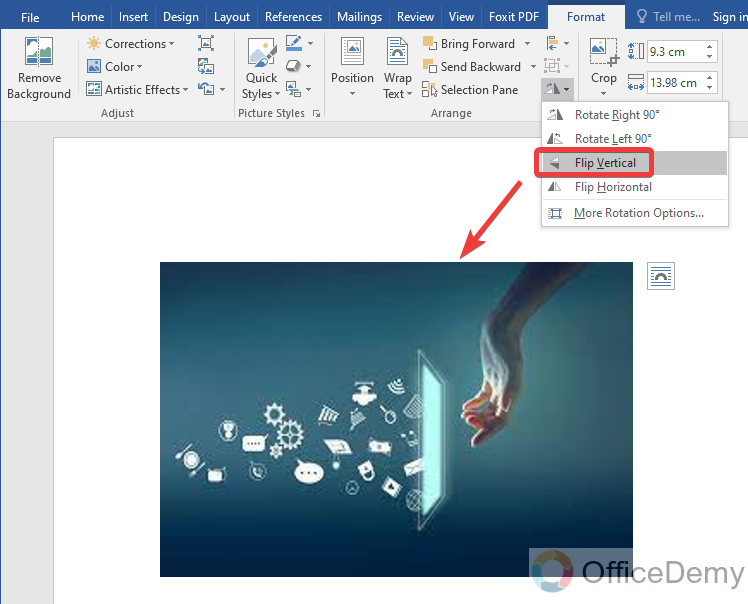
Step 6
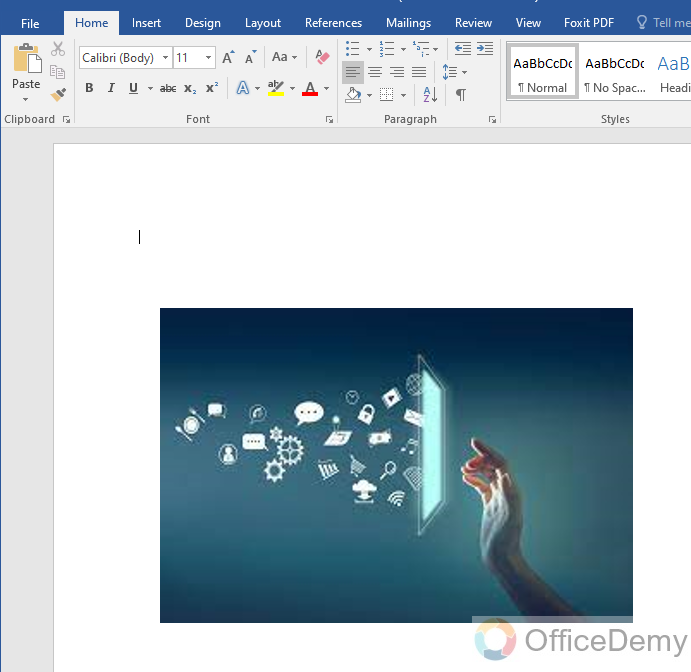
If you click on “Flip Vertical“, your image will flip vertically in that direction. As you can see the result is in the following picture.
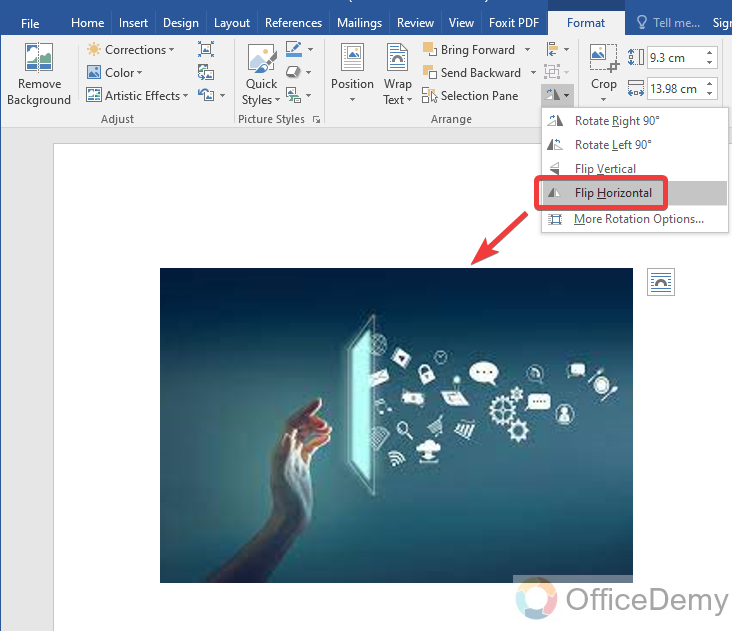
Step 7
If you click on “Flip horizontally” your image will be flipped horizontally in the form of a mirror image as resultant below.
Flip an Image in Microsoft Word – Using the Navigation Tool
When we insert an image in Microsoft Word, it displays a guideline with different point breaks to resize the picture and navigate. This navigation tool can also work in flipping images in Microsoft Word. Let’s see how to flip an image in Microsoft Word with the help of a navigation tool.
Step 1
Let’s suppose this is a picture already inserted in the following document. Let’s start with the second method of flipping images in Microsoft Word.
Step 2
As we have discussed above this is the easiest way to flip an image in Microsoft Word, you can flip an image with just a couple of clicks in Microsoft Word. First, click on the image, you will see a guideline points along the picture in which you will see a navigation arrow through which you can rotate the image in any direction. As we know in a flipping image an image is turned into 180° so click on this navigation arrow and drag the picture at 180° while holding the mouse key.

Step 3
As you can see in the following picture our image has been flipped vertically.
Note: The disadvantage of this method is, you can only flip an image vertically not horizontally.
Flip an Image in Microsoft Word – Using the Rotation Tool
As we know Microsoft Word provides its users with more and more customization options to attract them. Similarly, you can find so many formatting features for pictures in Microsoft Word. Just right-click a mouse on it and explore the options in which you will also find an option
Step 1
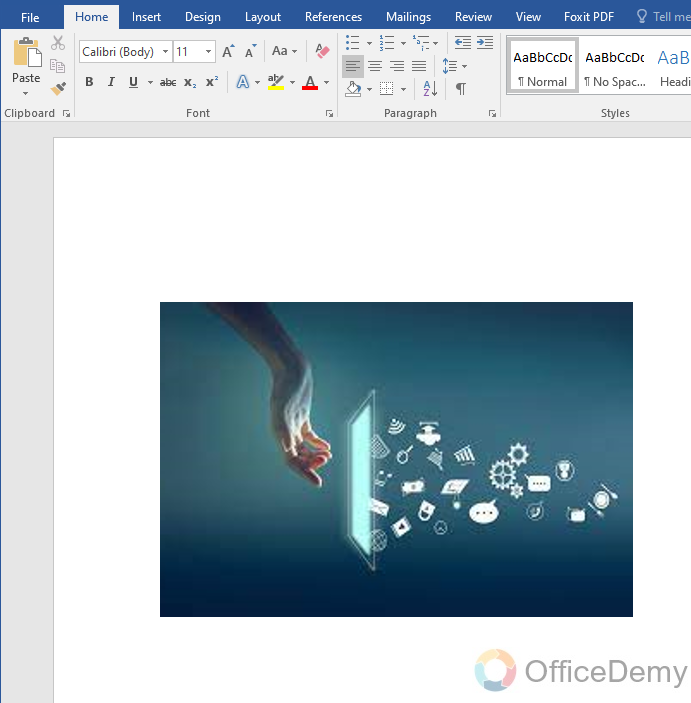
First, I have inserted an image into my document as shown below.
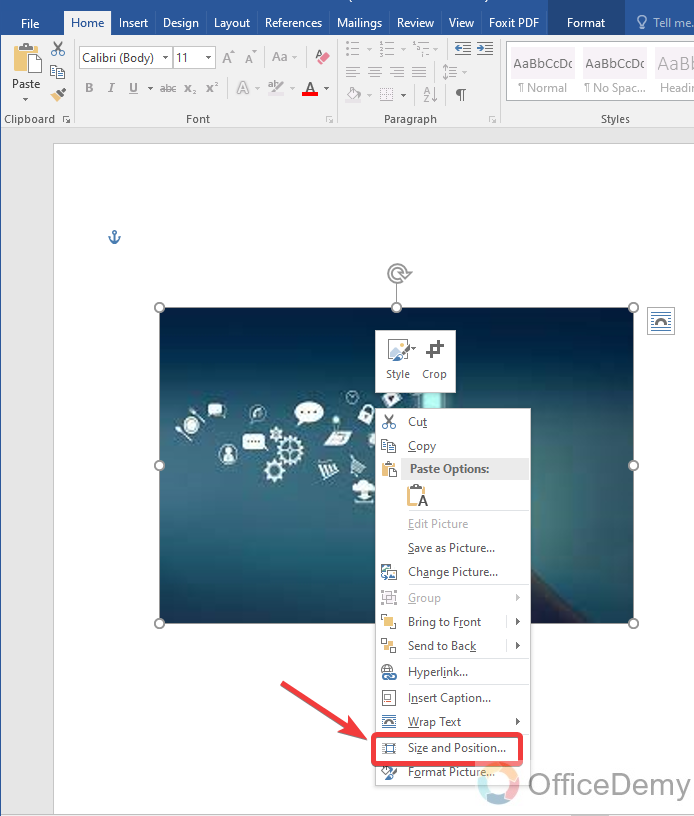
Step 2
Press the right click of a mouse on the picture, a drop-down menu will appear with some image format options. In these options go into the “Size and position” to flip an image.
Step 3
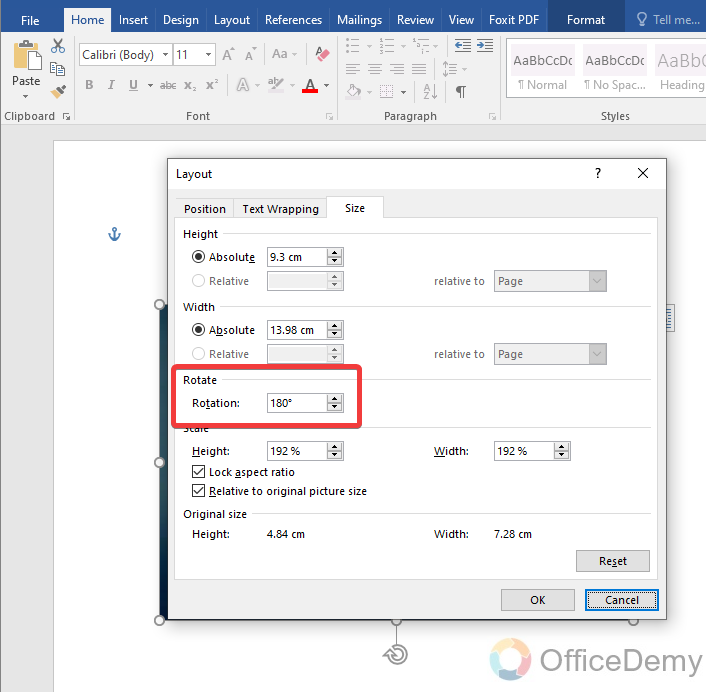
When you click on “Size and position“, a new image format property dialogue box will appear in which you will find many options regarding image formatting. As we need to flip an image, therefore, go into the “Rotation” section in the property dialogue box.
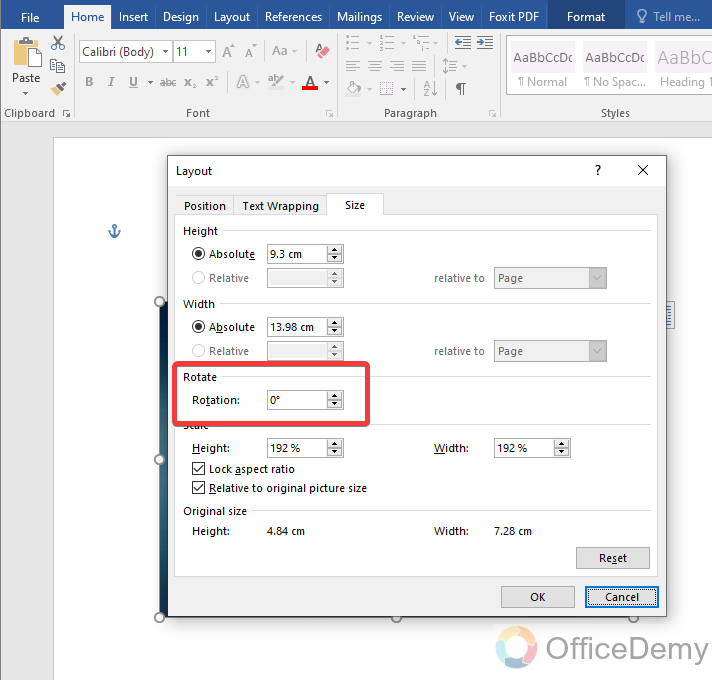
Step 4
In this section, you will be asked for the angle at which you have to rotate your image. As we need to flip our image, therefore, I have set the angle at 180° to flip our image in Microsoft Word.
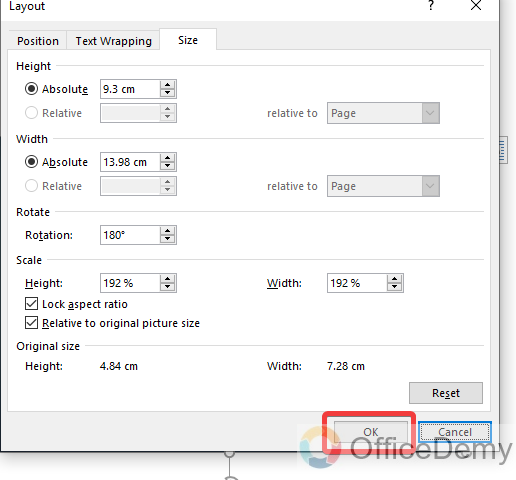
Step 5
Once you have set the angle then simply click on the “OK” button to get the result.
Step 6
You are almost done. The result is on your screen as below, your image has been flipped vertically.
Note: In this method as well, you can flip the image vertically only.
Frequently Asked Questions
Can I Use the Same Methods to Crop, Resize, and Shape a Flipped Image in Microsoft Word?
To crop a picture in Microsoft Word, you can utilize the same methods to also resize and shape a flipped image. These editing options allow you to precisely modify the visual elements of your document, effortlessly enhancing its overall appearance. With a few simple steps, you can easily crop picture in Microsoft Word, adjust its size, and manipulate its shape to fit your desired style and layout.
How to crop an image in Microsoft Word?
When we talk about dealing with the image in Microsoft Word or any other application a crop tool is the priority for the user. Fortunately, Microsoft Word has its crop tool easily accessible to crop images in your document directly. If you want to learn to crop an image in Microsoft Word, then go through the following tutorial in which you will learn how to crop an image in Microsoft Word.
Step 1
Let’s suppose this is an image that is unable to perfectly place my document. We do not need to remove this picture from your documents, but you can easily crop it and can make it placeable.

Step 2
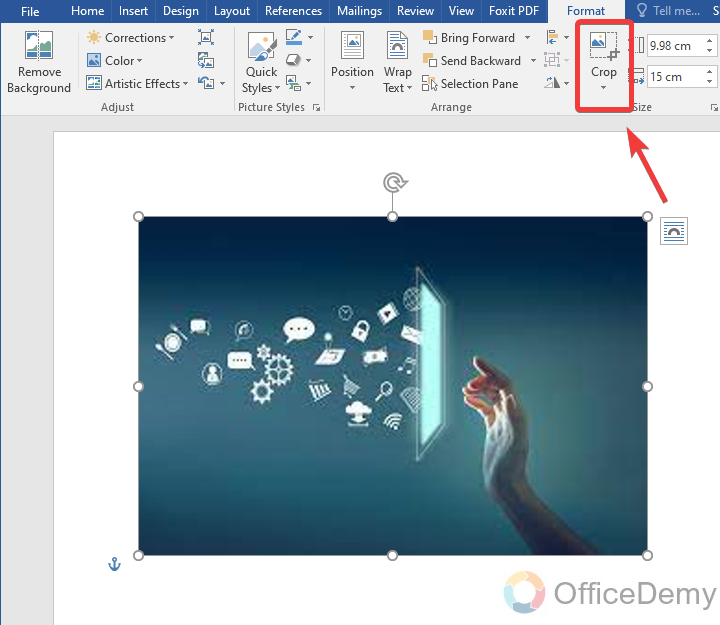
Press one click on the image then you will see the “Format” tab in the menu bar. Click on it to open image format options.

Step 3
In this format tab, you can easily access the crop tool directly by clicking on it as can be seen in the following picture.
Step 4
When you will click on this crop tool a new black guideline along the picture will appear through which you can crop your image by dragging it with the help of a mouse.
Step 5
As you can see in the result below, the image has been cropped.
What is the difference between a flip image and a mirror image?
A flip is a motion in geometry in which an object is turned over a straight line horizontally and vertically. While a mirror image is a reflection in which the image looks in the opposite direction. We may say both are almost similar in the result.
Conclusion
That’s all from how to flip an image in Microsoft Word. Hope you are doing well and enjoyed the interesting feature of flipping images in Microsoft Word in the above article on how to flip an image in Microsoft Word. We have also learned how to crop images in Microsoft Word. Now you cannot use Microsoft Word for only typing text but also can insert additional graphics to your document and can format it in a professional way to make it more attractive. Thanks, and keep learning with Office Demy.


