
To Make Google Slides Play Automatically
- Access Slideshow mode via the “Slideshow” button, Ctrl + F5, or the View tab.
- In Slideshow mode, click the three vertical dots in the lower left.
- Choose “Autoplay” from the options.
- Enable the loop option to restart the presentation after the last slide.
- Select a preset time duration for each slide.
- Click “Play” to start automatic playback.
OR
- Go to “File” > “Share” > “Publish to web“.
- Under the “Link” tab, specify the “Auto-advance slides” duration.
- Check “Start slideshow as soon as the player loads” for automatic playback.
- Optionally, check “Restart the slideshow after the last slide” for a loop.
- If you choose “Embed,” you can define the presentation size.
- Click “Publish” and copy the generated link for sharing.
Hi, in this article, we will learn how to make Google Slides play automatically. When we work on some presentations we have all kinds of slides, some of the slides have less content, and some have more content. So, they need to be on screen for longer and shorter times to properly convey the message of the slide. Today, we are going to learn how to make Google slides play automatically, and we will see how to manage different kinds of slides while playing a presentation automatically without clicking or without left or right keys.
So, we have a loop option inside Google Slides that help us set the automatic play of our presentation. But we don’t have any feature that allows us to set different duration for each slide, so what we do is we set an average duration for each slide and we try to make them consistent by our speaking. Another common trick used by presenters is that they set a longer time for Autoplay and they duplicate shorter slides as many times as they become equal to longer ones concerning time, so they have enough time to describe them and they will change without any transition so the change will not be visible. Let’s learn how to do this.
Why do we need to learn – How to Make Google Slides Play Automatically?
Autoplay is one of the most useful features in Slides or PowerPoint presentations. Sometimes we are speakers and we talk to our audience along with the presentation playing behind. Or, sometimes the presentation is all, there is no speaker, so a set time duration needed to be set for Autoplay duration. This is called a loop in Google Slides that works based on the time duration defined and change every slide after that specific period in seconds. We will see how to enable Autoplay in our Slides. It does not look good when a speaker has to press keys or use a mouse to change the slide, it really can distract the audience and they may lose interest because of a smaller delay the speaker will create because of changing the slides.
So, what good presenters do, is they set Autoplay and practice speaking for the exact amount of time as the slide appears, and they move to talk about the next slide when it’s changed automatically. Now, this looks pretty professional and it keeps the audience engaged till the Thank you slide. Therefore, we need to learn how to make Google Slides play automatically.
How to Make Google Slides Play Automatically
We will see two of the best methods that are commonly used by presenters to make Google Slides play automatically while presenting or when publishing to the web. These are two similar methods having two different occasions to use the looping functionality of Google Slides. We can also loop a video or audio or a gif media file in Google Slides so that the media file will be repeated until we change the slide. Let’s start with the first and the most used method.
How to Make Google Slides Play Automatically – Within Google Slides Application
In this section, we will learn how to make Google Slides play automatically within the Google Slides application without using any extension or without publishing our files on the web. Before 2019, we only had the option to make Google Slides play automatically while publishing on the web, to make them play automatically within the application is a new feature announced and added in 2019. So, let’s see how it’s done.
Step 1
Open a Google Slides file

Step 2
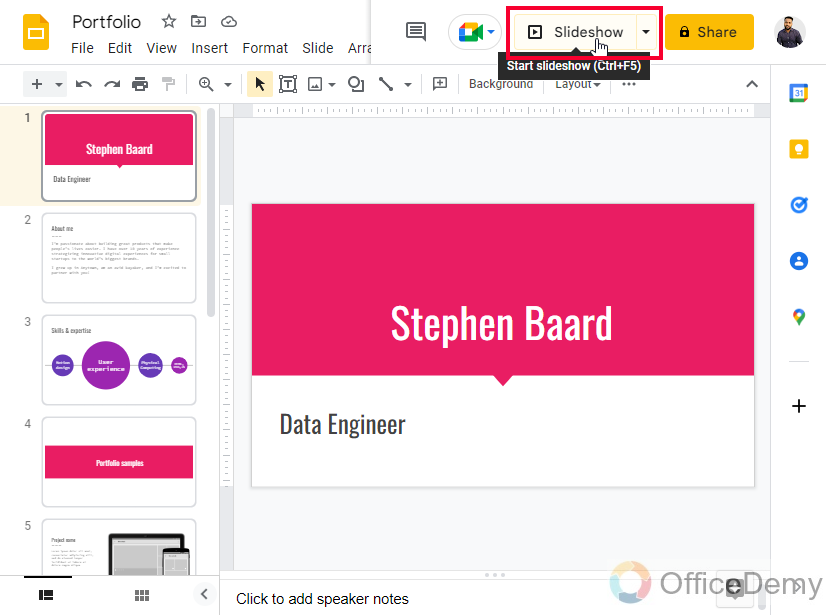
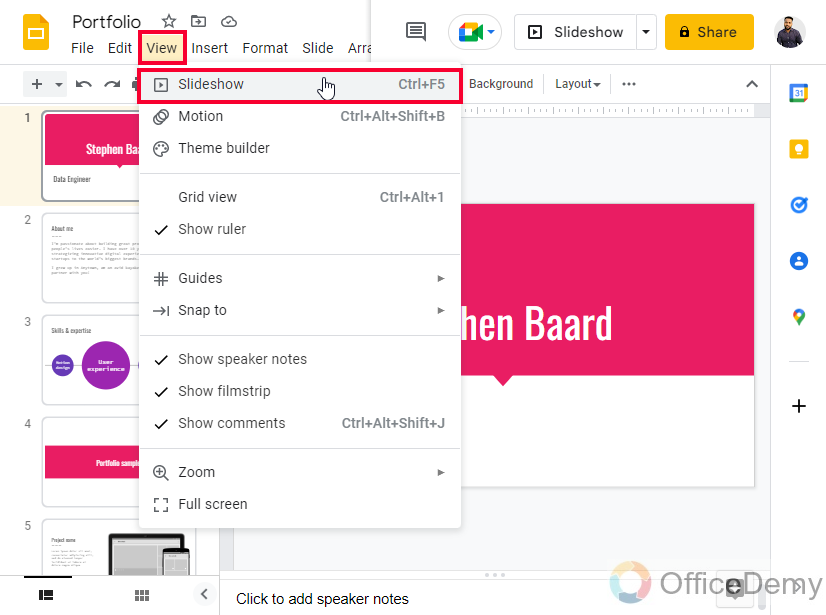
Go to Slideshow mode. You can click on this “Slideshow” button on the top right before the “Share” button or you can press a shortcut key which is Ctrl + F5, or you can go to the View tab and then click on the first option “Slideshow”
Step 3
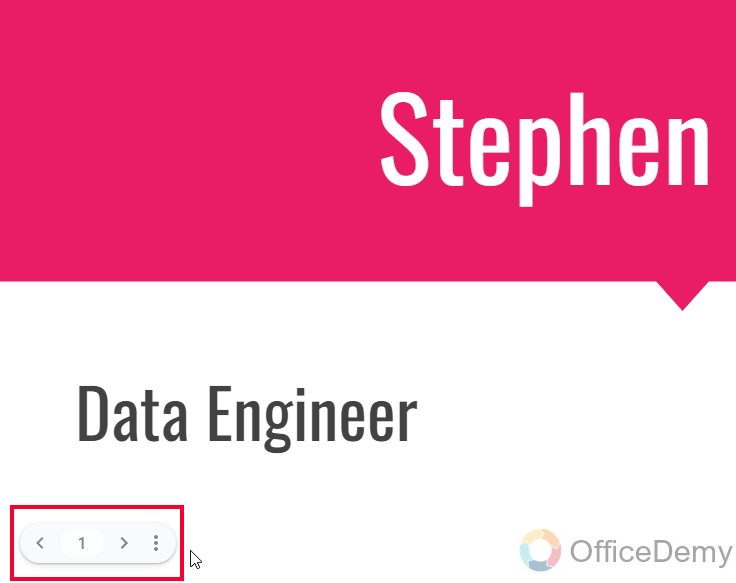
Now you have your presentation in the Slideshow mode. There are no options until you hover down on the left bottom.

Step 4
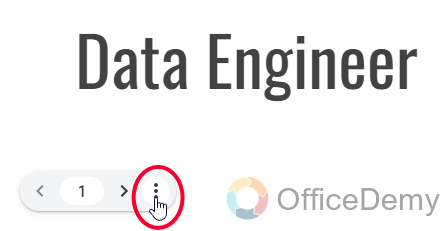
Click on the three vertical dots to open the “Options menu”
Step 5
Here you have so many options, click on Autoplay and a context menu will appear
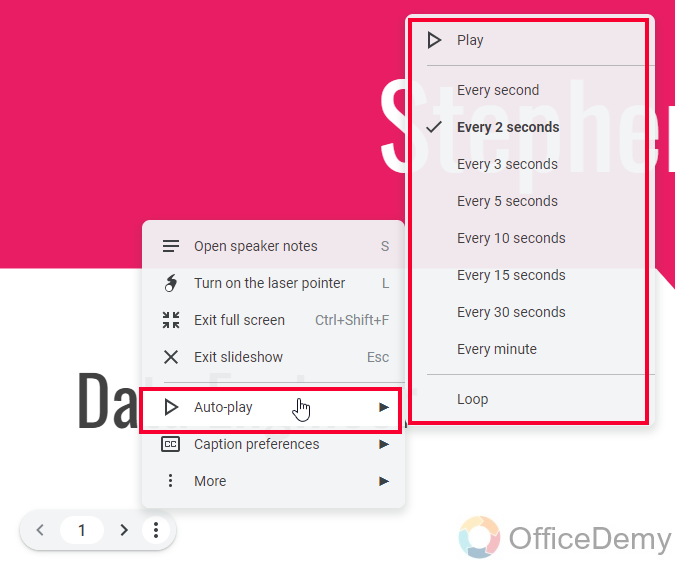
Step 6
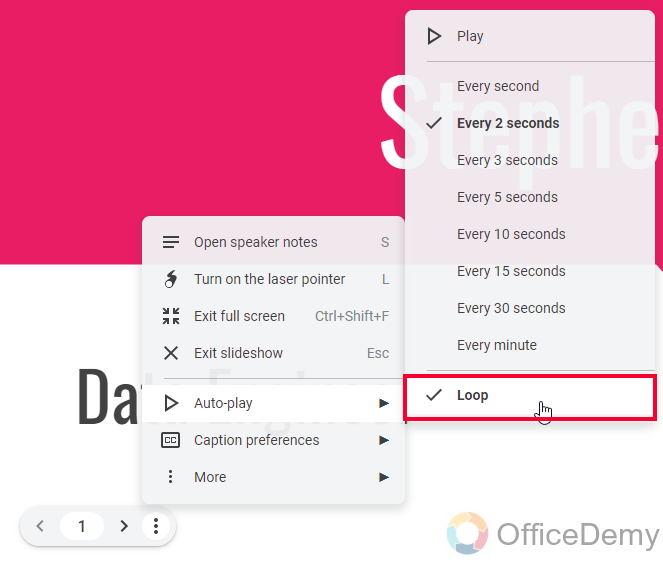
Now here is a loop button that is unchecked by default, this button is used to loop the presentation while auto-playing, which means that the after the last slide, the first slide will reappear and it will be going on until you stopped it manually.
Step 7
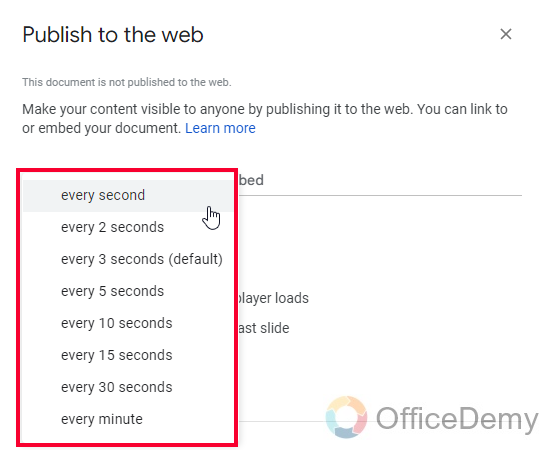
Above you have time duration options, that are fixed, you cannot use a middle value or any custom value here, available options are every second, every two seconds, every three seconds, every five seconds, every ten seconds, every fifteen seconds, every thirty seconds and every minute.
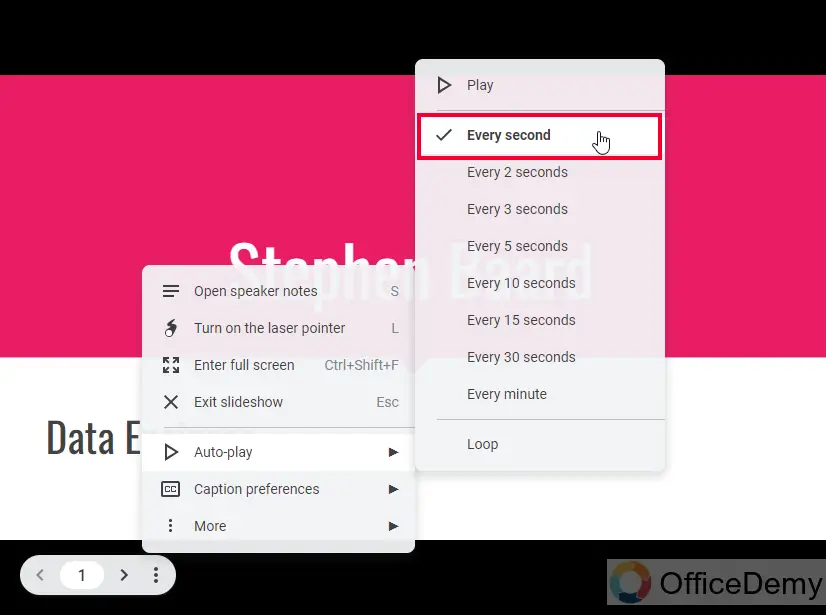
You need to select any time duration and it will be for your every slide equally. a tick mark will be added to the option you select.
Step 8
Now you just need to click on the play button which is at the top of this list and your presentation will start to Autoplay.
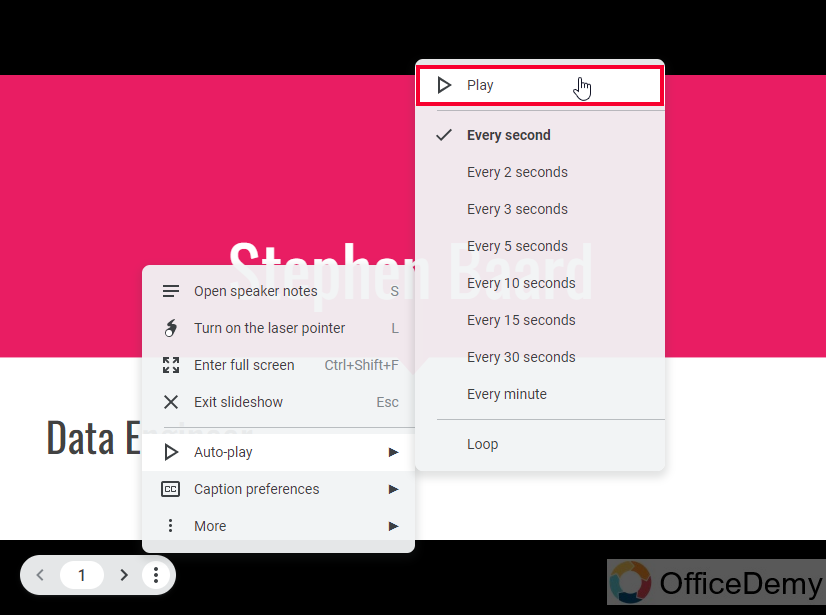

This is how you set up Autoplay with a time duration definition and an option to use a loop in Google Slides.
Note that the Autoplay will be stopped if any key is pressed during it, and if you want to pause it you can use the top button which was the “Play” button previously and now has become the “Pause” button since the presentation is playing.
How to Make Google Slides Play Automatically – While Publishing
In this section, we will learn how to make Google Slides play automatically while publishing, this is an old technique and a very traditional feature Google Slides have, so let’s see how we publish our Google Slides file on the web and how to make it play automatically after being published.
Step 1
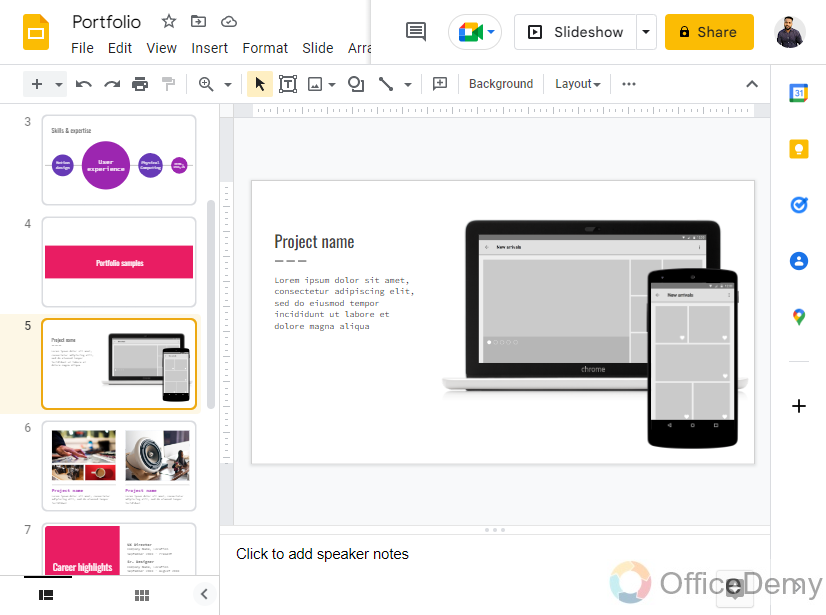
I have a template of Google Slides to use in this example
Step 2
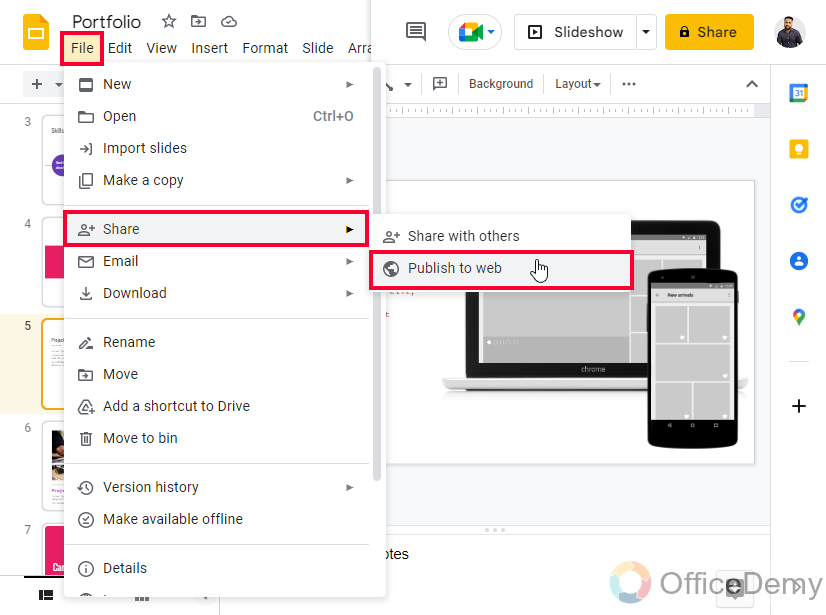
Go to File > Share > Publish to web
Step 3
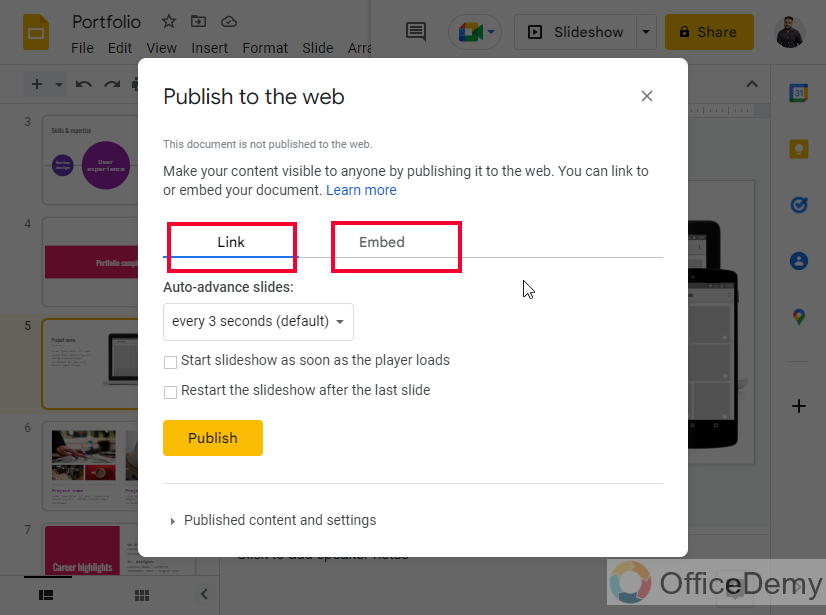
A publishing dialog box will open, here you can select the “Link” or “Embed” option to publish
Step 4
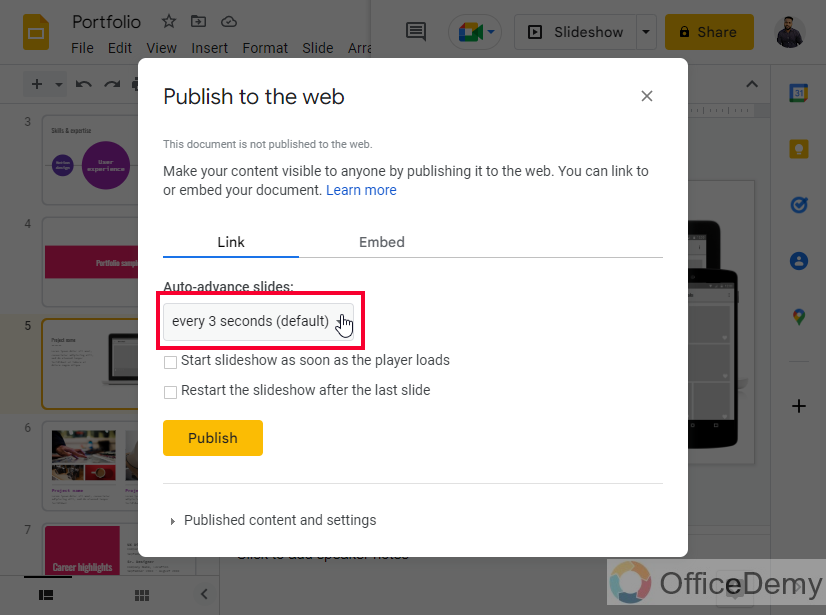
Below the Link tab, you have an “Auto-advance slides” option, here we can specify the time duration for the Autoplay of the presentation after its published. Here, the time duration options are the same as we had in the previous method.
Step 5
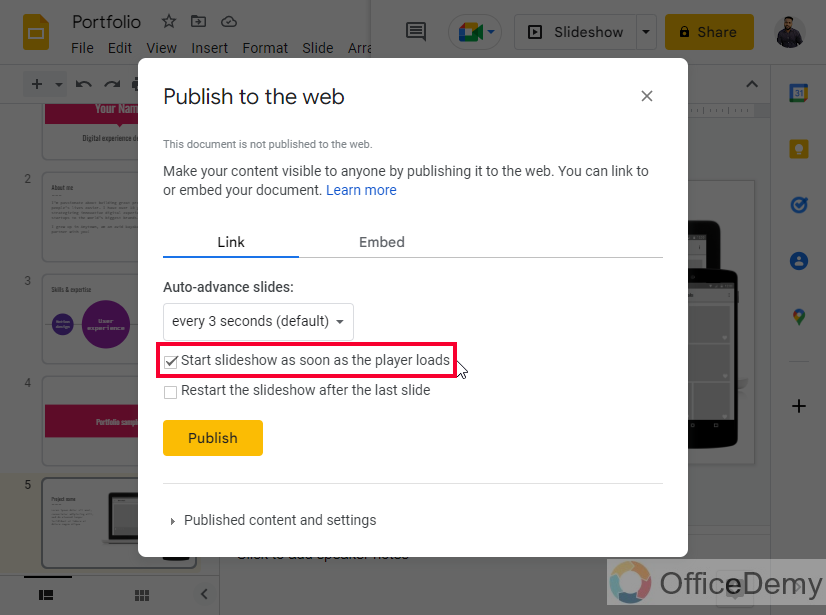
Below you have a checkbox that is “Start slideshow as soon as the player loads”. It means that the slideshow will start after the viewer’s player is loaded, a user doesn’t need to play the presentation manually it will start the slideshow based on the load of the player.
Step 6
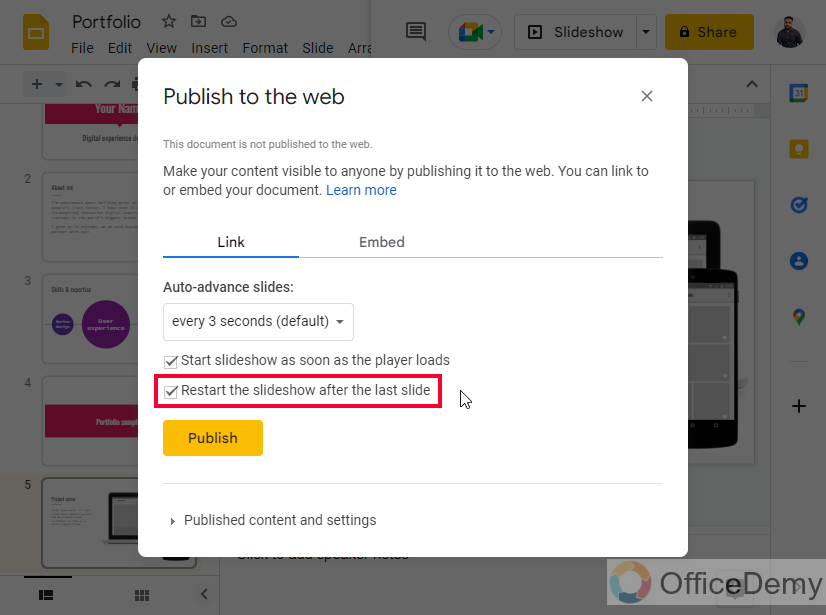
Another checkbox is “Restart the slideshow after the last slide”. It means the loop; the presentation will be restarted after the last slide on the viewer’s end if this option is checked.
Step 7
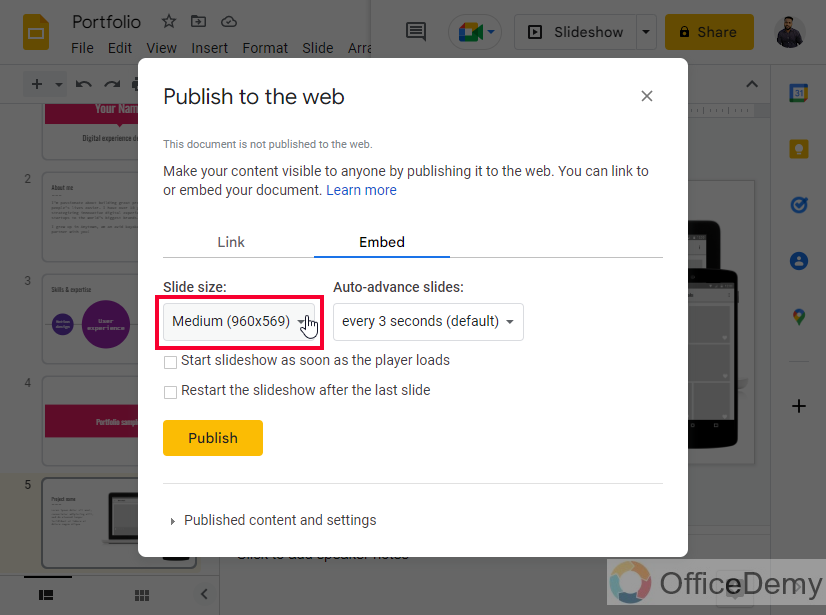
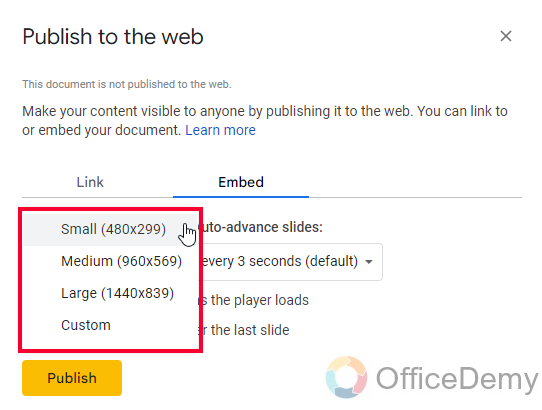
If you select the “Embed” tab then you have another option for Slide size, you can define the size of the presentation after being published, you have small, medium, and large options here, and a custom option as well to define width and height of the presentation that will be appearing on the user end after being published.
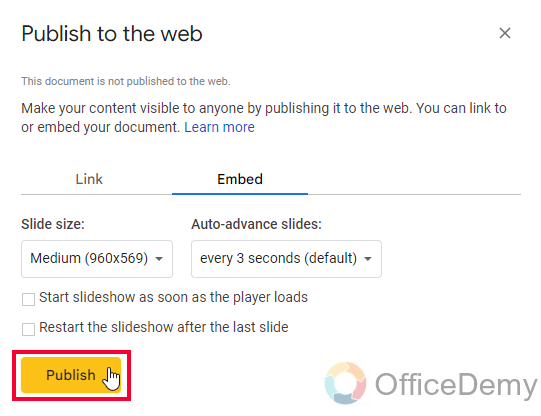
Step 8
Click on the “Publish” button
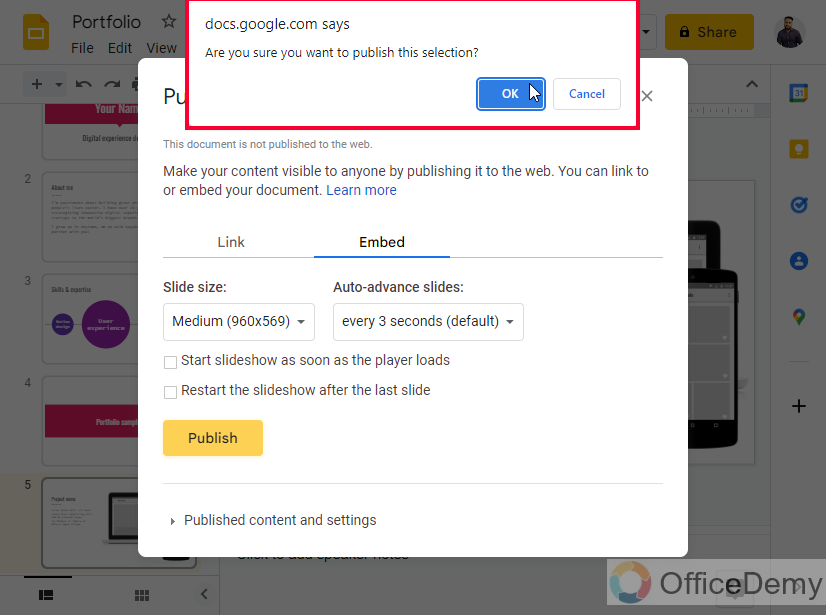
Step 9
A browser alert will appear to confirm the publishing process, read the alert message and click on the OK button to proceed to publish.
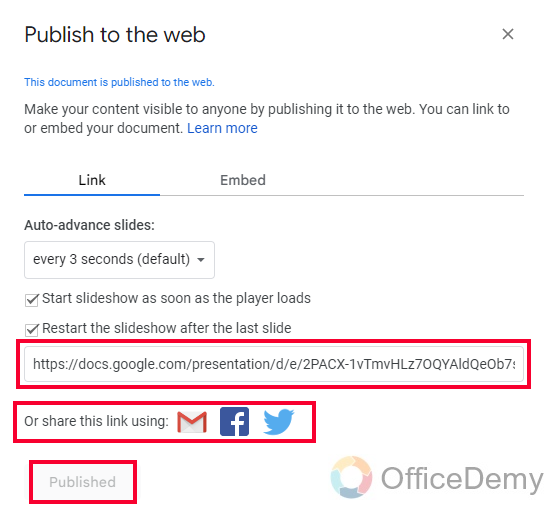
Step 10
A link will be generated, and the Publish button will become Published and disabled, this means that the presentation has been published, you can copy this link to self-visit your presentation over the web, and you can also share this with some channels appearing here like Gmail, Facebook, and Twitter.
This is how to publish a presentation with Autoplay functionality on the web, to verify you can copy the link and visit it to see that your presentation has Autoplay enabled.
We will also discuss how to Autoplay video files, audio files, and gif files in Google Slides in upcoming articles. I hope you find this tutorial helpful and that now you have no problem using Autoplay and loop features in Google slides.
Important Notes
- Users get confused between “Autoplay” and “Auto-Advance”, these two terms are identical in Google Slides, and both mean to play Slides automatically.
- If you press a key between the Autoplay, the Autoplay will be broken, and now even you have to go to options and click on the play button to restart the Autoplay functionality.
- If you want a pause, you can use the pause button in place of the Play button while Autoplay is active.
- The loop is different than Autoplay, a loop can be enabled or disabled while the presentation is auto-playing, loop only works to restart the presentation after it ended. This means after the last slide the first slide will re-appear and this loop will never end until it’s stopped manually.
Frequently Asked Questions
Can I use the Google Slides Autoplay feature without turning on the full screen?
No, Google Slides don’t allow us to loop or Autoplay the presentation in editing mode, The Autoplay is a function inside the Slideshow, and the slideshow is only on the full screen, so without turning on the slideshow we cannot access the Autoplay feature. But yes, there is a workaround, you can resize your browser window to see the slideshow and the Autoplay feature on a smaller screen, you can use “Exit full screen” to be on your current browser window size even in the slideshow mode.
Conclusion
Today we learned how to make Google Slides play automatically, and we have learned two common methods which are used to make a Slides file Autoplay. We have first seen the most useful method which is done within the application by turning on the slideshow mode and making your presentation Autoplay defining a time duration for all slides in seconds. Then, we learned another useful way to make Google Slides play automatically which is while publishing on the web.
I hope you like this tutorial and that you have learned something new from it. Thank you for reading, keep learning with Office Demy.


