
To Open Encrypted Mail in Outlook
Using Gmail:
- Open Chrome and search for “Flowcrypt“.
- Click “Get Chrome extension“.
- Add the extension to Chrome.
- Open your Gmail account.
- Follow the prompts to set up Flowcrypt and create a passphrase.
- Click “Compose Encrypted email“.
- Fill in details and click “Encrypt Sign, and Send” [If recipients don’t have encryption, set a password and click “Encrypt, Sign, and Send“]
OR
- Open the Outlook App.
- Open the encrypted email, which appears as a hidden message.
- Click “Click here to Open Message“.
- You’ll be redirected to the extension’s website.
- Enter the message password set during composition. Click “Decrypt” to reveal the message.
- To reply with encryption, use the “Encrypted Reply” button.
Hi, welcome to another Outlook guide, we have already learned how to send encrypted emails in Outlook, but today, we will learn the next step of it. We are going to learn how to open encrypted mail in Outlook. In current times, securing sensitive information through encrypted communication is paramount. With Microsoft Outlook serving as a prominent email client, knowing how to open encrypted mail within its platform is essential. This concise guide will walk you through the process, equipping you with the knowledge needed to effortlessly decode encrypted emails in Outlook.
Whether you’re a professional managing confidential business correspondence or an individual concerned about protecting personal data, understanding the steps to access encrypted mail in Outlook is vital. We will explore various methods, including leveraging Outlook’s built-in encryption features and utilizing third-party plugins. Furthermore, we’ll address potential challenges and offer practical tips to ensure a seamless decryption experience. Get ready to unveil the hidden content of encrypted emails within your Outlook inbox in no time.
Importance of learning to Open Encrypted Mail in Outlook
We are living in an age of increasing cybersecurity threats and privacy breaches, so learning how to open encrypted mail in Outlook has become crucial. Encryption adds an extra layer of protection to our digital communications, ensuring that sensitive information remains confidential and inaccessible to unauthorized individuals.
By understanding the process of decrypting encrypted emails, we empower ourselves to securely access and respond to important messages without compromising data integrity. Whether it’s safeguarding business secrets, protecting personal data, or maintaining client confidentiality, the ability to open encrypted mail in Outlook is a vital skill in today’s digital landscape.
How to Open Encrypted Mail in Outlook?
I have divided this article into two sections, as we have already learned how to send encrypted emails in Outlook. so today, firstly I will show you how to send encrypted emails from Gmail, and we will receive that encrypted email in our Outlook account, and then I will teach you how to open it. So, let’s get started.
Encrypt a Mail using Gmail
In this first section, we will learn how to open encrypted mail in Outlook, and before that, we will learn how to encrypt an email in Gmail. So, this method requires a free and handy Chrome extension with that we will easily encrypt our emails for free. So, let’s get started.
Step 1
Open your Chrome browser and in the search bar search for “Flowcrypt”
This is a free google chrome extension used to send encrypted messages via Gmail.
Step 2
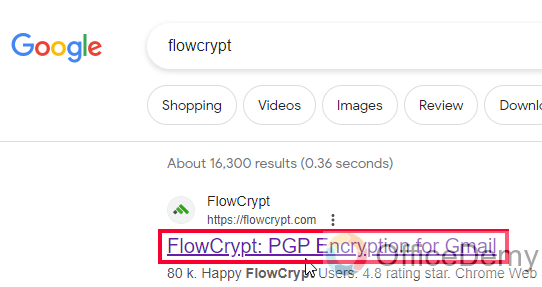
Open the first link
Step 3
Click on “Get Chrome extension”

Step 4
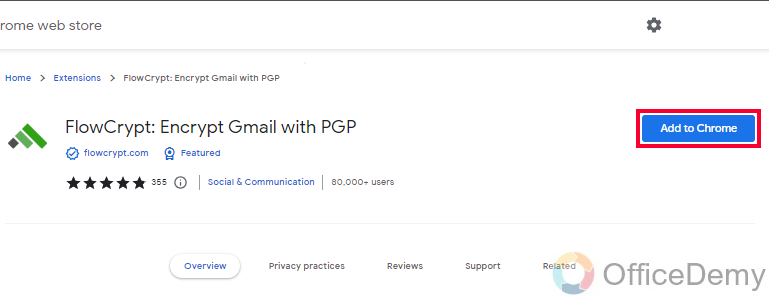
You will be redirected to another page, now click on the “Add to Chrome” button.
Step 5
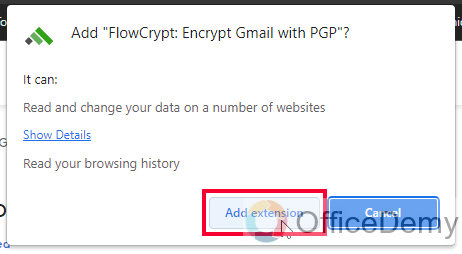
A browser alert will appear, here again, click on the “Add extension” button.
Step 6
Now, your extension will automatically be downloaded and added to your Chrome browser’s extension section.
Step 7
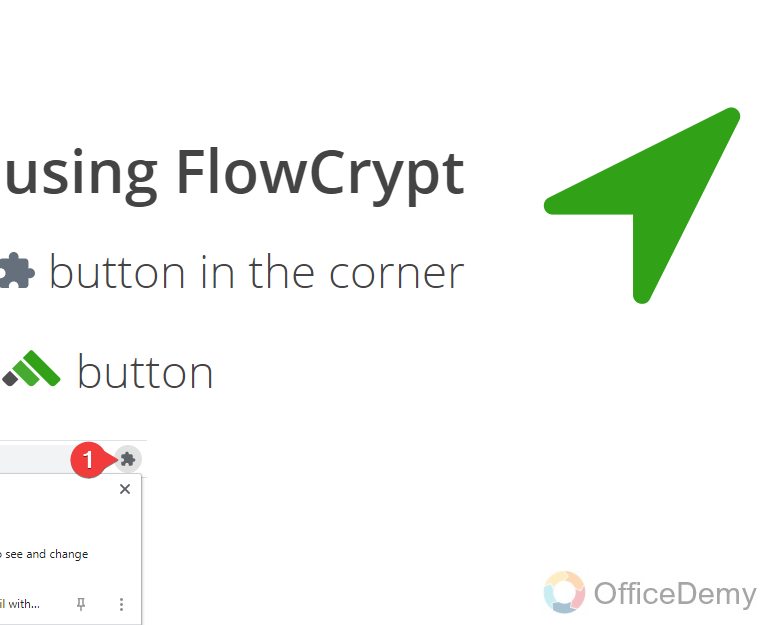
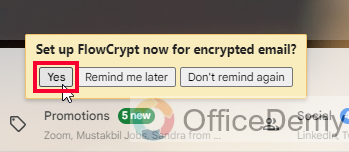
Now open the Gmail account you want to use for sending encrypted emails, and here you will see a prompt “Set up Flowcrypt now for encrypted email” Click on Yes.
Step 8
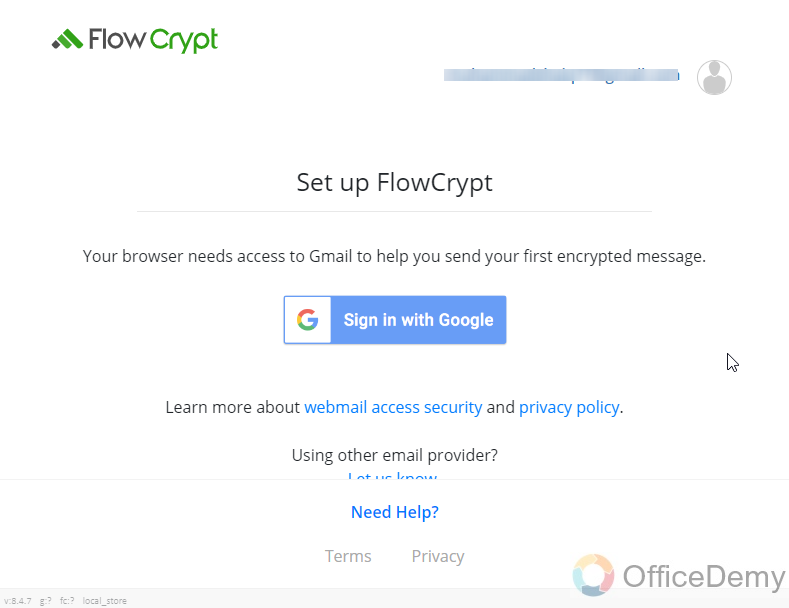
Set up the extension by following the simple on-screen prompts, of course, use the same Google account for sign-in that you want to use for sending encrypted emails.
Step 9
While setting up encryption you need to choose a phrase as a password, do this while following the simple on-screen prompts.

Step 10
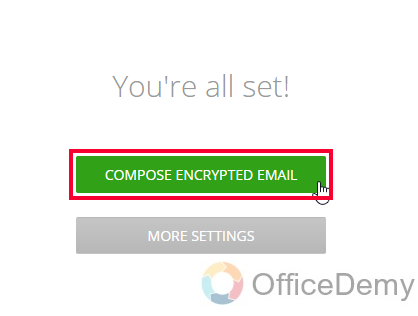
Finally, click on the “Compose Encrypted email” button after you are finished with the setup.
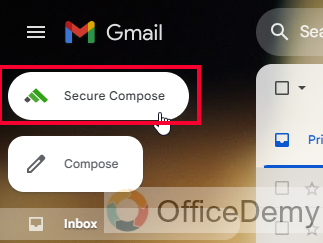
Step 11
It will take you to your Gmail account, and here you have a “Secure compose” button above “Compose” Click on it.
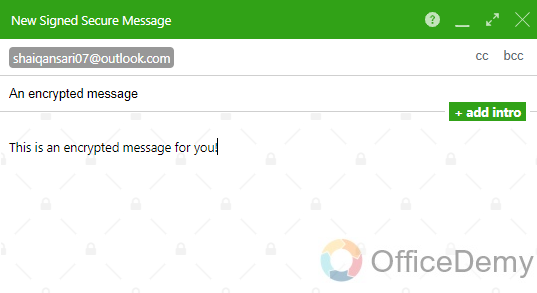
Step 12
Fill in “To”, “Subject”, or other details you want to add to your encrypted email.
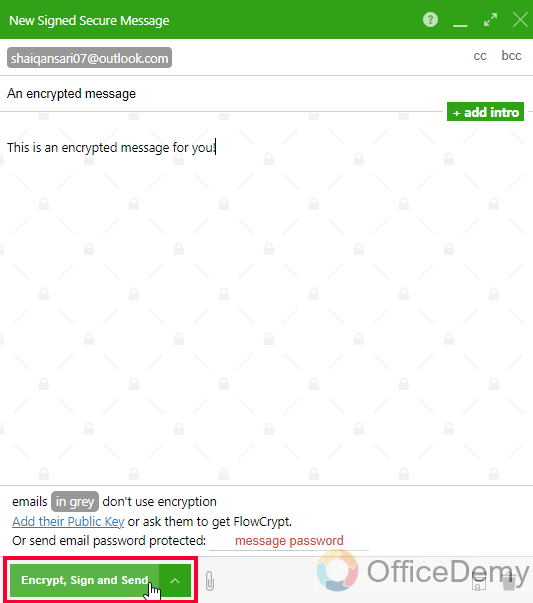
Step 13
Once you are done, click on the below button “Encrypt, Sign, and Send”
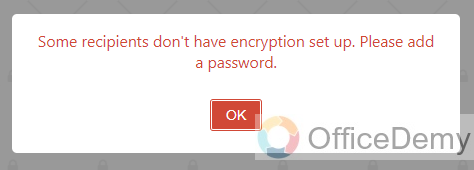
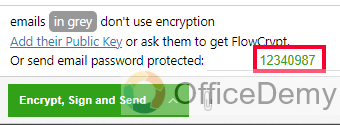
Step 14
If the recipients don’t have encryption set up, then you will be asked to choose a password for this email, enter your password (minimum 8 characters) in the password field.
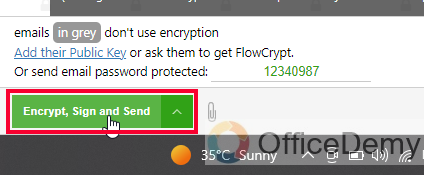
Step 15
Again, click on “Encrypt, Sign, and Send”
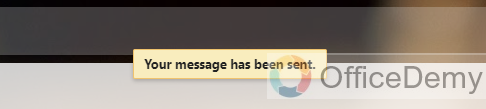
Step 16
You can see the encrypted message has been sent.
This is how we send encrypted emails using Gmail. Now, I have sent it to my Outlook account, and in the next section, we will learn how it looks at the receiver end, and we will also learn how to open encrypted mail in Outlook.
Opening the Encrypted Mail in Outlook
In this section we will learn, how to open encrypted mail in Outlook, in the last section, we used a Chrome extension and we learned how to use it to send an encrypted email using Gmail, now we will see how the sent emails look like in Outlook and how we can open it since it’s an encrypted email.
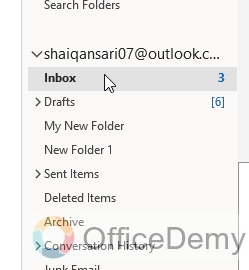
Step 1
Open your Outlook app and go to Account on which you have received an encrypted email.
Step 2
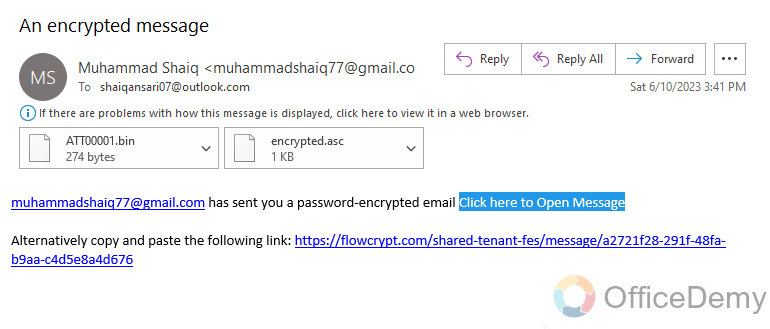
Open the email message, and you can see it looks like a hidden message
Step 3
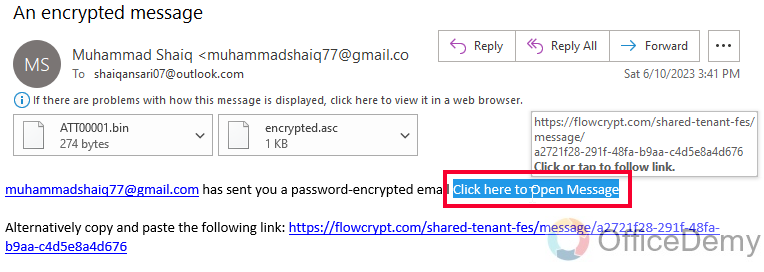
You can see a link saying, “Click here to Open Message”, click on the link
Step 4
It will take you to the web, on the extension’s website which was used to send this encrypted email by Gmail
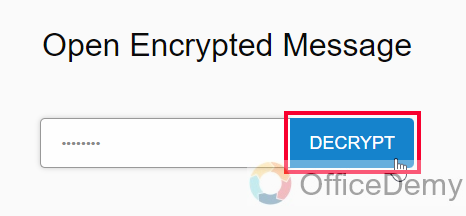
Step 5
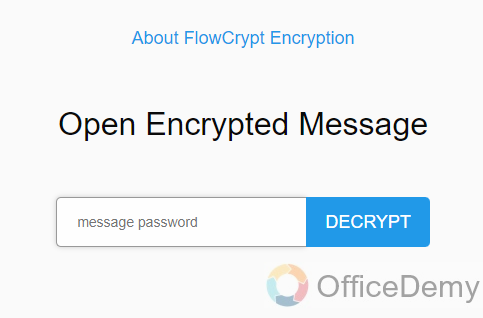
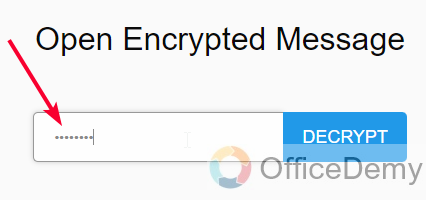
You could see, it is asking for a message password, if you remembered, we assigned a password when composing this email, you must ask for this password from the sender and paste it here.
Step 6
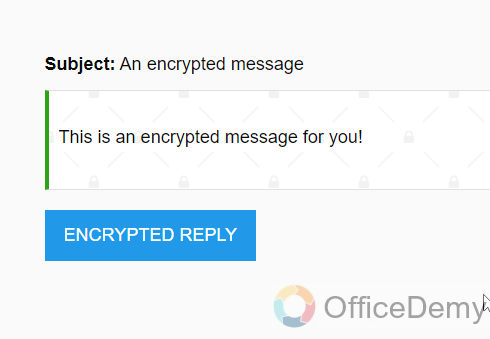
After entering the password, click on the “Decrypt” button, and your message inside the encrypted email will appear here.
Step 7
If you need to reply to this message, you can click on the below “Encrypted Reply” button, to reply with encryption.
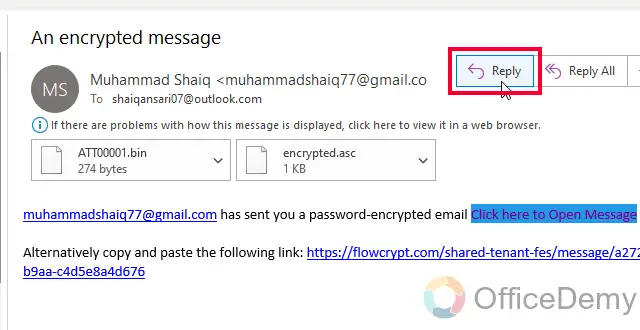
Step 8
For a normal reply to this email, you can go to the Outlook app and simply use the reply button “to reply.
So, this was a complete guide on how to open encrypted mail in Outlook, I showed you how this process is done from the sender’s end, so you have all the information about the process, and have knowledge of passwords, and phrases (used when both users have encryption enabled) used.
Important Notes
- Opening encrypted mail in Outlook enhances data security and protects sensitive information from unauthorized access.
- Understanding the decryption process empowers you to securely access and respond to important encrypted messages.
- Encryption is essential for safeguarding business secrets, maintaining client confidentiality, and protecting personal data.
- Utilize Outlook’s built-in encryption features or third-party plugins to open encrypted mail effectively.
- Ensure successful decryption by communicating encryption methods and instructions to recipients.
Frequently Asked Questions
Q1: How to identify encrypted mail in Outlook?
Encrypted mail in Outlook is typically marked with a padlock or other encryption indicators. Look for visual cues like an encrypted envelope icon or a message stating that the email is encrypted.
Q2: How to open encrypted mail in Outlook without additional tools?
Outlook offers built-in encryption capabilities. To open encrypted mail, simply click on the email to view its contents. If a passcode or decryption key is required, follow the provided instructions to enter the necessary information.
Q3: How to reply to an encrypted email in Outlook?
When replying to an encrypted email, Outlook automatically encrypts your response if the original message was encrypted. Simply compose your reply as you would with any other email, and Outlook will handle the encryption process for you.
Conclusion
That’s all about how to open encrypted mail in Outlook. I tried to cover the entire process to give you knowledge about the encryption and decryption process, so you don’t mislead into any phishing or spamming issues. Thanks for reading, keep learning with Office Demy.


