
To Print in Microsoft Word
- Open the document.
- Go to “File” > “Print“.
- Select the printer > Set the number of copies.
- Click “Print” > Retrieve the printed document.
OR
- Click “Print” > Choose the printer.
- Specify the pages to print (e.g., all, specific range, selected).
- Set the number of copies.
- Choose one or both sides for printing.
- Opt for collated or uncollated printing.
- Select paper orientation (portrait or landscape).
- Choose the paper size.
- Adjust margins if needed.
- Configure page per sheet settings.
- Click “Print” and collect your printed document.
Hi everyone. Welcome to today’s guide. We will learn how to print in Microsoft word. Printing documents is an essential task for anyone who uses Microsoft Word for writing, editing, and formatting text. Whether you need a hard copy of a document for personal reference, sharing with others, or submitting a document as a formal requirement, knowing how to print in Microsoft Word is an important skill.
In this guide, we will provide you with complete step-by-step instructions on how to print in Microsoft Word, including the simple print method and print settings with details. Whether you are a beginner or an experienced user, this guide will help you understand the basic and advanced features of printing in Microsoft Word, making it easier for you to print your documents quickly and accurately.
Why do we need to lean how to Print in Microsoft Word?
Printing is a fundamental function of Microsoft Word, and knowing how to print documents is important for several reasons. For one, hard copies of documents are still commonly used in many settings, such as offices, schools, and legal proceedings. Therefore, being able to print a document is necessary if you need to provide physical copies to other people or for record-keeping purposes. It is a traditional and widely used system that is being used in almost all industries.
Also, learning how to print in Microsoft Word allows you to customize the printing process according to your needs. You can adjust various print settings, such as paper size, margins, and orientation, to ensure that the document looks the way you want it to. This is particularly important when printing professional documents, such as resumes, presentations, and business proposals, as the quality and layout of the printed document can impact how it is perceived by others. So, being able to control the printing process helps to ensure that your documents look polished and professional. These are some good reasons to know for learning how to print in Microsoft word.
How to Print in Microsoft Word?
Microsoft Word gives you a lot of printing options. We can make a print of our document on paper according to very minor details. We can have so many paper sizes, formats, orientations, margins, custom sizes, etc to get a desired print. Today, I am going to teach you how to print in Microsoft Word, and then in the next section, we will learn and understand the further advanced option of printing, the custom options, and so on. So, let’s get started with the first method.
Print in Microsoft Word – using Simple Print Method
In this section, we will learn how to print in Microsoft word using a simple print method, this method is the basics of printing in Microsoft Word and similar tools. So, let’s see how it works after this guide you will be able to print your papers easily in a few clicks.
Step 1
Open the document you want to print in Microsoft Word.
Step 2
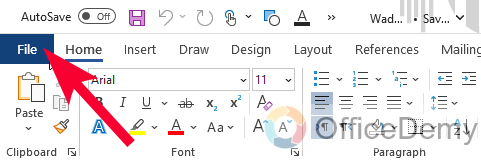
Go to the “File” tab in the upper left-hand corner of the screen.
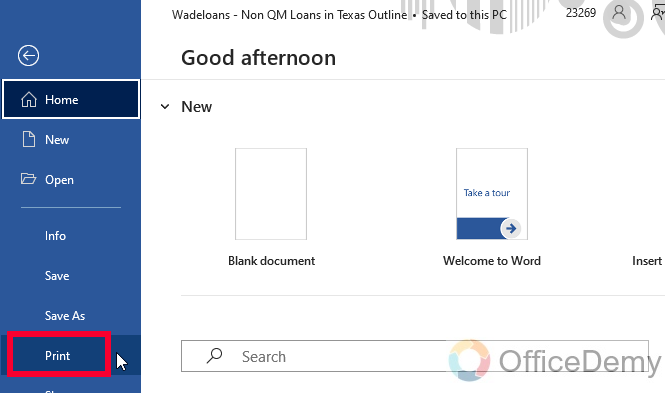
Step 3
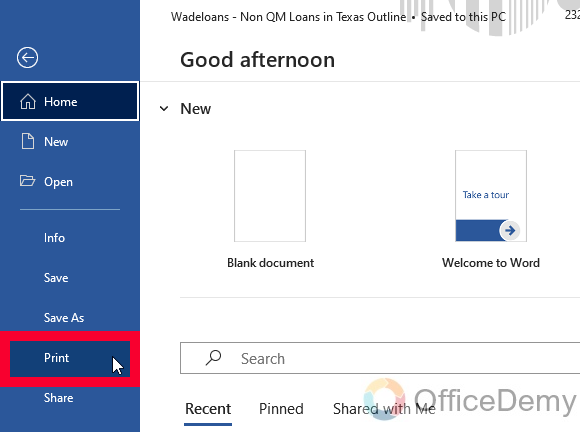
Click on “Print” from the options listed on the left-hand side of the screen.
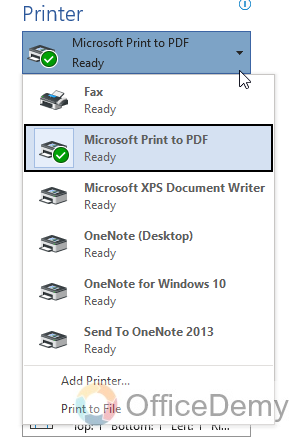
Step 4
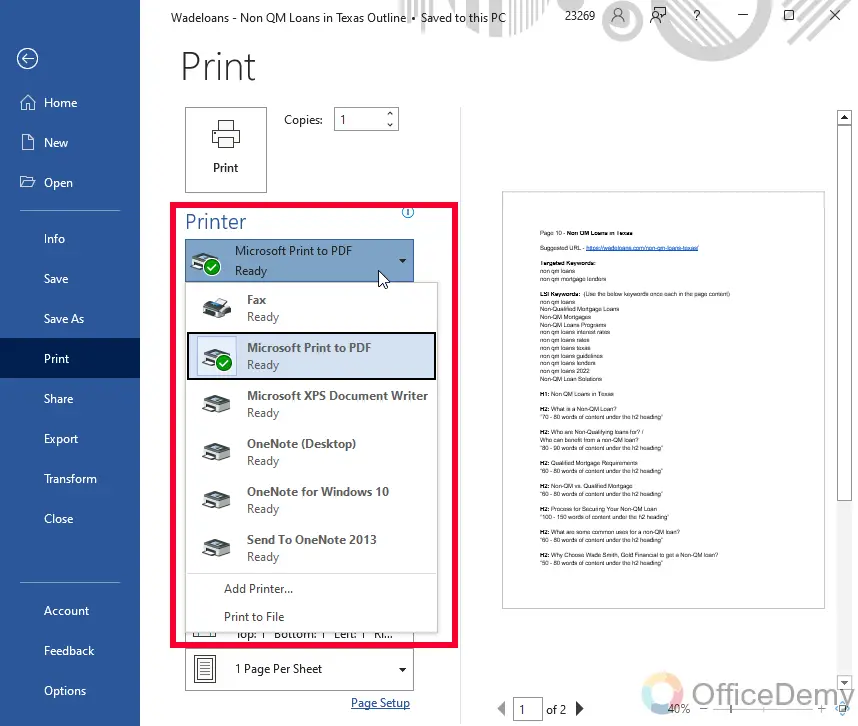
Ensure that the correct printer is selected from the “Printer” dropdown menu.
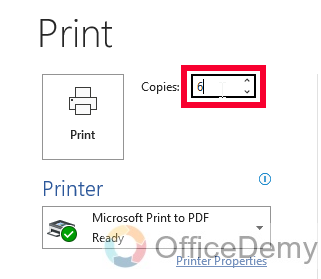
Step 5
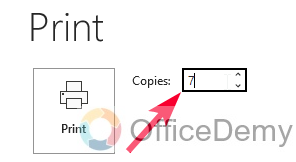
Adjust the number of copies you want to print in the “Copies” field.
Step 6
Click the “Print” button.
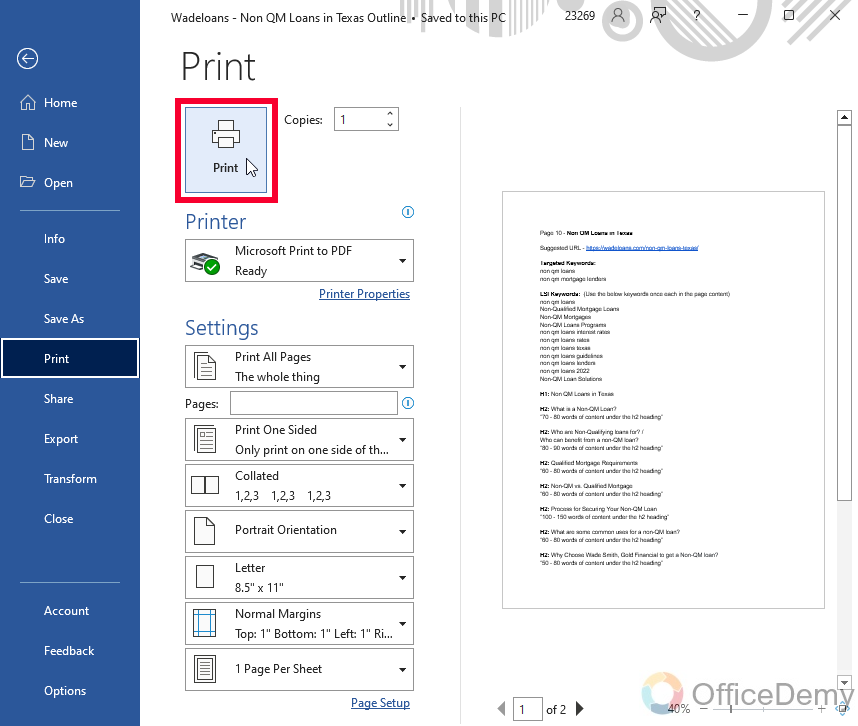
Step 7
Retrieve your printed document from the printer.

That’s it. The above steps are enough to print a paper directly without any custom adjustment, or paper settings, but sometimes we have a new document that is not aligned as per the page size, or we may have doubts about orientations, aspect ratio, and margins, so tackling that situations we must need to know some advance settings of the Print feature in Microsoft Word.
Print in Microsoft Word – using Custom Print Settings & Adjustments
In this section, we will learn how to print in Microsoft Word and explore the custom print settings and adjustments. We will see some mostly used and commonly required methods to adjust our documents as per pages.
Step 1
Click on “Print” from the options same as the above section
Step 2
Ensure that the correct printer is selected from the “Printer” dropdown menu.
Step 3
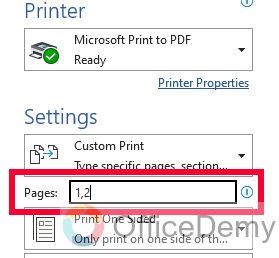
Choose the pages you want to print in the “Pages” section. You can either select “Print All Pages” to print the entire document or specify a range of pages by entering the page numbers in the “From” and “To” fields, or you can also print the currently selected page.
Step 4
Choose the number of copies you want to print in the “Copies” field, note that this feature means how many copies of your finalized document. (If you selected the entire document, and it has 4 pages, then 2 copies will print 8 pages)
Step 5
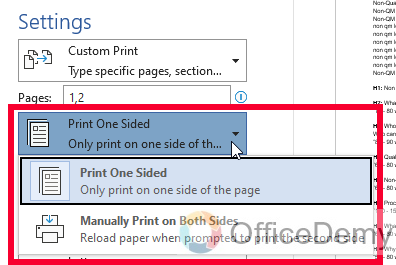
Now you can select whether you want to print on one side of the paper or both sides manually.
Step 6
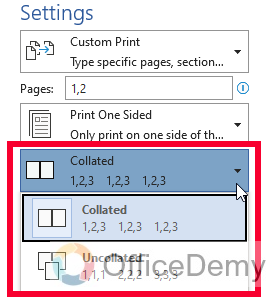
Here you can set Collated, or Uncollated to adjust the sorting of your document’s pages.
Step 7
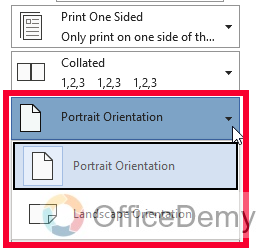
Choose the paper orientation you want to use in the “Orientation” dropdown menu.
Now you can select the page Orientation, “Portrait” or “Landscape”
Step 8
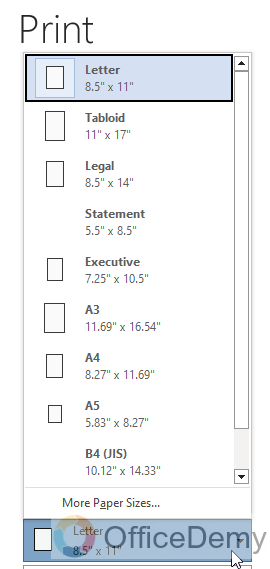
Select the paper size you want to use in the “Paper Size” dropdown menu.
Step 9
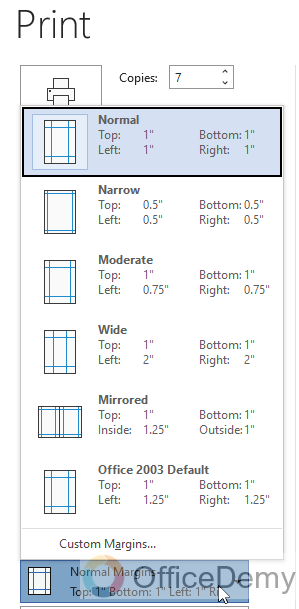
Adjust the margins for your document in the “Margins” section.
Step 10
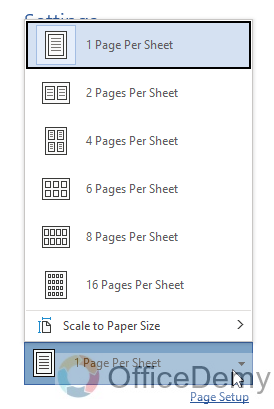
You can set a page per sheet if you wish to have a microcopy and have multiple pages on 1 print sheet.
Step 11
Click on the “Print” button in the lower right-hand corner of the screen and retrieve your printed document from the printer.

That’s it! The print settings and adjustment method allow you to customize the print settings and make adjustments to ensure that your document is printed exactly the way you want it to be.
Important Notes
- It is important to proofread your document for any errors, such as spelling or grammatical mistakes. This ensures that you are printing an accurate representation of the document.
- Always check the print preview of your document before printing. This allows you to see how the document will look on paper and make any necessary adjustments.
- If you are printing a document that does not require color, consider printing in black and white. This can save ink and extend the life of your printer.
- Make sure you select the correct paper size for your document. Choosing the wrong size can result in uneven borders or text cut off at the edges.
- If your document contains images or tables, make sure you select the correct orientation (landscape or portrait) to ensure that the document is printed correctly.
- Duplex printing allows you to print on both sides of the paper, which can save paper and reduce printing costs. Check your printer settings to see if this option is available.
- If you want to share a document with others, consider printing it in PDF format. This ensures that the formatting and layout of the document are preserved, regardless of the software or device used to open it.
Frequently Asked Questions
Can I Print Google Docs with Comments using the same method as Microsoft Word?
Yes, you can print Google Docs with comments using the same method as Microsoft Word. By opening the Google Doc you want to print and navigating to the File tab, you can select Print and a dialogue box will appear. From there, you can choose to include comments by selecting the appropriate option. Thus, printing google docs with comments is possible through the same method as Microsoft Word.
How to print a document in Microsoft Word?
To print your document in Microsoft Word, click on the File menu and select Print. This will open the Print dialog box, where you can adjust the print settings and preview your document before printing, as taught in method 1.
How to adjust the print settings in Microsoft Word?
Click on the File menu and select Print. In the Print dialog box, you can select the printer, choose the number of copies, adjust the paper size and orientation, and select other print options, such as duplex printing, as taught in method 2.
How to preview the document before printing in Microsoft Word?
To preview your document before printing in Microsoft Word, click on the File menu and select Print. In the Print dialog box, click on the Preview button to see how your document will look when printed. Normally, the print preview is shown by default.
Conclusion
This is all about how to print in Microsoft word. I hope you find this guide helpful. Thank you. Keep learning with Office Demy.


