
To Put Page Numbers on Microsoft Word
- Open your document.
- Go to “Insert” > “Page Numbers“.
- Choose location and format > Page numbers are added.
OR
- Go to “Insert” > “Page Numbers“.
- Click “Format Page Numbers“.
- Choose format and settings.
- Click “OK” to format.
OR
- Add page numbers.
- Change view to “Side to Side“.
- Go to “Insert” > “Header” or “Footer“.
- Select “Edit Header/Footer“.
- Check “Different First Page“.
- Remove title page numbers > Click “Close Header/Footer“
OR
- Select the second page.
- Go to “Insert” > “Page Numbers“.
- Click “Format Page Numbers“.
- Choose “Start at” and set it to 0.
- Click “OK” to start after the title page.
Hi guys. In this article, you are going to learn how to put page numbers on Microsoft Word. This is a very essential tool of MS word or any word processing tool to make our documents more organized and easier to navigate.
Page numbers are an essential element of any document, be it a thesis, a research paper, or a report. They help to organize the document and provide the reader with a clear understanding of the document’s structure. Microsoft Word is one of the most used word-processing software programs that offer several features, including page numbering.
Page numbering can be confusing for some users to navigate various tools to add page numbers to their documents. In this article, we will provide a step-by-step guide on how to put page numbers on Microsoft Word to help you make your documents more professional and organized.
Importance of using Page Numbers on Microsoft Word
Learning how to put page numbers on Microsoft Word is an essential skill for anyone who wants to create professional-looking documents. Page numbers not only help to organize a document, but they also make it easier for readers to navigate through the document and find specific information. Without page numbers, it can be challenging for readers to reference specific sections of a document. This can lead to confusion and frustration, particularly when it comes to longer documents such as reports, theses, or dissertations. By including page numbers, you can make it much easier for your readers to find the information they need quickly and efficiently.
Notably, including page numbers in your document can also make it look more professional. It shows that you have put effort into formatting your document correctly and have considered the needs of your readers. This attention to detail can be especially important if you are creating a document for a professional or academic setting. So, we can say, learning how to put page numbers on Microsoft Word is relatively easy, and once you have mastered this skill, you can quickly add page numbers to any document you create. This can save you time and effort in the long run, as you will not have to manually add page numbers to each page.
How to Put Page Numbers on Microsoft Word?
This article is mainly divided into four parts, I researched and observed that these four methods are important to learn and understand for anyone who wants to add page numbers to Microsoft Word documents. So, let’s get started with the first method and see how to do that very easily.
Add Page Numbers on Microsoft Word
In this first section, we will learn how to put page numbers on Microsoft Word. This is a very simple method, I am using Microsoft 365, and this method will also be applied to Word 2019, 2016, 2013, and 2010 versions, with little or no changes to feature location. So, let’s see the steps below.
Step 1
Open your Microsoft Word document on which you want to add page numbers.

Step 2
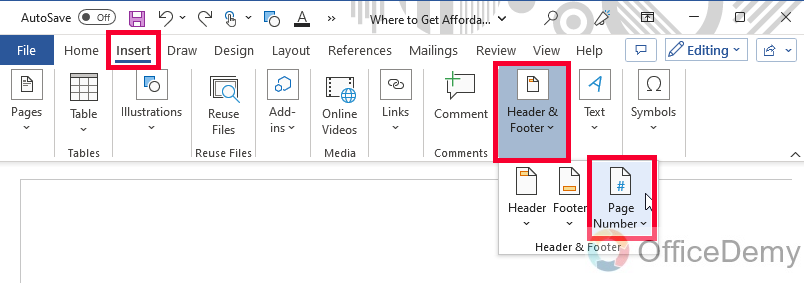
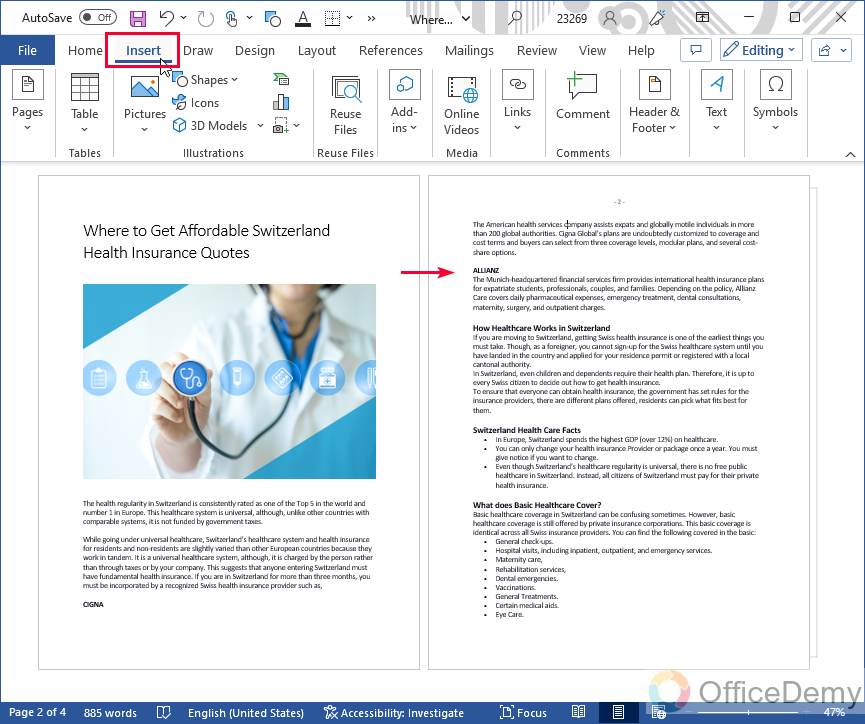
Go to Insert Tab

Step 3
In the Header and Footer Group, click on the “Page Numbers” dropdown button
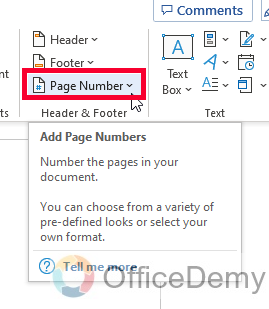
Step 4
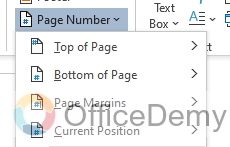
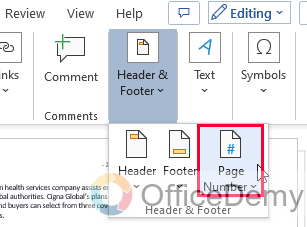
Now you have various options:
- Top of page
- Bottom of page
- Page margins
- Current Position
These are the locations of your document where you can add the page numbers to be shown on your page.
Step 5
Further, you have more options with each of the above; using them you can add different styles of page numbers such as 1, Page 1, Page 1 of 3, etc.
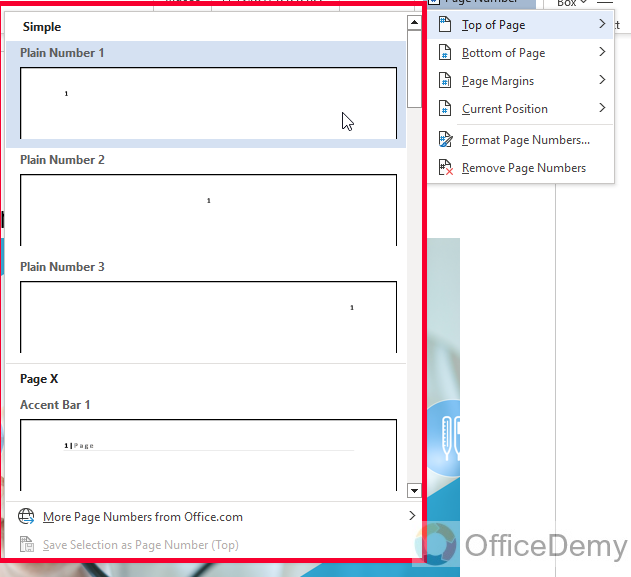
Note: These options are available with all four options
Step 6
As you click on your desired page number style, immediately your page number will be added to your document.

So, this is how to put page numbers on Microsoft word quickly.
Format Page Numbers on Microsoft Word
In this section, we will learn how to put page numbers on Microsoft word and then format them as per our needs, this is a very useful method or concept beginners get confused with, so see this method very carefully.
Step 1
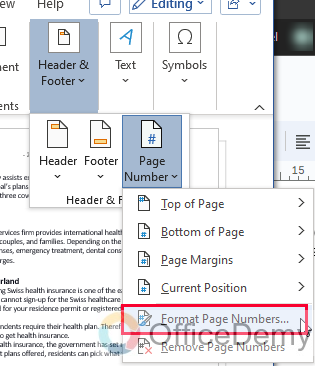
Go to Insert > Page Numbers
Step 2
Leaving four paging options, click on the “Format Page Numbers” button on the fifth position
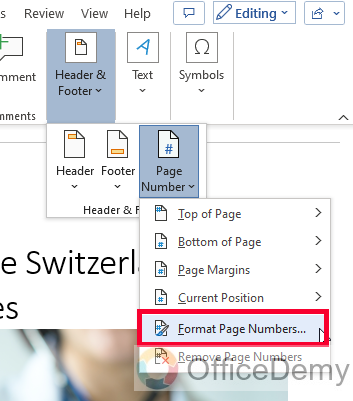
Step 3
A new “Format Page Numbers” dialog box will appear.
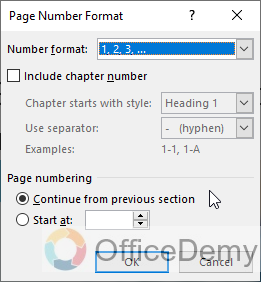
Step 4
Here, at the top dropdown list, you have some pre-sets of the formats you can use as your page number format
Note: These formats may show less or more in quantity depending on how many active languages you have associated with your Office account, or specifically with your Microsoft version.
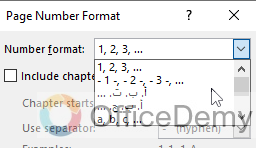
Step 5
Pick any style, and then you can check the checkbox “Include Chapter number” if your document has chapters, else you can skip it

Step 6
Now below you can see the page numbering section, keep it as default and click on the Ok button below.

This will quickly format your page numbers as per the specifics you provided in the “Format page number” dialog box.
How to Remove Page Number from Title Page on Microsoft Word
People usually get confused in this, in this section, we will learn how to put page numbers on Microsoft word but remove them for the title page. Some documents have title pages, and some have not, for those who have title pages; this section is significantly useful. We can easily remove the page numbers from the title page(s) by following the below steps.
Step 1
First, add page numbers to your every page as per the above section

Step 2
Change the document’s view to Side to Side by going to the View section, so you can see the changes on both pages at the same time.

Step 3
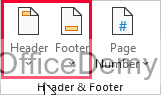
Now, click on the Insert tab and go to the Header and Footer section

Step 4
Click on Header, if you have your page numbers in the header, or click on the Footer if you have your page numbers in Footer.
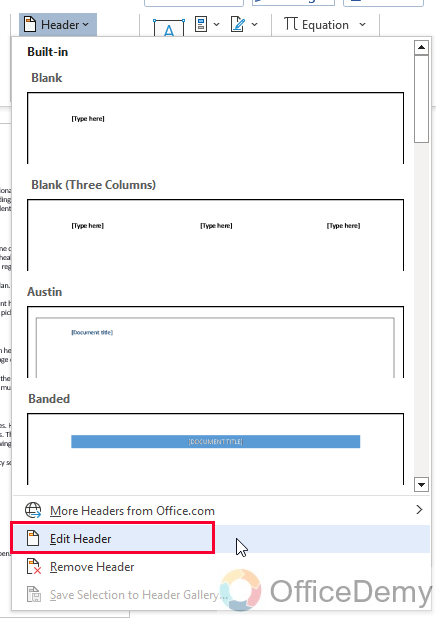
Step 5
Then Select, Edit Header / Footer
Step 6
As in the current window, you will see a checkbox “Different First Page” in the Options tag inside the Header and Footer tab, check on it.
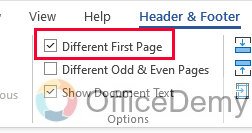
Note: At this moment, your page 1 header will automatically remove the page number from it, but if it does not remove, then continue with Step 6, otherwise continue with Step 7
Step 7
Now you are inside the header, you can remove the page number from your title page(s) manually, remove them from the title page only and leave them as it is on your other pages.

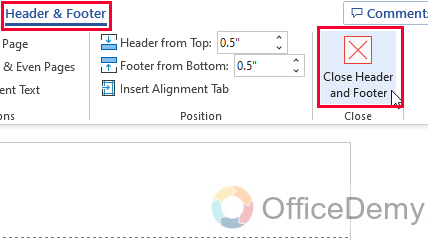
Step 8
Click on the Close Header button or simply press the Esc key to exit from Header
Step 9
You can see your title page now have no page numbers

We have removed the page number from the title but now our page numbers are starting from 2, this is not correct, so let’s see the solution in the next section.
How to Start Page Numbers After Title Page on Microsoft Word
In this final section, we will learn how to put page numbers on Microsoft Word and I will show you how to start your page numbers after the title page, this is a connection method from the last method so make sure you are done with method 3 first. So, let’s see the steps required to start your page numbers after the title page or pages.
Step 1
Select the page that comes after the title page and click on the Insert tab
Step 2
Go to Page numbers inside the Header and Footer section
Step 3
Click on the Format page numbers button from the dropdown list
Step 4
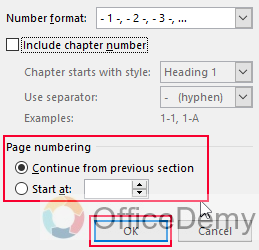
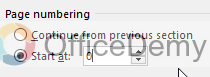
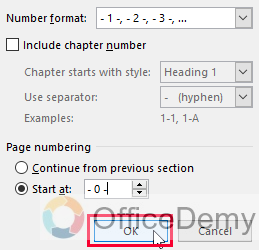
In the page numbering section, select “Start at” and pass the value 0 in the box next to it.
Step 5
Click on the Ok button, and now you can see the page numbers starting from the second page with page number value = 1.

So this is how to put page numbers on Microsoft Word very easily using the above methods.
Conclusion
This is all about how to put page numbers on Microsoft word, if you have any problem please comment below. I will see you soon with another helpful guide. Thanks, and keep learning with Office Demy.


