
To Record a Presentation on Google Slides
- Search for “Screencastify” and add it to Chrome.
- Open your Google Slides presentation.
- Click the Screencastify icon and allow microphone and webcam access.
- Click “Start recording” to record your presentation.
- Access and edit your recorded video in Screencastify.
Hi, in this article we will learn how to record a presentation on Google Slides. To date, we don’t have any direct method in Google Slides to record the presentation. We use external plugins, browser extensions, and third-party add-ons to record a presentation on Google Slides. But it is hectic work to find a good tool and to get familiar with it to use it as your primary video recorder to record a presentation on Google Slides. People avoid downloading and testing new tools, there are thousands of video recording tools available in the market. Some of them are premium and we have to pay to use them, while most of them are free and we can use them freely even without a watermark.
But the difficult job is to find them and get used to the user interface. To resist your stress, I have researched and brought an extremely easy-to-use and convenient video editing tool to record a presentation in Google Slides. The tool we will use in this tutorial is completely free and doesn’t leave any watermark over the video. We can use our face video along with the presentation while presenting, or we can turn the video off and capture only the screen. Similarly, we can enable/disable audio. Let’s see which tool I have got for you today, and how we can use them to record a presentation on Google Slides.
When to use Presentation Recording on Google Slides?
Nowadays, the business presentation investor deck and even the educational content are mostly shared via online channels. The Google Slides presentations can be of two types, first ones are those that don’t need a presenter with them. while the other type is the one that needs a presenter. Some presentations are full of content and everything is defined very clearly with examples and enough explanation, but some are less contented, and required a spoke person to discuss the point raises in the presentation. So, to share via online channels, we can share a presentation directly in .slide format. But it will not be interactive. So here comes the need of recording presentations.
We can record a presentation inside a video and can add our voice-over with it, and even the webcam video. Then, it becomes very convenient for the audience to understand the content of the slides. Well, it’s our choice to show or hide our face from the video, and can add only add voice-over to explain the presentation, then we can share it in a video format. So, knowing all the points, now you can think why we need to learn how to record a presentation on Google Slides.
How to Record a Presentation on Google Slides
We are going to use a third-party application to record a presentation on Google Slides, we will download the app first, then we will install it, then set up and log in, and then start using its functionality to record a presentation. We will cover all the important things, and I will try to communicate all the key features and useful aspects of the application we are going to use.
Screencastify Chrome Extension to Record Google Slides Presentation Screen
In this first section, we will learn how to record a presentation on Google Slides using Screencastify software. It’s a free video recording/screen recording tool that comes with a microphone and webcam support. It’s simply a chrome extension, that can be added to chrome and then can be used simply just like any other browser extension. It’s completely free and it gives us to power to first record videos, then edits them, and then share or download them in high quality without any watermark. So many features, right? Let’s see how to get this and how to use it to record a presentation on Google Slides.
Step 1
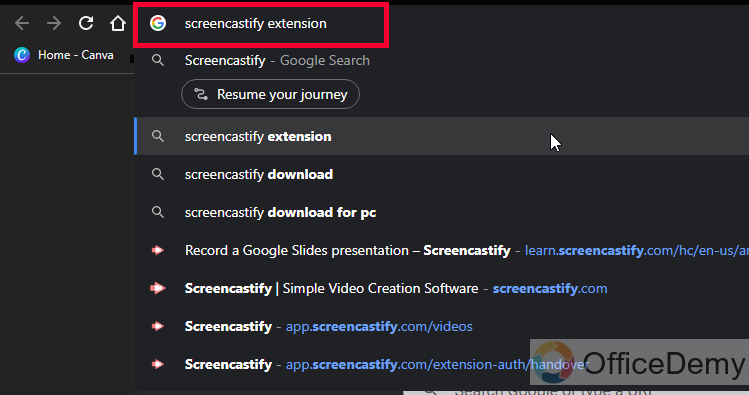
Search Screencastify on your chrome or chrome-based browser
Step 2
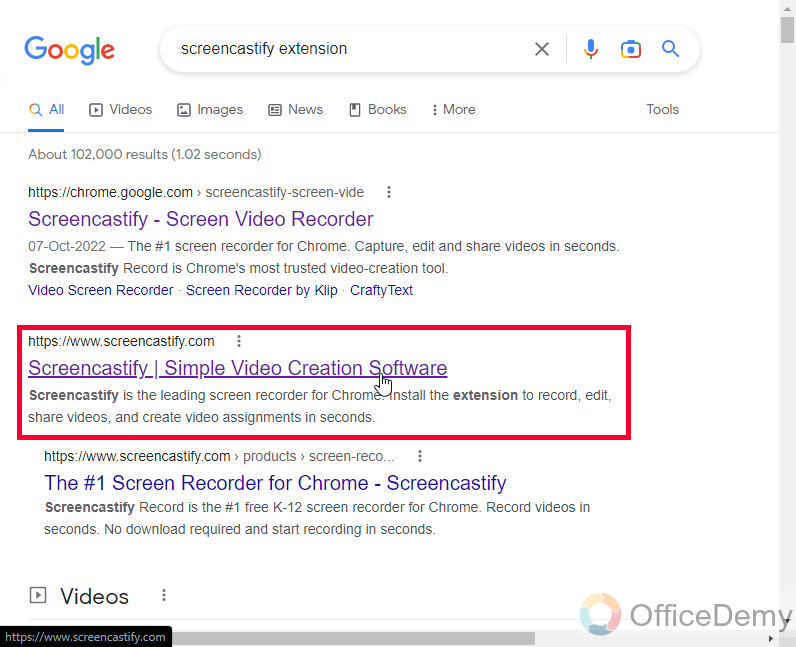
Click on the first link to go to the official website of screencastify
Step 3
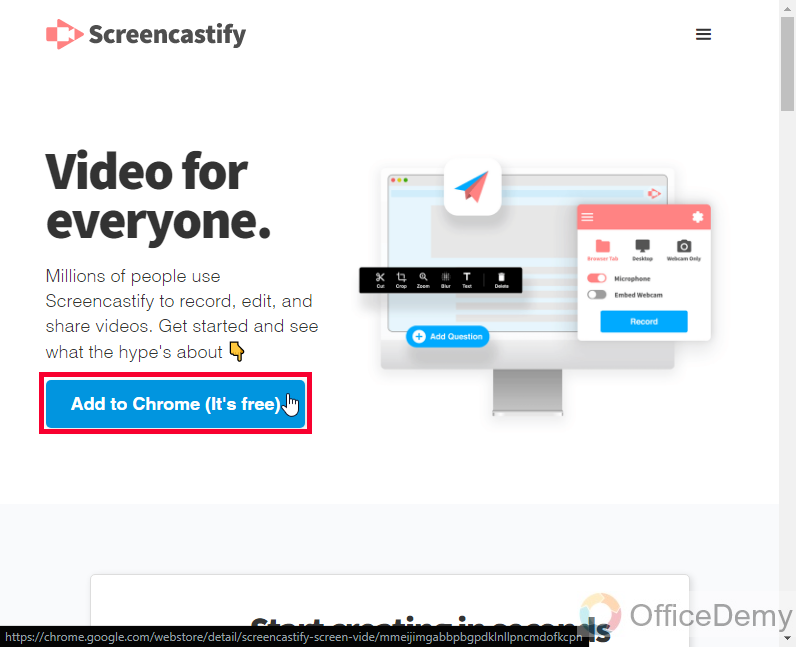
Click on Add to chrome
Step 4
You will be redirected to the Chrome web store, Click on Add to chrome

Step 5
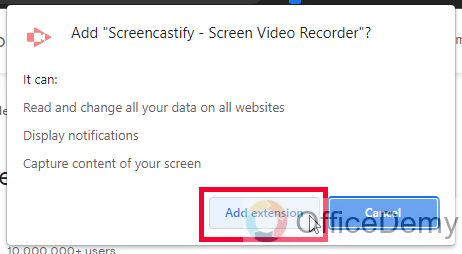
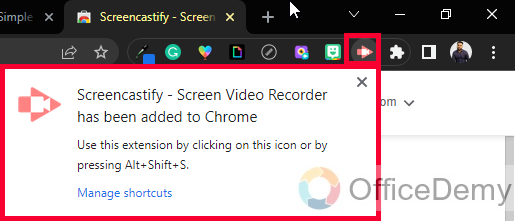
A browser alert will appear, read the message from the provider, and click on the Add extension button
Step 6
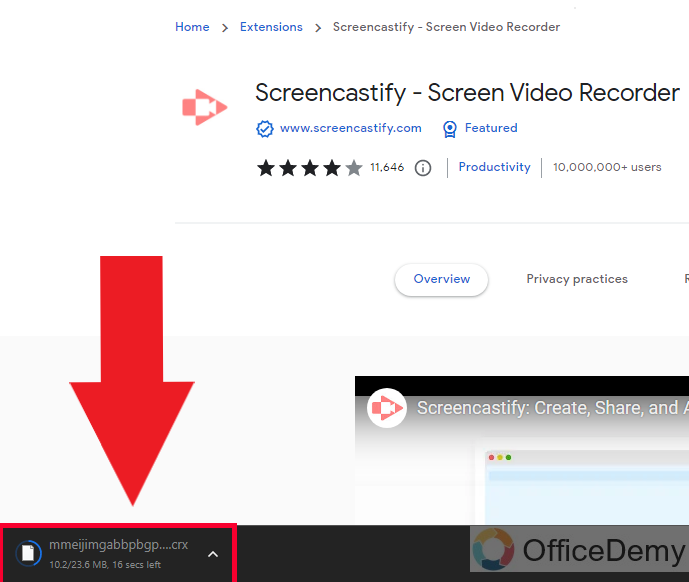
It will take some time to download the files, and will be automatically added to your chrome browser’s toolbar
Step 7
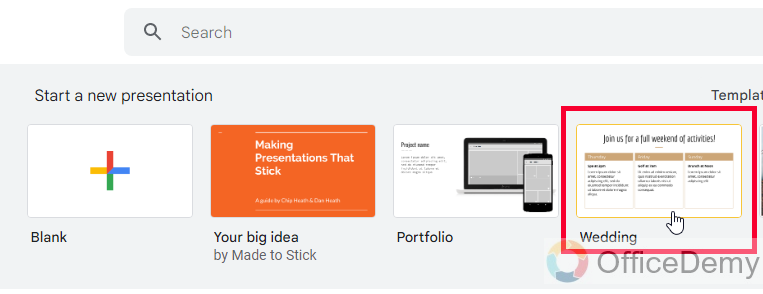
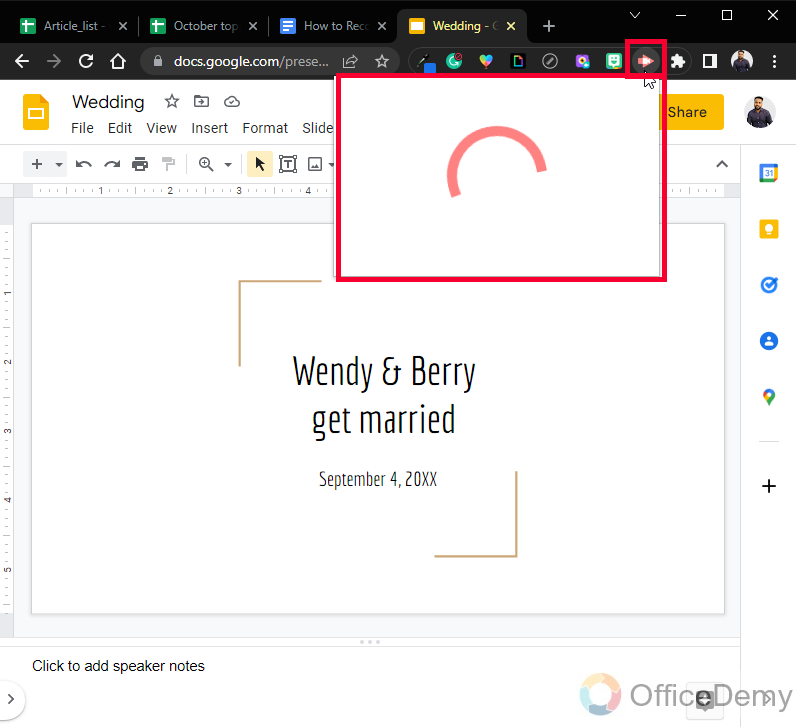
Go back to Slides, and open the presentation you want to record
Click on the extension, and it will take you to a new tab for signing in, and setting up your account.
Step 8
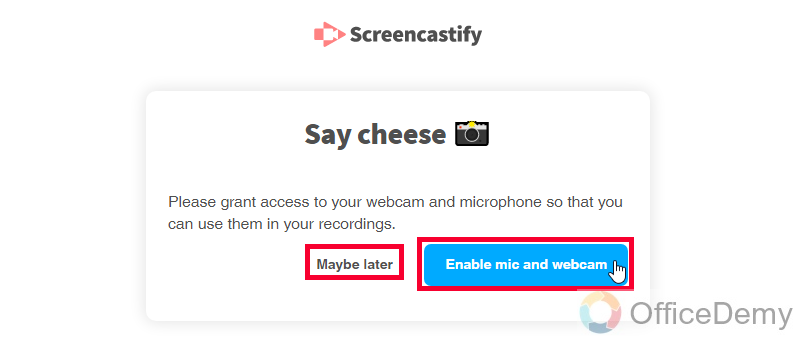
Here it will ask for permission, click on the Enable mic and webcam button if you want to enable them right now, or you can click on the Maybe later button to enable them later.
Step 9
You will see the signup page, since I am already signed up so I will be redirected to this page

Step 10
I will close this tab and will go back to my presentation

Step 11
Click on the screencastify extension’s icon to get started with the recording
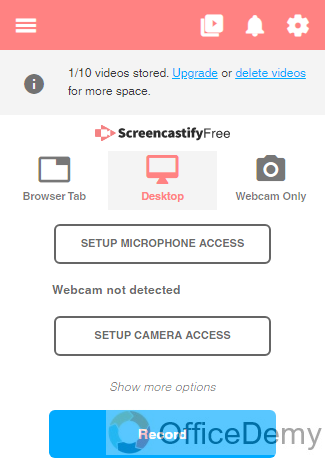
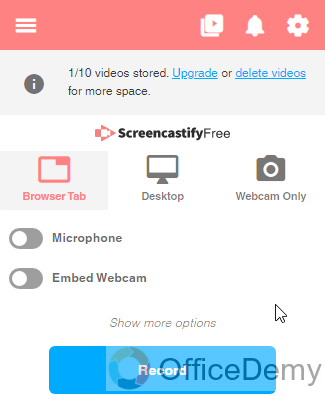
Step 12
Here is the main menu to start recording
Step 13
Select the browser tab option and Click on the Start recording button
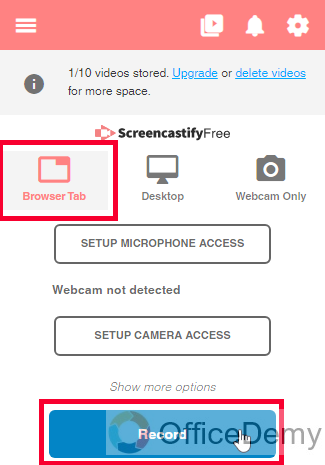
Note: If you want to turn on the webcam and microphone, then you can use the two options before the Start recording button
Step 14
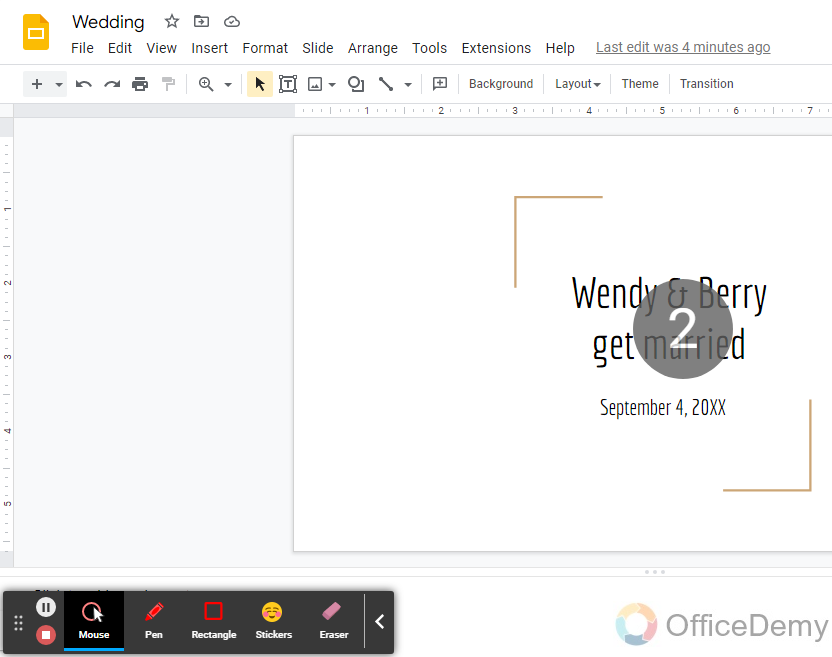
As you click on the Start recording button, a countdown will be started.
Step 15
See the complete procedure in the below Gif file
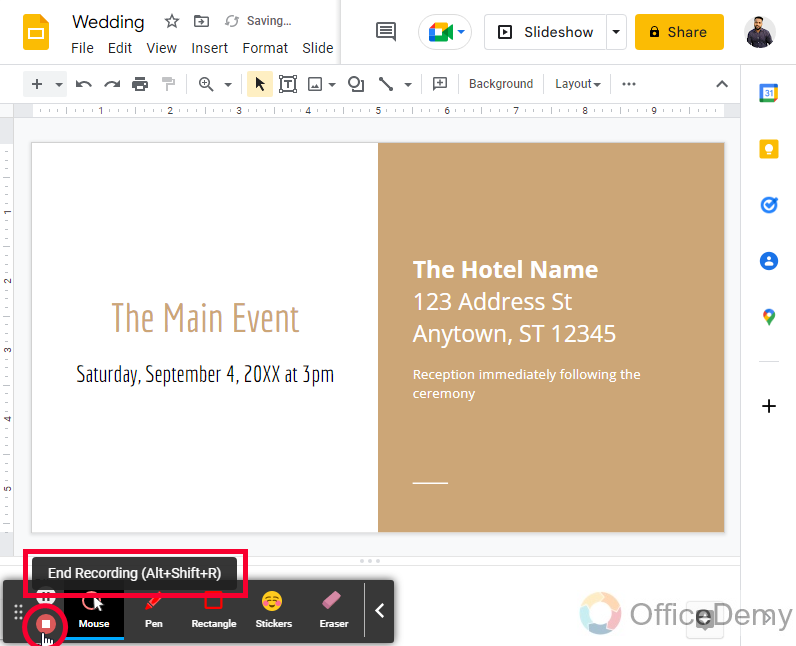
After finishing your video click on the stop icon at the left corner of the toolbar
Step 16
A toolbar is ticked below, you may find it irritating but it’s pretty useful. You can use it to draw
Or
Use the shortcut key Ctrl + Shift + R
Step 17
If you find the toolbar annoying you can minimize it or move it freely anywhere while minimized or maximized.
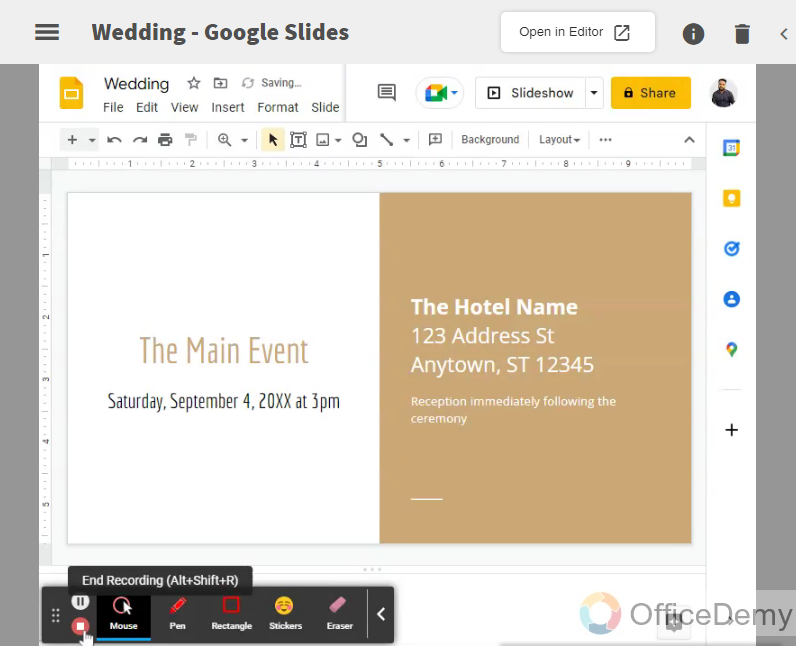
Step 18
After recording the video is moved to your screencastify account, and a new tab automatically redirects you there.
Step 19
Here you have the following sharing options
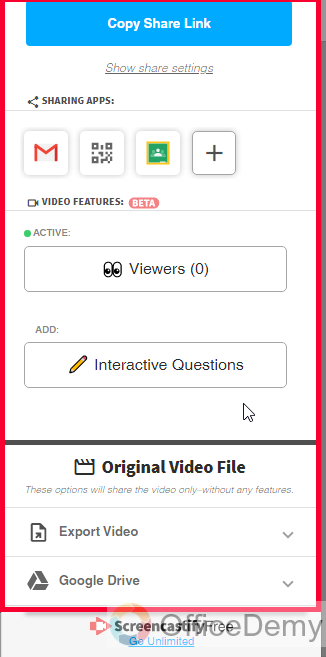
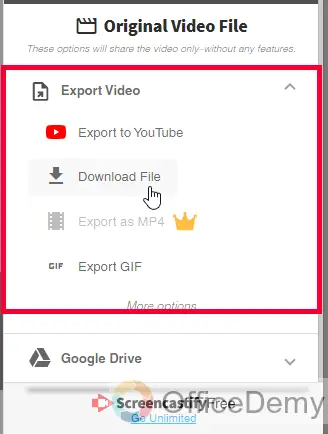
Step 20
You can download this file from the download button inside the Export section
Step 21
Or if you want to edit your recording, you can click on the Open in Editor button
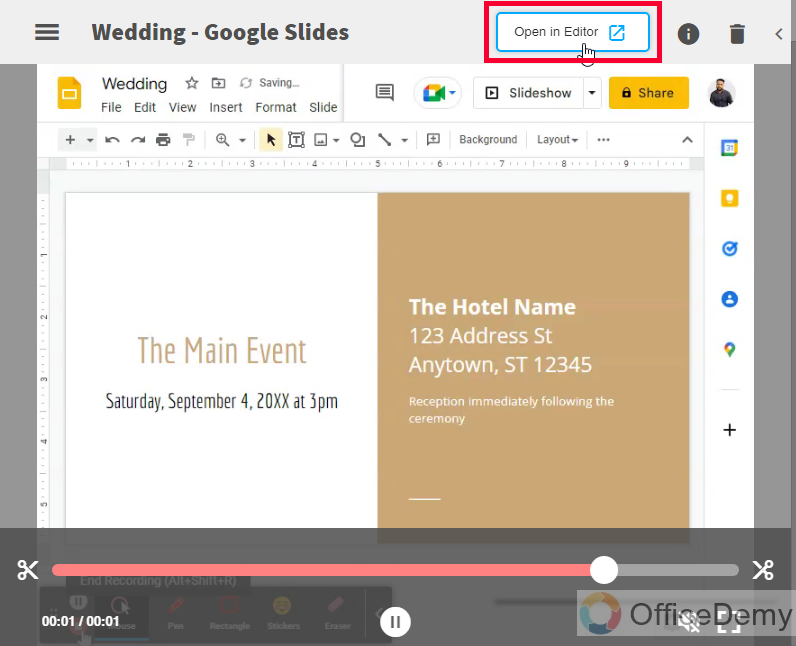
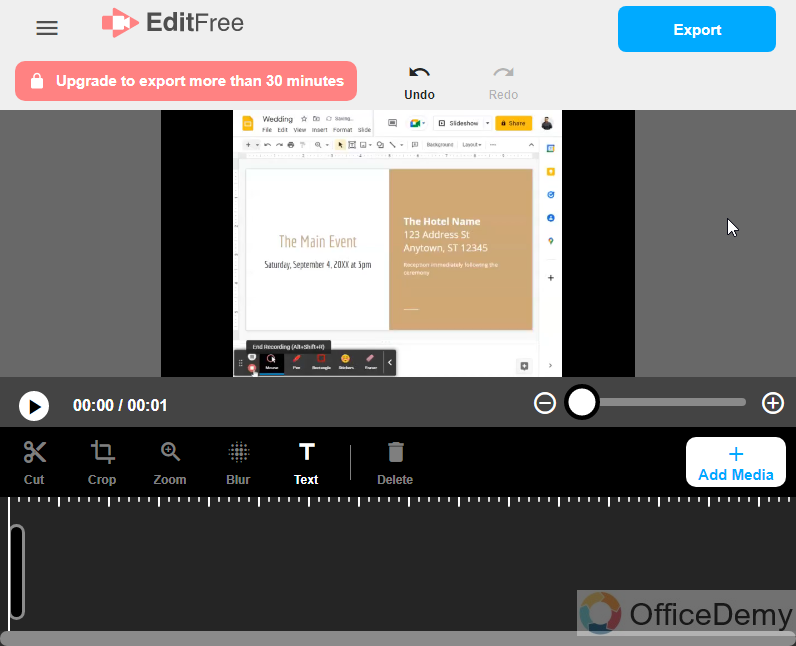
Step 22
This is your free screencastify editor to edit recordings and use cool effects, transitions, and filters on them
Here, I am not going into the details of the editing tool. It’s a very simple tool and anyone having simple video editing apps knowledge can easily use this tool.
Another reason to not talk further about the editor is that we don’t need a recording to edit, we capture in two-three takes, and we bring out a perfect version of our recording for us, but still, if someone needs the editor then it can be used very easily for free.
Screencastify to Record Self video with Presentation in Google Slides
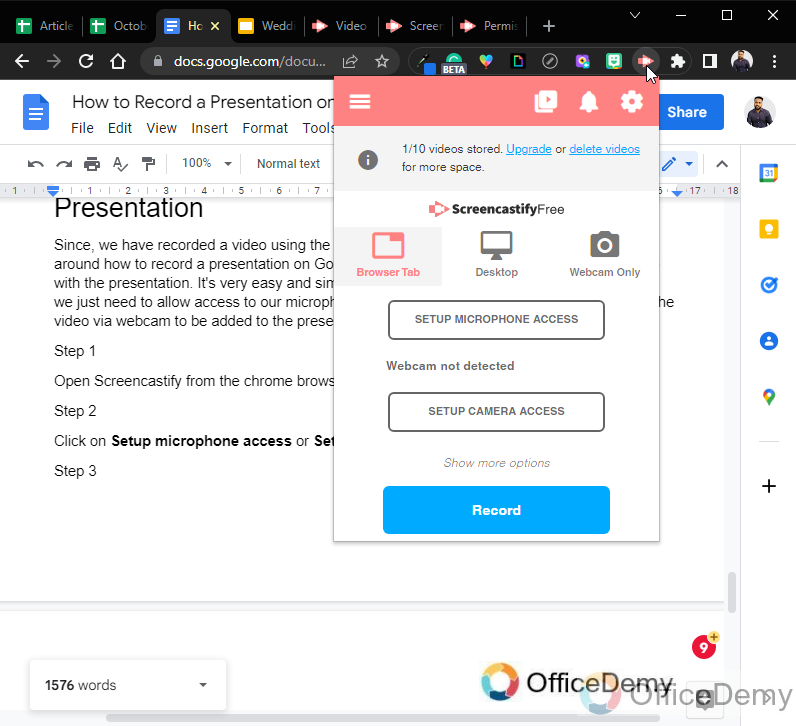
Since we have recorded a video using the Screencastify extension, now we will quickly look around how to record a presentation on Google slides using Screencastify to record a self-video with the presentation. It’s very easy and similar to what we have learned in the above section, we just need to allow access to our microphone and webcam to use our voice-over and also the video via webcam to be added to the presentation screen. Let’s quickly learn how it is done.
Step 1
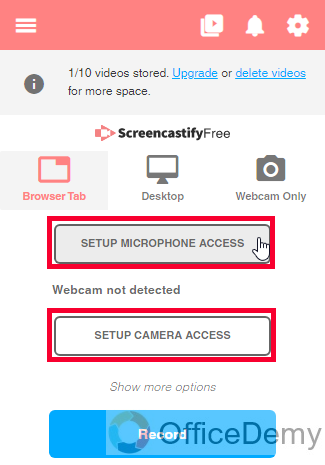
Open Screencastify from the chrome browser’s toolbar
Step 2
Click on Setup microphone access or Setup Camera access
Step 3
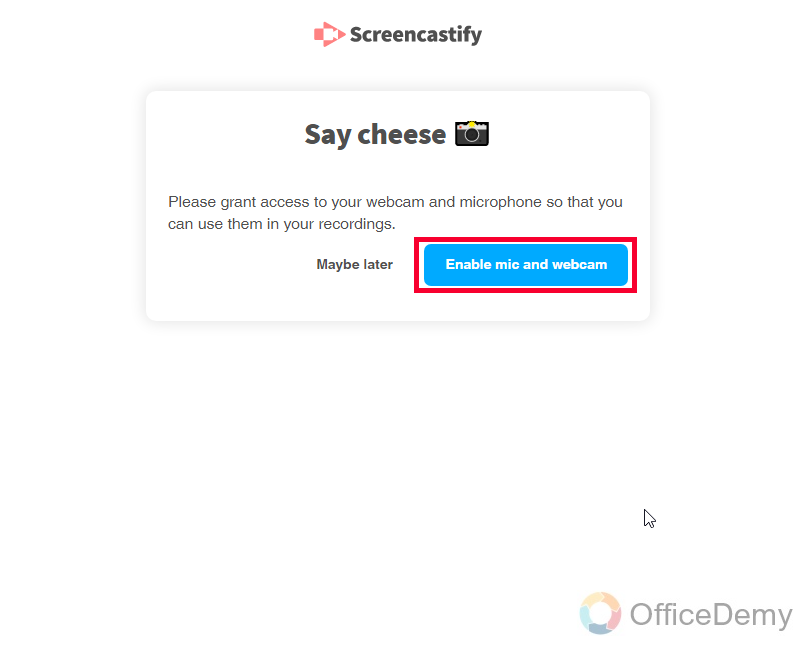
You will be redirected to a new chrome tab, and you will get a button “Enable mic and webcam” click on the button
Step 4
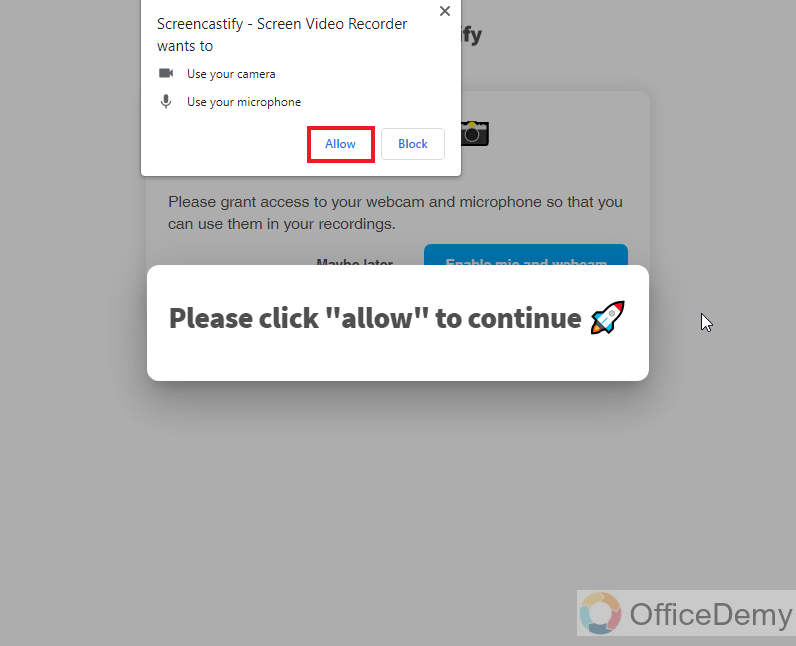
A browser alert will appear, click on allow to grant access and continue
Step 5
A success message will appear, and now you can go back to your extension and start recording
Step 6
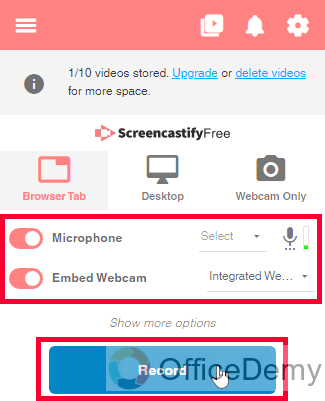
Now you can see the toggle buttons for Microphone and Embed Webcam, you can toggle them on or off.
Step 7
Toggle buttons are turned on and now click on the Record button
Step 8
This is how your video recording will look like, your face on the bottom right side the tools on the bottom left and you can present your presentation on the rest of the screen.
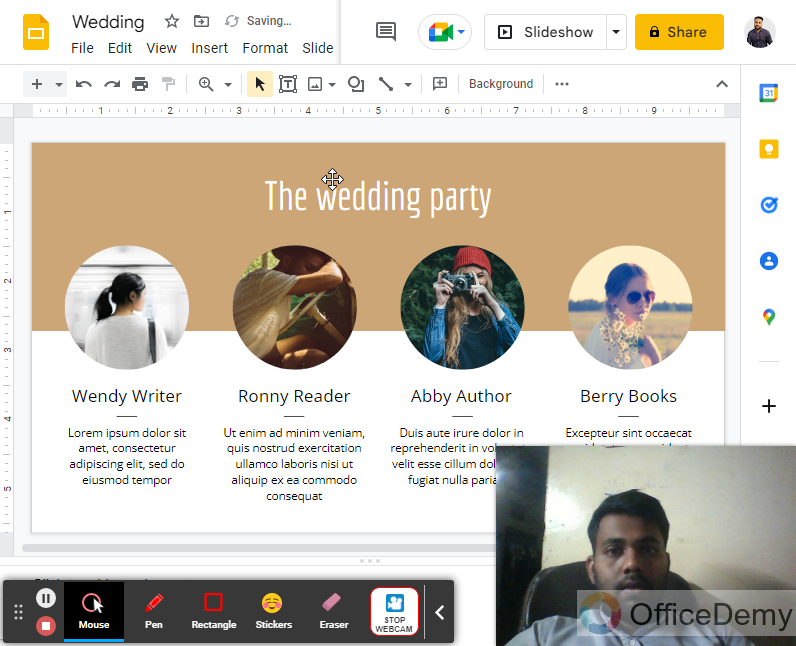
Note: The voice-over is also embedded and recorded with the video.
I hope you have learned how to record a presentation on Google Slides, and you have learned how to use screencastify chrome extensions. It’s a great tool to record presentations. I recommend this extension to record your presentation videos for free.
Important Notes
- While presenting your presentation you can use the built-in toolbar inside the screencastify recorder, to add emojis, add text, and images, or even draw something over the screen.
- The screencastify built-in recorder is extremely superb. I will recommend you try it out and edit a video to gain some good experience with a video editing tool.
- You can also record your desktop, all opened windows, and Google Chrome’s tab using the screencastify extension.
- You can turn off your video anytime, by disabling the webcam button while recording the screen.
Conclusion
Wrapping up how to record a presentation on Google Slides. We have learned it using a great Google Chrome extension Screencastify. I love this Chrome extension to record screens on high-quality videos, even without a watermark. You saw how perfectly we captured our presentation as a video and then we had various options to share and edit the recorded file.
That’s all about how to record a presentation on Google Slides, I will see you soon with another useful tutorial. Keep learning with Office Demy.


