
To Rotate Text in Google Slides
- Select the text you want to rotate.
- Right-click the text.
- Go to “Rotate,” and choose either “Rotate 90° clockwise” or “Rotate 90° counterclockwise“.
Mirror Text
- Select the text you want to mirror.
- Right-click, choose “Format,” and check the “Reflection” box.
Flip Text
- Select the text box or image you want to flip.
- Right-click, choose “Rotation,” and select either “Flip Horizontally” or “Flip Vertically“.
Write Backward Text
- Take a screenshot of the text.
- upload it as an image, and flip it horizontally.
So, you have a Google Slides presentation that needs some rotation text? Luckily, Google Slides makes it easy and intuitive to rotate text with just a few clicks of your mouse. Whether you are on Windows, Mac, iOS, or Android, you will be able to rotate text with ease.
Orientation refers to the horizontal alignment of your text, which can be left, center, or right aligned. The vertical orientation is the direction in which you want your text to flow. You can orient your text to appear either vertically or horizontally on the page. This article explains how to use Google Slides’ orientation settings to rotate text vertically or horizontally in a Google Slides presentation.
In this article, we’ll teach you how to rotate text in Google Slides as well as cover more information that will help you easily create and customize your presentation in no time!
How to Rotate Text in Google Slides
Whether you want to rotate the text in a specific slide by 90 degrees, or you want to rotate the text on multiple slides using the Arrange tab in Google Slides, there are many options which you can try out. Read on for more details about each of them.
In the following article I will describe 3 ways to rotate text in google slide.
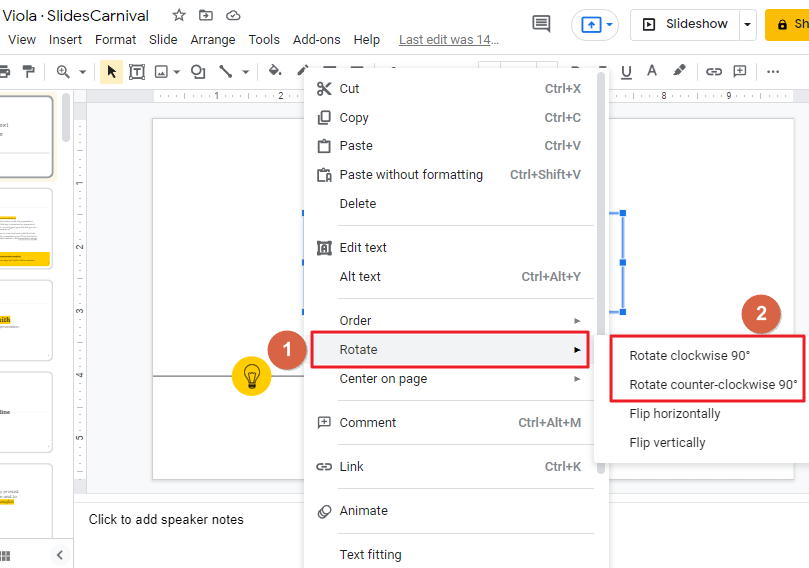
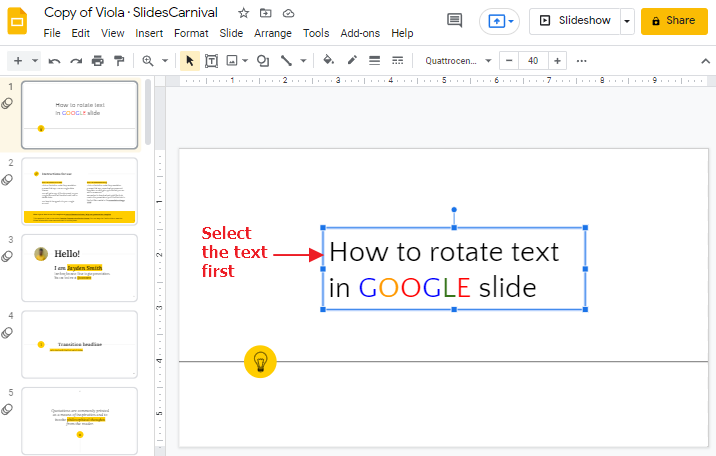
Method 1: Rotate Text in Google Slides by Right Click
Step 1:
Open your google slide presentation. Select the slide on which you want to rotate the text.
Step 2:
Select the text that you want to rotate. Press right click. A dropdown menu will appear. select Rotate. Using this preset, you will be able to rotate the text by 90 degrees in either direction. For clockwise rotation, select the first option from the drop-down menu and for anticlockwise rotation, select the second option.
For example, I have rotated the text clockwise 90°.
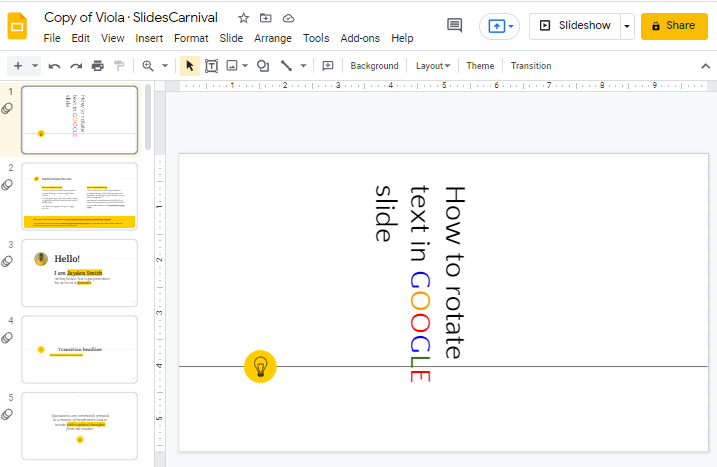
In order to rotate the text clockwise, you can select the Rotate Clockwise by° style and to rotate anticlockwise, you can click on the Rotate anti clockwise by 90° option and it will change accordingly.
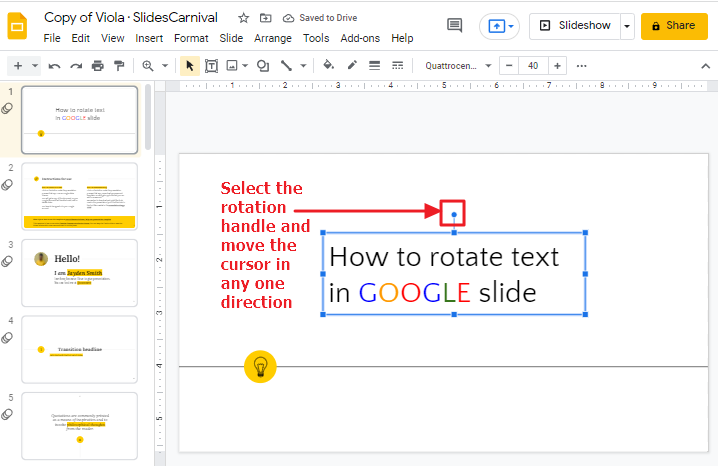
Method 2: Rotate Text in Google Slides using Rotation Handle
To rotate a text box in Google slide, first select the textbox containing the text you want to rotate and look for the rotating handle that appears above the selected box.
The Rotate handle enables you to rotate the selected text within your document. To do this is simple, click the rotate handle and hold down the left mouse button. Move the mouse and adjust the rotation accordingly, then let go of the mouse and your text will be rotated to your required angle.
Rotating text can be done just as easily as rotating images by simply selecting the handle which will rotate the layer location and rubber banding at your preferred angle.
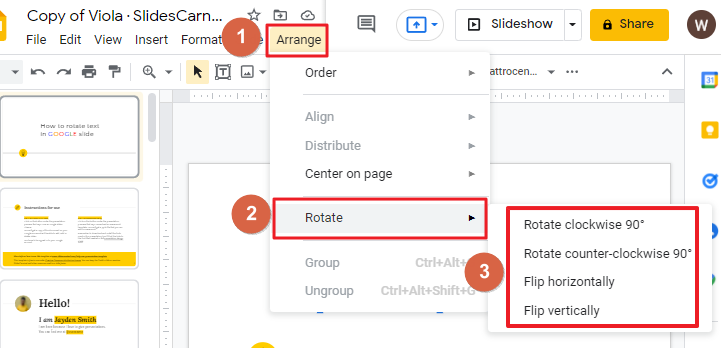
Method 3: Rotate Text in Google Slides using Arrange Tab
Click the “Arrange” tab on the menu bar of your Google Slides window. The “Arrange” tab shows you various text rotation options. Select a rotation option you would like to use for that textbox.
To rotate the text, follow the simple steps described below.
Step 1:
Open your google slide presentation. Select the slide on which you want to rotate the text.
Step 2:
Click the “Arrange” tab on the menu bar of your Google Slides window. The “Arrange” tab shows you various text rotation options. Click on Rotate. Select a rotation option you would like to use for that textbox.
You don’t need to worry about trying to get your fingers in an awkward position or trying to figure out what angle is 90 degrees. Google slide text rotator tool makes it easy for you to rotate text. Google does all of the work for us!

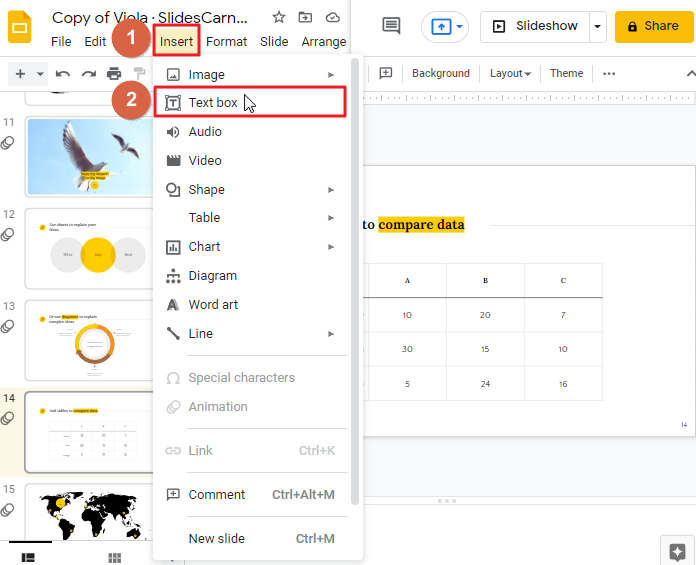
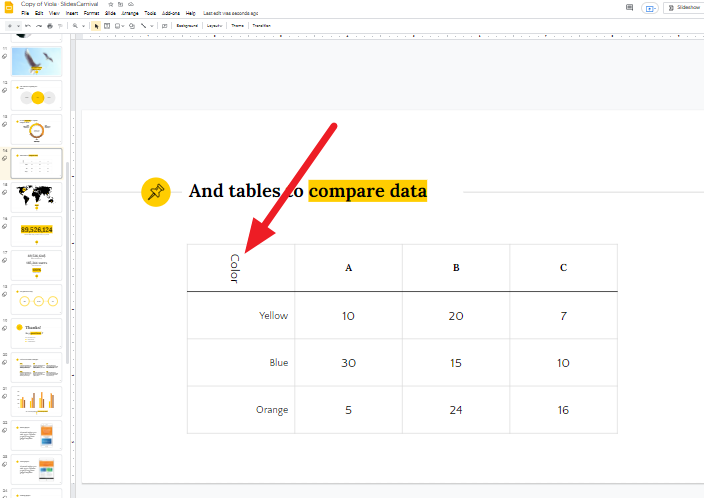
How to Rotate Text in a Table in Google Slides
Google Slides does not support rotation of text that is inside the cells of a table. However, there is a work-around that works most of the time in Google Slides: Insert a text box on top of each cell and rotate the text boxes.
However, in order to do that, you need to do the following:
Step 1:
Open your google slide presentation on which you have inserted a table.
Step 2:
Now to select the text box option, click on Insert which is located at the top of your window in the toolbar. A drop-down menu will appear. click on the Text box.
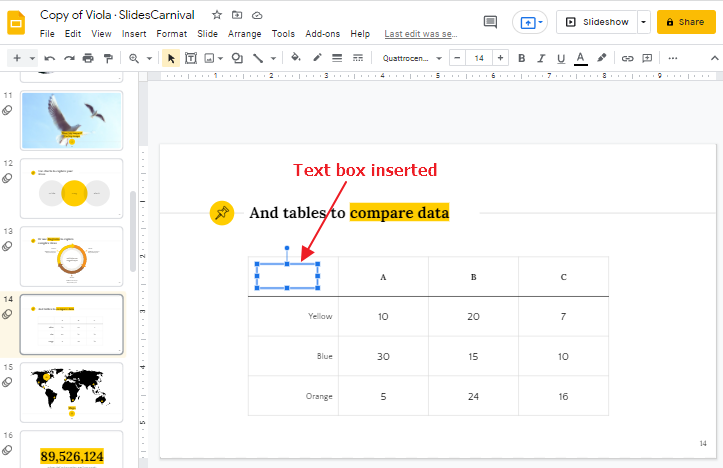
Step 3:
Now insert the text box over the table.
Step 4:
Write anything you want inside the text box in the table.
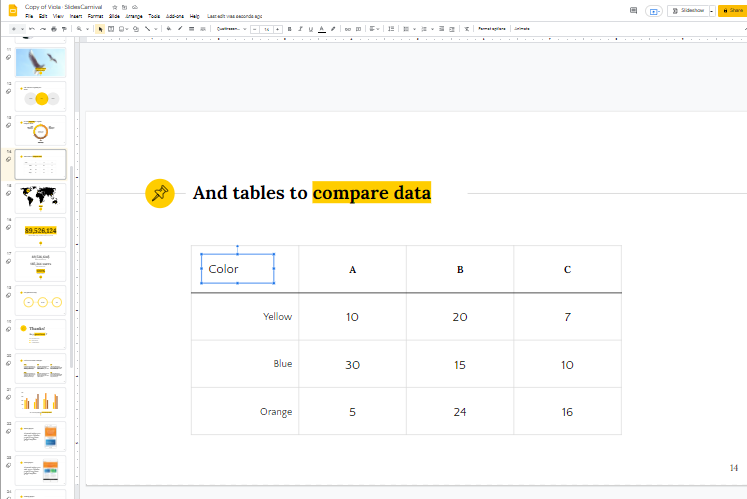
Step 5:
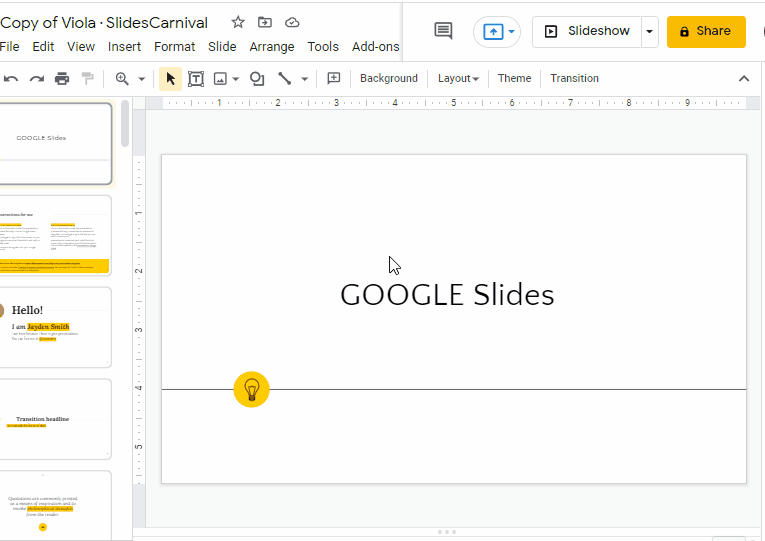
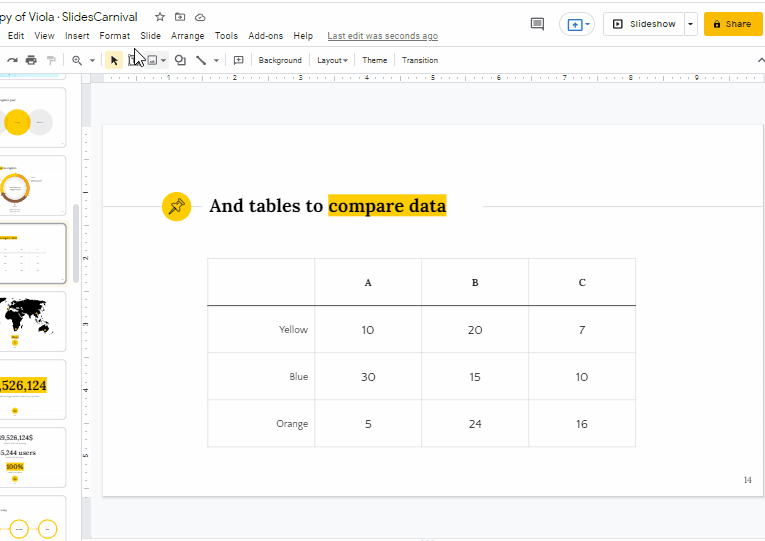
After inserting the text in the text box, you can now rotate the text box using one of the three methods described above in the previous sections so that the text box will be rotated accordingly. Example below,
How to Type Vertical Text in Google Slide
If you want to type vertically in google slide, here you must rotate the text box clockwise 90° or anticlockwise 90°. Follow these steps to type text vertically in google slide,
Step 1:
Open your google slide presentation and insert a textbox first.
Step 2:
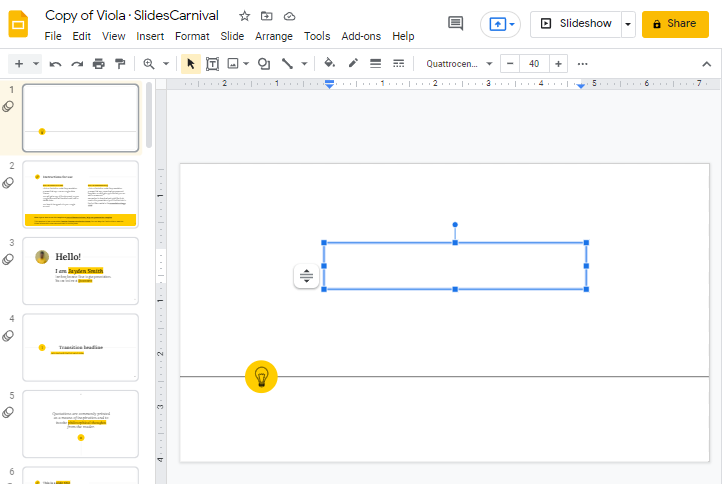
Once you have inserted the textbox in the slide, click on the Format Option located at the top of your screen.
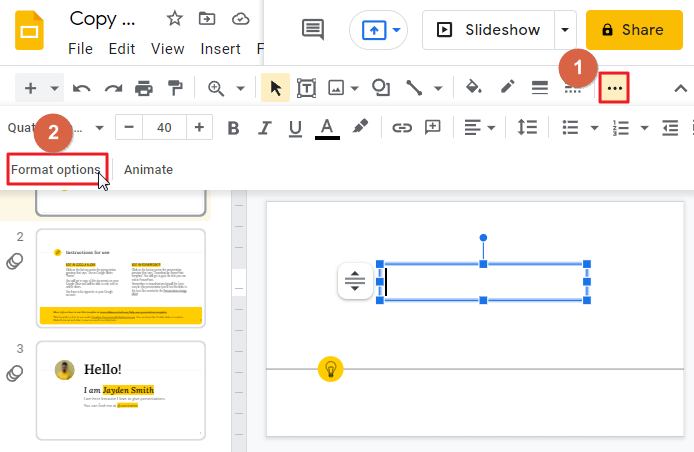
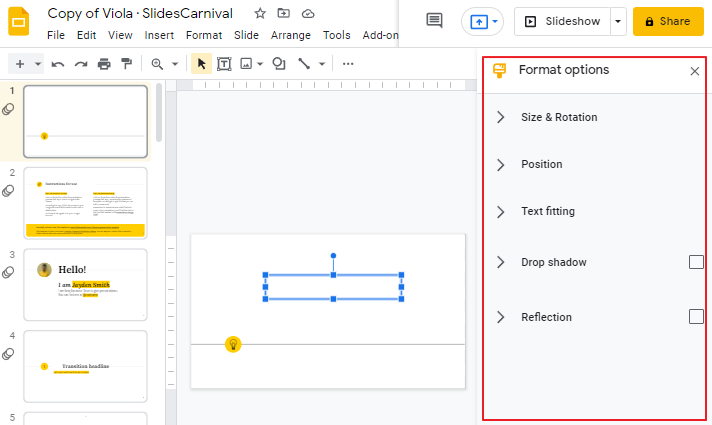
As soon as you click on the format option, a new window panel will open up on the right side of your screen.
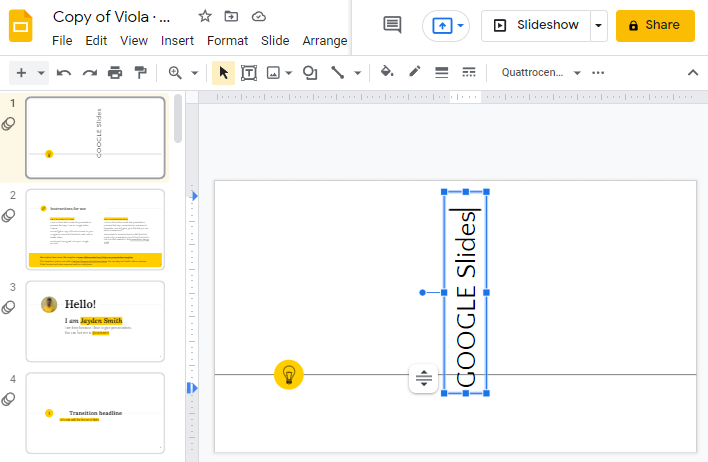
Step 3:
Now time to rotate the text box in the google slide. To do so, Click on Size and rotation. Here you will get several options. Go to the Angle option and set the value to 270°.
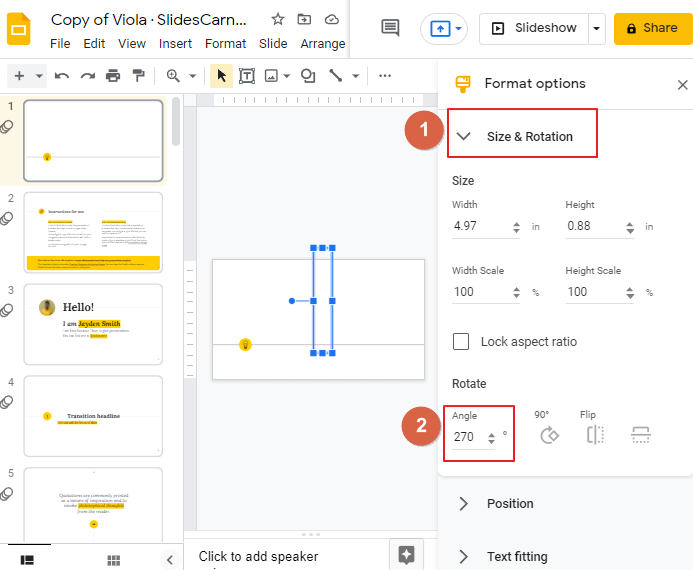
By this the entire textbox will be rotated vertically and whatever you type will appear in vertical form. Example below,
Step 4:
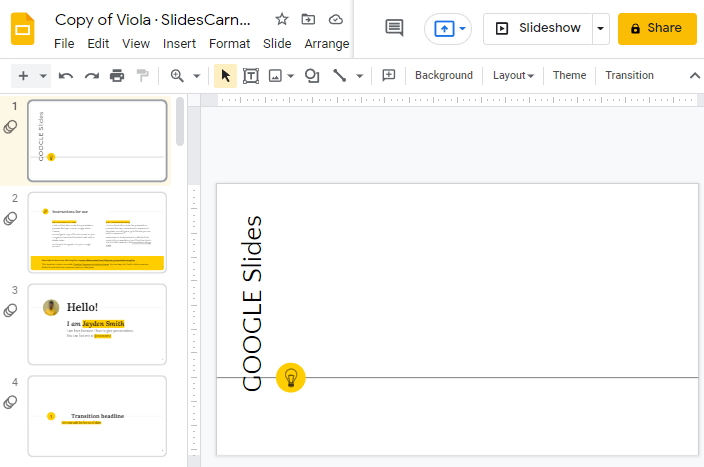
Now you can drag the entire box and place it anywhere in the slide you would like to so that the slide looks cohesive and balanced.
That’s it. You are done.
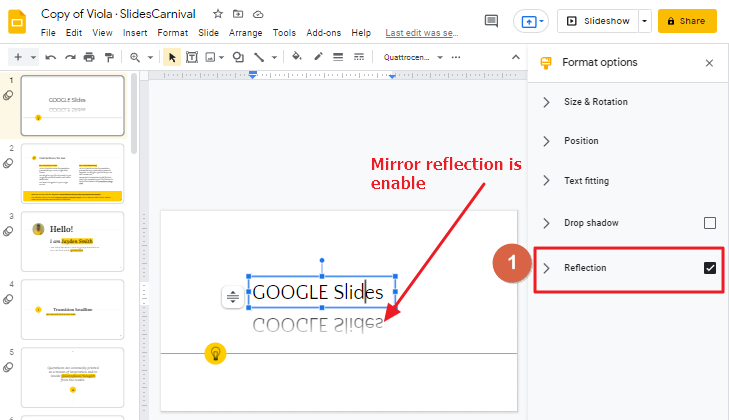
How to Mirror Text in Google Slides
You can also add a mirror effect in your text in google slide. To do so you must enable the Mirror option.
Follow these steps to enable mirror effect on your google slide text.
Step 1:
Open your google slide presentation and select the text first.
Step 2:
Now press right click so that a popup menu will appear on your screen, click on Format Option.
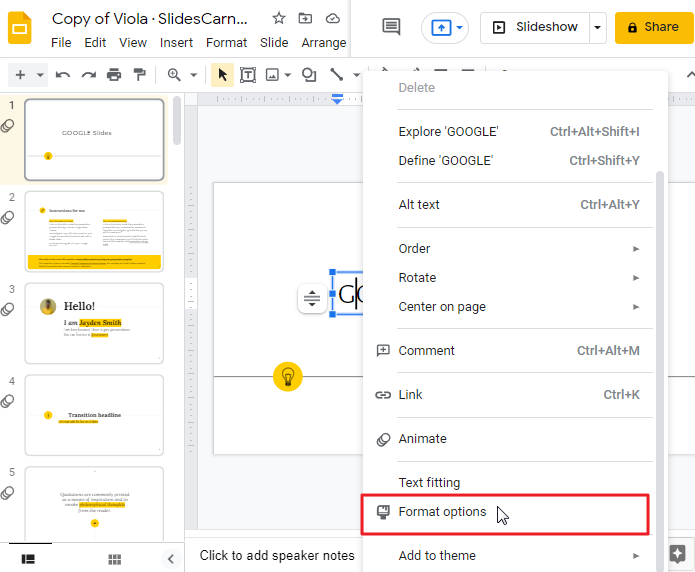
As soon as you click on the format option, a new window pane will open up on the right side of your screen.
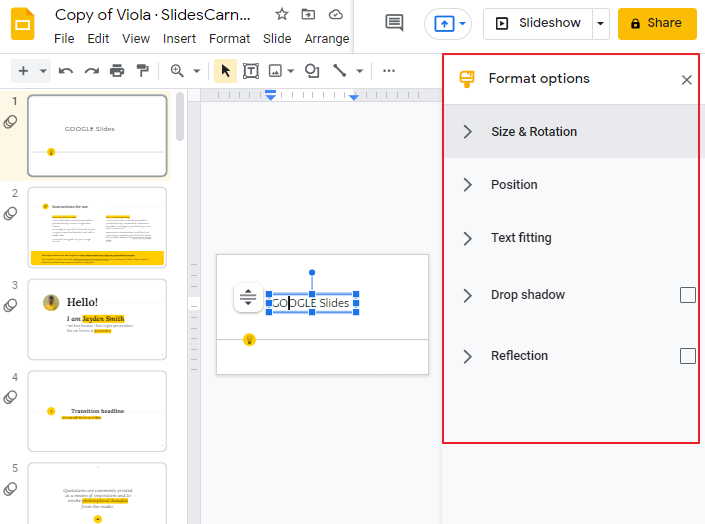
Step 3:
Click on the Reflection box so that the mirror reflection effect is enabled.
How to Flip Text in Google Slides
Google Slides is a handy tool, great for manipulating images and text alike. You can rotate or even flip text upside down with a quick click-and-drag inside the “Rotation” box. It’s super easy and will make for much cooler presentations (or just plain fun!). Follow these steps to flip text in Google Slides:
Step 1:
Select the text box that needs to be rotated. Right click on it and select the “Rotation” option.
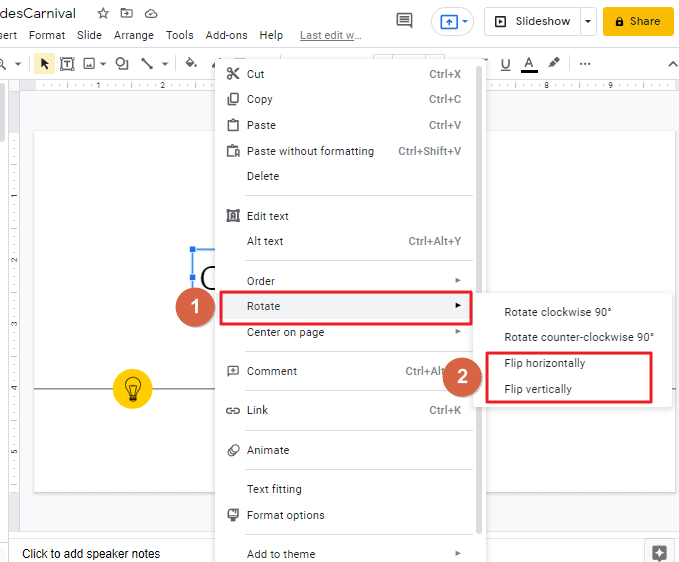
Step 2:
Then choose how you want to rotate the text box or image. You can click on Flip Horizontally or Flip Vertically so that the text will change its direction accordingly. I have chosen the option Flip Vertically, so here how it looks like,

How to Write Text Backwards in Google Slides
In google slide, we don’t have the option to write backwards. But we can still do it by uploading an image of text and enabling mirrors effect to it so that it will look like backward written text.
To write text backwards in google slides, follow these steps:
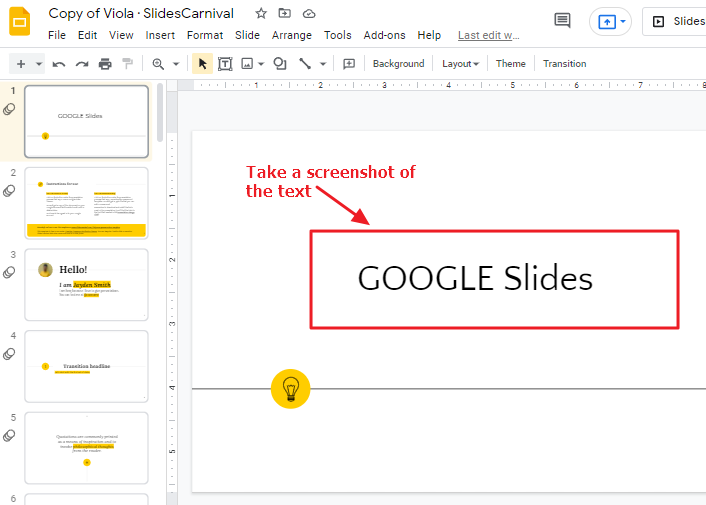
Step 1:
Take a screenshot of the text that you want to appear as backward in goggle slide. Windows user can simply press Print Screen key on the keyboard. To paste the image in paint application simply press CTRL+V on your keyboard.
Mac users can press COMMAND+Shift+4 on the keyboard to take a screenshot. The screenshot will be saved on the desktop automatically.
Step 2:
After taking the screenshot, now time to upload it. Click on the Insert tab in the toolbar at the top of your screen. A drop-down menu will appear. Click on Image > Click on Upload from the computer.
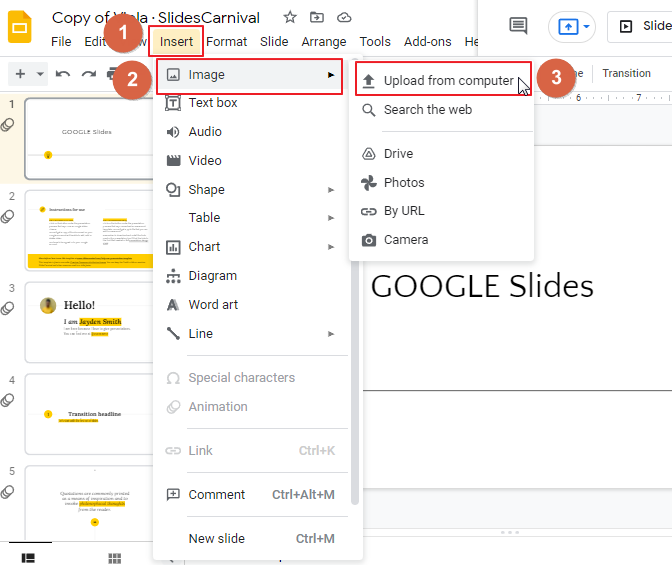
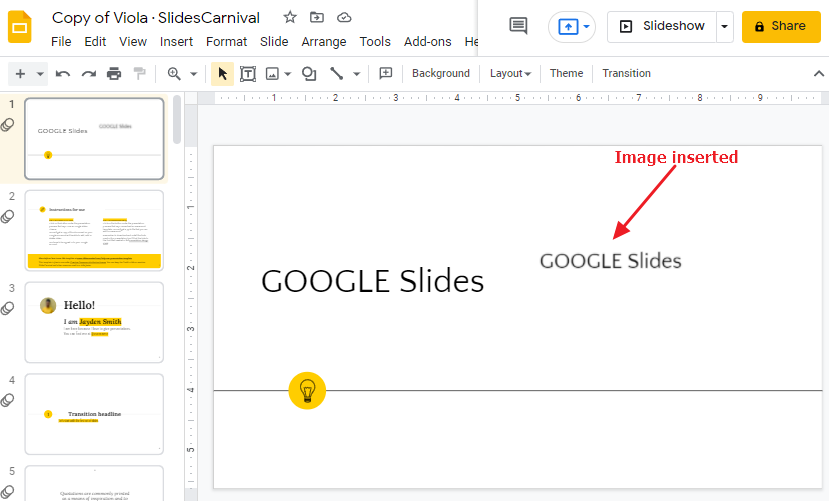
Another dialogue box will open. Browse the location where you have saved the image. Click OK. So that the image will be inserted in your google slide.
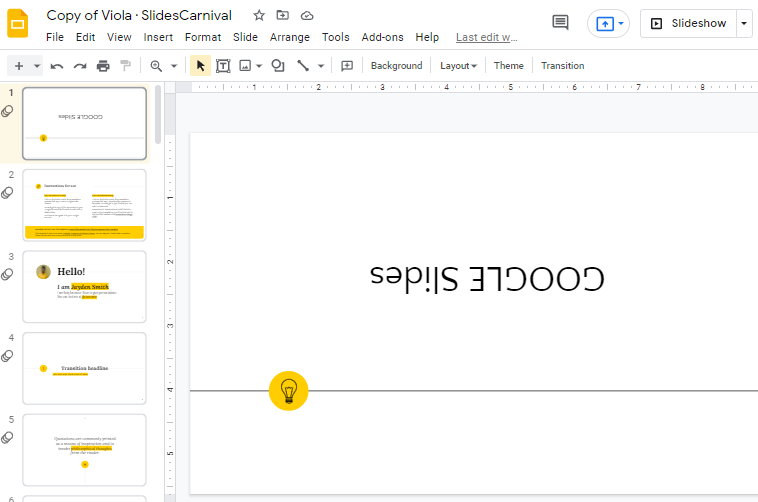
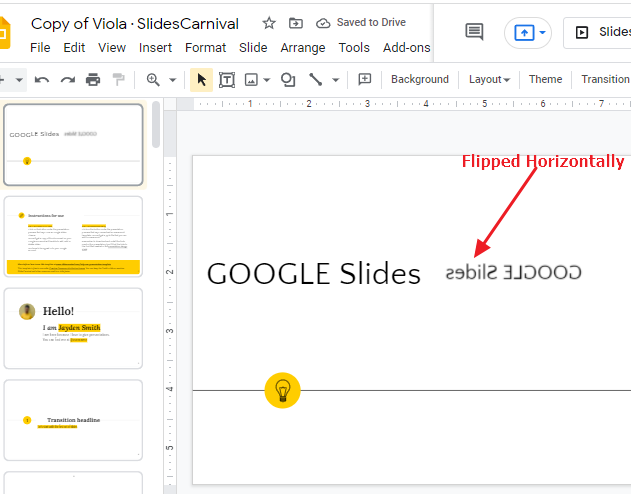
Step 3:
Right click on the image so that a dropdown menu will appear here. Click on Rotate. Finally click on Flip Horizontally.

As soon as you click on Flip Horizontally, your image will be flipped horizontally.
Now you can rotate this image by 180° if you want, by following any method described above.
How to Do Curved Text in Google Slides
Curved text is a great way to add emphasis and drama to your text. You can add a subtle curve to the text in your presentation, or you can create big, bold titles that are more intense. Google Slides has no direct option for curving text, but there is a workaround that does the job nicely.
Curved text can add to the aesthetics of your Google Slides presentation. In case you don’t know how to add curved text in Google Slides, you can read this article where I have explained step-by-step how to curve text in Google Slides.
Click on the link below to learn How to curve text in Google Slides.
How to Curve Text in Google Slides (Best 2 Methods)
You can also look at how we can curve a text in Google Docs.
How to Curve Text in Google Docs (2 Methods)
Conclusion
The article is about to end. Hope you enjoyed the article and learned How to change text direction and rotate in google slides. If you need some more solutions of your unwanted problems, don’t forget to check our other sections here in OfficeDemy.com


