
To Insert Checkbox in OneNote
- Open the notebook and place the cursor.
- Go to the Tags icon from the toolbar.
- Select the To Do tag from the list.
- A checkbox will be inserted.
OR
- Open the notebook and place the cursor.
- Press “Ctrl + 1“.
- The checkbox will be inserted.
Today, we will learn how to Insert checkbox, A checkbox is a graphical tool that helps you to select or deselect the tasks. Inserting the checkboxes is the best way to create a To-do list to track the progress of any project. By inserting checkboxes in your project, you will never forget to perform the tasks.
If you are also looking for a way to insert a checkbox in OneNote but are unable to find it, because the checkbox option in OneNote is bulleted and listed as a To-Do option, go through the following article on how to insert a checkbox in OneNote through which you will get the way to find a checkbox in OneNote.
Why do we Insert a Checkbox in OneNote?
If you are working on a project, it becomes very difficult to accomplish all the tasks and to track them, usually, we mess up with different tasks. A checklist helps you to list all tasks and activities for a project so that you may reduce the chances of errors.
Similarly, if you are drafting any project in OneNote you may need to create a checklist that you can create by inserting checkboxes. In this tutorial, we will teach you how to insert a checkbox in OneNote.
How to Insert Checkbox in OneNote
There is no technical method to insert a checkbox in OneNote, it is very simple. In this article on how to insert a chis box in OneNote, we will discuss two different methods of inserting a checkbox in OneNote that are described below.
- Insert checkbox in OneNote by Tags option
- Insert checkbox in OneNote by shortcut key
1. Insert checkbox in OneNote by Tags option
In this method, we will use the Tags option of OneNote checkbox is built-in in the option of OneNote, so here we will access Tags in OneNote and select the checkbox tag namely the “To Do” tag in OneNote to insert it. Let me show you practically with the help of the following steps.
Step 1
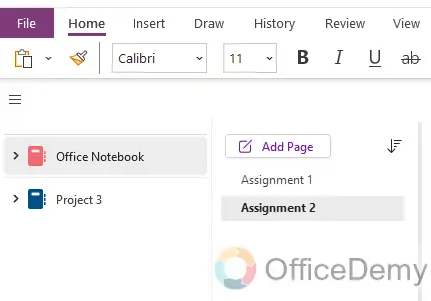
Here, first, we will open the notebook in OneNote in which you want to insert a checkbox, you can simply open any notebook by clicking once on it from the notebook section of the OneNote.
Step 2
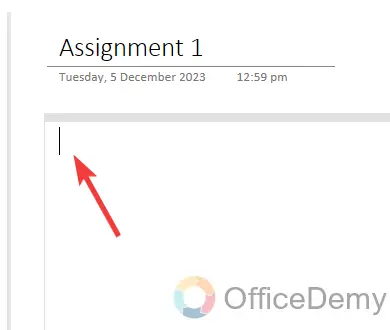
Once you have opened the Notebook and page firstly place your cursor where you want to insert the checkbox in your notebook page as I have placed in the following example.
Step 3
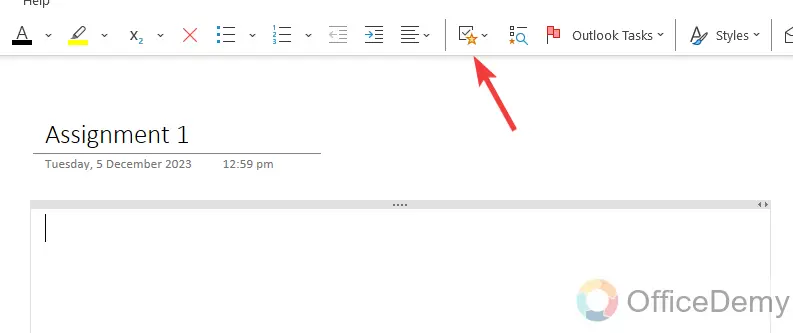
Now, look at the toolbar at your front in the Home tab of the OneNote, here you will see a “Tags” icon beside the alignment option as directed in the following picture. To insert a checkbox, click on this icon.
Step 4
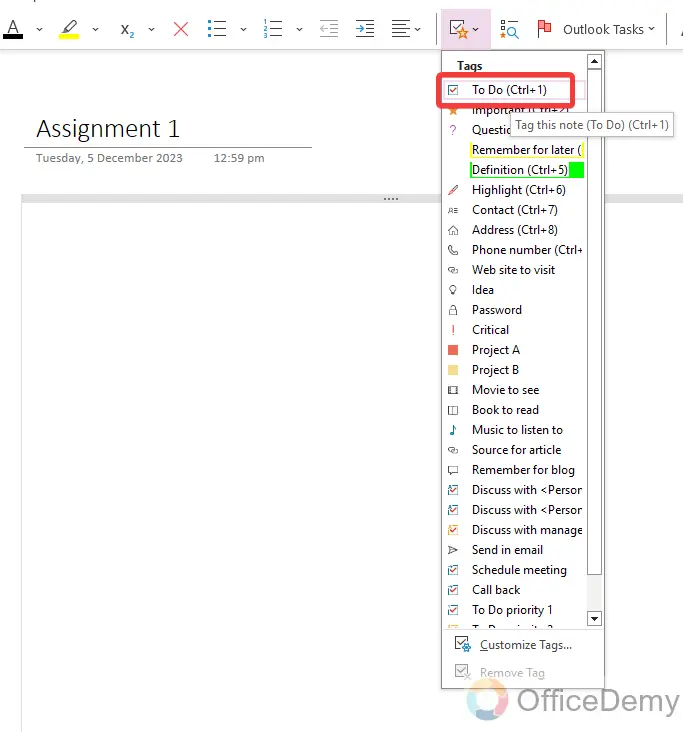
A long-listed drop-down menu will open as you click on the Tags icon where at the first option, you will see a “To Do” option as highlighted in the following picture through which you can easily insert checkboxes in your notebook with just one click.
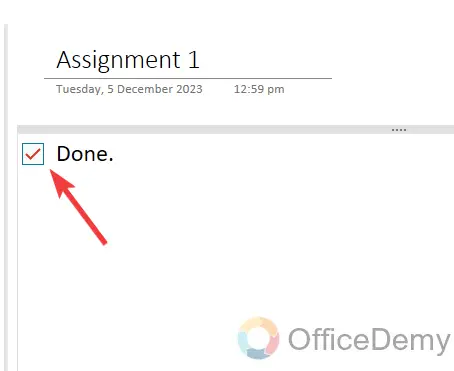
Step 5
Here, you can see the result in the following picture that the checkbox has been inserted as required by just clicking once on the “To do” option, similarly, you can add more checkboxes to your notebook in the above manner.
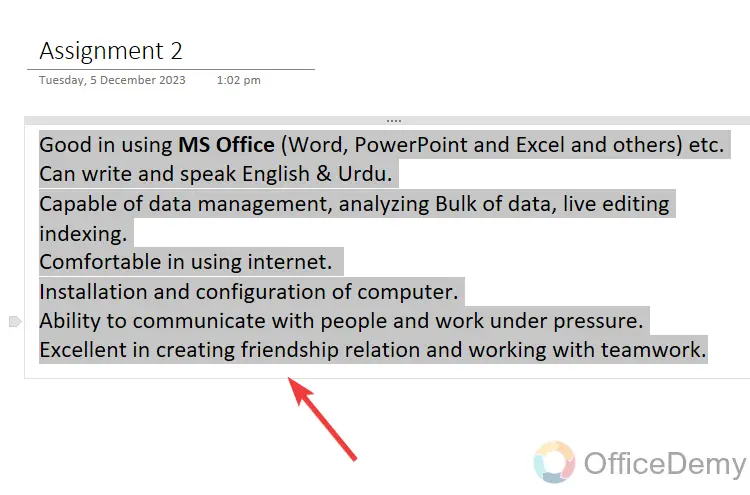
Step 6
If the text is already written in your notebook as written in the following picture that you want to insert checkboxes, then you can also insert checkboxes simultaneously by the following steps.

Step 7
The first thing that you will have to do that select all the text for which you have to insert checkboxes as I have selected below.
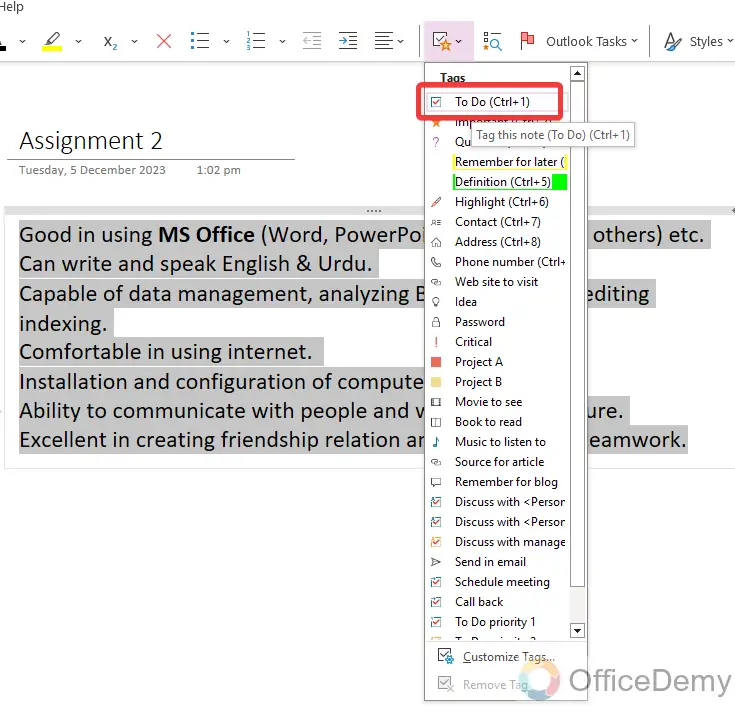
Step 8
Once you have selected it click on the Tags icon from the toolbar of the Home tab from where a drop-listed menu will open. To add checkboxes here, click on the “To Do” option as highlighted in the following picture.
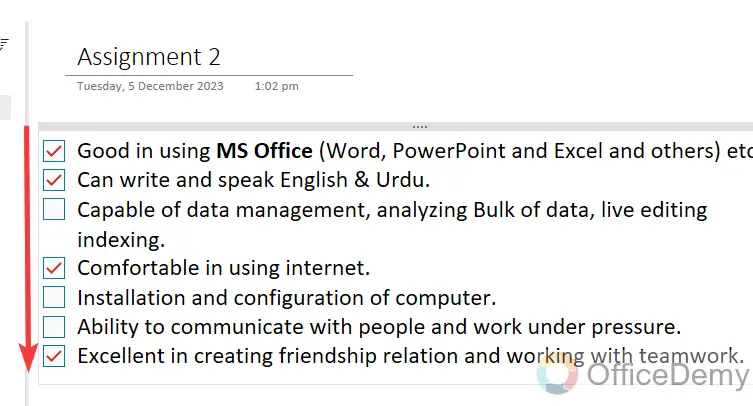
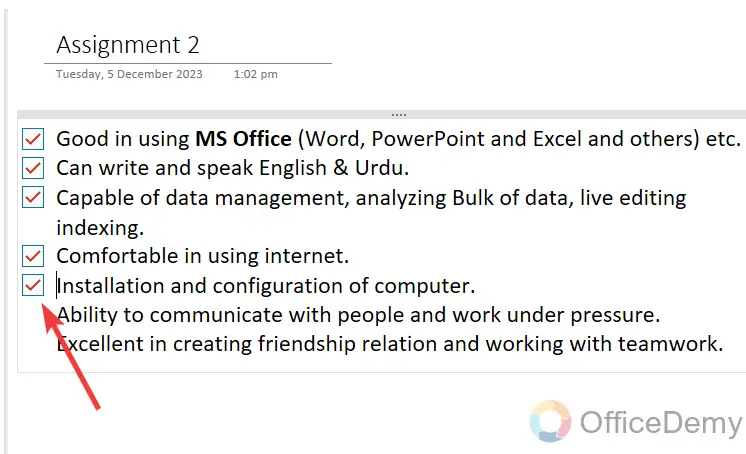
Step 9
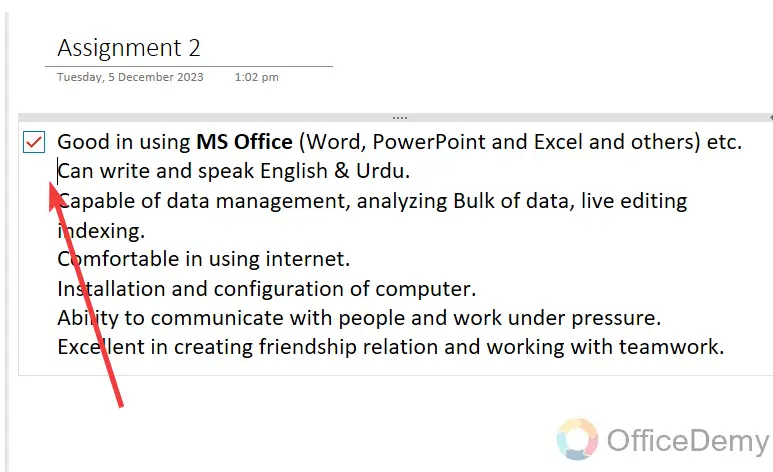
As you click on the “To Do” option, checkboxes will automatically be inserted into the selected text as can be seen in the result in the following picture.
2. Insert checkbox in OneNote by shortcut key
Shortcuts make things easier and more efficient, fortunately, there is also a shortcut key to insert a checkbox in OneNote through which we can quickly insert a checkbox in OneNote. You can’t only insert checkboxes in OneNote but can also mark them by using this shortcut key. Below are examples of inserting a checkbox in OneNote by using a shortcut key.
Step 1
Once you have opened the notebook where you want to insert Checkboxes then first place your cursor where you want to insert the checkbox in your note. After placing the cursor, press the shortcut key to insert the checkbox in OneNote that is “Ctrl + 1”.
Step 2
As you keep pressing “Ctrl + 1”, checkboxes will be inserted as you can see the result in the following GIF. In this way, you can easily insert a Checkbox into your Notebook.
Note: You can also use this shortcut key to check mark the check box and uncheck the checkbox.
3. How to customize the checkbox in OneNote?
A: If you don’t like the checkbox that you insert in your notebook, Microsoft OneNote also offers you the facility of customizing it. There are many built-in checkboxes that you can select and customize from the following steps.
Step 1
Open any notebook or notebook in which you must insert a checkbox, then click on the “Tags” icon from the toolbar of the Home tab as directed below.

Step 2
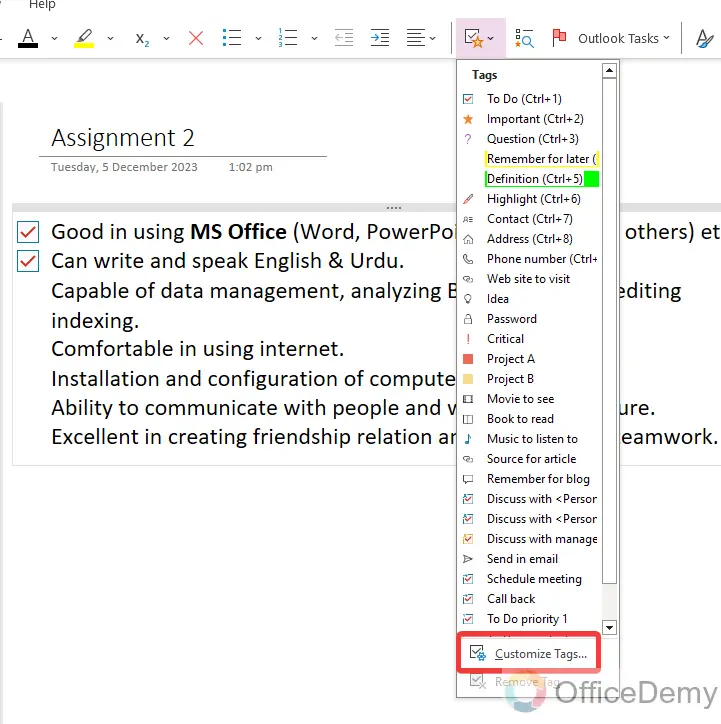
Clicking on this Tags icon will give you a long-listed drop-down menu where you will see a “Customize Tags” option as highlighted in the following picture. Click on it to customize the checkbox tag.
Step 3
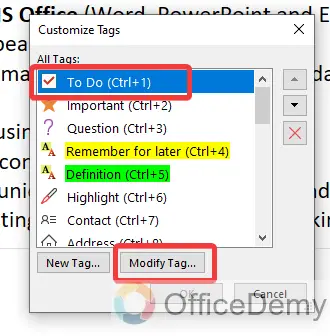
A small new dialogue box will open in front of you to customize Tags, as we are customizing the checkbox tab here first select the “To Do” tag from the list. After selecting the Tag, click the “Modify Tag” button as shown in the following figure.
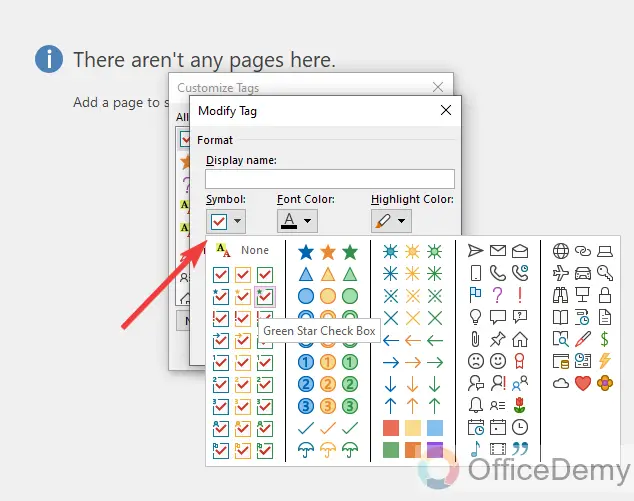
Step 4
It will give you another small dialogue box that will show you several customized samples of checkboxes that you can select from the list.
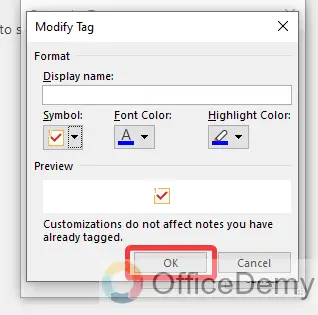
Step 5
Once you have selected the customized checkbox from the given samples then simply click on the OK button to select the selected checkbox to the default.
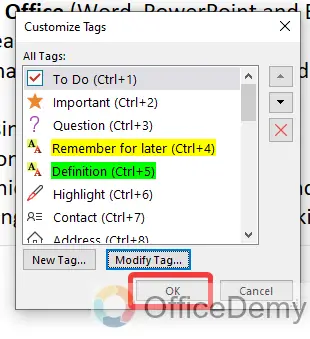
Step 6
Again, click on the “OK” button to save the changes for the Tag.
Now, you can use your new customized checkbox in your notebook.
4. How to remove the checkbox in OneNote?
A: Once you have a checkbox in OneNote, you must know how to remove it if needed. There are so many ways to remove the checkbox from your notebook, now it’s up to you which method you prefer, all of them are described below.
Step 1
First, place your cursor on the checkbox that you want to remove from your document as I have placed in the following picture.
Step 2
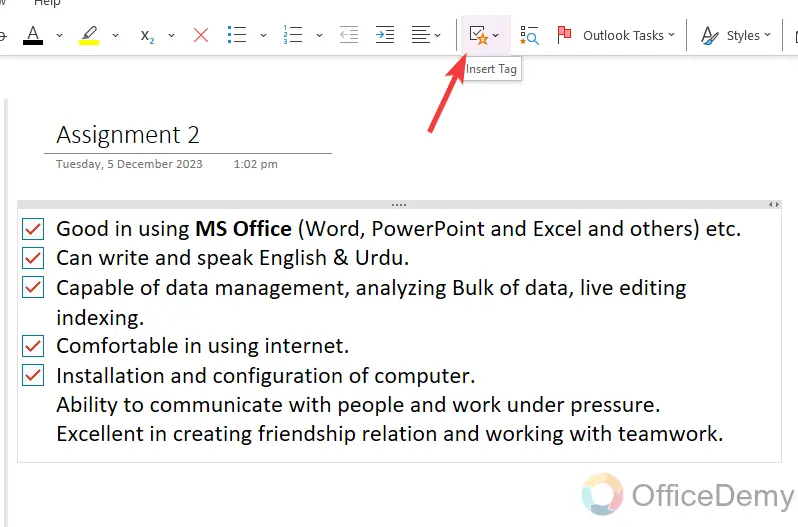
After placing the cursor, click on the “Tag” icon from the toolbar of the Home tab in OneNote as directed below.
Step 3
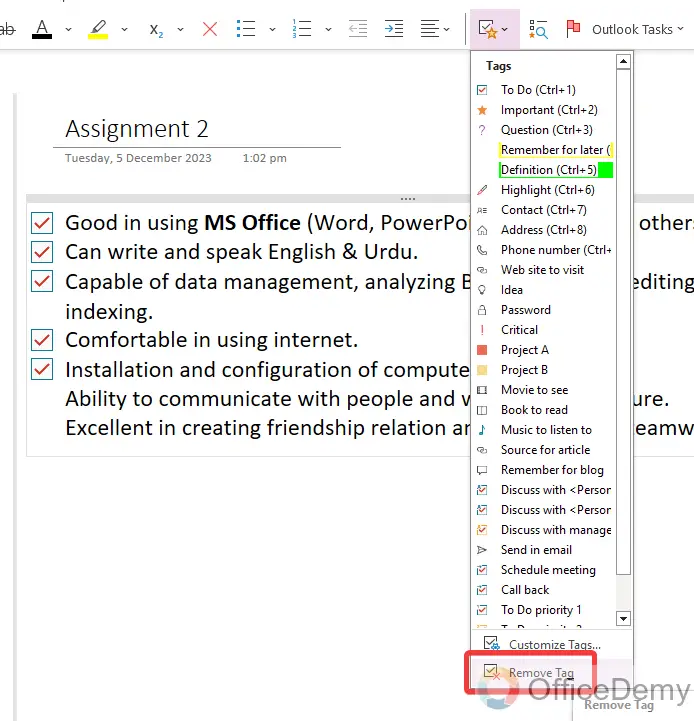
Here, you will see a “Remove tag” option as highlighted in the following screenshot in the drop-listed menu of the Tags icon. You can easily remove the checkbox by clicking this “Remove Tag” option.
Step 4
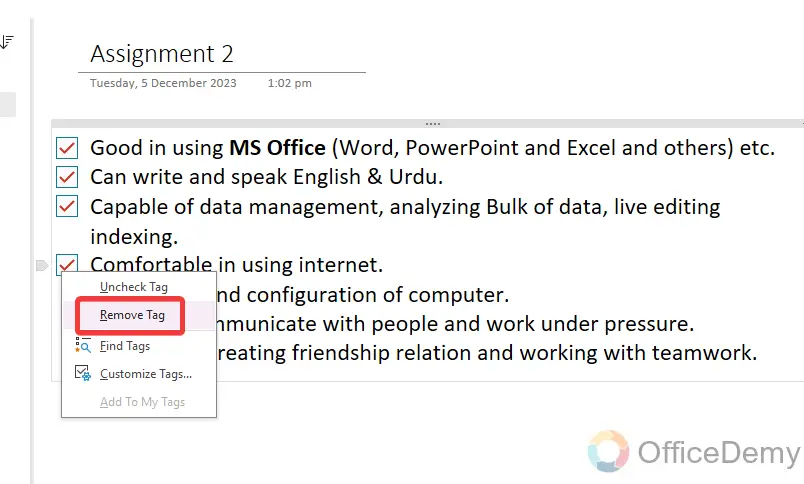
The second option to remove the checkbox from your notebook is that press the right click of a mouse on the tag that you want to remove, a small drop-down will appear in front of you where you can find a “Remove Tag” option through which you can easily remove the Tag.
Step 5
Another simple method of removing the checkbox from the notebook is to just erase it. Just place your cursor at the checkbox and press the Backspace key, your checkbox will be removed instantly as can be seen below.
Conclusion
Now, you can insert a checkbox in OneNote by the above guide on how to insert a checkbox in OneNote. Hope it will help you to create your checklist for multiple purposes while creating notes on OneNote.

