
To Move OneNote Notebook to Another Account
- Open OneNote Desktop App.
- Select Notebook, click “File,” and choose “Export“.
- Specify the “.onepkg” format, click “Export,” save locally.
- Open OneNote, add/select an account, click “File,” and choose “Open“.
- Select “This PC” or “OneDrive“.
- Locate the “.onepkg” file, and double-click to import.
- Set details, click “Create” to finish.
Hello everyone. Today, we will learn a quick guide on how to move the OneNote notebook to another account. If you have multiple accounts, you can share your notebooks across your accounts, but the files will remain shared. Moving the notebook to another account is something different, this way you only keep files in one account be your account is shared with someone so you won’t like it to keep your files there. This is where this guide comes in, how to move OneNote to another account whether it’s yours or someone else, you need to have access to both accounts to do it. Let’s move further.
Advantages of Moving OneNote Notebook to Another Account
As I told you, we can always share the notebooks across accounts, but sometimes we need to change the origin of the notebook and keep it private only within a single account. So, moving your OneNote notebook to another account comes with some great benefits. First off, it allows you to easily share your notes and ideas with a different set of people or collaborate on projects using a new account.
This is handy for work or school projects where you might need to switch to a different Microsoft account. Secondly, it acts as a smart backup method. By moving your notebook to another account, you’re safeguarding your important information in case something happens to your original account. It’s like having a spare copy in a different place, adding an extra layer of security to your valuable notes. So, whether you’re working with a new team or just want to keep your notes safe, moving your OneNote notebook to another account can be a helpful and strategic move. So, now let’s move to the step-by-step procedure.
Step-by-Step Procedure to Learn – How to Move OneNote Notebook to Another Account
We may have different ways to download a Notebook in OneNote and then upload it on the OneNote again in a different account, this combined becomes a moving method, it depends on you whether you want to keep the Notebook in both accounts or only in a single account. In the first method, we will see how to properly export a Notebook into your PC or Cloud, and in the second method, we will see how to accurately Import it back into a different account.
How to Move OneNote Notebook to Another Account – Export a Notebook
In this first method, I will show you a proper and simple way to move OneNote Notebook to another account, for this, we first need to export a notebook into the cloud or our local computer. So, let’s see how to do that.
Step 1
Open your OneNote desktop Application on your PC.
Step 2
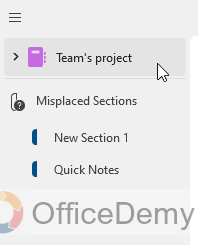
Select a Notebook you want to move to another account.
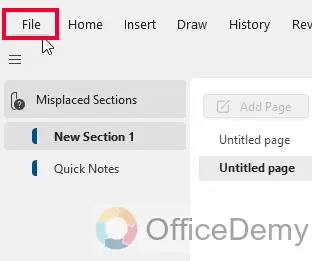
Step 3
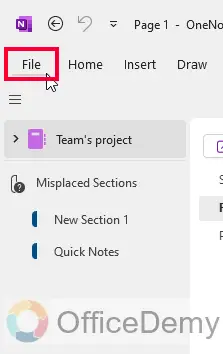
Keep it selected, and click on the “File” tab in the top main menu.
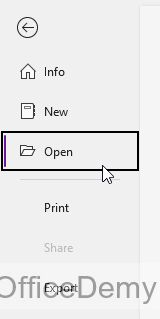
Step 4
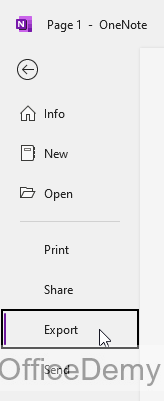
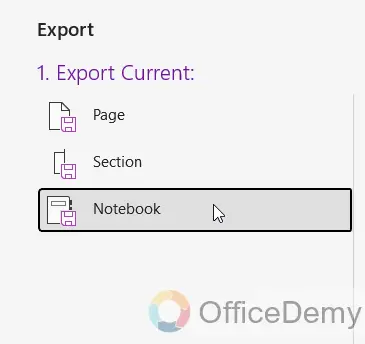
Look for the Export option in the left sidebar under the File menu.
Step 5
Specify your export; select a Notebook, Section, or Page to export, we need to export the entire Notebook, so I am selecting Notebook here.
Step 6
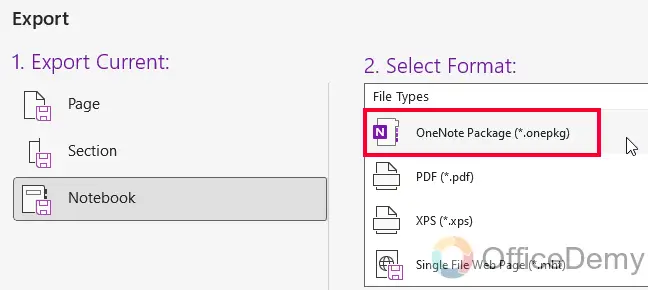
In the next step, we need to specify the file type, now this is very important, if you export your OneNote Notebook in any format other than (.onepkg), you will not be able to Import it back to OneNote, so you must select the first option (.onepkg) from the available options.
Step 7
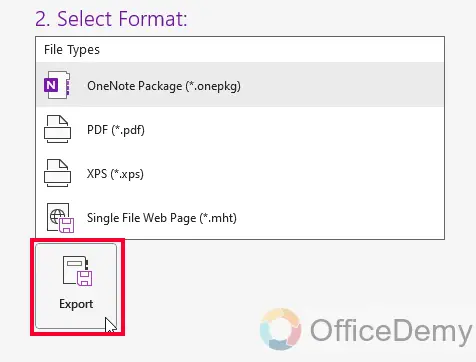
Select the right file format, then click on the “Export” Button below.
Step 8
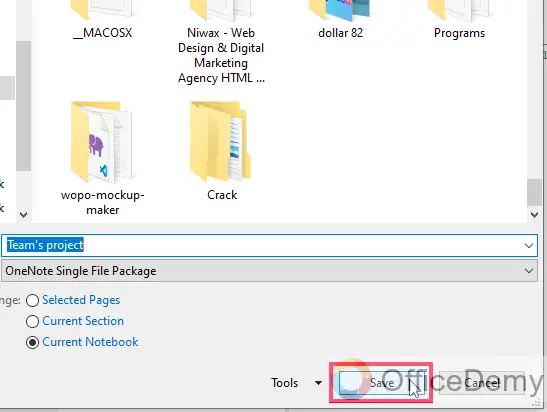
Your file directory will be opened, and ask you for a folder to export the notebook, specify any folder, keep the extension and file name the same, and click on the “Save” button to export the Notebook.
Now, you have the Notebook on your PC, if you dont have space, or permission to export a Notebook on your PC, then do not export it, you can easily get it from the associated OneDrive cloud storage to Import back to your other OneNote account.
How to Move OneNote Notebook to Another Account – Import a Notebook
Now, in this section, we will learn how to move OneNote Notebook to Another account, and after the export, we will learn to import it back into another OneNote Account. Let’s get started with the steps.
Step 1
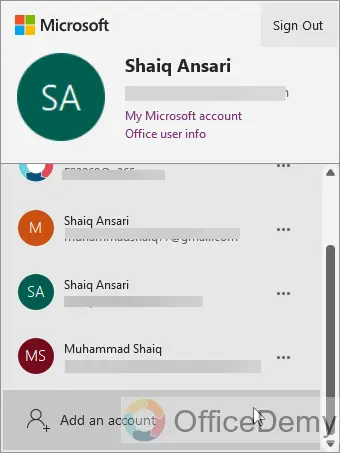
Open the OneNote app, and go to the top-right corner.

Step 2
From the dropdown, select any other account, or click on the “Add an Account” button to add a new account.
Step 3
After successful sign-in, click on the File tab in the main menu.
Step 4
Click on the “Open” button from the left sidebar.
Step 5
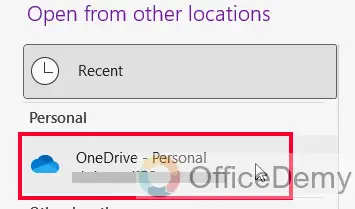
If you have your Notebook file on your PC, find and select the “This PC” option.
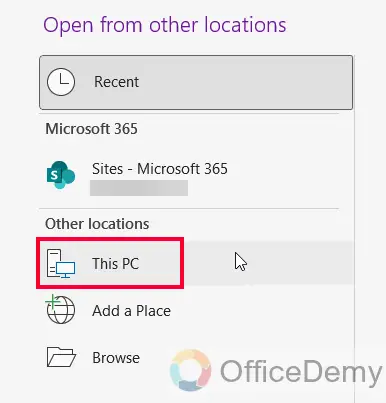
Step 6
If you have your Notebook file on Cloud, then look for the OneDrive option.
Step 7
I have my Notebook on PC, so I will double click on “This PC”, and my file directory will be opened.
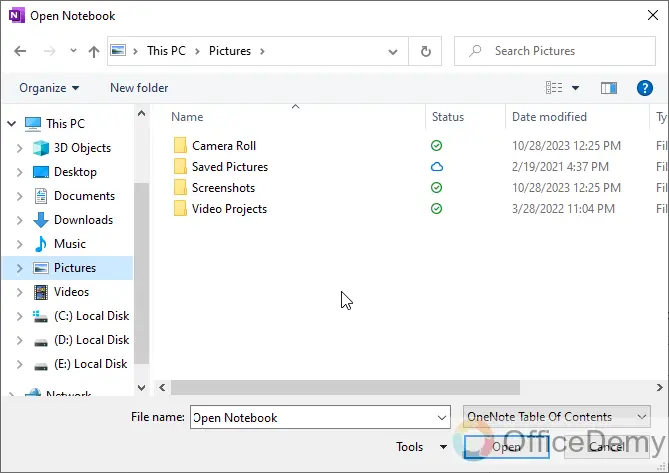
Step 8
Now, look for the exported file. It will be only exported if the file extension is (.onepkg).
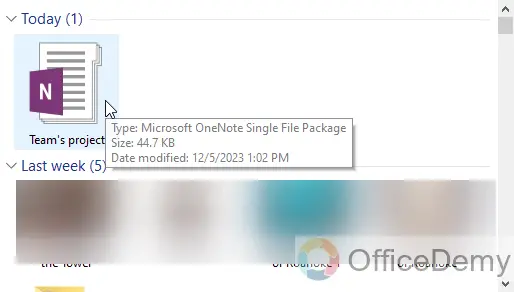
Step 9
Find the file and double-click on it. It will ask for some details before unpacking your OneNote file into OneNote. Set the file name (optional), and set a new root directory if required (optional).

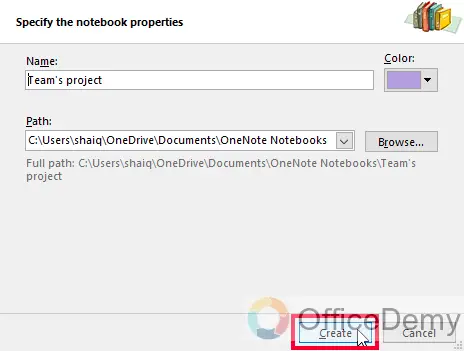
Step 10
Click on the “Create” button below, and within 5 seconds your Notebook is successfully added to your new Account.
Now, if you want to remove it from the previous account, you can do that, it’s up to you. I hope you find the above guide helpful.
Frequently Asked Questions
Q1: Why do I need to move a OneNote notebook to another account?
A: Moving a OneNote notebook to another account can be useful when changing workplaces, schools, or personal accounts. It facilitates collaboration in a new setting or ensures continued access to your notes in a different account.
Q2: Can I move a notebook between personal Microsoft accounts?
A: Yes, you can. Export the notebook from the original account, share or transfer the exported file, and then import it into the new account using OneNote.
Q3: Will moving a notebook affect my notes or formatting?
A: No, the process is designed to preserve your notes and formatting. However, it’s recommended to double-check after the move to ensure everything looks as expected.
Q4: Can I move a notebook to an account on a different device?
A: Yes, you can move a notebook between accounts on different devices. Just export the notebook, transfer the file, and import it into OneNote on the new device.
Q5: Can I export my Notebook as a PDF, and then import it back to OneNote?
A: No, only the (.onepkg) extension can be imported to the OneNote. If you have exported your OneNote using any other extension then you will not be able to import it back before making a file conversion. So, it is recommended to always export/download your OneNote notebooks as (.onepkg), so you can easily import them back to OneNote, and can view changes inside OneNote.
Conclusion
Thats all from how to move OneNote Notebook to Another Account. I have structured this article for beginners, so if you think it’s too slow, you can quickly jump to the next section. I hope I have delivered all the important aspects of the topic. Thanks and keep learning with Office Demy.
![How to Draw on OneNote [Complete Drawing Guide]](https://www.officedemy.com/wp-content/themes/rehub-theme/images/default/noimage_336_220.png)

