
To Share Report in Google Data Studio
Invite People:
- Click on the “Share” button.
- Choose “Invite people“.
- Add recipients’ email addresses.
- Set their access rights (view or edit).
- Optionally, notify the recipients.
- Click “Send“
Schedule Email Delivery:
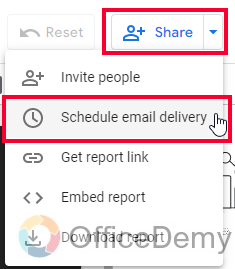
- Click on “Schedule email delivery“.
- Add recipients’ email addresses.
- Customize email subject and message.
- Specify the date and time for email delivery.
- Choose the frequency (daily, weekly, monthly, custom).
- Set additional options.
- Click “Schedule“
Get Report Link:
- Click on the “Share” button.
- Select “Get report Link“.
- Copy the link to share it.
- Access depends on link-sharing settings.
Embed Report:
- Click on the “Share” button.
- Select “Embed Report“.
- Enable embedding.
- Choose between “Embed Code” and “Embed URL“.
- Copy the code or URL to embed the report.
Download Report:
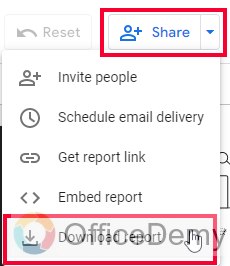
- Click on the “Share” button.
- Select the “Download Report” option.
- Customize download settings > Click “Download“
Hi, in this article, we will learn how to share report in Google Data Studio, we talked about so many things in this series of Google Data Studio, and we often talked about filters and controls, controls for viewers, and filters for creators generally. Knowing all that, we now need to know all the possible methods to share reports in Google Data Studio. This article is meant to teach you all the ways that can be used to share your reports with others over the internet or specifically with their email addresses. There are many methods like sheets, here we have only two accesses viewer and editor, and not commenter like Google Sheets. Let’s see how to share reports today.
Why Sharing Report is Important in Google Data Studio?
We mostly work with data that needs to be shared with customers, clients, bosses, colleagues, teammates and so many viewers. There can be some silly ways to share your reports such as screenshots and sharing as images, and like in Google sheets we have few options to share charts, but this Google Data Studio is solely designed for charts and graphs, here we have some legit ways to share our reports, we also have an option to schedule the email, and so much.
Sometimes, your manager can be very strict and he says he needs to daily report at sharp 8 every morning, doing this manually can be very hectic. But, with Google Data Studio, it’s super easy, we can share with multiple permissions like view only or edit. Sharing reports is a lot more important than creating one, therefore we need to learn how to share reports in Google Data Studio.
How to Share Report in Google Data Studio?
From this section, we will see all the available options for sharing reports in Google Data Studio, we have a Share button just like any other Google application like Docs, Slides, etc. But, along with the share button, we also have a drop-down. Let’s Explore it.
Share Report in Google Data Studio – Invite People
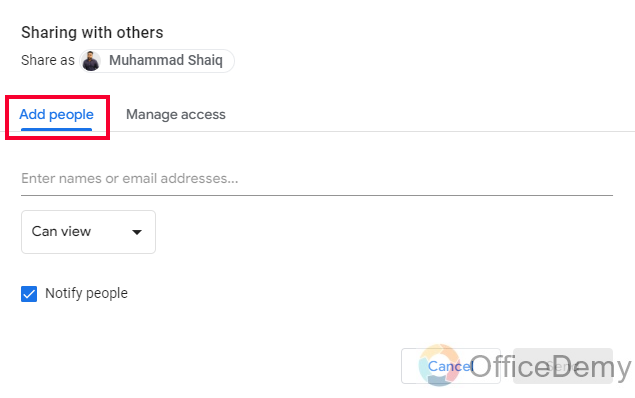
“Invite people” is the first option to share reports in Google Data Studio, here we can invite people by email, or we can manage access, there are two tabs and a drop-down that let us decide the access (view, or edit), using this method we can share the overall report with anyone with any access, also an invitation will be sent to the invitees on their inbox.
Step 1
Click on the Share button drop-down

Step 2
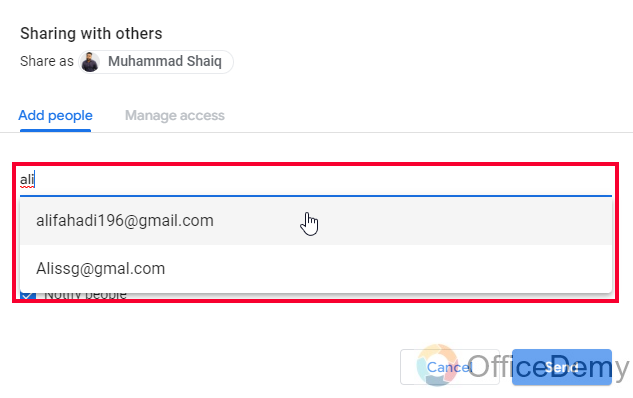
In the first tab (Add people) we can type starting keyword of the email addresses to get suggestions
Step 3
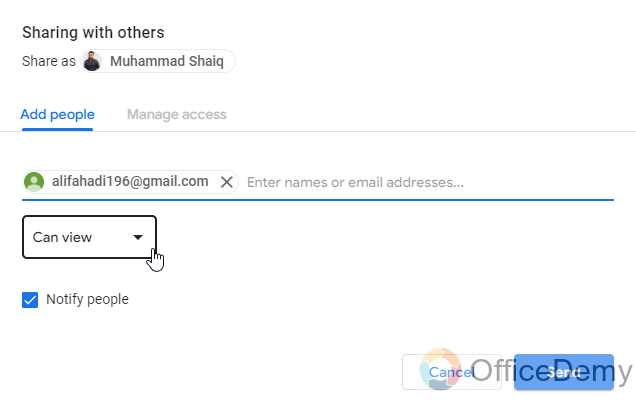
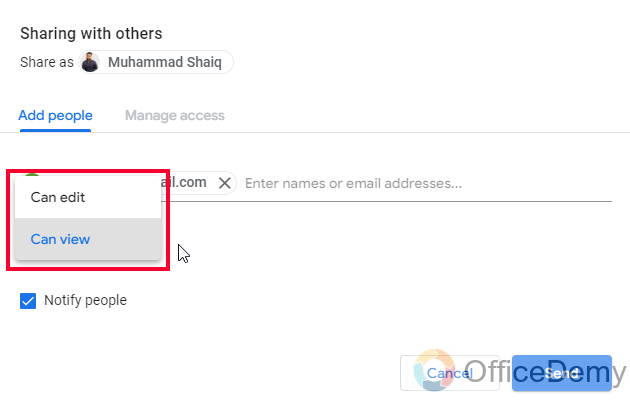
As you add a recipient, below you have a drop-down to select the access the recipient will get
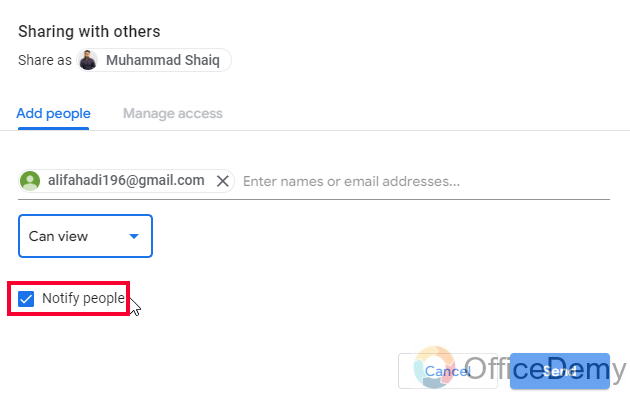
Step 4
Check or uncheck the “Notify people” checkbox to notify or not notify the recipients
Step 5
Click on the Send button
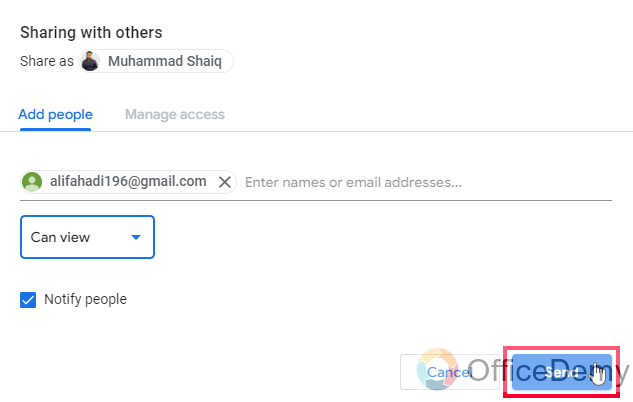
A confirmation pop-up will appear “Shared with 1 person”
Step 6
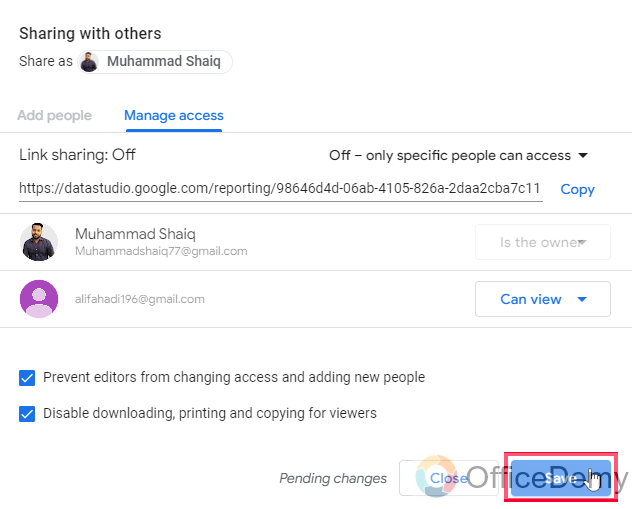
The other tab is “manage access”, here you can manage people with whom you have already shared the report.
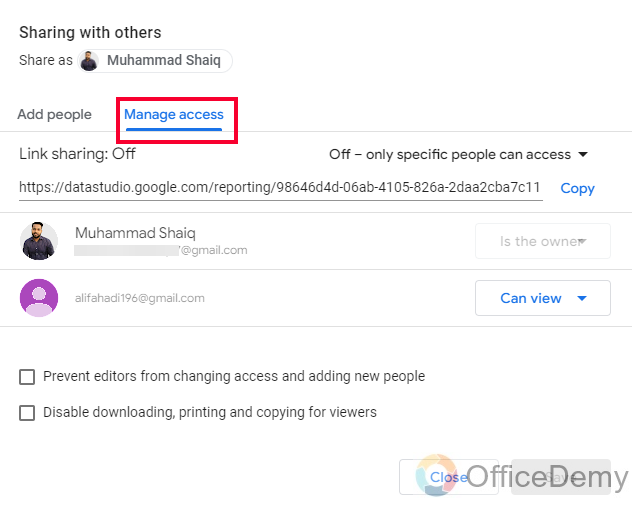
Step 7
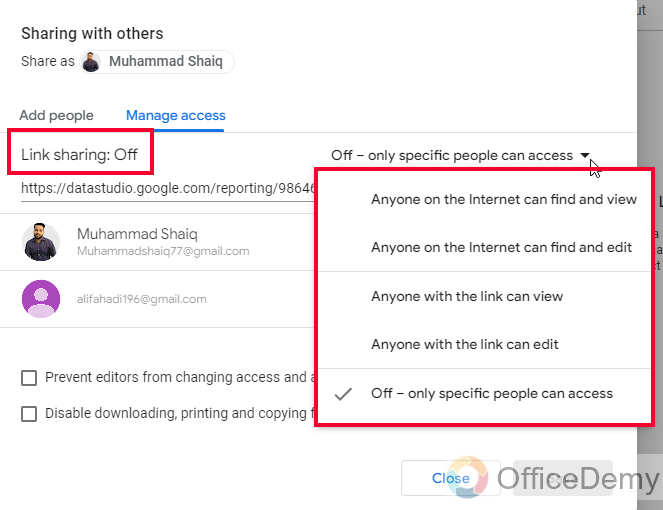
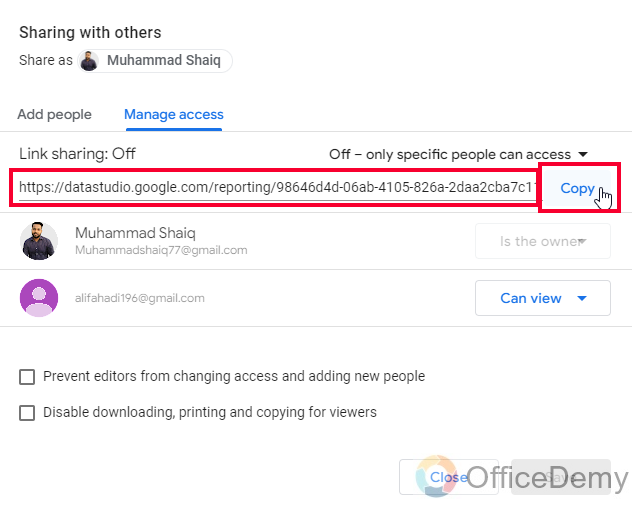
Here you have a link sharing drop down which is OFF by default “Off – only specific people can access”, here we have so many options for link sharing.
- Option 1: Anyone on the internet can find and view
- Option 2: Anyone on the internet can find and edit
- Option 3: Anyone with the link can view
- Option 4: Anyone with the link can edit
- Default: Off – Only specific people can access (view or edit)
Step 8
For any of the above options, we can get and share the link, click on Copy to copy the link
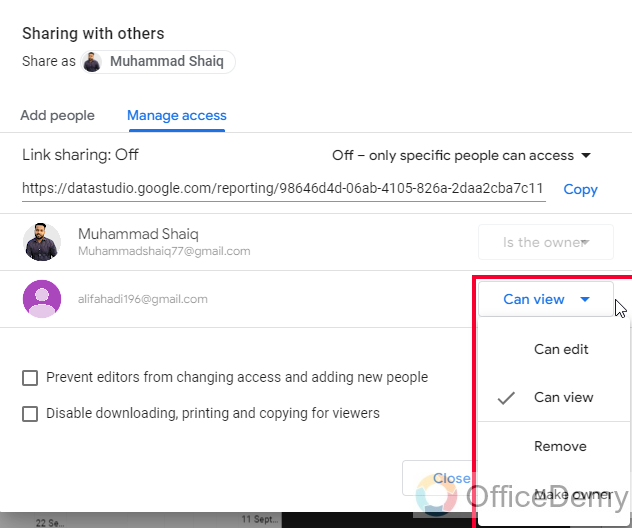
Step 9
Below we can change the access type for already invited people
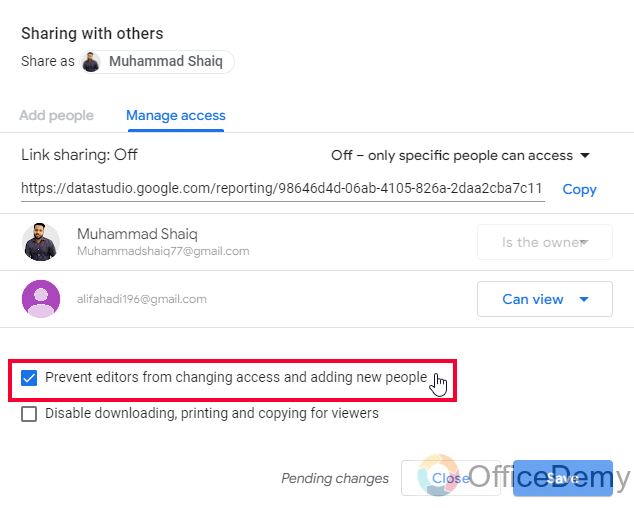
Step 10
Prevent editors from changing access and adding new people (checkbox)
Step 11
Disable downloading, printing, and copying for viewers (checkbox)
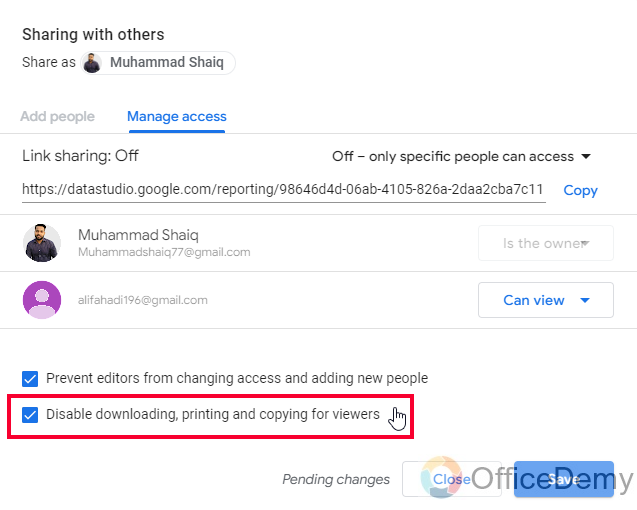
Step 12
Click on Save to save the access and share settings
This is how you can simply share reports in Google Data Studio through their emails.
Share Report in Google Data Studio – Schedule Email Delivery
In this section, we will learn how to share reports in Google Data Studio using the schedule email delivery option, this is a recently added feature in Google Data Studio, and it’s extremely helpful for people working in organizations or contractual freelancers. Let us see what we have got in this feature.
Step 1
Click on “Schedule email delivery” from the Share button drop-down
Step 2
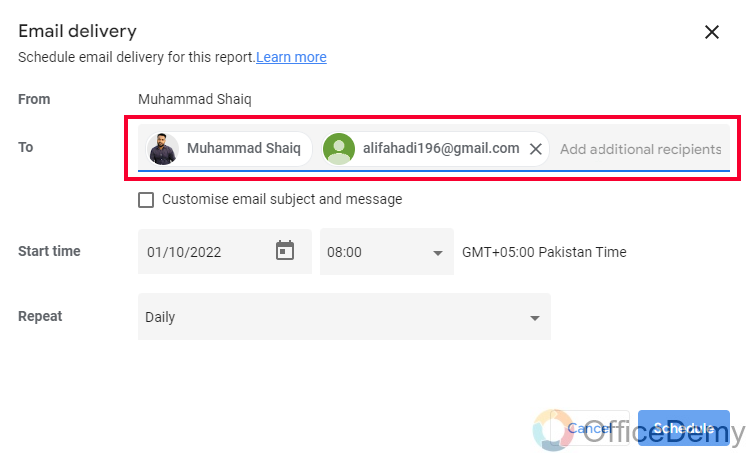
Here in the “To” section, you can add an optional recipient, note that you can’t remove yourself from the recipient list
Step 3
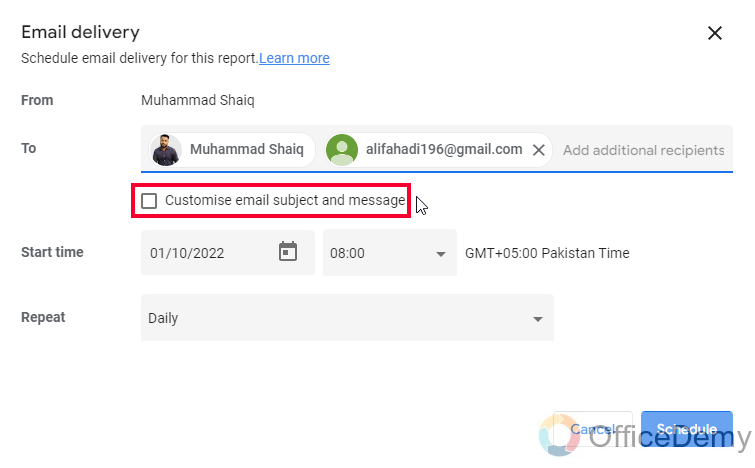
Customize the email subject and message checkbox (you can use it to customize the email subject and message)
Step 4
Here you can specify the date and time for the mail delivery
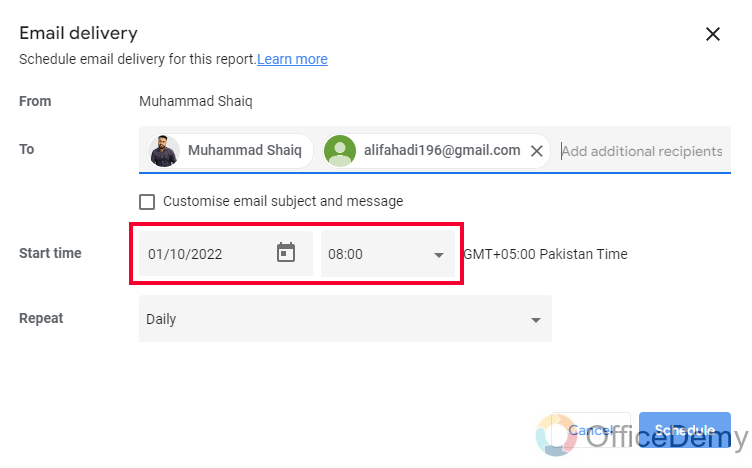
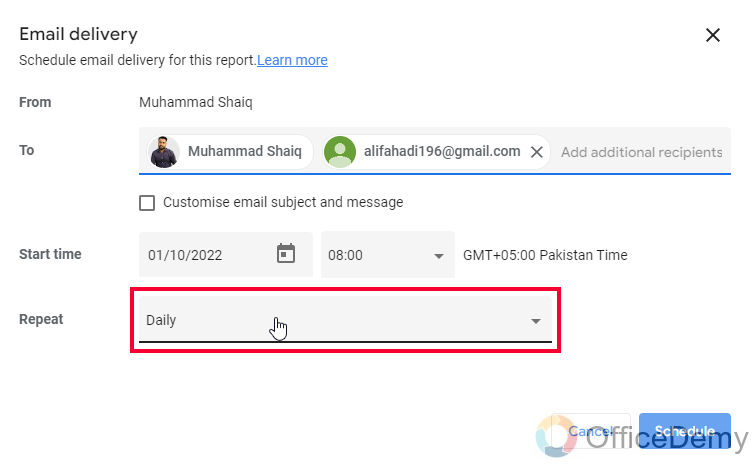
Step 5
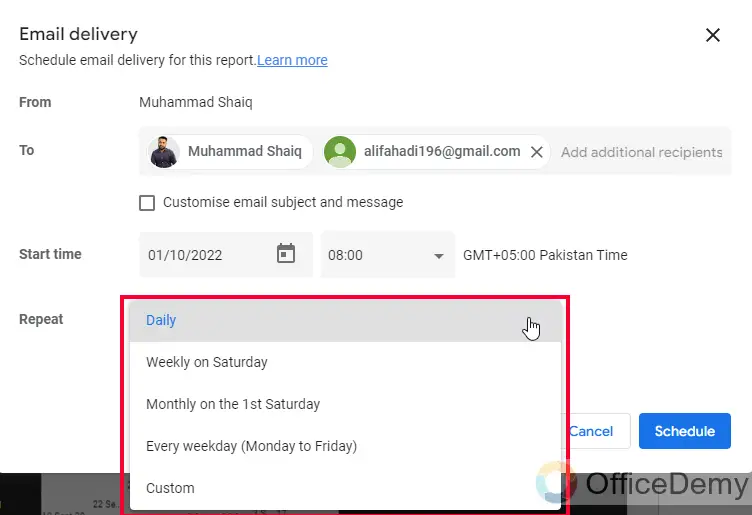
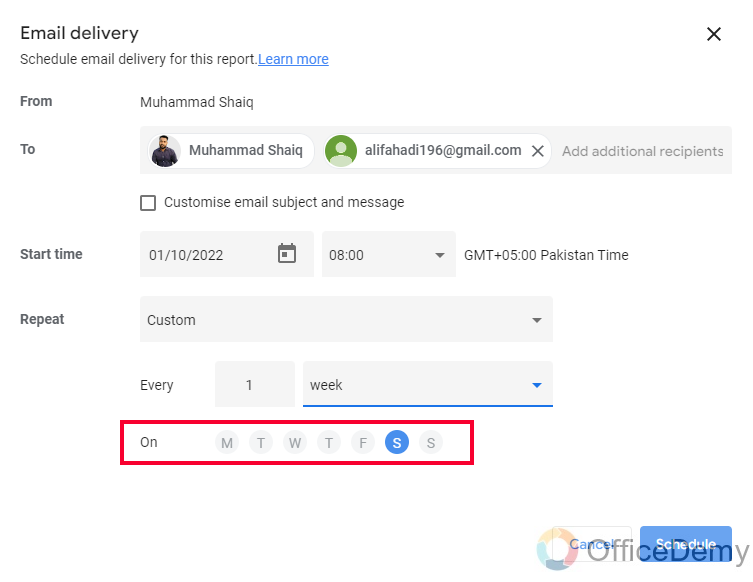
Here you can select the Repeat (frequency of this email)
- Option 1: Daily
- Option 2: Weekly on Saturday
- Option 3: Monthly on the first Saturday
- Option 4: Every Weekday (Monday to Friday)
- Option 5: Custom
Step 6
In the custom option, you can select a number, and then you have the following options
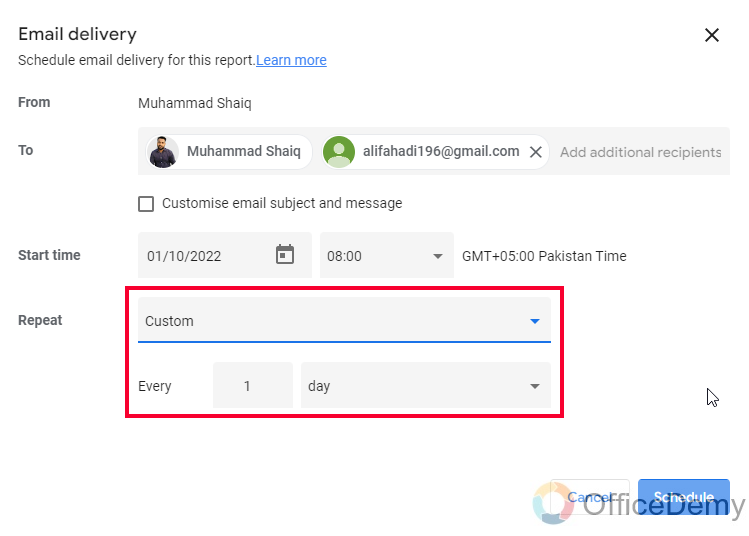
- Option 1: Days
- Option 2: Weeks
- Option 3: Months on the first day
- Option 4: Months on the first Saturday
Step 7
When you select Weeks, you can further select Days of the week from the below “On” section
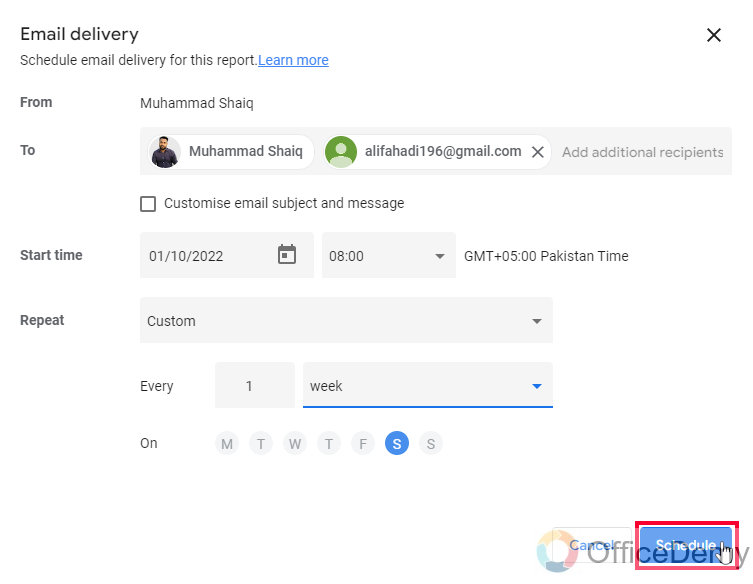
Step 8
Once you’re setup all the things, click on Schedule to save this for email delivery
This is how you can share reports in Google Data Studio
You have seen there are endless options for us to make use of, Google Data Studio has so many features for sharing your reports as exactly you want.
Share Report in Google Data Studio – Get Report Link
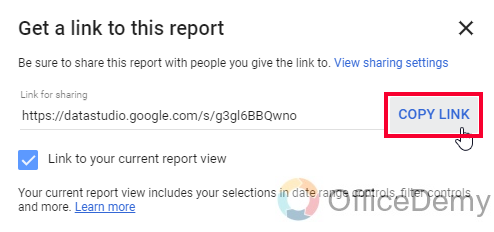
Here you can simply get a link to your report and share it with others as viewers, there is also a checkbox “Link to your current report view”, which means that the current view will of your report be shared using the above link. Now, remember this link sharing will be made based on your settings in the “Manage access” section.
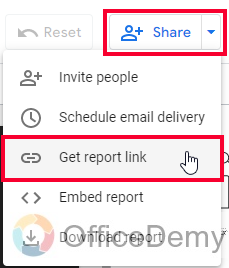
Step 1
Click on the Share button drop-down and select “Get report Link”
Step 2
Here you have all a nice and easy dialog box to copy the link to your report, Click on the Copy button to get the link
This is how simply you can quickly get the link of your file, note that the access will depend on your sharing settings.
Share Report in Google Data Studio – Embed Report
In this section, we will see how to embed reports and get an Embed code or Embed URL to publish or embed on your website. This method only generates a code for you to copy and use on your actual website or in the code of your website to embed this on that targeted web page
Step 1
Click on the Share button drop-down, and select Embed Report
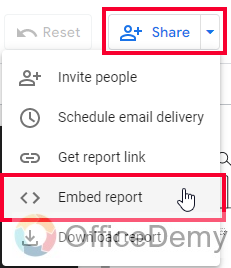
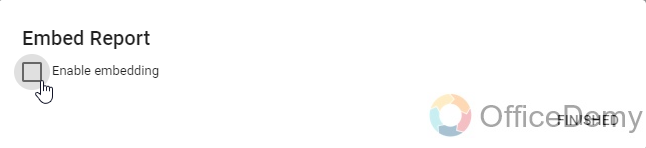
Step 2
Check on “Enable Embedding”
Step 3
Here you can select a radio button, “Embed Code” or “Embed URL”
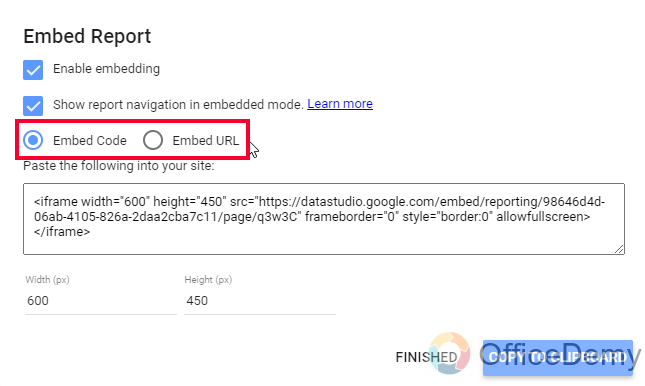
Step 4
Copy the below code or URL by clicking on the “Copy to Clipboard button”
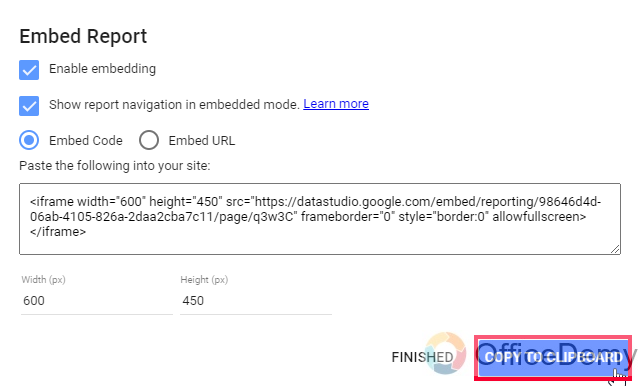
Or you can click on the “Finished” button to escape and abort the operation.
This is how you can get the embedded code or URL to use on your website to embed this report on the web.
How to Share Report in Google Data Studio – Download Report
In this section, we will learn how to share reports in Google Data Studio by using the download report option. This feature allows us to download our report in PDF format, and two more important options are there to consider, let’s see this sharing option below.
Step 1
Click on the Share button drop-down and select the Download Report option
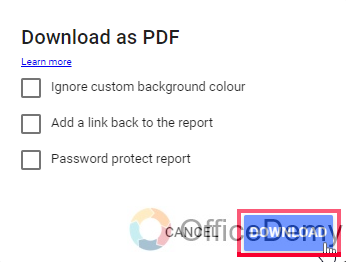
Step 2
Direct Download without any additional features, to do that, simply click on the Download button
Step 3
Here, you have the first option (checkbox) “ignore custom background color”, you can download your report with or without custom background color by checking or unchecking this checkbox.

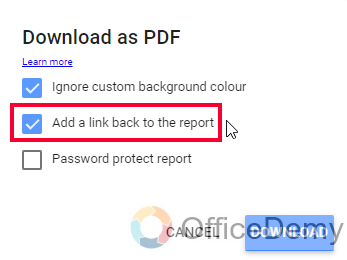
Step 4
“Add a link back to the report” (checkbox), this option can be used to add or not add a link back to report
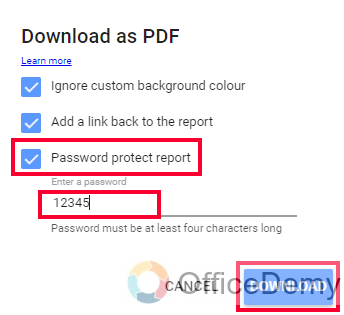
Step 5
“Password protect report” (checkbox), this option can be used to add a password to your report, so that when the file is opened on the local computer it will require a password.
This is how we can download our reports from Google Data Studio in high-Quality PDF format. I hope you find this article helpful.
Useful Notes
- If you don’t use the Share button drop-down and directly click on the Share button body, you will land on the first option from the drop-down which is “Invite people”.
- You can anytime change the access of already invited people
- When using the schedule mail delivery option, you cannot remove yourself (owner’s email) from the recipient’s list
Conclusion
So, this was yet another useful tutorial of our Google Data Studio series. We learned how to share reports in Google Data Studio, and you have seen how detailed and how useful features are there in Data Studio for sharing reports with people. We can use the link sharing option by enabling it to share our reports openly with every internet user, we can also share reports with everyone over the internet with an editor’s access. It does not make that much sense but it is possible just like Google Sheets. So that’s all from how to share reports in Google Data Studio.
I will see you soon with some more interesting and useful topics in this series. Take care, and thank you so much for reading. Keep learning with Office Demy


